Introduction
Welcome to the step-by-step guide for installing a cell phone signal booster. In today’s fast-paced world, a reliable cell phone signal is crucial for staying connected, whether it’s for work, emergencies, or simply keeping in touch with loved ones. Unfortunately, weak or unreliable signals can be a frustrating reality, especially in remote areas or buildings with thick walls. However, with a cell phone signal booster, you can significantly improve your signal strength and call quality.
Installing a cell phone signal booster may seem daunting at first, but with the right guidance and a clear understanding of the process, you can easily set up the booster and enjoy a stronger, more reliable signal. This guide will walk you through each step, from selecting the right booster for your needs to testing the signal booster to ensure optimal performance.
Whether you’re a homeowner, business owner, or simply someone looking to improve their cell phone signal, this guide will provide you with the knowledge and confidence to install a cell phone signal booster successfully. So, let’s dive in and get started on boosting your cell phone signal!
Step 1: Choosing the Right Cell Phone Signal Booster
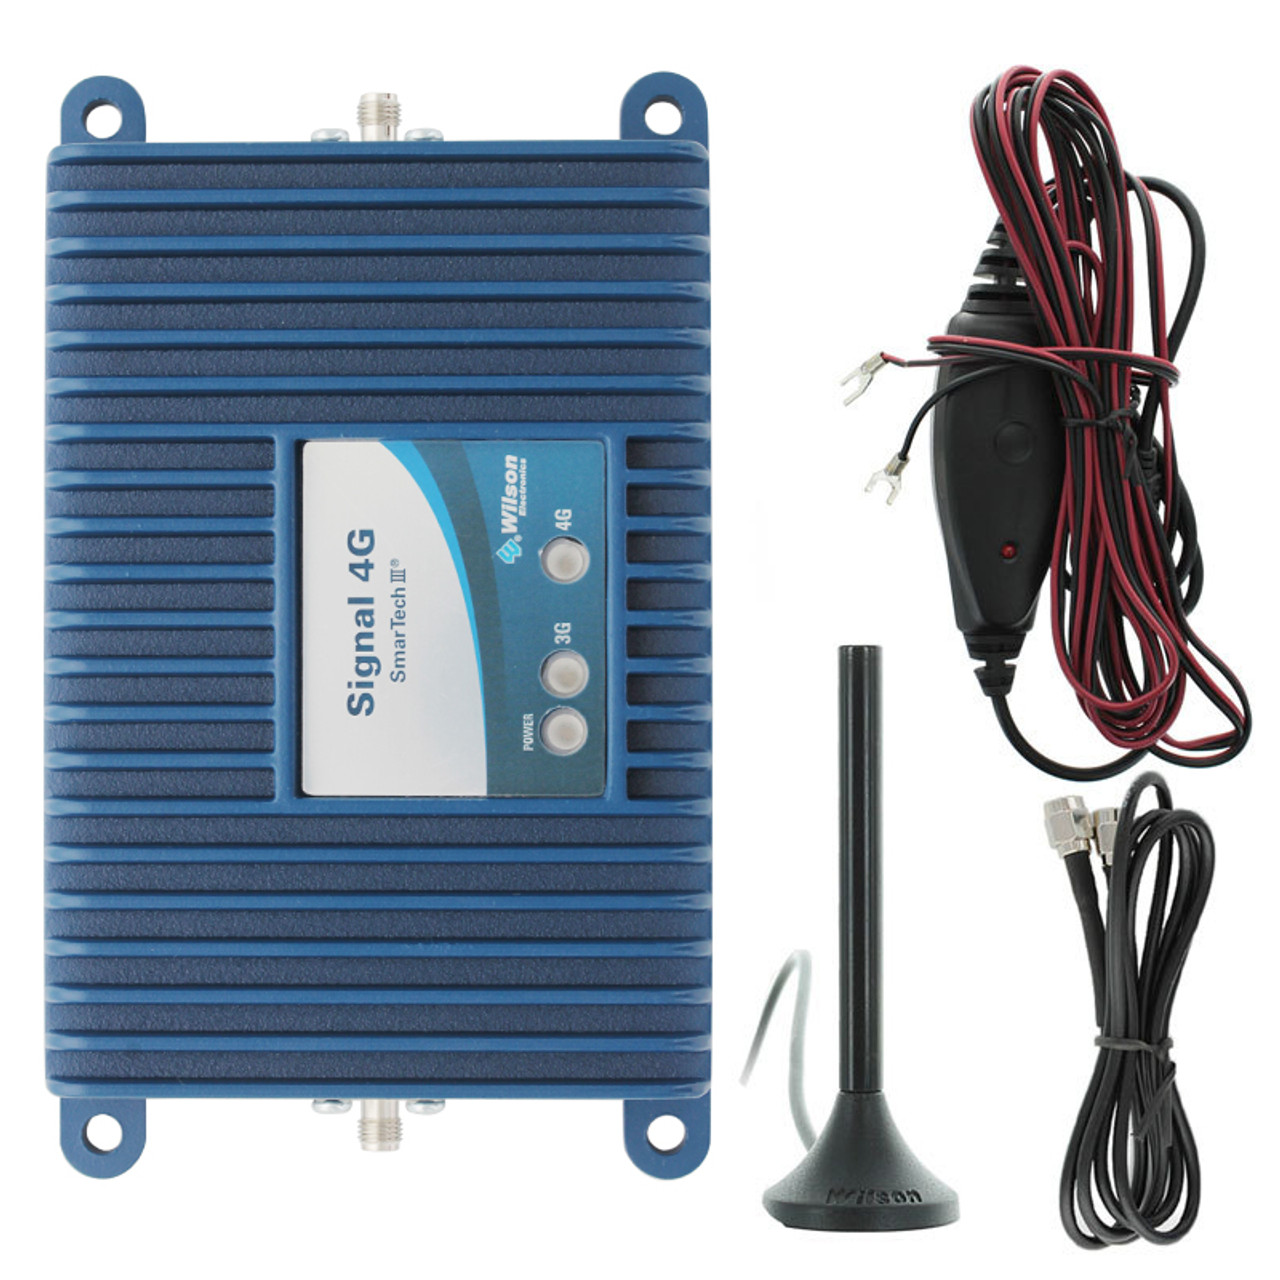
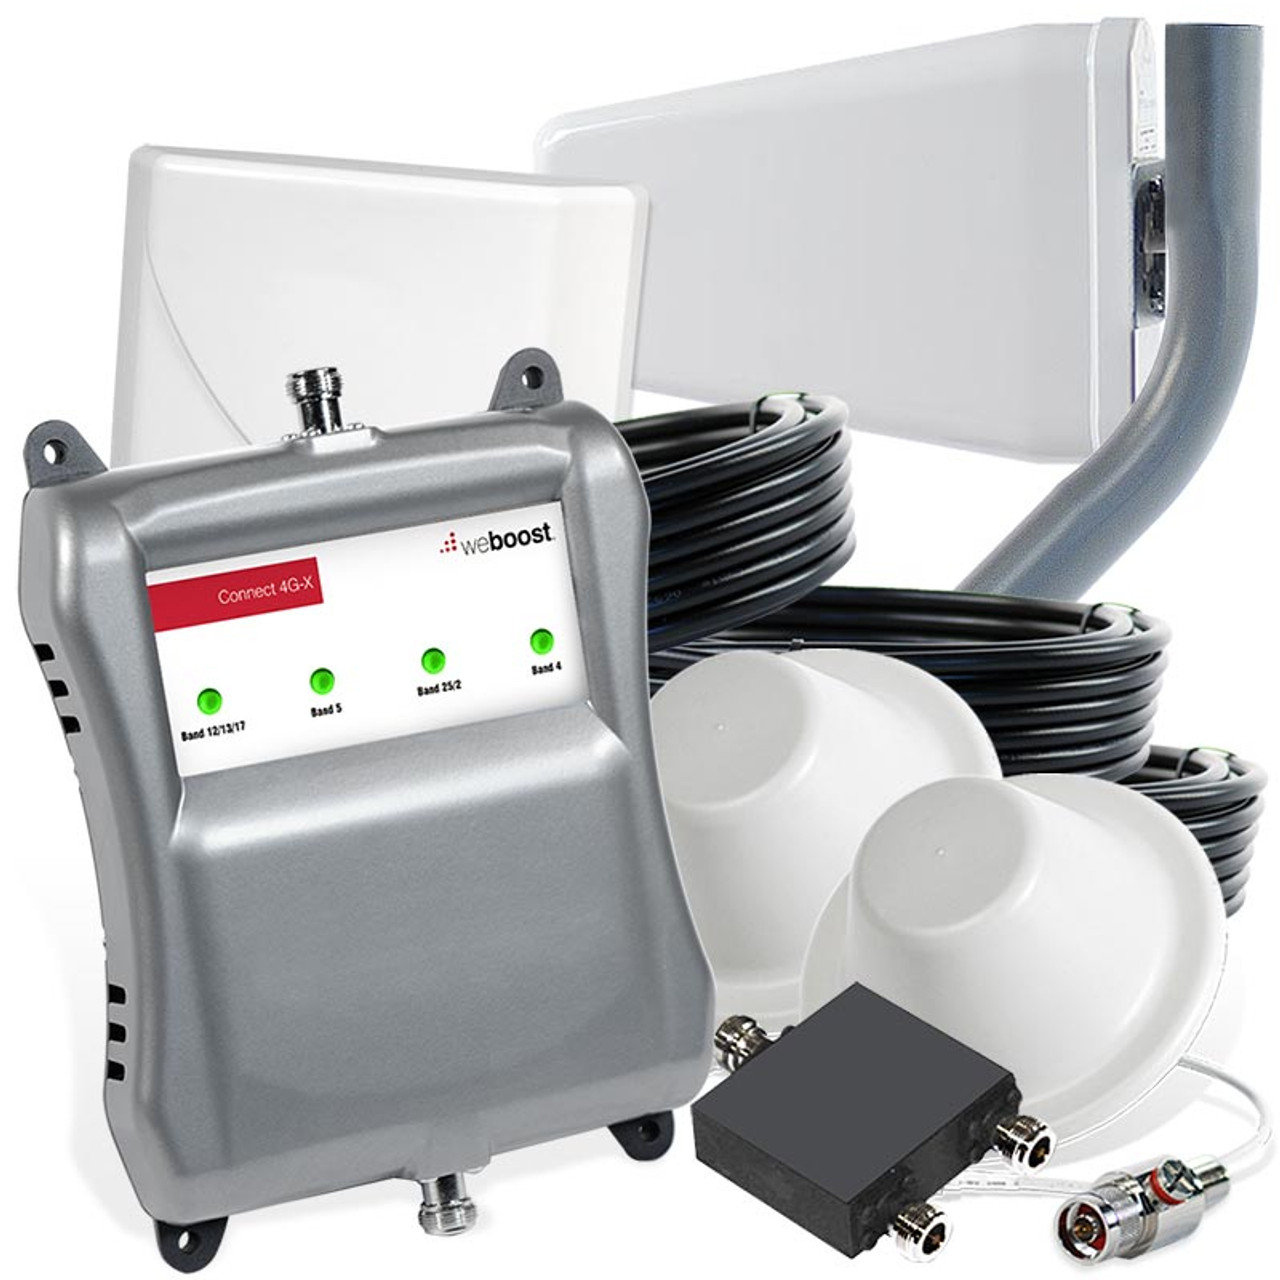
Before embarking on the installation process, it’s crucial to select the right cell phone signal booster for your specific needs. There are various factors to consider when choosing a booster, including the size of the area you need to cover, the strength of the outside signal, and the number of users who will rely on the boosted signal.
Consider the Coverage Area: Determine the square footage of the area where you need improved signal strength. Whether it’s a small office, a large warehouse, or a multi-story home, there are signal boosters designed to cover different sizes of spaces. Be sure to choose a booster that can adequately cover the entire area.
Evaluate Outside Signal Strength: Understanding the strength of the outside signal in the location where you plan to install the outdoor antenna is crucial. This can be done using a cell phone in test mode or with a signal meter. The strength of the outside signal will help determine the type and power of the booster you need to effectively amplify the signal indoors.
Consider the Number of Users: If multiple users will be relying on the boosted signal, it’s important to choose a booster that can accommodate the expected user load. Some boosters are designed to support multiple simultaneous connections, making them ideal for busy offices or homes with several occupants.
Additionally, consider whether you need a booster for voice calls only, or if you also require improved data speeds for internet connectivity. There are boosters designed specifically for data, voice, or both, so be sure to select a booster that aligns with your specific communication needs.
By carefully considering these factors, you can choose a cell phone signal booster that is tailored to your unique requirements, ensuring that you achieve the best possible signal enhancement for your specific environment.
Step 2: Finding the Best Location for the Outdoor Antenna
Once you’ve selected the appropriate cell phone signal booster for your needs, the next crucial step is to determine the optimal location for the outdoor antenna. The outdoor antenna plays a pivotal role in capturing the existing outside signal and transmitting it to the booster unit for amplification. Finding the best location for the outdoor antenna is essential for maximizing the booster’s effectiveness.
Identify the Direction of the Nearest Cell Tower: Understanding the direction of the nearest cell tower can help you position the outdoor antenna for optimal signal reception. You can use online tools or mobile apps to locate nearby cell towers and their respective directions. By aligning the outdoor antenna towards the nearest tower, you can ensure that it captures the strongest possible signal.
Consider Obstructions and Interference: Assess the surrounding environment for potential obstructions and sources of interference that could hinder the outdoor antenna’s ability to capture the outside signal. Trees, buildings, and other structures can obstruct the signal path, so it’s important to position the outdoor antenna in a location with minimal obstructions to ensure unimpeded signal reception.
Evaluate Mounting Options: Depending on your specific installation environment, you may have various mounting options for the outdoor antenna, such as roof mounts, pole mounts, or wall mounts. Consider the structural integrity of the mounting location and ensure that it provides a clear line of sight to the nearest cell tower for optimal signal reception.
Furthermore, it’s essential to adhere to local regulations and building codes when installing the outdoor antenna. Some areas may have restrictions on antenna placement and height, so it’s important to comply with any applicable guidelines to ensure a compliant and effective installation.
By carefully assessing the direction of the nearest cell tower, mitigating potential obstructions, and selecting the most suitable mounting option, you can determine the best location for the outdoor antenna, setting the stage for a successful cell phone signal booster installation.
Step 3: Installing the Outdoor Antenna
With the optimal location for the outdoor antenna identified, the next step is to proceed with the installation process. Installing the outdoor antenna correctly is crucial for ensuring that it effectively captures the existing outside signal and facilitates the transmission of the signal to the booster unit. Here’s a step-by-step guide to installing the outdoor antenna:
- Gather the Necessary Tools: Before beginning the installation, gather the required tools, including a mounting bracket, screws, a drill, a wrench, and any additional mounting hardware specific to your chosen installation location.
- Assemble the Outdoor Antenna: Follow the manufacturer’s instructions to assemble the outdoor antenna and attach it to the mounting bracket securely. Ensure that all components are properly connected and tightened to prevent any potential issues once the antenna is installed.
- Securely Mount the Antenna: Depending on the chosen mounting option, securely mount the outdoor antenna in the predetermined location. Use appropriate fasteners and mounting hardware to ensure the antenna is stable and positioned according to the optimal direction for signal reception.
- Route the Cable to the Booster Unit: Once the outdoor antenna is securely mounted, carefully route the coaxial cable from the antenna to the location of the booster unit. Ensure that the cable is protected from potential damage and is routed efficiently to minimize signal loss.
- Ground the Antenna (If Required): In some installations, grounding the outdoor antenna may be necessary to comply with local regulations and ensure electrical safety. Follow the manufacturer’s guidelines and any applicable regulations to properly ground the antenna for safe and compliant operation.
Throughout the installation process, it’s essential to prioritize safety and precision to ensure that the outdoor antenna is installed securely and in a manner that optimizes signal reception. By following these steps and adhering to the manufacturer’s guidelines, you can successfully install the outdoor antenna, bringing you one step closer to experiencing improved cell phone signal strength and reliability.
Step 4: Placing the Indoor Antenna
Once the outdoor antenna is successfully installed, the next critical step in the cell phone signal booster installation process is placing the indoor antenna. The indoor antenna is responsible for distributing the boosted signal within the designated coverage area, ensuring that users can experience improved signal strength and call quality throughout the space. Here’s how to effectively place the indoor antenna:
- Identify the Ideal Indoor Location: Assess the layout of the coverage area and identify a central location where the indoor antenna can effectively distribute the boosted signal. Consider areas with high user activity and ensure that the antenna’s placement allows for optimal signal coverage throughout the space.
- Mount or Position the Indoor Antenna: Depending on the type of indoor antenna included with your signal booster kit, you may have options for mounting the antenna on a wall, placing it on a flat surface, or positioning it in an elevated location. Follow the manufacturer’s recommendations for the best placement method based on the antenna type.
- Ensure Proper Antenna Orientation: Some indoor antennas have directional characteristics, so it’s essential to orient the antenna according to the manufacturer’s guidelines to achieve the best signal distribution. Proper antenna orientation can maximize signal coverage and ensure consistent signal strength throughout the coverage area.
- Connect the Indoor Antenna to the Booster Unit: Once the indoor antenna is positioned in the ideal location, connect it to the booster unit using the provided coaxial cable. Ensure that the connection is secure and that the cable routing minimizes signal loss and interference to maintain optimal signal distribution.
- Consider Multiple Antenna Options: In larger or multi-level spaces, it may be beneficial to use multiple indoor antennas to ensure comprehensive signal coverage. Some signal booster kits offer the option to connect multiple indoor antennas to the booster unit, providing enhanced signal distribution throughout the area.
By carefully selecting the indoor antenna’s placement, ensuring proper orientation, and connecting it to the booster unit as directed, you can effectively distribute the boosted signal throughout the coverage area, providing consistent and reliable cell phone signal strength to all users within the designated space.
Step 5: Connecting the Booster and Powering Up
With the outdoor and indoor antennas in place, the next crucial step in the cell phone signal booster installation process is connecting the booster unit and powering up the system. Properly connecting the booster and ensuring that it receives power is essential for activating the signal amplification process and providing enhanced signal strength throughout the coverage area. Here’s how to connect the booster and power up the system:
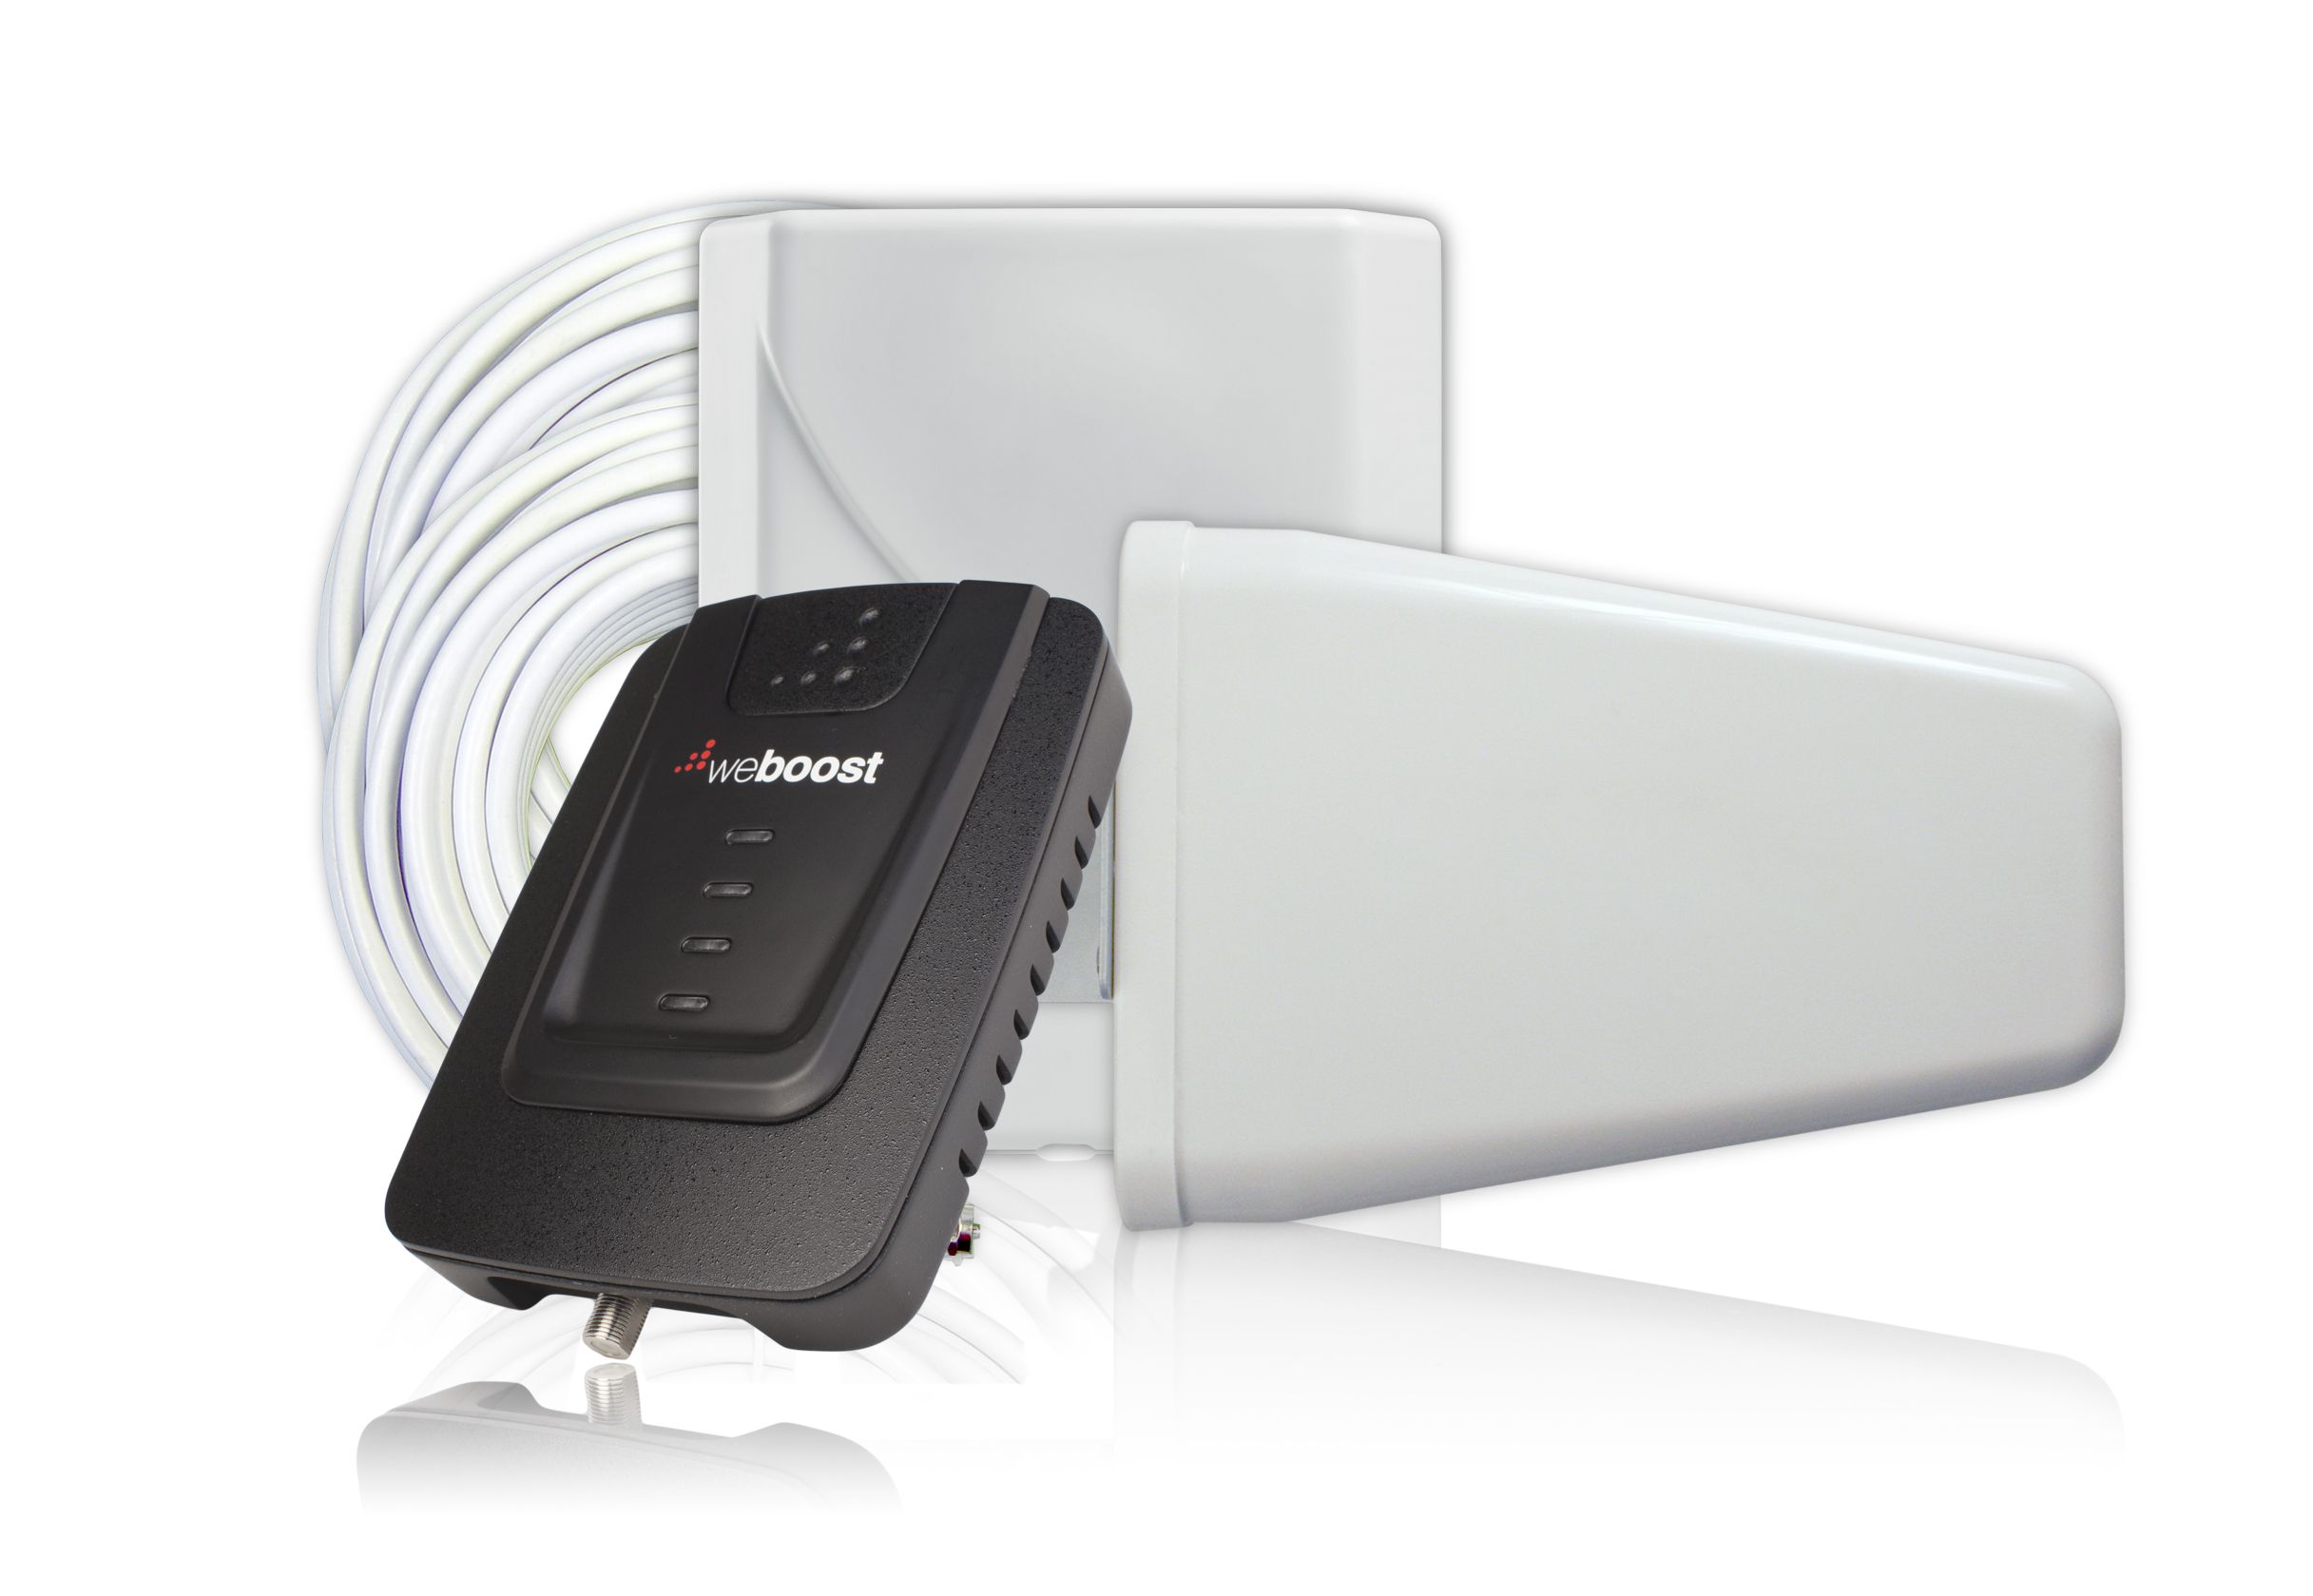
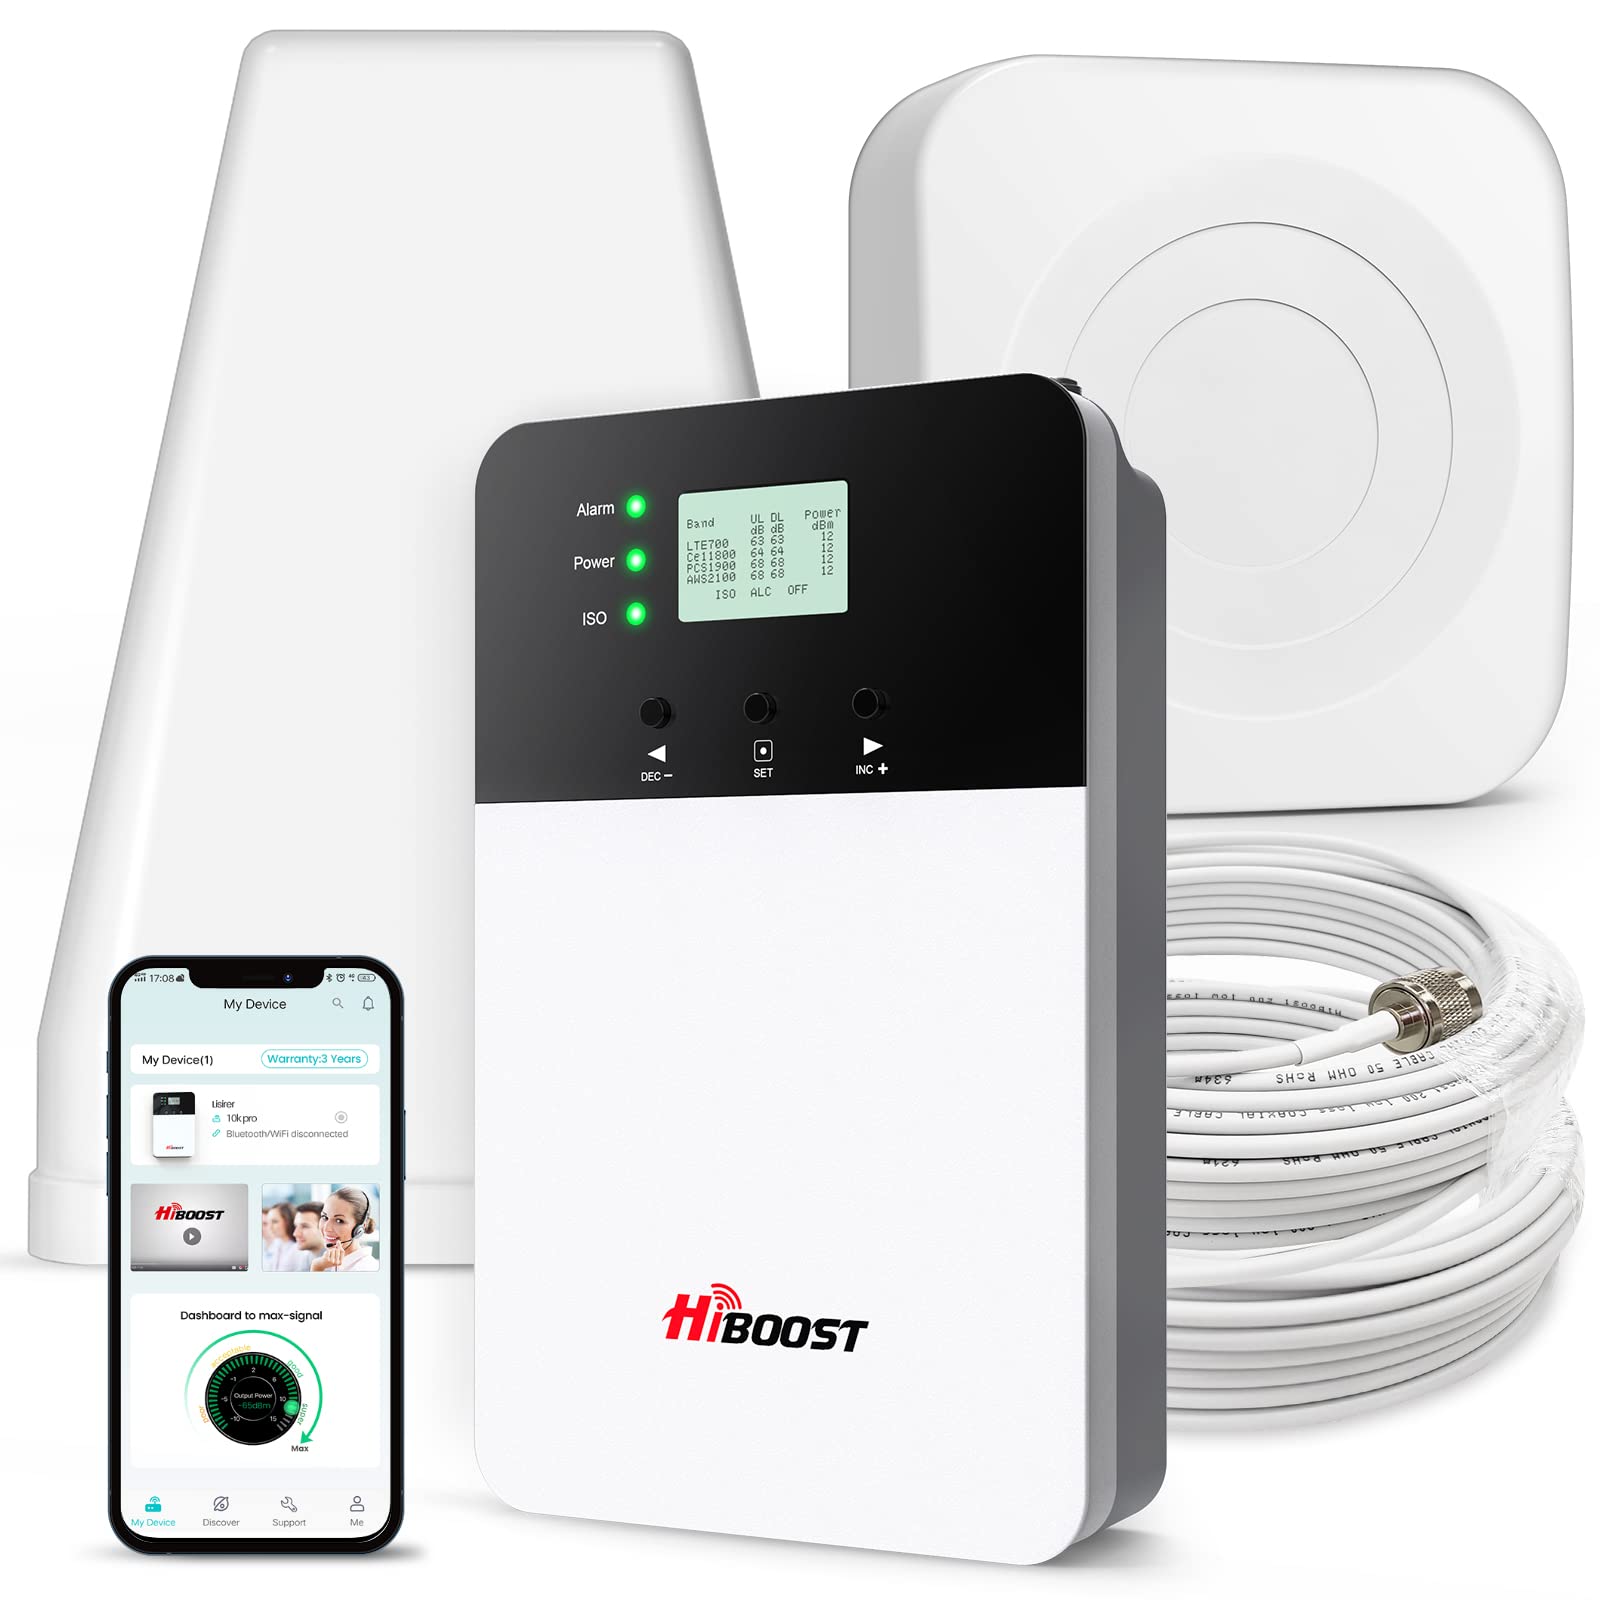
- Connect the Outdoor Antenna to the Booster: Use the provided coaxial cable to connect the outdoor antenna to the designated port on the booster unit. Ensure that the connection is secure and that the cable routing minimizes signal loss and interference to maintain optimal signal transmission from the outdoor antenna to the booster.
- Connect the Indoor Antenna to the Booster: Similarly, use the provided coaxial cable to connect the indoor antenna to the booster unit. Ensure that the connection is secure and that the cable routing facilitates efficient signal distribution from the booster to the indoor antenna, allowing for consistent signal coverage throughout the designated area.
- Connect the Power Supply: Plug the power supply into the booster unit and connect it to a reliable power source. Ensure that the power supply is compatible with the booster unit and that the power source is stable and easily accessible for ongoing operation of the signal booster system.
- Power Up the Booster: Once all connections are secure, power up the booster unit according to the manufacturer’s instructions. This typically involves turning on the power supply and allowing the booster to initialize and begin amplifying the incoming signal for improved distribution throughout the coverage area.
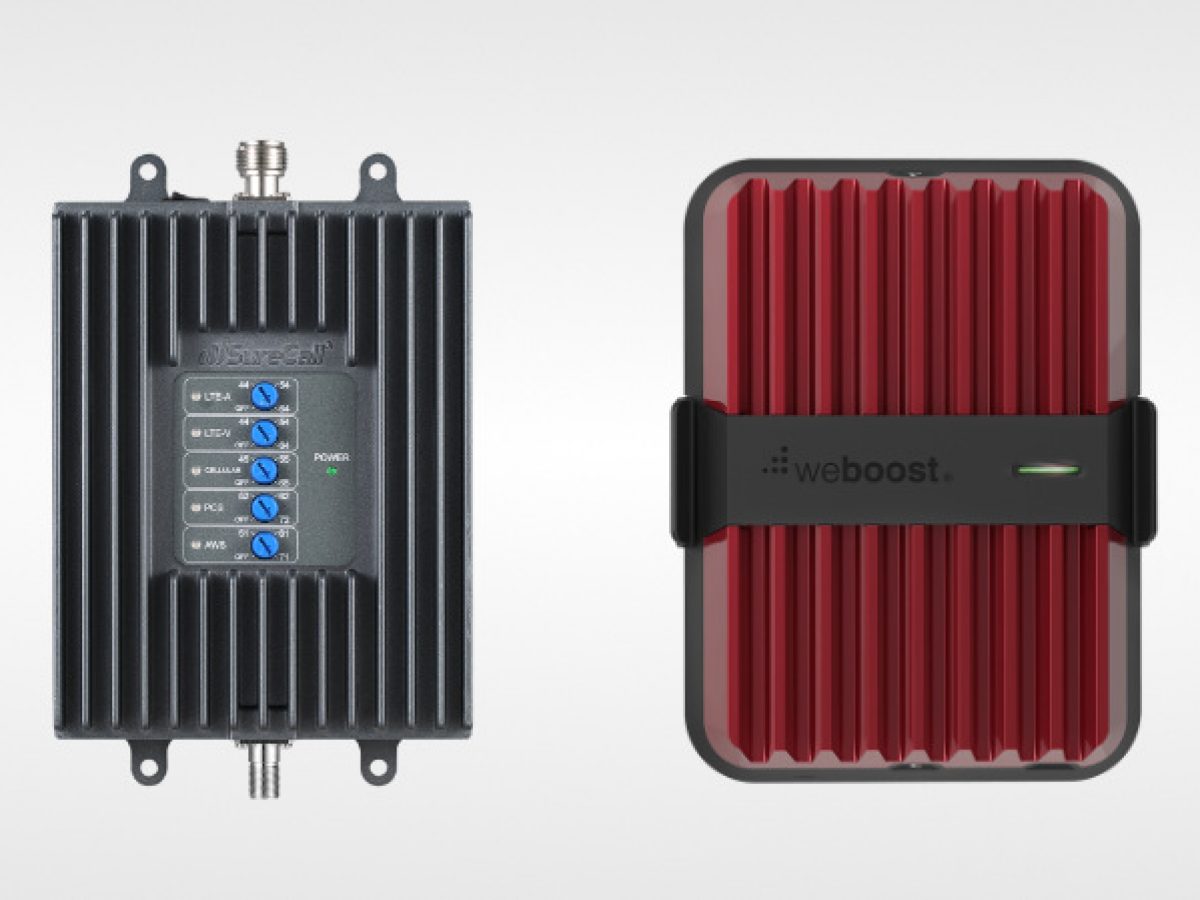
- Monitor the Booster Status: After powering up the booster, monitor the booster unit’s status indicators to ensure that it is operating correctly and amplifying the signal as intended. Refer to the manufacturer’s documentation to understand the meaning of different status indicators and troubleshoot any potential issues that may arise.
By carefully connecting the outdoor and indoor antennas to the booster unit, ensuring a stable power supply, and powering up the booster according to the manufacturer’s guidelines, you can activate the signal amplification process and provide enhanced cell phone signal strength within the designated coverage area.
Step 6: Testing the Signal Booster
Once the cell phone signal booster is installed and powered up, the final step in the installation process is to thoroughly test the booster to ensure that it is effectively enhancing the signal strength and providing reliable connectivity. Testing the signal booster allows you to verify its performance and make any necessary adjustments to optimize its operation. Here’s how to test the signal booster:
- Conduct Signal Strength Tests: Using a cell phone or a signal meter, conduct signal strength tests throughout the coverage area to assess the improvement in signal quality and strength. Compare the signal strength and call quality before and after the booster installation to gauge the booster’s effectiveness.
- Verify Coverage Area: Ensure that the boosted signal adequately covers the entire designated area, including all rooms, floors, or sections where reliable cell phone signal strength is essential. Identify any areas with weaker signal reception and consider potential adjustments to the antenna placement or booster settings to enhance coverage.
- Test Voice and Data Connectivity: Place test calls and assess data connectivity within the coverage area to ensure that the booster effectively enhances both voice and data communication. Verify that calls are clear and that data transfer speeds are improved, providing a seamless user experience for all cell phone users within the space.
- Optimize Antenna Placement (if necessary): If signal tests reveal areas with suboptimal signal strength, consider adjusting the placement of the outdoor and indoor antennas to improve signal coverage. Small adjustments to the antenna orientation or placement can significantly impact signal distribution and overall booster performance.
- Document Test Results: Document the results of the signal strength tests, including any areas of concern or notable improvements in signal quality. This documentation can serve as a reference for future troubleshooting or adjustments and provide valuable insights into the booster’s impact on signal strength.
By conducting comprehensive signal strength tests, verifying coverage area, testing voice and data connectivity, and documenting the test results, you can ensure that the signal booster is effectively enhancing cell phone signal strength and providing reliable connectivity throughout the designated space. Regular testing and monitoring of the booster’s performance can help maintain optimal signal quality and address any potential issues proactively.
Conclusion
Congratulations on successfully completing the installation of your cell phone signal booster! By following this step-by-step guide, you have taken the necessary measures to improve your cell phone signal strength and ensure reliable connectivity within your designated coverage area. The installation process may initially seem daunting, but with the right guidance and attention to detail, you have empowered yourself to enjoy enhanced signal quality and improved communication capabilities.
Choosing the right cell phone signal booster, identifying optimal locations for the outdoor and indoor antennas, and meticulously connecting and testing the booster are all essential steps in the process. By carefully considering factors such as coverage area, outside signal strength, and user load, you have selected a booster that aligns with your specific needs, setting the stage for a successful installation.
As you tested the booster’s performance and verified signal strength and coverage, you have gained valuable insights into the booster’s impact on your communication capabilities. Whether it’s making clear calls, enjoying faster data speeds, or simply staying connected without interruptions, the signal booster’s effectiveness is now evident through your thorough testing.
By documenting the test results and remaining mindful of potential adjustments to antenna placement or booster settings, you have positioned yourself to maintain optimal signal quality and address any future challenges proactively. Regular testing and monitoring of the booster’s performance will ensure that you continue to benefit from reliable and enhanced cell phone signal strength in the long term.
With the installation process complete and the booster successfully enhancing your signal strength, you can now enjoy the peace of mind that comes with consistent and reliable connectivity. Whether it’s in your home, office, or any other designated space, the cell phone signal booster has empowered you to stay connected and communicate effectively, regardless of your location or the surrounding signal conditions.
Thank you for embarking on this installation journey with us. We hope this guide has been instrumental in helping you achieve improved cell phone signal strength and a more seamless communication experience. Here’s to enjoying uninterrupted connectivity and clear communication with your newly installed cell phone signal booster!


