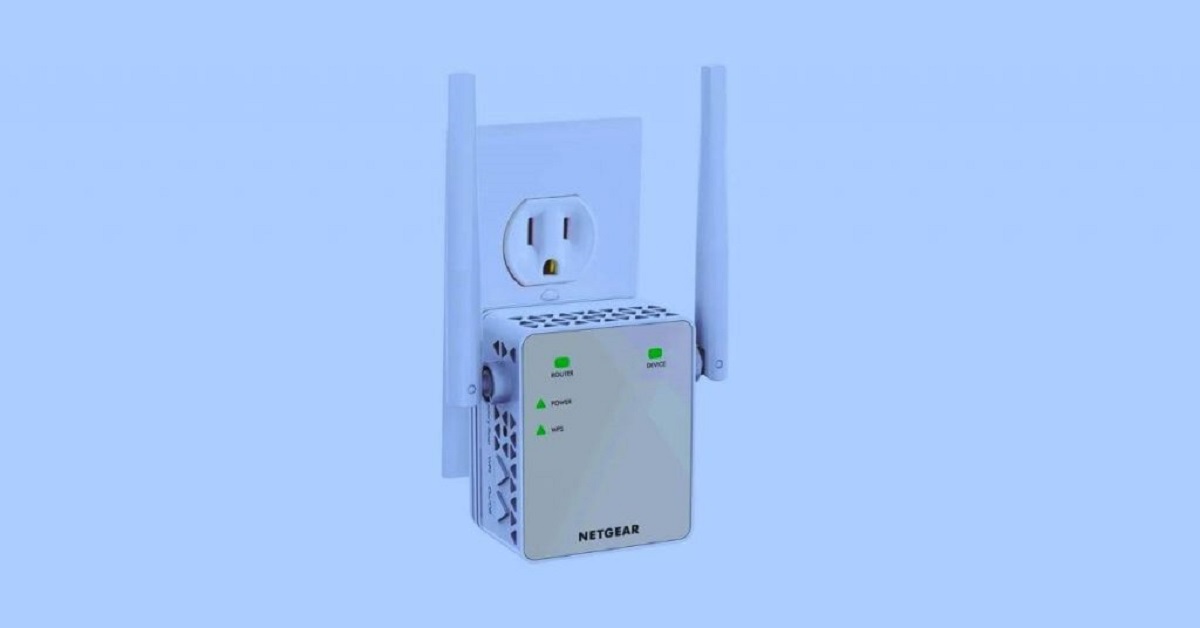
To connect a wifi extender without WPS, you must use a web browser for manual configuration. This method gives you full control over the setup and is the only option when your router lacks a WPS button.
How to connect a wifi extender without WPS: A direct, step-by-step manual setup guide starting from plugging in the exte
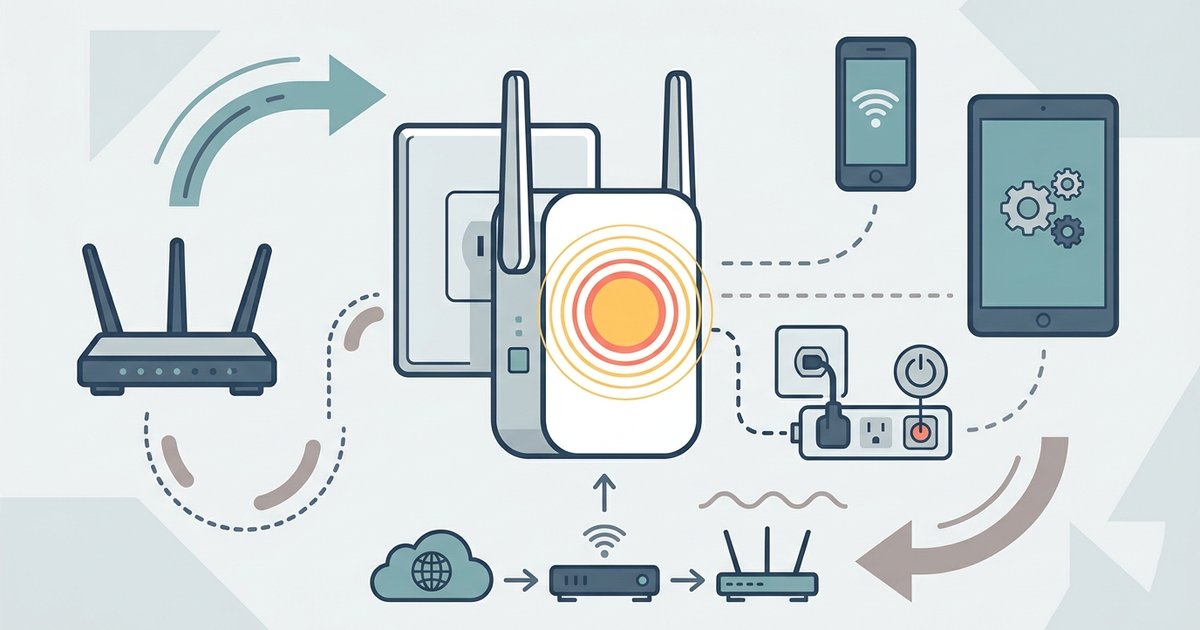
Manually connecting a Wi-Fi extender is straightforward when you follow this sequence. You will power the extender, connect to its network, access its management page, configure it to your router, and finally verify the connection by checking the signal LED.
Step 1: Power up and connect to the extender
Begin by plugging the Wi-Fi extender into a power outlet near your main router. Wait for the extender's power LED to turn solid, indicating it is ready for setup. This ensures the extender has fully booted before you attempt to connect.
Connect a computer, smartphone, or tablet to the extender's default Wi-Fi network. The network name (SSID) varies by brand:
- TP-Link: "TP-Link_Extender"
- Netgear: "NETGEAR_EXT"
- Linksys: "Linksys Extender Setup - xxx"
- D-Link: "dlinkap"
Once connected, your device is now linked to the extender's setup interface.
Step 2: Access the web-based setup page
Open a web browser (e.g., Chrome, Edge, Safari) on the connected device. Enter the extender's default web address or IP address into the browser's address bar to access its management page. Common default addresses include:
- TP-Link:
tplinkrepeater.netor192.168.0.254 - Netgear:
mywifiext.netor192.168.1.250 - Linksys:
extender.linksys.comor192.168.1.1 - D-Link:
dlinkap.localor192.168.0.50
You will be prompted to create a new administrator password for the extender or log in with default credentials (e.g., "admin" for username and "admin" or blank for password). This step secures your extender's settings.
Step 3: Configure the connection to your router
Follow the on-screen setup wizard, which will typically scan for available Wi-Fi networks. Select your main router's Wi-Fi network (SSID) from the list. Enter the password for your main router's Wi-Fi network when prompted. You may have the option to create a new Wi-Fi network name (SSID) and password for the extended network or keep it the same as your main router's network. Choosing the same SSID allows devices to roam seamlessly between the router and extender. If your router broadcasts an EasyMesh or OneMesh network, the extender may inherit the router's wireless settings and its own SSID cannot be changed.
Step 4: Relocate and verify the connection
After completing the setup, relocate the extender to an optimal position, typically halfway between your router and the area with weak Wi-Fi coverage. A solid blue or green signal LED on the extender confirms a successful connection to the router. If the LED is not solid, move the extender closer to the router and check again.
Alternative setup methods and tips
Some extenders, particularly newer TP-Link models, can also be set up using a dedicated mobile app like the TP-Link Tether app. This can be a convenient alternative if you prefer using a smartphone. Manual setup via a web browser offers more customization options for the extended network compared to WPS, making it ideal for those comfortable with setting up routers and extenders. For best results, use the same SSID for both your router and extender to avoid confusion, keep firmware updated to fix bugs and improve performance, and secure the network with a strong password to prevent unauthorized access. Remember, Wi-Fi extenders enhance coverage but cannot increase your internet speed or bandwidth, the overall performance depends on your router's capabilities and your internet plan. If you encounter issues, consider resetting the extender and repeating the setup process, or fix verizon wifi extender blinking yellow light if a persistent yellow LED signals a connection problem.