Introduction
Turning your iPad into a hotspot can be a game-changer, providing you with the flexibility to connect other devices to the internet when a traditional Wi-Fi connection is unavailable. Whether you're traveling, working remotely, or simply in a location with limited connectivity options, the ability to create a personal hotspot using your iPad can prove to be incredibly useful.
By leveraging your iPad's cellular data connection, you can transform it into a portable Wi-Fi hotspot, allowing other devices, such as laptops, tablets, and smartphones, to connect and access the internet. This capability not only offers convenience but also serves as a reliable backup plan in situations where traditional Wi-Fi networks are unreliable or inaccessible.
In this comprehensive guide, we will walk you through the step-by-step process of turning your iPad into a hotspot, ensuring that you can seamlessly set up and manage this feature with ease. Whether you're a seasoned iPad user or new to the world of mobile hotspots, this guide will equip you with the knowledge and confidence to harness the full potential of your iPad's connectivity options.
Without further ado, let's embark on this journey to unlock the power of your iPad as a hotspot, empowering you to stay connected wherever you go.
Step 1: Check your cellular data plan
Before delving into the process of turning your iPad into a hotspot, it's crucial to assess your cellular data plan. This step is essential as it ensures that you have a clear understanding of your data allowance and any potential limitations or charges associated with using your iPad as a hotspot.
Start by accessing your iPad's settings and navigating to the "Cellular" or "Mobile Data" section. Here, you can view your current data usage and monitor your remaining data allowance. It's advisable to check whether your data plan includes a specific allocation for hotspot usage or if there are any restrictions imposed by your mobile carrier.
Carefully review the terms and conditions of your data plan to ascertain whether there are any additional charges or limitations related to using your iPad as a hotspot. Some carriers may impose restrictions on hotspot usage or require subscribers to upgrade to a specific plan to enable this feature.
If your data plan includes a dedicated hotspot allowance, take note of the allocated data volume to avoid exceeding the limit and incurring additional charges. Understanding the specifics of your cellular data plan will enable you to make informed decisions regarding the frequency and extent of hotspot usage, ensuring that you stay within the confines of your plan's provisions.
Furthermore, it's beneficial to familiarize yourself with any fair usage policies or speed throttling measures that may be applicable to hotspot usage. By gaining clarity on these aspects, you can proactively manage your data consumption and optimize the efficiency of your hotspot connection.
In the event that your data plan does not support hotspot functionality or imposes limitations that hinder its use, consider reaching out to your mobile carrier to explore alternative options. This may involve upgrading to a more suitable data plan that aligns with your hotspot requirements or inquiring about any add-on features that facilitate hotspot usage.
By conducting a thorough assessment of your cellular data plan, you can proactively address any potential restrictions or limitations, ensuring a seamless and cost-effective experience when utilizing your iPad as a hotspot. This proactive approach empowers you to make informed decisions and leverage the full potential of your cellular data connectivity, setting the stage for a smooth transition to the subsequent steps in enabling your iPad's hotspot functionality.
Step 2: Enable Personal Hotspot on your iPad
Enabling the Personal Hotspot feature on your iPad is a straightforward process that empowers you to share your device's cellular data connection with other devices. By activating this functionality, your iPad effectively transforms into a portable Wi-Fi hotspot, allowing seamless connectivity for devices such as laptops, tablets, and smartphones. Here's a detailed guide on how to enable the Personal Hotspot feature on your iPad:
-
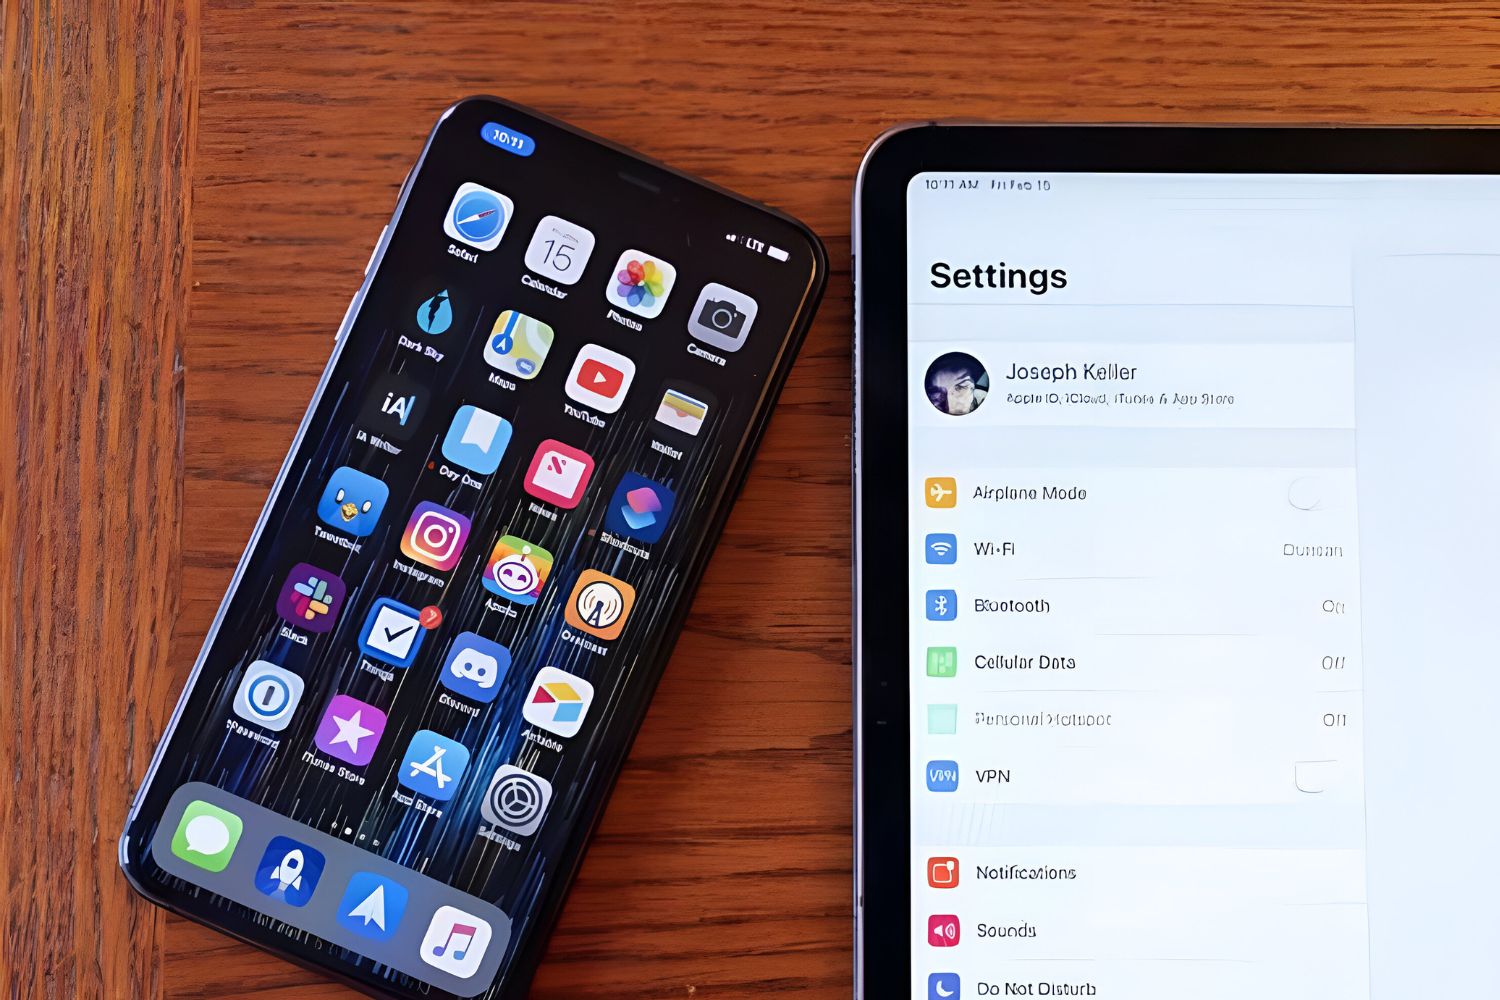
Begin by unlocking your iPad and accessing the "Settings" app from the home screen.
-
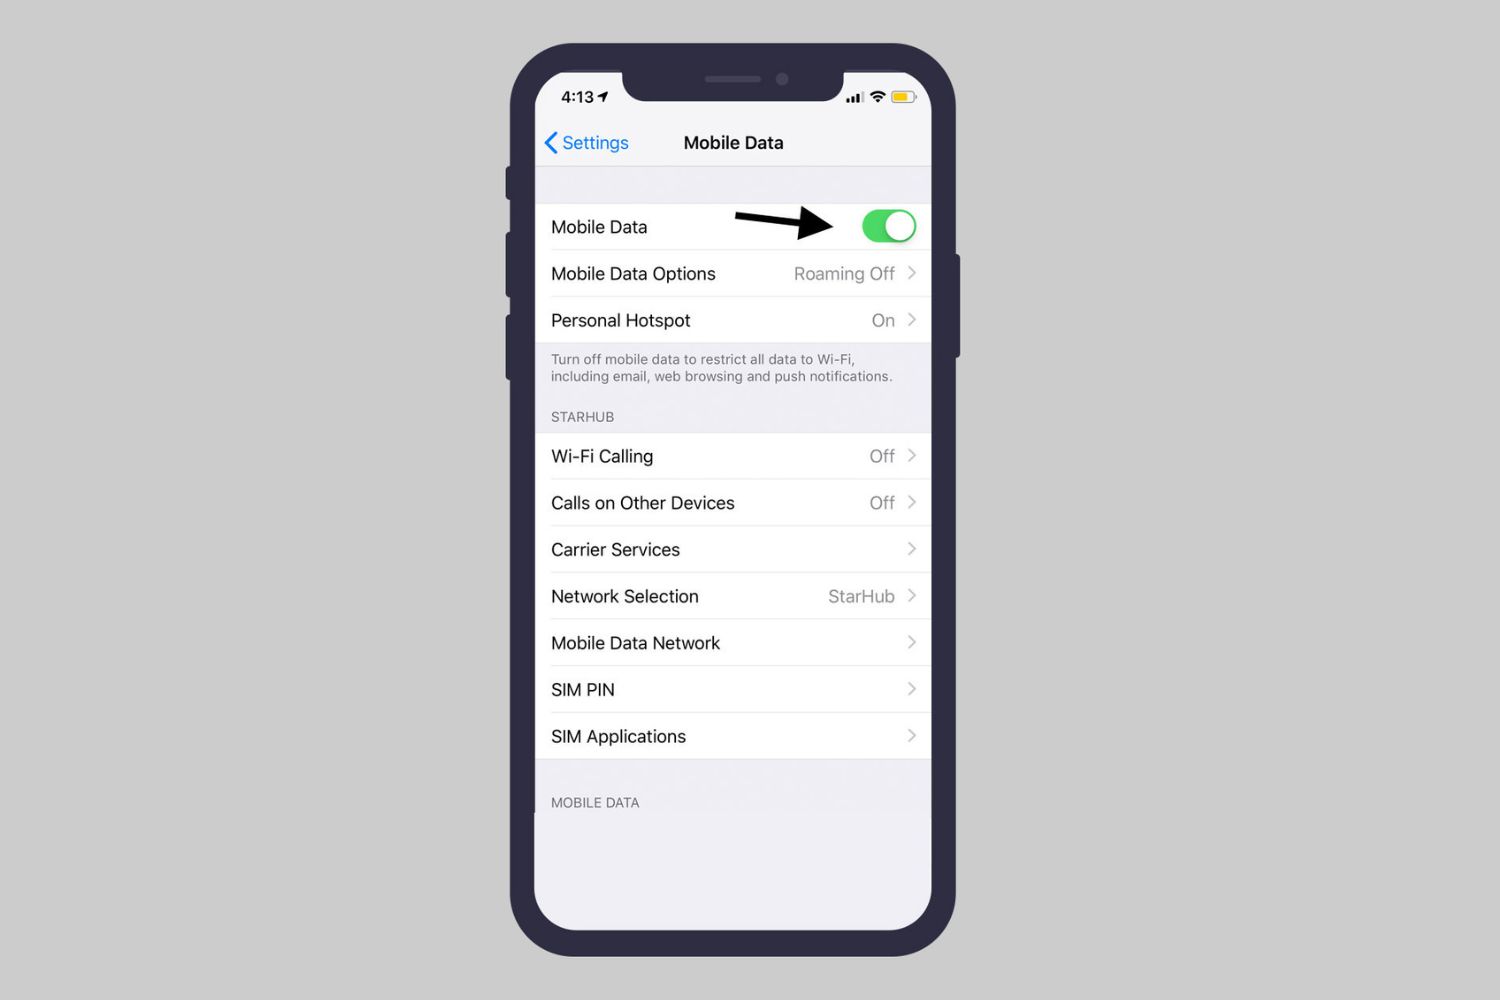
Within the Settings menu, locate and tap on the "Cellular" or "Mobile Data" option, depending on your iPad model and iOS version.
-
In the Cellular or Mobile Data settings, you will find the "Personal Hotspot" option. Tap on this to proceed to the hotspot configuration screen.
-
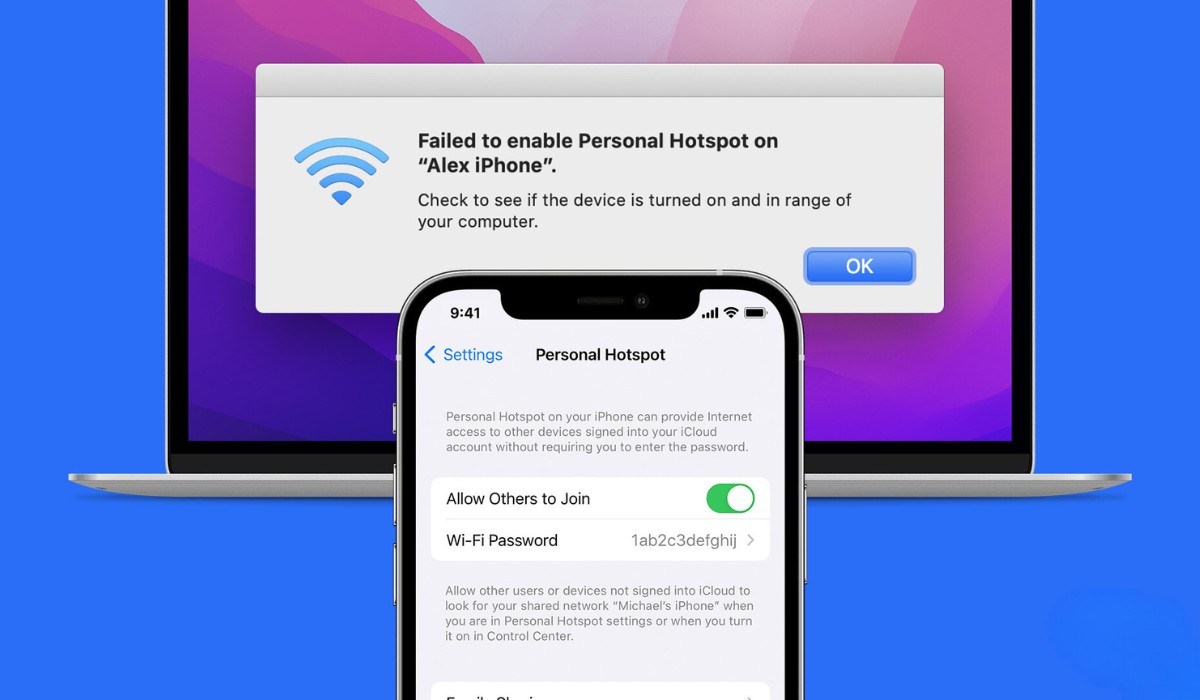
Upon selecting the Personal Hotspot option, you may be prompted to configure the hotspot settings, including the Wi-Fi password and hotspot name. You can customize these settings according to your preferences to ensure security and ease of connectivity for other devices.
-
After configuring the hotspot settings, toggle the switch to enable the Personal Hotspot feature. Once activated, your iPad will begin broadcasting a Wi-Fi signal, allowing other devices to detect and connect to the hotspot.
-
To ensure a secure connection, it's advisable to set a strong and memorable password for the hotspot. This password will be required when other devices attempt to connect to your iPad's hotspot.
-
Once the Personal Hotspot is enabled, you can verify its status by checking the indicator displayed on the status bar at the top of your iPad's screen. A hotspot icon will appear, indicating that the hotspot is active and ready for device connections.
By following these step-by-step instructions, you can effortlessly enable the Personal Hotspot feature on your iPad, paving the way for seamless connectivity and internet sharing capabilities. Whether you're in a remote location, traveling, or simply seeking an alternative to traditional Wi-Fi networks, the ability to transform your iPad into a hotspot provides a versatile and reliable solution for staying connected on the go.
Step 3: Connect your device to the iPad hotspot
Now that you've successfully enabled the Personal Hotspot feature on your iPad, it's time to connect your device to the newly created hotspot. Whether you're using a laptop, tablet, or smartphone, the process of establishing a connection to your iPad's hotspot is relatively simple and can be accomplished in just a few steps. Here's a detailed guide on how to connect your device to the iPad hotspot:
-
Access the Wi-Fi settings: Begin by accessing the Wi-Fi settings on the device you intend to connect to the iPad's hotspot. This can usually be found within the device's settings menu or by tapping on the Wi-Fi icon in the notification panel.
-
Locate the iPad's hotspot: Within the list of available Wi-Fi networks, you should see your iPad's hotspot name (also known as the SSID) displayed. The name of your hotspot is the one you configured when enabling the Personal Hotspot feature on your iPad.
-
Select the iPad's hotspot: Tap on the name of your iPad's hotspot to initiate the connection process. If you set a password for the hotspot during the configuration step, you will be prompted to enter this password to authenticate the connection.
-
Establish the connection: After entering the correct password, your device will proceed to establish a connection to the iPad's hotspot. Once the connection is successfully established, you will see a confirmation message or indicator on your device, signifying that it is now connected to the iPad's hotspot.
-
Verify the connection: To ensure that the connection is active, you can open a web browser or any internet-dependent app on your device to confirm that you can access the internet. If the connection is successful, you can proceed to use the internet as you would with any other Wi-Fi network.
By following these straightforward steps, you can seamlessly connect your device to the iPad's hotspot, leveraging its cellular data connection to enable internet access for your connected device. Whether you're working on a laptop, browsing on a tablet, or staying connected on a smartphone, the iPad's hotspot functionality provides a versatile and reliable means of accessing the internet, regardless of your location or proximity to traditional Wi-Fi networks.
Step 4: Customize hotspot settings
Customizing the hotspot settings on your iPad allows you to tailor the hotspot experience to suit your specific preferences and requirements. By accessing the hotspot settings, you can fine-tune various parameters, including the hotspot name, password, and security protocols, ensuring a personalized and secure connectivity environment for your connected devices.
Here's a detailed exploration of the customizable hotspot settings and how you can optimize them to enhance your hotspot experience:
Personalizing the Hotspot Name:
Upon enabling the Personal Hotspot feature on your iPad, you have the option to customize the name of the hotspot. This name, also known as the SSID (Service Set Identifier), is the identifier that other devices will see when searching for available Wi-Fi networks. By personalizing the hotspot name, you can make it easily recognizable and relevant to your usage scenario. For instance, if you're using the hotspot for work purposes, you might choose a name that reflects your business or project, making it effortless for your connected devices to identify and select the correct hotspot.
Setting a Secure Password:
One of the critical aspects of customizing hotspot settings is establishing a strong and secure password for the hotspot. This password serves as a barrier to unauthorized access, ensuring that only trusted devices can connect to your iPad's hotspot. When setting the password, it's advisable to use a combination of alphanumeric characters and special symbols to enhance security. Additionally, creating a memorable yet robust password enables you to share it with authorized users while safeguarding the hotspot from unauthorized usage.
Choosing Security Protocols:
Within the hotspot settings, you may have the option to select the preferred security protocol for the hotspot. Common security protocols include WPA2 (Wi-Fi Protected Access 2) and WPA3, which offer varying levels of encryption and security features. By choosing an appropriate security protocol, you can bolster the integrity of your hotspot connection, mitigating potential security risks and unauthorized intrusion attempts.
Managing Connected Devices:
Some hotspot settings may provide the capability to manage connected devices, allowing you to view and control the devices currently utilizing the hotspot. This functionality empowers you to monitor the connected devices, identify any unauthorized access, and manage the overall usage of the hotspot. By leveraging this feature, you can ensure that your hotspot remains exclusively accessible to intended users, optimizing its security and performance.
By customizing these hotspot settings, you can tailor the hotspot experience to align with your unique preferences and security considerations. This personalized approach not only enhances the usability and security of your hotspot but also empowers you to create a seamless and reliable connectivity environment for your connected devices. Whether you're utilizing the hotspot for work, leisure, or essential connectivity, the ability to customize these settings provides a valuable layer of control and optimization, elevating the overall hotspot experience.
Step 5: Turn off the hotspot
Turning off the hotspot on your iPad is a simple yet essential step to manage your device's connectivity and conserve cellular data when the hotspot is no longer needed. By deactivating the hotspot, you can ensure that your iPad's cellular data resources are preserved, and the device no longer broadcasts a Wi-Fi signal for other devices to connect to. Here's a detailed guide on how to turn off the hotspot on your iPad:
-
Access the Settings: Begin by unlocking your iPad and accessing the "Settings" app from the home screen. This will allow you to navigate to the relevant menu for managing the hotspot functionality.
-
Navigate to Personal Hotspot Settings: Within the Settings menu, locate and tap on the "Cellular" or "Mobile Data" option, depending on your iPad model and iOS version. From there, you can access the "Personal Hotspot" settings.
-
Disable the Personal Hotspot: Upon entering the Personal Hotspot settings, you will find the toggle switch to enable or disable the hotspot. Simply toggle the switch to the "off" position to deactivate the hotspot functionality. This action will immediately cease the broadcasting of the Wi-Fi signal from your iPad, effectively turning off the hotspot.
-
Verify the Hotspot Status: After turning off the hotspot, you can verify its status by checking the indicator displayed on the status bar at the top of your iPad's screen. The hotspot icon, which previously indicated an active hotspot, will no longer be displayed, confirming that the hotspot has been successfully turned off.
By following these steps, you can promptly and effectively turn off the hotspot on your iPad, ensuring that your device's cellular data resources are conserved when the hotspot is no longer required. This simple yet impactful action allows you to manage your connectivity proactively, optimizing the use of your iPad's cellular data and ensuring that the hotspot functionality is utilized purposefully and efficiently. Whether you're transitioning from a hotspot-enabled scenario to a traditional Wi-Fi network or simply seeking to preserve battery life and data resources, the ability to turn off the hotspot on your iPad provides a seamless and user-friendly approach to managing your device's connectivity options.
Conclusion
In conclusion, the process of turning your iPad into a hotspot presents a valuable opportunity to harness the full potential of your device's cellular data connectivity. By following the step-by-step instructions outlined in this guide, you have gained the knowledge and confidence to seamlessly enable, customize, and manage the hotspot functionality on your iPad.
The ability to create a personal hotspot using your iPad empowers you to stay connected and productive in various scenarios, including remote work setups, travel expeditions, and situations where traditional Wi-Fi networks are unavailable or unreliable. With the flexibility to share your iPad's cellular data connection with other devices, such as laptops, tablets, and smartphones, you can transcend the limitations of conventional connectivity options and embrace a versatile and reliable approach to internet access.
By proactively checking your cellular data plan, enabling the Personal Hotspot feature, connecting devices to the hotspot, customizing hotspot settings, and responsibly turning off the hotspot when not in use, you have demonstrated a proactive and informed approach to managing your iPad's connectivity resources.
It's important to emphasize the significance of understanding and adhering to your cellular data plan's provisions, ensuring that hotspot usage aligns with the allocated data allowance and any associated terms and conditions. By staying mindful of your data usage and any potential limitations, you can optimize the utilization of your iPad's hotspot functionality while mitigating the risk of unexpected charges or restrictions.
Furthermore, the ability to customize hotspot settings, including the hotspot name, password, and security protocols, empowers you to create a personalized and secure connectivity environment for your connected devices. This tailored approach not only enhances the usability and security of your hotspot but also fosters a seamless and reliable internet-sharing experience.
In essence, the process of turning your iPad into a hotspot transcends mere technical functionality; it represents a gateway to enhanced connectivity, productivity, and adaptability in an increasingly mobile-centric world. By leveraging your iPad's hotspot capabilities, you are equipped to navigate diverse connectivity scenarios with confidence, ensuring that you can stay connected, productive, and empowered, regardless of your location or the availability of traditional Wi-Fi networks.
In embracing the journey to unlock the power of your iPad as a hotspot, you have embraced a versatile and indispensable tool for staying connected and productive, reaffirming the iPad's role as a multifaceted and indispensable companion in the digital landscape.


