Introduction
Connecting your laptop to an Xfinity hotspot can open up a world of convenience, allowing you to access the internet on the go. Whether you're at a coffee shop, airport, or even a public park, Xfinity hotspots provide a reliable and secure way to stay connected. This comprehensive guide will walk you through the step-by-step process of connecting your laptop to an Xfinity hotspot, ensuring that you can seamlessly access the internet whenever and wherever you need it.
By following the instructions in this guide, you'll be able to take advantage of Xfinity's extensive network of hotspots, providing you with high-speed internet access without eating into your mobile data plan. Whether you're a digital nomad, a remote worker, or simply someone who enjoys staying connected while on the move, understanding how to connect your laptop to an Xfinity hotspot is a valuable skill in today's fast-paced world.
So, if you're ready to unlock the full potential of your laptop and enjoy seamless internet connectivity in a variety of locations, let's dive into the step-by-step process of connecting to an Xfinity hotspot. Whether you're a seasoned tech enthusiast or a newcomer to the world of wireless connectivity, this guide will equip you with the knowledge and confidence to make the most of Xfinity's extensive hotspot network.
Step 1: Finding Xfinity Hotspot
Locating an Xfinity hotspot is the first crucial step to accessing high-speed internet on your laptop. Xfinity hotspots are strategically located in a wide range of public areas, including shopping centers, restaurants, parks, and transportation hubs. To find an Xfinity hotspot, you can utilize the Xfinity WiFi app or visit the Xfinity website to access the hotspot locator tool. This tool provides an interactive map that displays the locations of nearby Xfinity hotspots, making it convenient to identify the closest hotspot to your current location.
Once you've accessed the hotspot locator tool, you can use the search functionality to filter hotspots based on your current address or zip code. This feature enables you to pinpoint the exact locations of Xfinity hotspots in your vicinity, ensuring that you can easily identify the most convenient hotspot to connect to.
Furthermore, the hotspot locator tool allows you to view additional details about each hotspot, such as the specific venue or establishment where the hotspot is located. This information can be invaluable when deciding which hotspot to connect to, especially if you prefer a particular environment or are looking for a hotspot in a specific type of location.
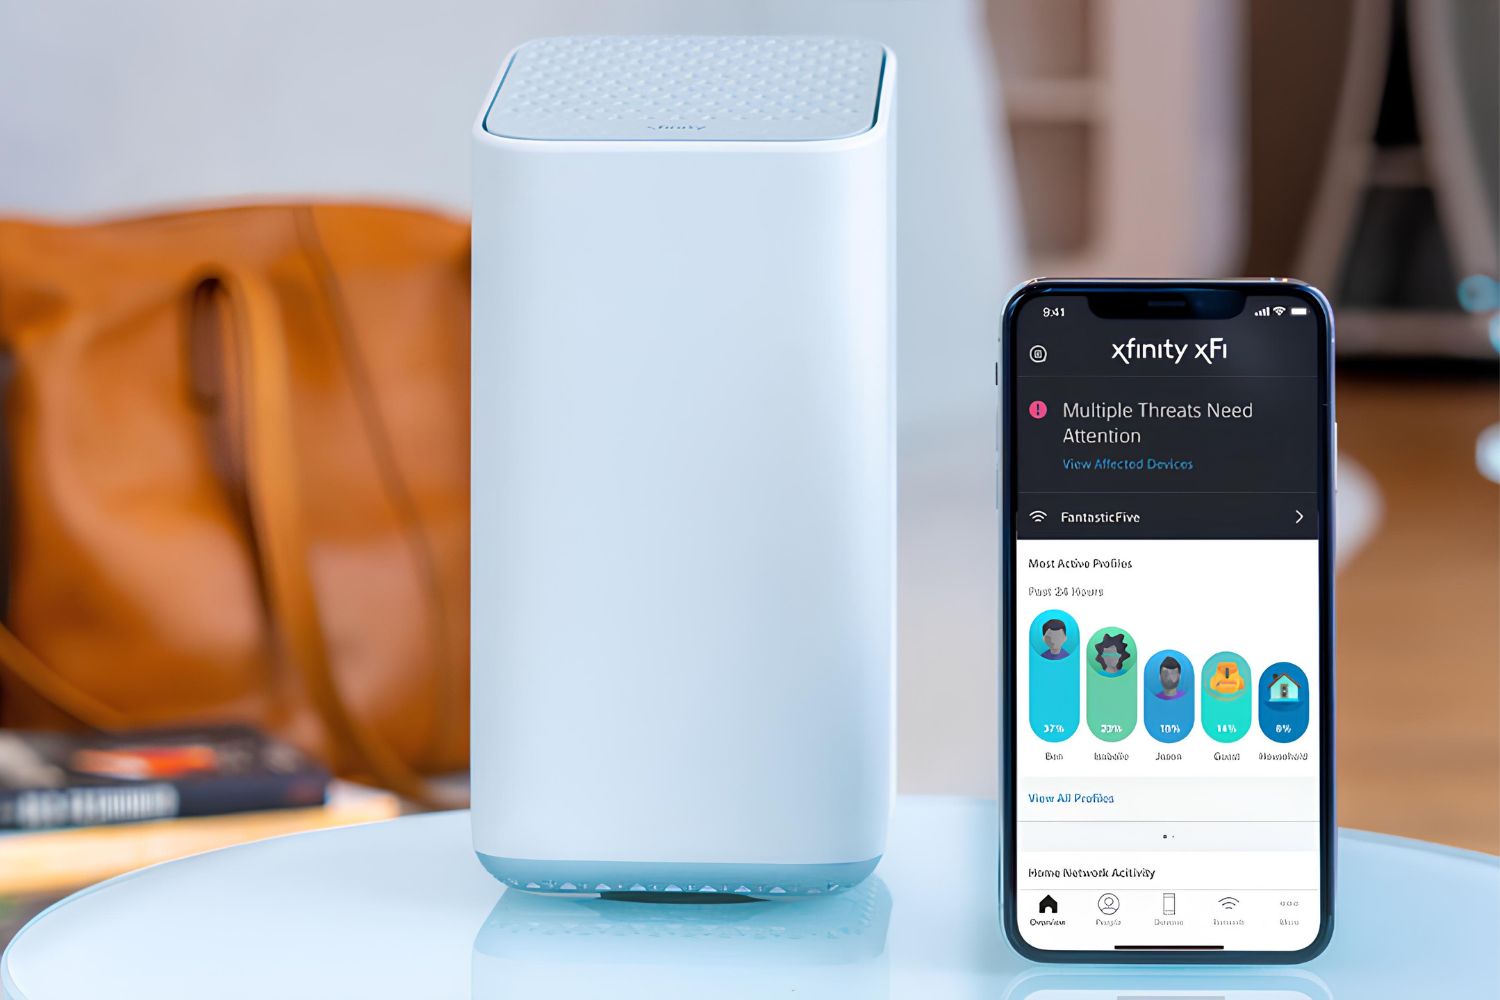
In addition to using the hotspot locator tool, Xfinity customers can also take advantage of the Xfinity WiFi app, which offers a user-friendly interface for discovering nearby hotspots. The app provides real-time information about the availability and accessibility of Xfinity hotspots, allowing you to make informed decisions about where to connect based on your current location and connectivity needs.
By leveraging these tools, you can effortlessly locate Xfinity hotspots in your vicinity, ensuring that you're always just a few steps away from accessing reliable internet connectivity on your laptop. With the ability to quickly find and connect to Xfinity hotspots, you can enjoy the convenience of staying connected while on the move, whether you're running errands, traveling, or simply exploring new places.
In the next step, we will delve into the process of connecting your laptop to an identified Xfinity hotspot, paving the way for seamless internet access whenever and wherever you need it.
Step 2: Connecting to Xfinity Hotspot
Once you have identified the nearest Xfinity hotspot using the hotspot locator tool or the Xfinity WiFi app, the next step is to connect your laptop to the selected hotspot. Follow these straightforward steps to establish a secure and reliable connection:
-
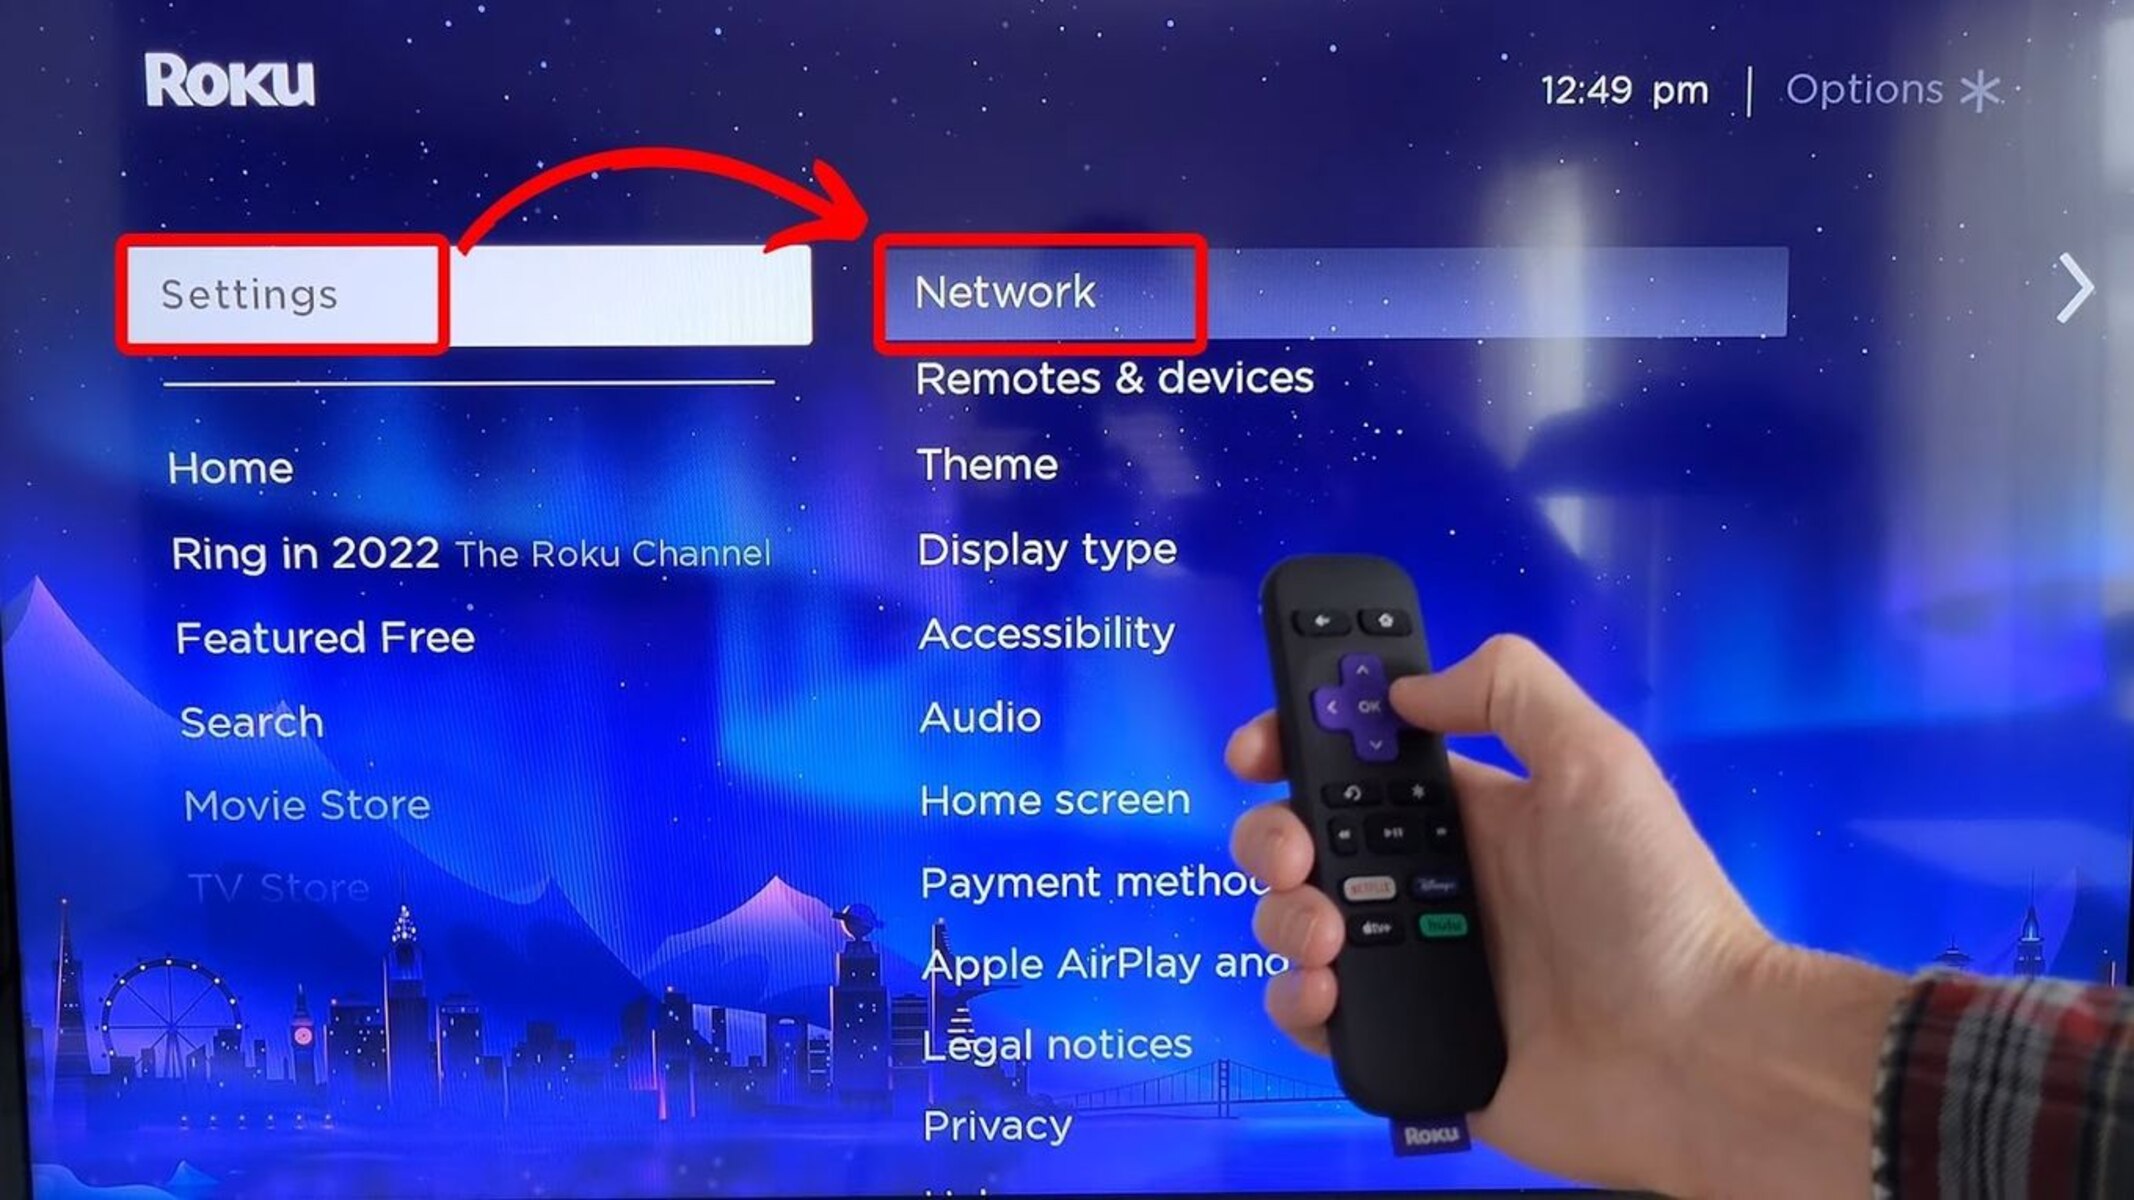
Enable Wi-Fi: Begin by ensuring that the Wi-Fi feature on your laptop is turned on. This can usually be accomplished by locating the Wi-Fi icon in the system tray or the settings menu of your laptop's operating system. Once Wi-Fi is enabled, your laptop will start scanning for available wireless networks, including Xfinity hotspots.
-
Select the Xfinity Hotspot: After enabling Wi-Fi, your laptop will display a list of available wireless networks in the vicinity. Look for the network name (SSID) associated with the Xfinity hotspot you wish to connect to. The network name typically includes "xfinitywifi" as part of its identifier. Once you have located the Xfinity hotspot in the list of available networks, click on it to initiate the connection process.
-
Enter Your Xfinity Credentials (If Required): In some instances, you may be prompted to enter your Xfinity username and password to authenticate your connection to the hotspot. If you are an Xfinity customer, simply enter your login credentials to proceed. This step ensures that your connection to the Xfinity hotspot is secure and exclusive to authorized users.
-
Accept the Terms of Service (If Prompted): Upon connecting to the Xfinity hotspot, you may encounter a prompt to accept the terms of service for using the hotspot. This step typically involves reviewing and agreeing to the terms and conditions set forth by Xfinity for accessing their network. Once you have reviewed the terms of service, click on the designated button to accept and continue.
-
Establishing the Connection: After completing the previous steps, your laptop will finalize the connection process to the Xfinity hotspot. This may involve a brief authentication and validation process to ensure that your device is successfully linked to the hotspot's network. Once the connection is established, your laptop will display a confirmation message, indicating that you are now connected to the Xfinity hotspot.
By following these steps, you can seamlessly connect your laptop to an Xfinity hotspot, unlocking the potential for high-speed internet access in a variety of public locations. With a secure and reliable connection in place, you are now ready to take full advantage of the internet connectivity offered by Xfinity hotspots.
In the next step, we will explore the process of logging in to the Xfinity hotspot to gain full access to its internet services.
Step 3: Logging in to Xfinity Hotspot
After successfully connecting your laptop to an Xfinity hotspot, the next crucial step is logging in to gain full access to the hotspot's internet services. This process ensures that you can enjoy seamless connectivity and utilize the full range of online resources available through the Xfinity network. Here's a detailed walkthrough of the steps involved in logging in to an Xfinity hotspot:
-
Open a Web Browser: Once your laptop is connected to the Xfinity hotspot, open a web browser such as Google Chrome, Mozilla Firefox, or Microsoft Edge. This will initiate the Xfinity hotspot's captive portal, which serves as the gateway for logging in and accessing the internet.
-
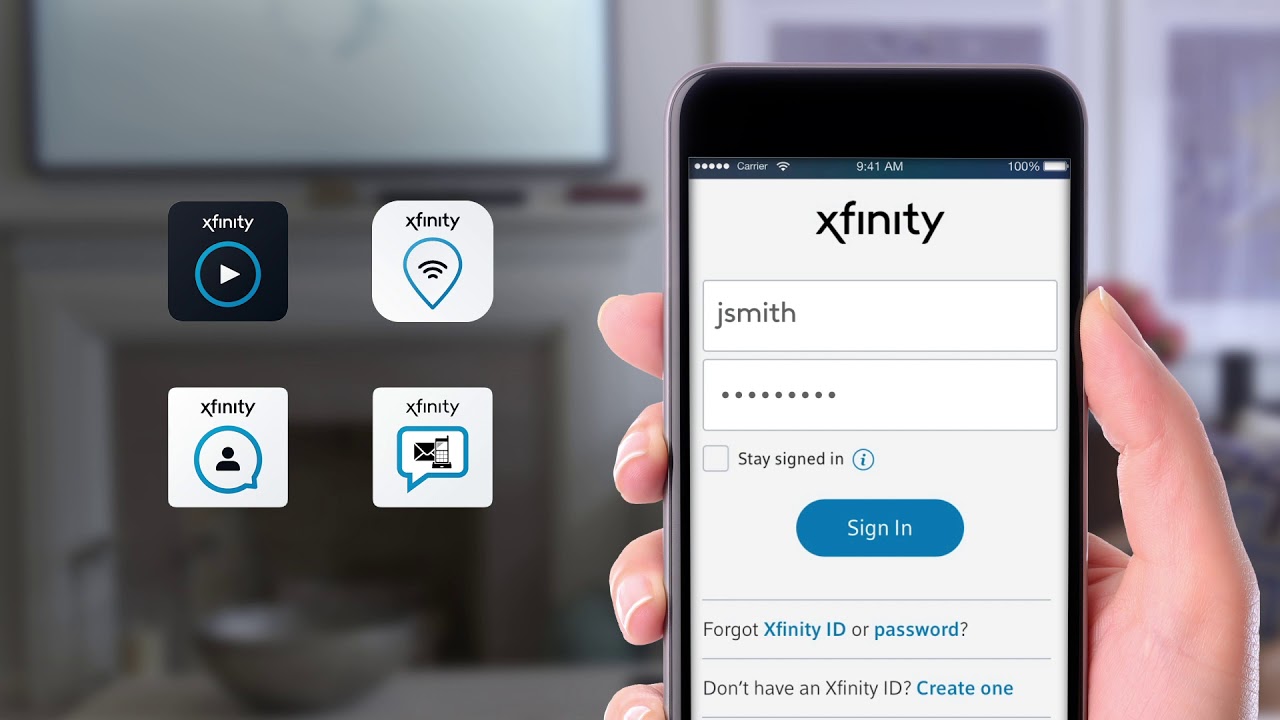
Navigate to the Xfinity Login Page: Upon opening the web browser, you will be automatically redirected to the Xfinity hotspot's login page. This page presents the login interface where you can enter your Xfinity username and password to authenticate your access to the hotspot's internet services.
-
Enter Your Xfinity Credentials: In the designated fields on the login page, input your Xfinity username and password. If you are an Xfinity customer, use the same credentials that you use to access your Xfinity account. This step ensures that you are authorized to utilize the internet services provided by the Xfinity hotspot.
-
Complete the Login Process: After entering your Xfinity credentials, click on the login or submit button to proceed. This action will authenticate your access to the Xfinity hotspot, granting you full connectivity to the internet. Upon successful login, you will be directed to a confirmation page, indicating that you are now logged in and ready to enjoy uninterrupted internet access.
-
Confirmation and Access: Once the login process is complete, you will receive confirmation that you are now fully logged in to the Xfinity hotspot. At this stage, you can freely browse the web, stream content, check emails, or engage in any online activities, leveraging the high-speed internet connection provided by Xfinity.
By following these steps, you can seamlessly log in to an Xfinity hotspot, ensuring that you have unrestricted access to its internet services. This process allows you to harness the full potential of the Xfinity network, enabling you to stay connected and productive while on the go. With a secure and authenticated login, you can confidently utilize the internet resources offered by Xfinity hotspots, enhancing your digital experience in diverse public settings.
In the final step, we will delve into the experience of enjoying internet access through the connected Xfinity hotspot.
Step 4: Enjoying Internet Access
Upon successfully connecting to and logging in to an Xfinity hotspot, you are now poised to fully immerse yourself in the benefits of high-speed internet access. With a seamless and secure connection in place, you can enjoy a wide range of online activities and leverage the internet to enhance your productivity, entertainment, and communication while on the move.
-
Browsing the Web: With access to the Xfinity hotspot's internet services, you can effortlessly browse the web and explore a myriad of online content. Whether you need to conduct research, stay updated with current events, or simply indulge in leisurely browsing, the high-speed connectivity provided by the hotspot ensures that you can navigate the web with ease.
-
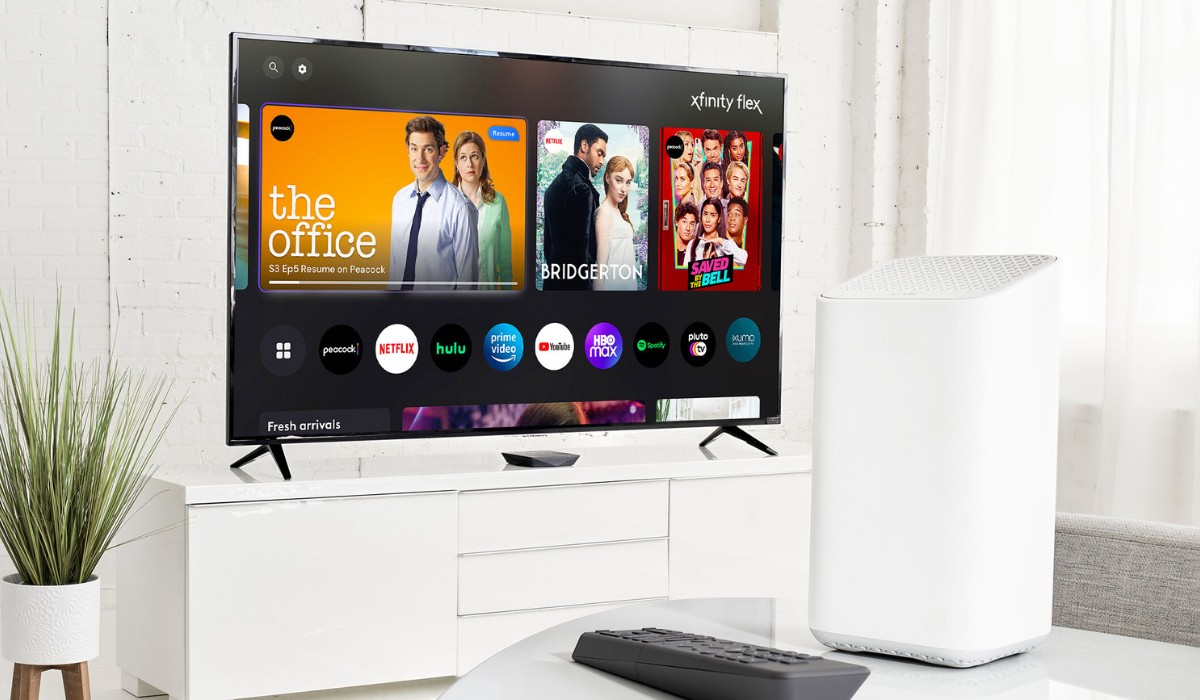
Streaming Content: The robust internet connection offered by Xfinity hotspots allows you to stream your favorite movies, TV shows, music, and videos without interruptions. Whether you're unwinding at a local cafe or waiting at an airport, the ability to stream content seamlessly enhances your entertainment options while on the go.
-
Checking Emails and Messaging: Staying connected with colleagues, friends, and family is effortless when you have access to an Xfinity hotspot. You can conveniently check and respond to emails, engage in instant messaging, and stay connected through various communication platforms, ensuring that you remain accessible and responsive regardless of your location.
-
Remote Work and Productivity: For remote workers, entrepreneurs, and freelancers, the internet access provided by Xfinity hotspots serves as a valuable asset. You can engage in remote work tasks, attend virtual meetings, collaborate on projects, and access cloud-based tools and resources, all while benefiting from a stable and reliable internet connection.
-
Utilizing Online Services: Whether it's accessing online banking, making reservations, or utilizing location-based services, the internet connectivity facilitated by Xfinity hotspots empowers you to take advantage of a wide array of online services. From managing your finances to exploring local attractions, the ability to access online services enhances your overall experience in various public settings.
In essence, enjoying internet access through an Xfinity hotspot enables you to seamlessly integrate technology into your daily activities, regardless of your location. The convenience of staying connected and accessing high-speed internet services amplifies your digital capabilities, allowing you to remain productive, entertained, and informed while on the move.
By following the steps outlined in this guide, you have gained the knowledge and confidence to connect your laptop to an Xfinity hotspot, navigate the login process, and fully embrace the benefits of internet access in diverse public environments. As you continue to explore new locations and engage in various endeavors, the ability to connect to Xfinity hotspots will undoubtedly enrich your digital lifestyle and elevate your connectivity experience.