Introduction
Welcome to our guide on how to test a UPS battery with a multimeter. UPS, also known as an Uninterruptible Power Supply, is a device that provides backup power in the event of a power outage. The UPS battery is a critical component of the system and it’s important to regularly check its health and performance to ensure uninterrupted power supply.
Testing your UPS battery is crucial for maintaining the reliability and efficiency of your backup power solution. By using a multimeter, you can measure the voltage, resistance, and overall charge capacity of the battery, providing valuable insights into its condition.
In this guide, we will take you through a step-by-step process to test your UPS battery using a multimeter. By following these steps, you will be able to determine if your battery is in good working condition or if it needs to be replaced.
It is worth mentioning that testing a UPS battery requires some technical knowledge and the use of specialized equipment like a multimeter. If you are unfamiliar with electrical testing or unsure about how to proceed, we highly recommend consulting a professional technician or contacting the manufacturer of your UPS system for assistance.
Before we dive into the testing process, let’s take a moment to go through the tools and equipment you will need for this task.
Step 1: Gather the necessary tools and equipment
To successfully test your UPS battery with a multimeter, you will need the following tools and equipment:
- Multimeter: A multimeter is a device used to measure voltage, resistance, and other electrical properties. Make sure you have a multimeter that can measure DC voltage and resistance.
- Protective gear: It is always a good idea to wear gloves and safety glasses when handling batteries to protect yourself from any potential hazards.
- Accessories: Depending on the type of multimeter you have, you may need additional accessories such as test leads or alligator clips to connect the multimeter to the battery terminals.
- User manual: Consult the user manual provided with your UPS system or multimeter for specific instructions and safety precautions.
- Replacement battery: In case your current UPS battery fails the test and needs to be replaced, it is advisable to have a replacement battery on hand.
Before starting the testing process, ensure that you have gathered all the required tools and equipment. This will help you perform the test accurately and safely. Familiarize yourself with the function and proper usage of the multimeter by referring to the user manual.
Once you have everything ready, you can proceed to the next step of turning off the UPS and disconnecting it from the power source. This will ensure your safety during the testing process. Let’s move on to Step 2.
Step 2: Turn off the UPS and disconnect it from the power source
Before you start testing the UPS battery, it is crucial to turn off the UPS and disconnect it from the power source. This step is essential to ensure your safety during the testing process and avoid any potential electrical hazards.
To disconnect the UPS from the power source, follow these steps:
- Locate the power cord connected to the UPS unit.
- Unplug the power cord from the wall outlet or power strip.
- If your UPS has an ON/OFF switch, turn it OFF.
By turning off the UPS and disconnecting it from the power source, you eliminate the risk of electric shock or damage to the UPS unit or other connected devices.
It is important to note that some UPS systems may continue to provide power for a short period even after being disconnected from the main power source. Refer to your UPS user manual for specific instructions on shutting down and disconnecting the UPS.
Once you have successfully turned off and disconnected the UPS from the power source, you can proceed to the next step of locating the UPS battery and accessing it. This step will allow you to gain access to the battery for testing using a multimeter. Let’s move on to Step 3.
Step 3: Locate the UPS battery and access it
In this step, you will need to locate the UPS battery and gain access to it for testing with a multimeter. The exact location and accessibility of the UPS battery may vary depending on the model and design of your UPS system.
Here are some general steps to help you locate and access the UPS battery:
- Refer to the UPS user manual: Check the user manual provided with your UPS system for specific instructions on locating and accessing the battery. The manual will often include diagrams and explanations to assist you.
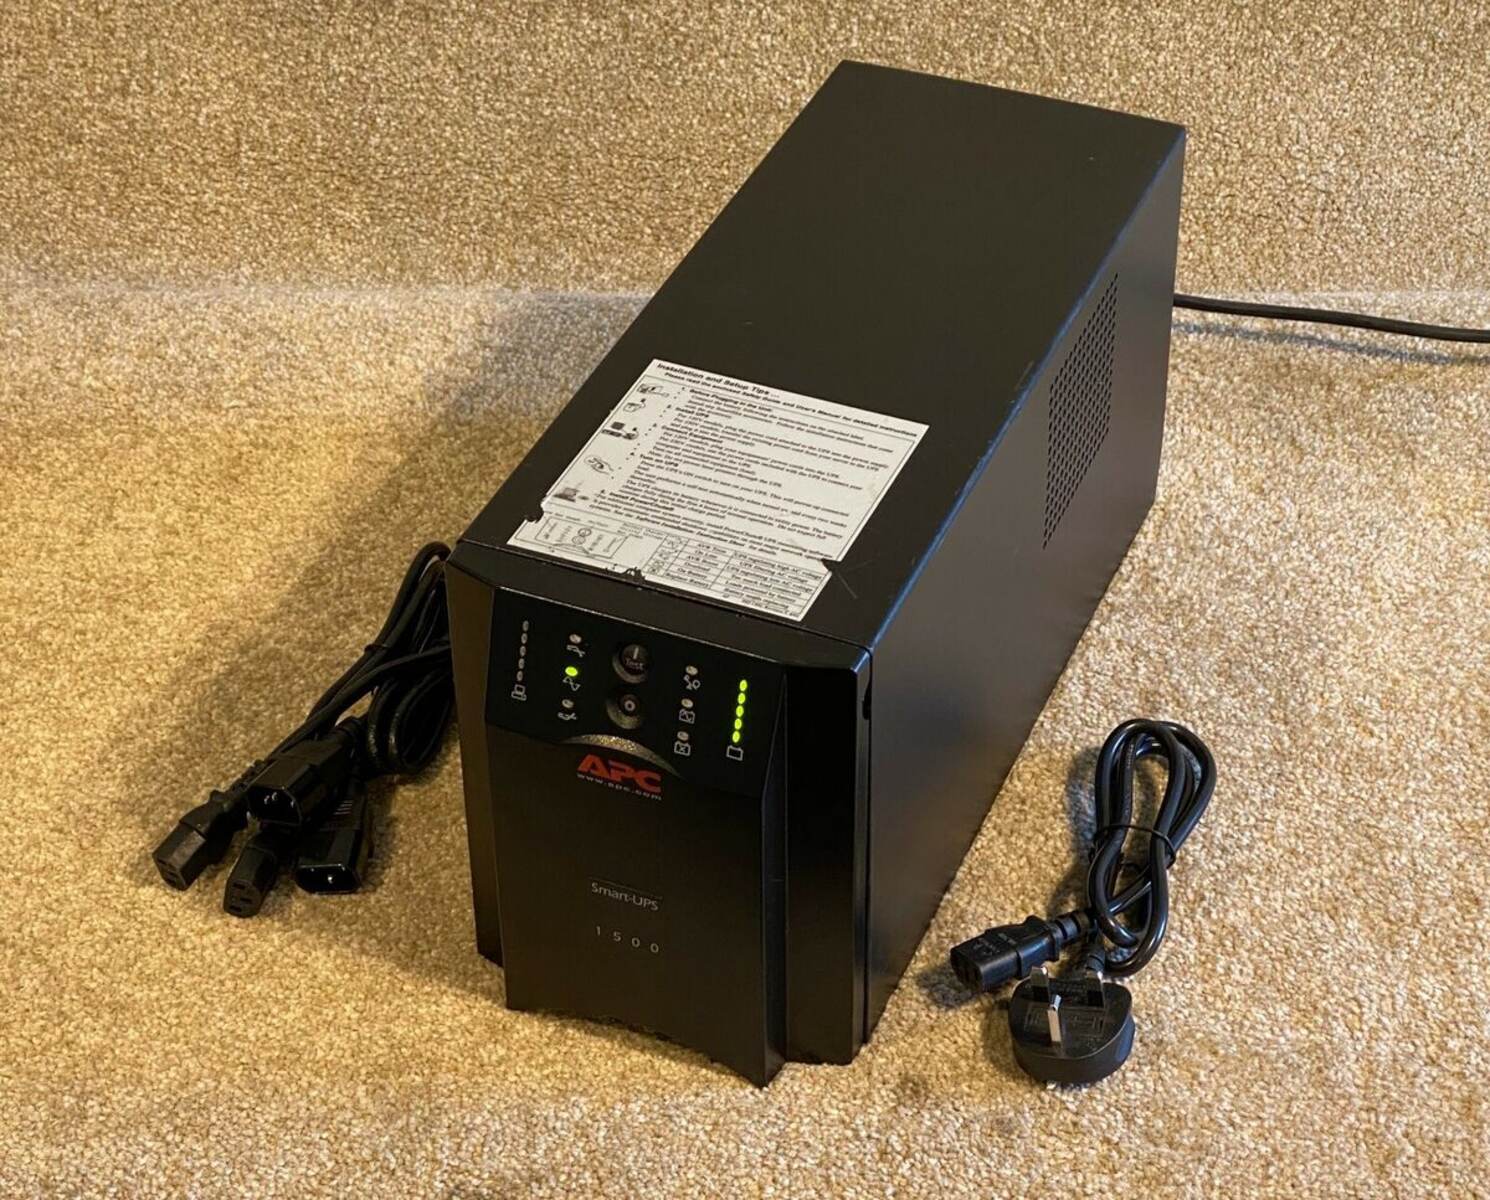
- Inspect the external casing: Start by visually examining the external casing of the UPS unit. Look for any labels, markings, or panels that indicate the location of the battery. These might be in the form of battery symbols or signs such as “Battery Access” or “Battery Compartment.”
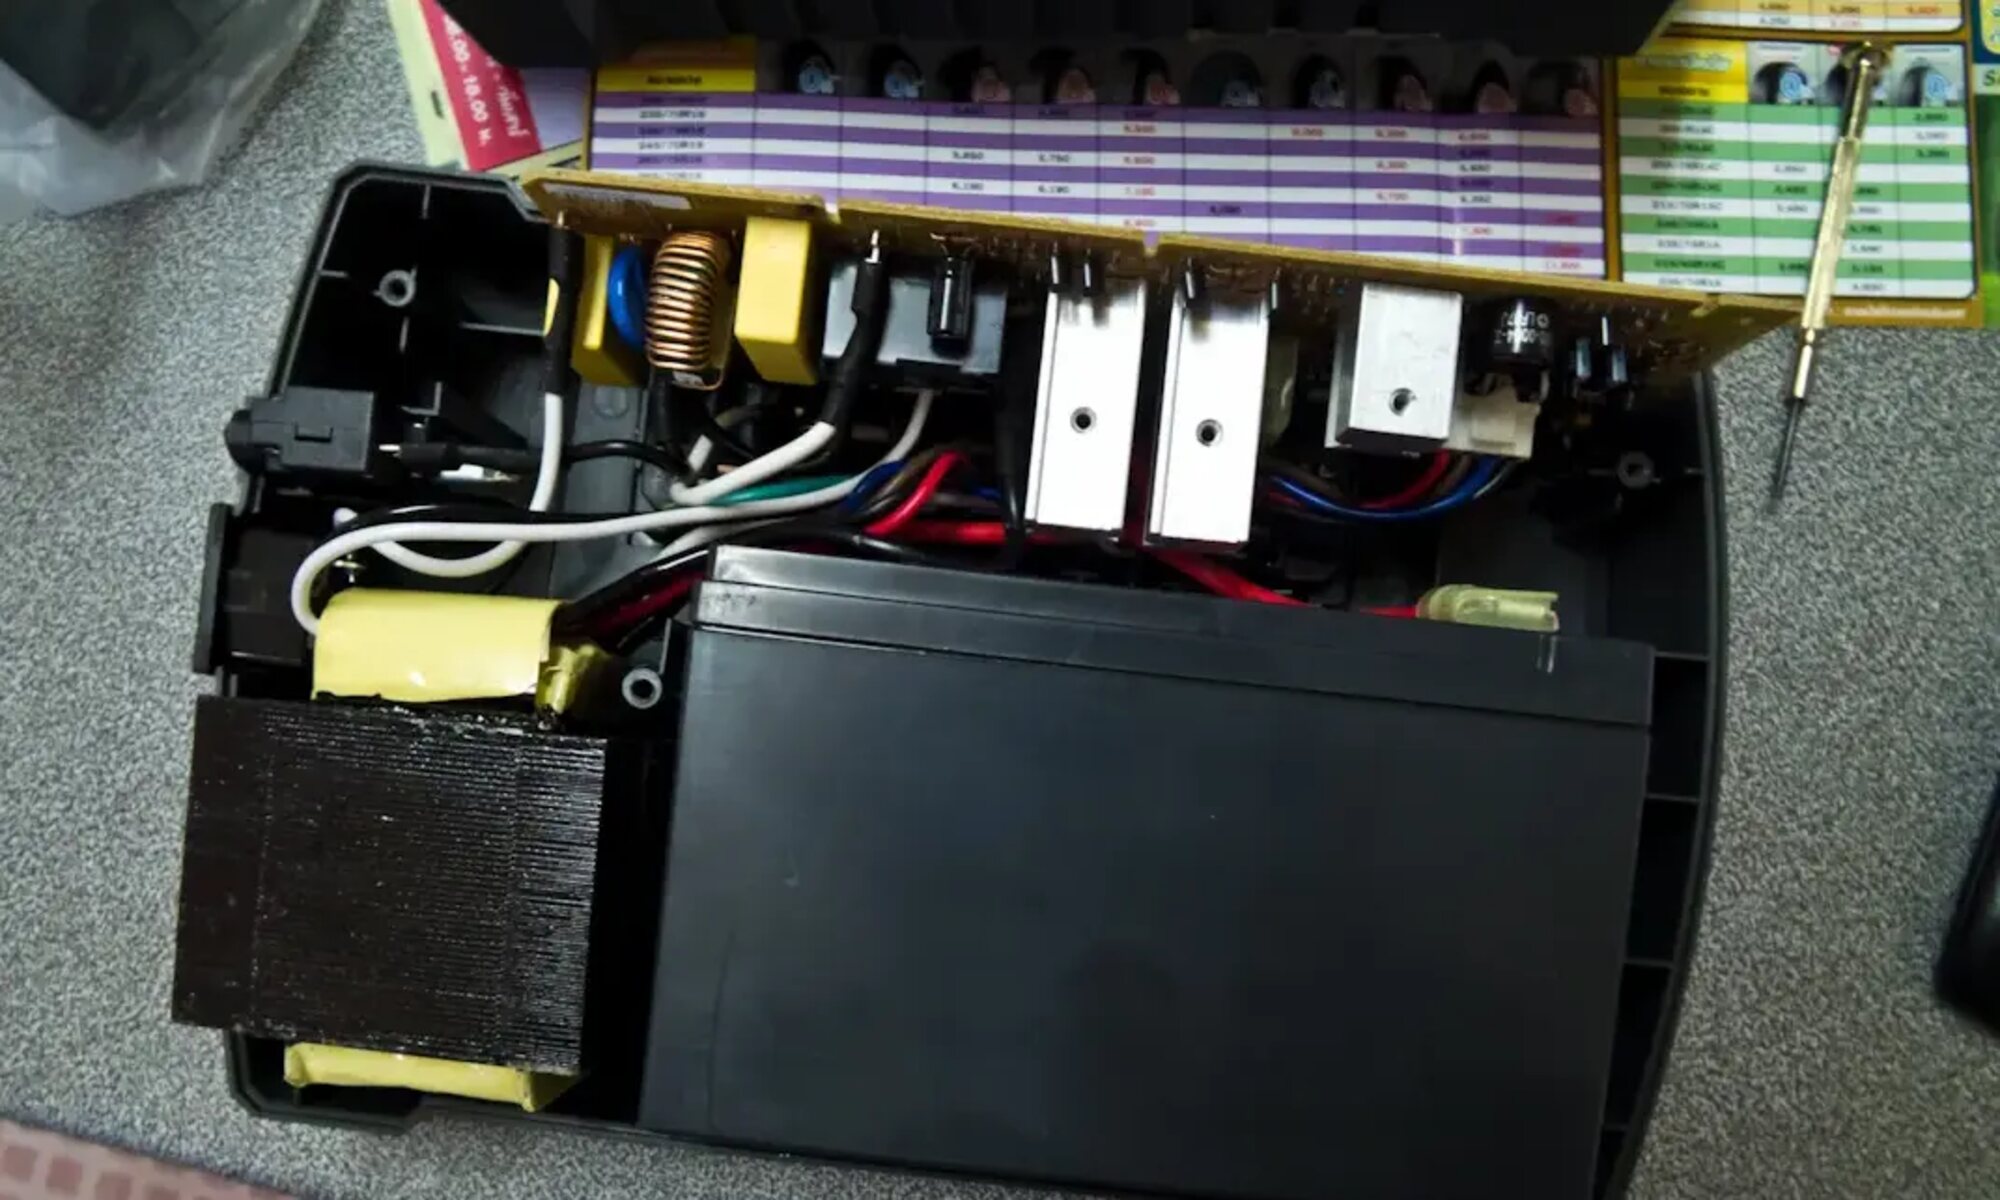
- Open the battery compartment: Once you have identified the location of the UPS battery, follow the instructions provided in the user manual to open the battery compartment. This may involve removing screws, sliding panels, or releasing latches.
- Take necessary precautions: Before proceeding to access the battery, ensure that you have taken the necessary safety precautions, such as wearing protective gloves and safety glasses. Always handle the battery with care and avoid touching the exposed terminals to prevent any accidents or injuries.
Once you have successfully located and accessed the UPS battery, you are now ready to proceed to the next step of setting the multimeter to the appropriate voltage or resistance range. This step will prepare the multimeter for accurate battery testing. Let’s move on to Step 4.
Step 4: Set the multimeter to the appropriate voltage or resistance range
In this step, you will need to set your multimeter to the appropriate voltage or resistance range for testing the UPS battery. The specific range will depend on the type and specifications of your battery.
Follow these steps to set your multimeter to the correct settings:
- Turn on your multimeter: If your multimeter has a power button or switch, make sure it is turned on.
- Select the DC voltage or resistance setting: Depending on your multimeter model, you may have different dial options or buttons to select the desired mode. Look for the selector switch or dial labeled with “DC V” or “Ω” (ohms).
- Choose an appropriate voltage range: If you are testing the voltage of the UPS battery, select an appropriate voltage range that encompasses the expected battery voltage. For example, if you anticipate a voltage of 12 volts, select a range of 0-20 volts to ensure accurate readings.
- Select the resistance range (optional): If you plan to test the battery’s internal resistance, you can switch the multimeter to the resistance mode. Choose a range that is suitable for the expected resistance of your battery.
- Verify the settings: Double-check that the multimeter is set to the correct voltage or resistance range. Ensure that the leads or probes are properly connected to the multimeter and ready for use.
Setting the multimeter to the appropriate voltage or resistance range is crucial for accurate battery testing. Choosing the wrong range can lead to inaccurate readings or even damage to the multimeter. Take your time to ensure that the multimeter settings are correctly adjusted before proceeding to the next step.
Now that you have set the multimeter to the proper settings, you can move on to the next step of testing the UPS battery voltage. This step will help you evaluate the overall health and charge capacity of the battery. Let’s proceed to Step 5.
Step 5: Test the battery voltage using the multimeter
Now that you have set the multimeter to the appropriate voltage range, it’s time to test the UPS battery voltage. Testing the battery voltage will give you an indication of its current charge level and overall health.
Follow these steps to test the battery voltage using the multimeter:
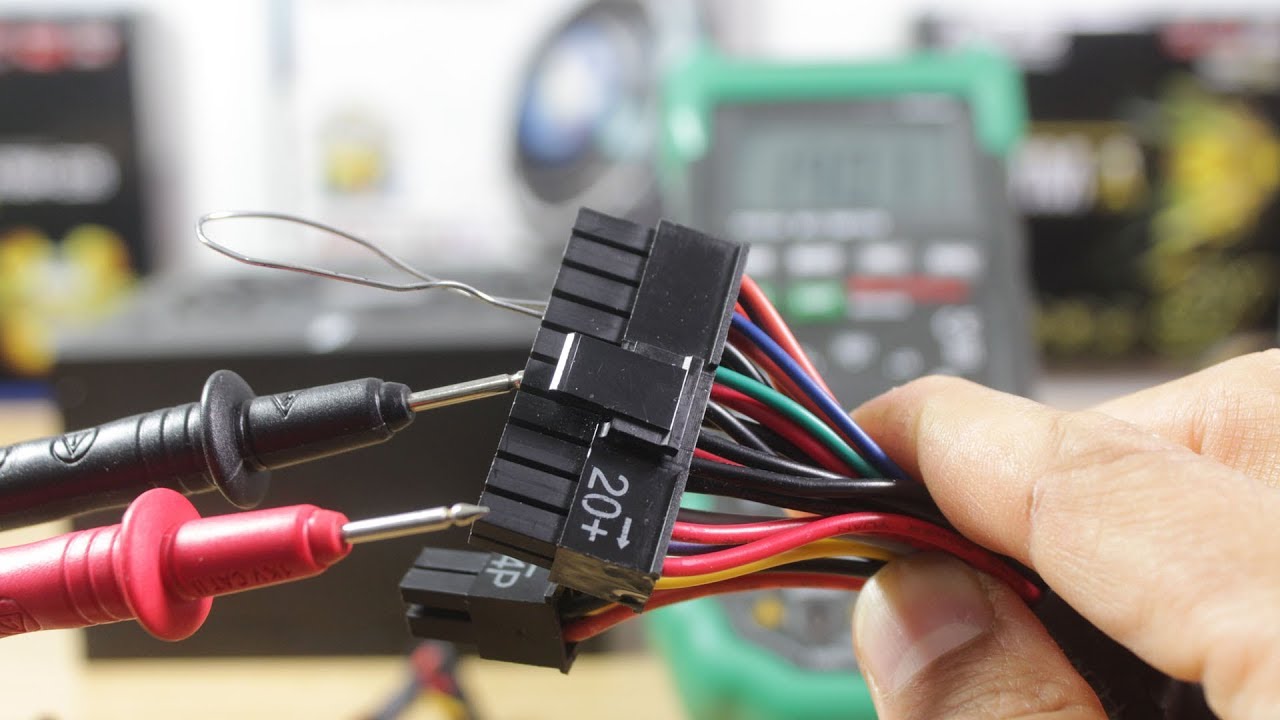
- Ensure that the multimeter leads are properly connected: Insert the multimeter’s positive (red) lead into the positive battery terminal and the negative (black) lead into the negative battery terminal. Make sure the leads have a secure connection with the battery terminals.
- Read the voltage measurement: Turn on the multimeter and observe the reading on the display. The multimeter will display the voltage of the UPS battery. Take note of this measurement.
- Compare the voltage to the expected level: Consult the UPS user manual or battery specifications to determine the expected voltage range for your battery. Compare the measured voltage to the expected level and assess if it falls within an acceptable range.
- Interpret the voltage reading: The voltage reading will give you an indication of the battery’s charge level. A higher voltage indicates a full or nearly full charge, while a lower voltage may suggest a depleted or weak battery.
It’s important to remember that the voltage reading is just one factor in assessing the battery’s health. Other factors, such as the battery’s age and usage patterns, should also be taken into consideration.
If the measured voltage is significantly lower than the expected range or if it shows signs of rapid depletion, it may indicate that the battery requires further testing or replacement. However, it is always recommended to consult the UPS manufacturer or a professional technician to confirm the interpretation of the voltage reading and determine the best course of action.
Now that you have tested the battery voltage, we can move on to Step 6, where we will assess the battery’s overall charge capacity. This step will provide further insights into the battery’s performance and ability to sustain power during an outage. Let’s proceed to Step 6.
Step 6: Test the battery’s overall charge capacity
In addition to testing the voltage, it is crucial to assess the overall charge capacity of the UPS battery. This step will help determine how well the battery can hold a charge and provide backup power during an outage.
Here’s how you can test the battery’s overall charge capacity:
- Disconnect the multimeter from the battery: Carefully remove the multimeter leads from the battery terminals.
- Reconnect the UPS unit to the power source: Plug the UPS back into the wall outlet or power strip to restore power supply to the unit.
- Allow the battery to charge: Let the UPS battery charge for a sufficient period of time, as specified in the user manual. This will ensure that the battery is fully charged before proceeding with the capacity test.
- Disconnect the UPS from the power source: Once the battery has been adequately charged, unplug the UPS from the power source to simulate a power outage.
- Monitor the UPS runtime: Turn on any connected devices or equipment that the UPS is meant to protect, and observe how long the UPS is able to sustain power before shutting down.
- Compare the runtime to the manufacturer’s specifications: Refer to the UPS user manual or the manufacturer’s specifications to determine the expected runtime for your specific model. Compare the observed runtime to the expected value.
If the observed runtime is significantly shorter than the manufacturer’s specifications or if the UPS powers down much sooner than anticipated, it may indicate a decreased capacity of the battery. This could be due to aging or other factors that affect the battery’s performance.
Keep in mind that the capacity test should be conducted periodically to assess any changes in the battery’s ability to hold a charge. It is also essential to consider the battery’s age and usage patterns when interpreting the results of the capacity test.
After testing the battery’s overall charge capacity, we can move on to Step 7, where we will evaluate the battery’s health and performance. This step will help determine if the battery needs to be replaced or if it can continue to provide reliable backup power. Let’s proceed to Step 7.
Step 7: Evaluate the battery’s health and performance
After testing the UPS battery’s voltage and overall charge capacity, it’s time to evaluate its health and performance. This step will help determine if the battery is in good condition and capable of providing reliable backup power when needed.
Consider the following factors when evaluating the battery’s health and performance:
- Voltage stability: Assess whether the battery’s voltage remains stable during the testing process and if it falls within the expected range. Consistent voltage readings indicate a healthy battery.
- Capacity retention: Evaluate how well the battery retains its charge capacity over time. If the battery’s capacity significantly decreases or if it cannot sustain power for the expected duration, it may indicate a decline in performance.
- Aging and usage patterns: Take into account the age of the battery and how it has been used. Over time, batteries naturally degrade and may require replacement after reaching their expected lifespan or if they have undergone excessive discharge and recharge cycles.
- Diagnostic indicators (if available): Some UPS systems come with diagnostic features that provide additional information about the battery’s health and performance. Consult the UPS user manual or the manufacturer’s documentation to access and interpret these diagnostic indicators.
If the battery exhibits signs of deterioration, such as a significant drop in voltage, reduced capacity retention, or if it fails to meet the manufacturer’s specifications, it may be time to consider replacing the battery. This will ensure that your UPS system continues to provide reliable backup power during outages.
However, if the battery still meets the necessary criteria and performs well within expected parameters, you can continue to use it with confidence. Regular testing and monitoring of the battery’s health are key to ensuring its long-term performance and the effectiveness of your backup power solution.
Now that you have evaluated the battery’s health and performance, we can move on to Step 8, where we will determine if the battery needs to be replaced. This step will help you make an informed decision about whether it’s time to invest in a new UPS battery. Let’s proceed to Step 8.
Step 8: Determine if the battery needs to be replaced
After evaluating the UPS battery’s health and performance, it’s time to determine if the battery needs to be replaced. This step is crucial for ensuring the reliability and effectiveness of your backup power system.
Consider the following factors when making the decision to replace the UPS battery:
- Significant voltage drop: If the battery’s voltage consistently falls below an acceptable range or exhibits a significant drop during testing, it may indicate a weak or failing battery. In such cases, replacing the battery is recommended.
- Reduced charge capacity: If the battery’s overall charge capacity has decreased significantly, and it cannot sustain power for the expected duration, it may indicate degraded performance. Replacing the battery in this scenario will ensure reliable backup power during outages.
- End of expected lifespan: Take into account the battery’s age and expected lifespan. If the battery has reached or exceeded its anticipated lifespan, it is advisable to replace it, even if it is still performing adequately. Aging batteries are more prone to failure and may not provide reliable backup power when needed.
- Manufacturer’s recommendations: Consult the UPS user manual or reach out to the manufacturer for their recommendations on battery replacement. Manufacturers often provide guidelines on when to replace the battery based on their testing and performance specifications.
- Consider future needs: If you anticipate increased power demands or longer durations of backup power in the future, it may be wise to replace the battery with a higher capacity model or consider upgrading your UPS system altogether.
By considering these factors, you can make an informed decision about whether it’s time to replace the UPS battery. Remember that proactive battery maintenance and regular testing are crucial for ensuring the longevity and reliability of your backup power solution.
Once you have determined that the battery needs to be replaced, consult the UPS user manual or contact the manufacturer to identify the compatible replacement battery and follow their recommended installation procedures.
With Step 8 completed, we can now move on to Step 9, where we will reconnect the UPS unit and turn it back on to restore power supply. Let’s proceed to the final step.
Step 9: Reconnect the UPS and turn it back on
After testing, evaluating, and potentially replacing the UPS battery, it’s time to reconnect the UPS unit and restore power supply. This step ensures that your UPS is ready to provide reliable backup power in case of a power outage.
Follow these steps to reconnect the UPS and turn it back on:
- Ensure the replacement battery is properly installed: If you have replaced the UPS battery, make sure it is securely installed in the battery compartment following the manufacturer’s instructions.
- Connect the UPS to the power source: Plug the UPS unit back into the wall outlet or power strip. Ensure the power cord is firmly inserted and secure.
- Switch on the UPS: If your UPS has an ON/OFF switch, turn it ON. This will activate the UPS and restore its functionality.
- Monitor the UPS operation: Observe the UPS unit to confirm that it is functioning properly. Check for any warning lights or error messages indicated on the unit’s display.
- Perform a self-test (if applicable): Some UPS systems offer a self-test feature to verify the functionality of the UPS and the newly installed or replaced battery. Consult the UPS user manual for instructions on initiating a self-test if available.
Once the UPS is reconnected and turned back on, it should be ready to provide backup power as intended. Monitor the UPS operation periodically, especially during power outages, to ensure that it continues to function properly and that the battery is providing the necessary backup power.
Remember to note the recommended maintenance schedule provided by the UPS manufacturer and perform regular battery tests to ensure the continued reliability of your backup power system.
With Step 9 completed, you have successfully tested the UPS battery with a multimeter and reconnected the UPS unit. By following these steps, you can ensure the optimal performance of your UPS system and enjoy uninterrupted power supply during outages.
Conclusion
Testing a UPS battery with a multimeter is an essential task that helps ensure the reliability and performance of your backup power solution. By following the step-by-step process outlined in this guide, you can effectively evaluate the health and capacity of your UPS battery.
Throughout the testing process, it is important to gather the necessary tools and equipment, turn off the UPS, locate and access the battery, set the multimeter to the appropriate settings, and test the battery’s voltage and overall charge capacity. Evaluating the battery’s health and performance will allow you to determine if it needs to be replaced.
If replacement is necessary, consult the UPS user manual or contact the manufacturer for guidance on finding a compatible battery and proper installation procedures. Reconnecting the UPS and ensuring its proper operation will restore your backup power solution to its optimal state.
Regularly testing and monitoring the UPS battery is crucial for maintaining its longevity and reliability. Make sure to follow the manufacturer’s recommendations for battery maintenance and replacement schedules to ensure the continued functionality of your UPS system.
By taking these steps and being proactive in maintaining your UPS battery, you can have confidence in your backup power solution and enjoy uninterrupted power supply during unforeseen power outages.