Introduction
Welcome to this guide on how to replace a Belkin UPS battery. A UPS (Uninterruptible Power Supply) is a vital component in protecting your electronic devices from power interruptions and fluctuations. Over time, the battery in your UPS may need to be replaced to ensure it continues to function properly.
In this article, we will walk you through the step-by-step process of checking the battery age, assessing the need for replacement, selecting the right battery model, gathering the necessary tools and equipment, disassembling the UPS unit, removing the old battery, installing the new battery, reassembling the UPS unit, connecting and powering up, and testing the new battery.
Replacing the battery in your Belkin UPS is a relatively straightforward task that can be completed with basic knowledge and a few tools. It is important to ensure you select a compatible replacement battery for your specific UPS model to maintain its optimal performance. By following the instructions provided in this guide, you can successfully replace your Belkin UPS battery and continue to protect your valuable electronic equipment.
Before we begin, it’s essential to emphasize the importance of safety during this process. Be sure to turn off and unplug the UPS unit before attempting any maintenance or battery replacement. Take necessary precautions to avoid accidental electrical shock or damage to yourself and your equipment.
Now that we have covered the basics, let’s dive into the details of each step to replace your Belkin UPS battery effectively.
Checking the Battery Age
Before replacing the battery in your Belkin UPS, it is important to assess the age of the existing battery. UPS batteries have a limited lifespan and should be replaced every 2-3 years to ensure optimal performance and reliability.
To check the battery age, you can refer to the manufacturing date or the date code on the battery itself. Look for a label or engraved markings that indicate the month and year of manufacture. If you are unsure about the age of the battery, you can contact Belkin customer support or refer to the UPS documentation for more information.
Another way to determine the battery age is by checking the battery status in the UPS’ management software. Many UPS models provide monitoring software that can display the battery health and age. This software will provide you with valuable information about the battery lifespan and help you decide if a replacement is necessary.
It is important to note that even if the battery appears to be functioning correctly, it may still require replacement if it is nearing the end of its expected lifespan. Aging batteries are more prone to failure, which can result in a loss of power protection for your devices.
Taking the time to check the battery age ensures that you are proactive in maintaining your UPS’ effectiveness and minimizing the risk of unexpected battery failure. By replacing the battery before it reaches the end of its life, you can avoid potential power disruptions and protect your electronic equipment.
Now that we have determined the battery age, let’s move on to assessing the need for replacement in the next section.
Assessing the Need for Replacement
Once you have determined the age of your Belkin UPS battery, the next step is to assess whether or not it needs to be replaced. While age is a significant factor, there are several signs that indicate a battery replacement is necessary.
Firstly, consider the runtime of your UPS. If you notice a significant decrease in the runtime compared to when the battery was new, it is a clear indication that the battery is deteriorating and may need replacement. A decrease in runtime means that the battery is no longer holding a charge as effectively as it used to.
Additionally, pay attention to any warning or error messages displayed on your UPS. Most modern Belkin UPS units feature an LCD display that provides information about the battery health. If you see any error codes, low battery warnings, or indications of a fault in the battery, it is a strong indication that a replacement is necessary.
Another sign to look out for is an audible alarm or beeping sound coming from your UPS. If the UPS continuously emits an alarm sound, it is likely trying to signal a battery problem. Refer to the UPS manual or manufacturer’s website to identify the specific alarm code and its meaning. In most cases, a continuous beeping sound indicates a battery issue that requires replacement.
Lastly, visually inspect the battery for any physical damage or swelling. If you notice leaks, bulging, or other signs of damage, it is a clear indication that the battery has deteriorated and poses a risk. Damaged batteries should be replaced immediately to prevent any potential safety hazards and ensure the UPS continues to provide reliable power protection.
By carefully assessing the runtime, error messages, audible alarms, and physical condition of your Belkin UPS battery, you can determine if it is time for a replacement. If any of these indicators point towards battery failure, it is crucial to proceed with the replacement process to avoid any potential power interruptions or damage to your electronic devices.
Now that we have assessed the need for replacement, we can move on to selecting the right battery model in the next section.
Selecting the Right Battery Model
When replacing the battery in your Belkin UPS, it is essential to select the right battery model to ensure compatibility and optimal performance. Belkin offers a range of UPS models, and each may require a specific battery type and size.
To determine the appropriate battery model, refer to the UPS documentation or the Belkin website. Look for the specific model number of your UPS and search for the corresponding replacement battery. The documentation will provide information on the battery voltage, capacity, and form factor required for your UPS model.
It is crucial to choose a high-quality battery from a reputable manufacturer to ensure reliability and longevity. Look for batteries that are designed for UPS applications and have a good track record of performance. Reading customer reviews and checking for certifications like UL or CE can help validate the quality of the battery.
Additionally, consider the battery capacity or ampere-hour (Ah) rating. This rating indicates how long the battery can provide power to your devices during an outage. Ideally, you should select a battery with a capacity that meets your specific power requirement needs.
When selecting the battery, also check the physical dimensions to ensure it fits within the battery compartment of your UPS unit. Measure the size of the existing battery or consult the UPS documentation for the exact dimensions. Choosing a battery that is too large or small may prevent proper installation and could damage the UPS unit.
If you are unsure about the battery model or have any questions, you can always reach out to Belkin customer support for assistance. They will be able to provide you with accurate information and help you select the right battery for your specific UPS model.
By selecting the correct battery model, you can ensure a seamless replacement process and maintain the optimal performance of your Belkin UPS. Once you have identified the appropriate battery model, it’s time to gather the necessary tools and equipment for the replacement, which we’ll cover in the next section.
Gathering Tools and Equipment
Before embarking on the battery replacement process for your Belkin UPS, it is important to gather the necessary tools and equipment. Having everything prepared will ensure a smooth and efficient replacement process.
The specific tools and equipment required may vary depending on your UPS model and the battery compartment design. However, here are some commonly used tools and equipment that you may need:
- Screwdriver set: A set of screwdrivers with various sizes and types will be useful for removing screws or securing the battery compartment cover.
- Safety gloves: It’s always a good idea to wear safety gloves to protect your hands from any sharp edges or potential chemical exposure while handling the battery.
- Safety goggles: Eye protection is important when working with batteries, as there is a risk of acid splashes or other hazardous materials.
- Battery replacement: Make sure you have the correct replacement battery for your particular UPS model, as determined in the previous section.
- Cleaning materials: It may be beneficial to have some cleaning materials, such as a cloth or brush, to clean any dust or debris that may have accumulated during use.
Ensure that you have all the necessary tools and equipment readily available before starting the battery replacement process. This will save you time and minimize the risk of any interruptions or delays.
Now that you have gathered all the required tools and equipment, let’s move on to the next section, which covers the steps to power down and disconnect your Belkin UPS.
Powering Down and Disconnecting
Before proceeding with the battery replacement in your Belkin UPS, it is crucial to power down the unit and disconnect it from the power source. This ensures your safety and prevents any potential damage to your equipment.
Follow these steps to power down and disconnect your Belkin UPS:
- Turn off any connected devices: Shut down all the devices connected to the UPS, such as computers, servers, or routers. This will prevent any data loss or hardware damage during the battery replacement process.
- Disconnect the UPS from the power source: Unplug the power cord of your UPS from the wall outlet or power strip. This will completely disconnect the UPS from the electrical supply.
- Power off the UPS unit: Locate the power button on the front or top panel of the UPS and press it to turn off the unit. Wait for any lights or indicators to turn off before proceeding to the next step.
- Disconnect any peripheral devices: If you have any peripheral devices, such as printers or external hard drives, connected to the UPS, disconnect them from the UPS outlets.
By following these steps, you ensure that the UPS unit is powered down and disconnected from the power source. This is a crucial safety measure that prevents any accidental electrical shocks or damage to your devices during the battery replacement process.
Now that the UPS unit is safely powered down and disconnected, we can move on to the next section, which covers the disassembly of the UPS unit to access the battery compartment.
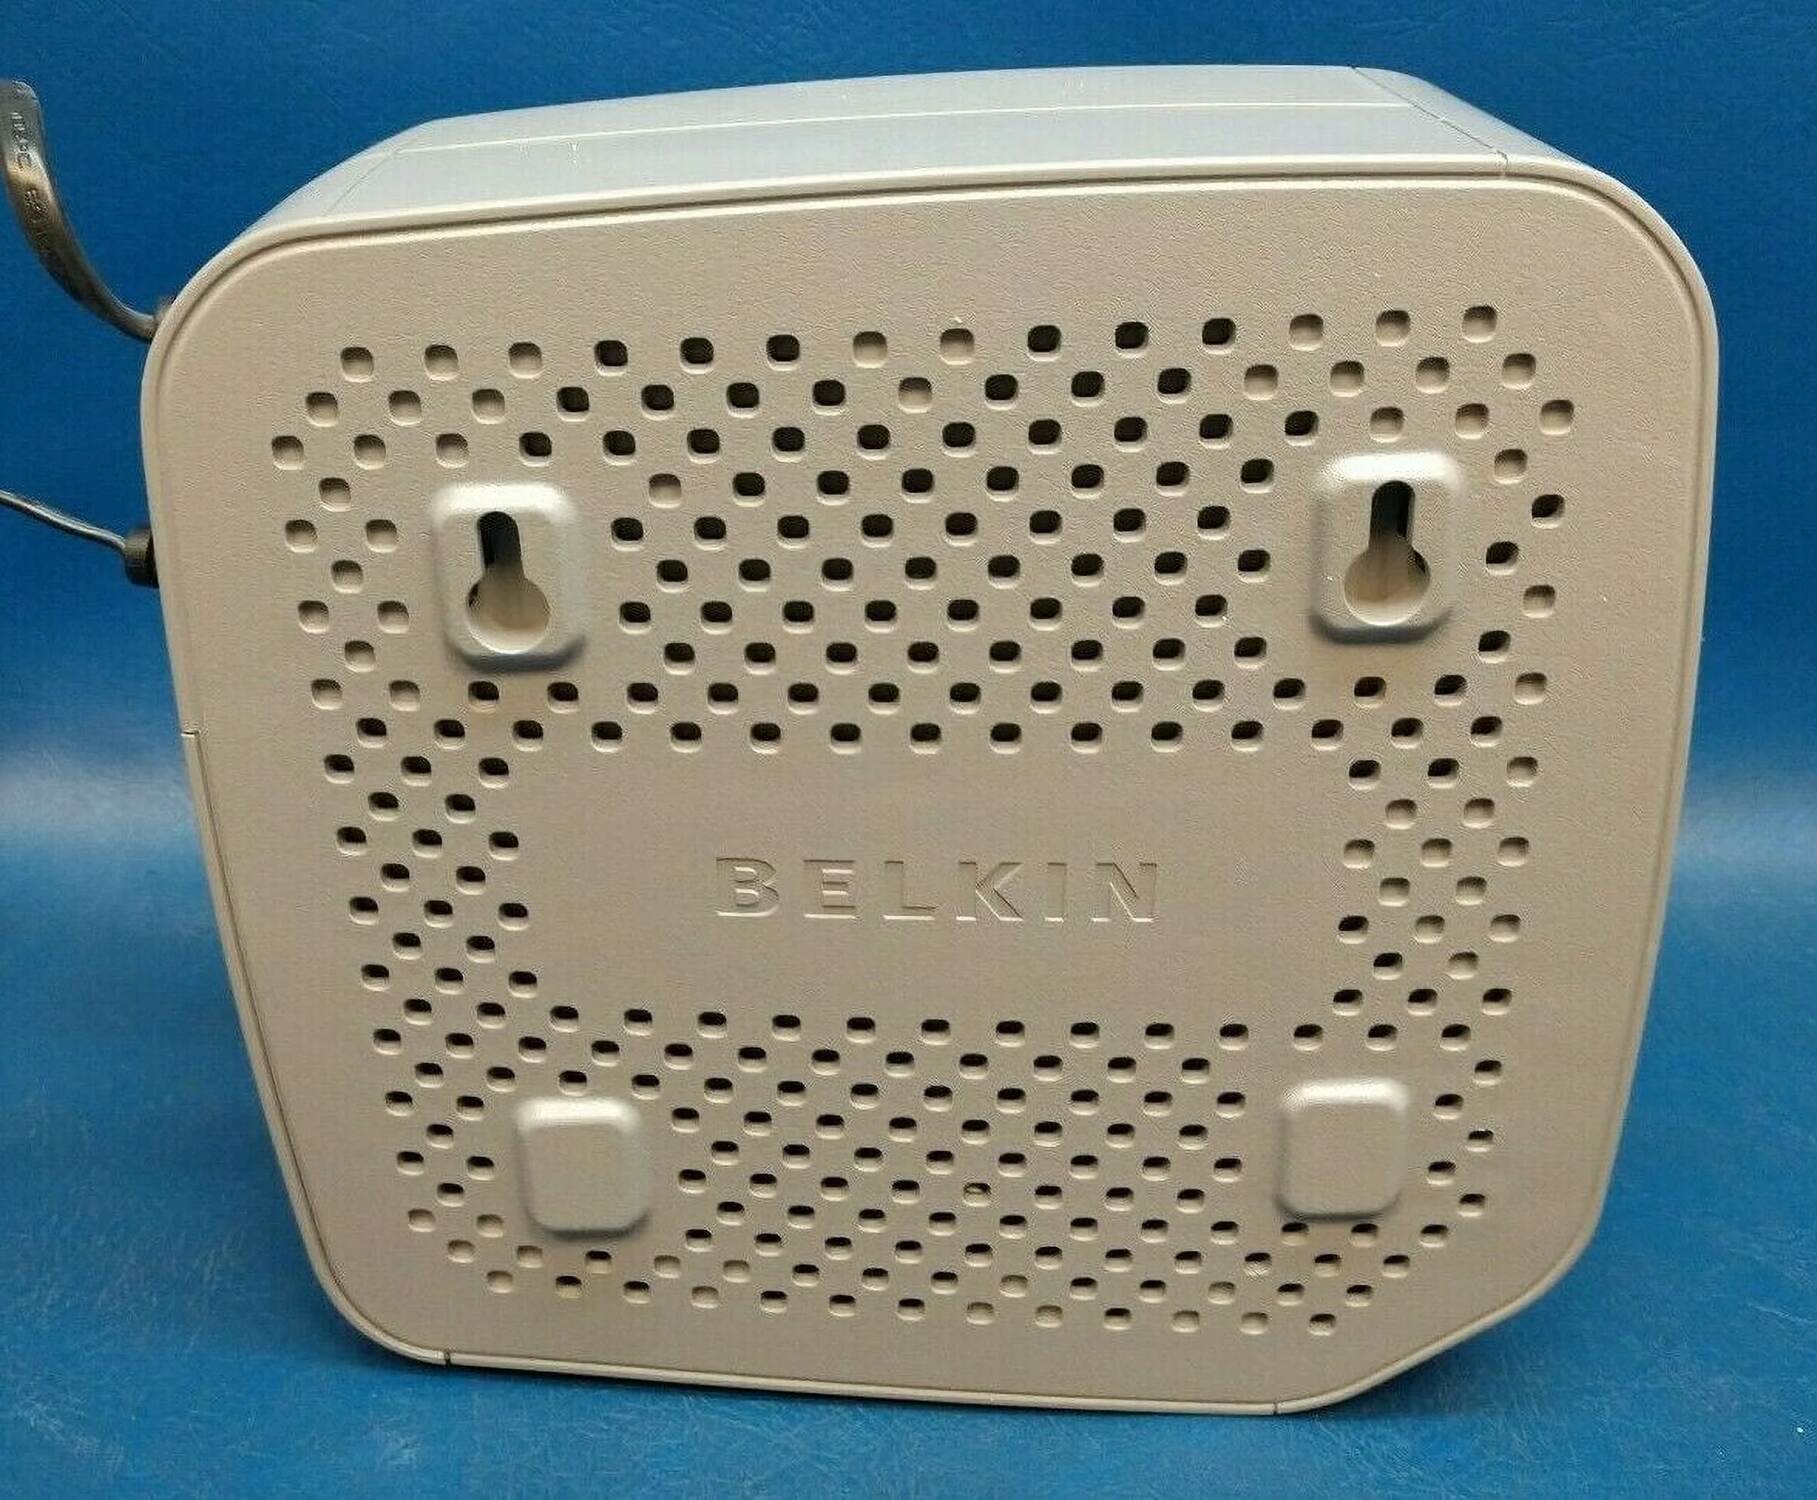
Disassembling the UPS Unit
Now that you have safely powered down and disconnected your Belkin UPS, it’s time to disassemble the unit to access the battery compartment. This step will vary depending on your UPS model and its design, so refer to the user manual or follow these general guidelines:
- Remove any screws or fasteners: Use the appropriate screwdriver to remove the screws or fasteners that secure the battery compartment cover. These screws are typically located on the back or bottom of the UPS unit. Set them aside in a safe place for reassembly later.
- Take off the battery compartment cover: Carefully lift or slide off the battery compartment cover. Make sure to put it in a secure area to avoid damage or misplacement.
- Note the battery connections: Take note of the battery connections before proceeding. Pay attention to the way the battery is connected and any cables or wires attached to it. This will make it easier to remove and replace the battery later.
- Disconnect the battery: Gently disconnect the cables or wires attached to the battery. Depending on your UPS model, you may need to use a pair of pliers to loosen or disconnect the battery terminals. Take care not to damage any other components while doing this.
Once you have completed these steps, the UPS unit should be disassembled, and you will have access to the old battery. Take a moment to inspect the battery compartment for any dust or debris and clean it if necessary.
Remember to handle the battery with care, as it may contain hazardous materials. Avoid touching any exposed terminals and dispose of the old battery properly according to local regulations and guidelines.
Now that the UPS unit is disassembled and the old battery is ready for removal, we can proceed to the next section, which covers the step-by-step process of removing the old battery.
Removing the Old Battery
Now that you have disassembled your Belkin UPS unit and have access to the battery compartment, it’s time to remove the old battery. Follow these steps to safely remove the old battery:
- Identify the battery connections: Before proceeding, take note of how the old battery is connected. Pay attention to the cables or wires attached to the battery terminals.
- Disconnect the battery cables: Using a pair of pliers or your fingers, carefully disconnect the cables or wires from the battery terminals. Start by loosening the connection and gently pulling them away from the terminals.
- Remove any additional securing mechanisms: Some UPS models may have additional fasteners or brackets holding the battery in place. Remove these mechanisms using the appropriate tools to free the old battery.
- Remove the old battery: Once all connections and securing mechanisms are detached, lift the old battery out of the compartment. Be mindful of the weight and size of the battery as you remove it, as larger UPS units may have heavy batteries.
As you remove the old battery, take care not to damage any other components or cables within the UPS unit. Place the old battery in a safe and appropriate container for disposal according to local regulations. Do not dispose of the old battery in regular trash or landfill as it may contain hazardous materials.
Now that the old battery is removed, it’s time to proceed to the next section, which covers the installation process for the new battery in your Belkin UPS unit.
Installing the New Battery
Now that you have removed the old battery from your Belkin UPS, it’s time to install the new battery. Follow these steps to properly install the new battery:
- Prepare the new battery: Ensure that the new battery is compatible with your specific Belkin UPS model. Check its voltage, capacity, and dimensions to match the requirements set by the manufacturer.
- Position the new battery: Carefully place the new battery into the battery compartment, ensuring that it is properly aligned and positioned. Take note of any markings or labels indicating the correct orientation.
- Connect the battery cables: Attach the cables or wires to the corresponding battery terminals, following the same configuration as the old battery. Ensure a secure connection by tightening the cables or using any provided fasteners.
- Secure the battery: If there were any additional securing mechanisms or brackets that held the old battery in place, use them to secure the new battery. Make sure it is firmly in position and will not move during operation.
Take extra caution when handling the new battery, as it may still contain hazardous materials. Avoid touching any exposed terminals and follow proper safety procedures.
Once the new battery is securely installed, it’s time to reassemble the UPS unit and reconnect it to the power source. The next section will guide you through the process of reassembling the UPS unit.
Reassembling the UPS Unit
With the new battery installed in your Belkin UPS, it’s time to reassemble the unit to ensure proper functionality. Follow these steps to reassemble the UPS unit:
- Retrieve the battery compartment cover: Locate the battery compartment cover that you set aside earlier and position it correctly.
- Align the cover: Carefully align the cover with the screw holes on the UPS unit. Ensure that it fits snugly and is aligned properly.
- Secure the cover: Use the appropriate screwdriver to reattach the screws or fasteners to secure the battery compartment cover in place. Tighten the screws until they are secure, but be careful not to overtighten them.
Ensure that all the screws are properly tightened, as loose screws may lead to vibration or unwanted movements during operation. Taking the time to secure the cover properly will help protect the internal components and maintain the overall integrity of the UPS unit.
Now that the UPS unit is reassembled, let’s move on to the next section, which covers the steps to reconnect the UPS and power it up again.
Connecting and Powering Up
With your Belkin UPS unit reassembled, it’s time to connect it back to the power source and power it up. Follow these steps to properly reconnect and power up your UPS:
- Position the UPS unit: Place the UPS unit in its desired location, ensuring that there is sufficient ventilation and access to power outlets.
- Connect the UPS to the power source: Plug the UPS power cord back into the wall outlet or power strip. Ensure that the power source is stable and offers surge protection.
- Reconnect peripheral devices: If you had disconnected any peripheral devices during the battery replacement process, now is the time to reconnect them to the UPS outlets.
- Power on the UPS unit: Locate the power button on the front or top panel of the UPS and press it to power on the unit. Wait for any indicators or lights to show that the UPS is receiving power and is operational.
- Monitor the UPS: Keep an eye on the UPS display or indicators to ensure that it is functioning properly. Look for any error codes or warnings that may indicate an issue with the new battery or any other component.
Take a moment to verify that all connected devices are receiving power from the UPS. You can test this by turning on the connected devices and ensuring that they are operating as expected.
It’s important to note that after a battery replacement, the UPS may take some time to fully charge and stabilize. During this time, the UPS may emit beeping sounds or show indicators that it is in the charging phase. Allow sufficient time for the UPS to complete this process.
Now that your Belkin UPS is connected and powered up, it’s time to move on to the next section, which covers the important step of testing the new battery.
Testing the New Battery
After replacing the battery in your Belkin UPS, it is essential to test the new battery to ensure it is functioning properly. This step will help verify that the UPS can provide the expected backup power in the event of a power outage. Follow these steps to test the new battery:
- Disconnect the UPS from the power source: Unplug the UPS power cord from the wall outlet or power strip to simulate a power outage.
- Monitor the UPS indicators: Watch the UPS display or indicators to see if the unit switches from the normal mode to battery mode. The switch should be automatic and occur seamlessly.
- Observe the battery runtime: Keep track of how long the UPS can sustain power to your connected devices. This duration is referred to as the battery runtime and should be within the expected range specified by the manufacturer.
- Check device functionality: During the battery test, ensure that your devices connected to the UPS continue to operate without any interruptions or issues. Verify that they are receiving a stable power supply.
- Reconnect the UPS to the power source: Once the battery test is complete, plug the UPS power cord back into the wall outlet or power strip to restore the normal power supply.
If the new battery passes the test and functions as expected, it indicates a successful replacement. However, if you notice any issues such as a significantly reduced runtime or device malfunctions during the test, it may indicate a problem with the new battery or another component of the UPS. In such cases, you may need to contact Belkin customer support for further assistance.
Regularly performing battery tests is important to ensure the reliability of your UPS in critical situations. It is recommended to conduct battery tests periodically or as recommended by the manufacturer to ensure the UPS is prepared to protect your devices during power outages.
Now that you have tested the new battery and confirmed its performance, you can rest assured knowing that your Belkin UPS is equipped with a reliable power backup system.
Conclusion
Congratulations! You have successfully learned how to replace the battery in your Belkin UPS. By following the step-by-step process outlined in this guide, you have taken an important step towards maintaining the functionality and reliability of your UPS unit.
Throughout the process, we emphasized the importance of safety, from powering down and disconnecting the UPS to handling the batteries with care. Taking these safety precautions ensures a smooth and risk-free battery replacement experience.
We covered essential steps such as checking the battery age, assessing the need for replacement, selecting the right battery model, gathering the necessary tools, disassembling the UPS unit, removing the old battery, installing the new battery, reassembling the unit, connecting and powering up, and testing the new battery.
It is crucial to replace the UPS battery at the appropriate time to maintain sufficient backup power for your electronic devices and prevent any potential power interruptions. Regularly testing the new battery will help ensure its reliability and performance during power outages.
We hope this guide has equipped you with the knowledge and confidence to replace the battery in your Belkin UPS. However, if you encounter any difficulties or have further questions, consider consulting the UPS manual or reaching out to Belkin customer support for assistance.
Remember, proper maintenance and care will prolong the lifespan of your UPS and provide consistent power protection for your valuable electronic equipment.
Thank you for taking the time to follow this guide. We hope it has been helpful, and we wish you success in replacing the battery of your Belkin UPS!