Introduction
Setting up your Xbox headset wirelessly can greatly enhance your gaming experience, providing you with the freedom to move around without being tethered to your console. Whether you're engaging in intense multiplayer battles or immersing yourself in the rich narratives of single-player campaigns, a wireless headset allows you to fully immerse yourself in the gaming world without the constraints of traditional wired setups.
With the advancement of technology, wireless headsets have become increasingly popular due to their convenience and ease of use. They offer seamless connectivity and high-quality audio, allowing you to communicate with your teammates or immerse yourself in the game's audio without being limited by cords. In this guide, we will walk you through the process of setting up your Xbox headset wirelessly, ensuring that you can seamlessly transition into the world of wireless gaming.
By following the steps outlined in this guide, you will be able to enjoy the freedom and flexibility that a wireless headset offers, while also optimizing your gaming setup for maximum comfort and convenience. So, let's dive into the process of setting up your wireless Xbox headset and unlock the full potential of your gaming experience.
Step 1: Check Your Xbox Compatibility
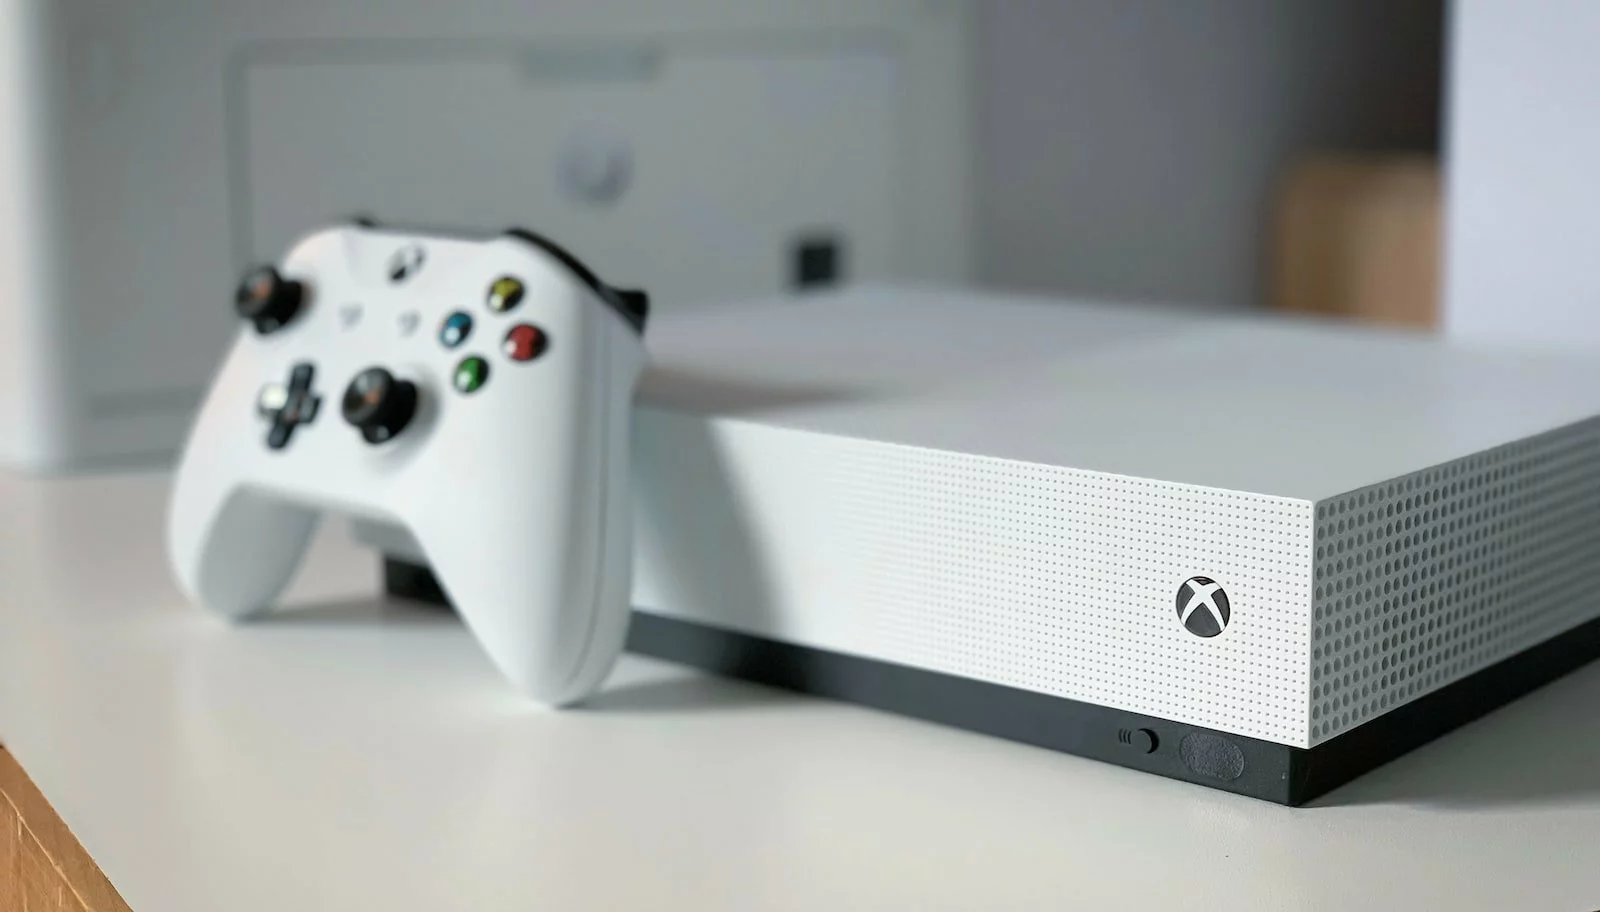
Before diving into the wireless setup process, it's crucial to ensure that your Xbox console is compatible with wireless headsets. Xbox consoles have evolved over the years, and not all models support wireless connectivity for headsets out of the box. Here's how you can determine the compatibility of your Xbox with wireless headsets:
-
Identify Your Xbox Model: The first step is to identify the specific model of your Xbox console. Xbox One and Xbox Series X|S are the current models in circulation, each with different iterations and versions. The compatibility of wireless headsets can vary based on the model and its firmware.
-
Check for Wireless Compatibility: Once you've identified your Xbox model, research its compatibility with wireless headsets. Visit the official Xbox support website or refer to the user manual for your console to verify if it supports wireless headset connectivity. Additionally, you can explore online forums and communities to gather insights from other users who have successfully used wireless headsets with the same Xbox model.
-
Firmware Updates: Ensure that your Xbox console is running the latest firmware. Microsoft frequently releases updates that may introduce new features, including expanded wireless headset compatibility. By keeping your console updated, you can maximize the chances of seamless compatibility with wireless headsets.
-
Review Wireless Standards: Different wireless headsets may utilize distinct wireless standards, such as Bluetooth or proprietary wireless protocols. Check the specifications of your Xbox console to confirm which wireless standards it supports for audio peripherals. This information is typically available on the official Xbox website or in the console's documentation.
By thoroughly examining the compatibility of your Xbox console with wireless headsets, you can preemptively address any potential issues and streamline the setup process. This proactive approach ensures that you can proceed with confidence, knowing that your Xbox is fully equipped to support wireless headset connectivity.
Ensuring compatibility is the foundational step towards embracing the wireless freedom that modern gaming headsets offer. Once you've confirmed compatibility, you can proceed to the next steps with the assurance that your Xbox is ready to seamlessly integrate with your wireless headset, enhancing your gaming experience with unparalleled convenience and mobility.
Step 2: Charge Your Headset
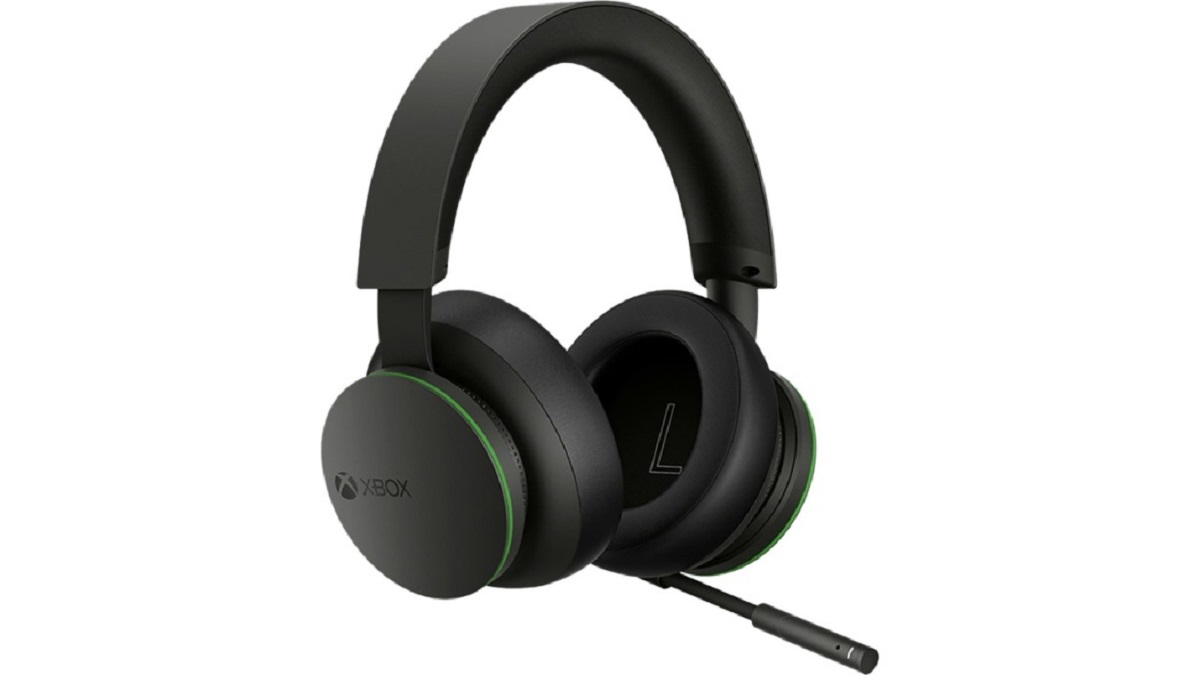
Ensuring that your wireless headset is adequately charged is a crucial step in preparing for an uninterrupted gaming session. Most wireless gaming headsets come with built-in rechargeable batteries, and it's essential to charge them fully before diving into your gaming adventures. Here's a detailed breakdown of the charging process for your wireless headset:
-
Locate the Charging Port: Start by identifying the charging port on your wireless headset. Manufacturers typically position the charging port on the ear cups or the headband for easy access. Refer to the user manual or the headset's documentation to pinpoint the exact location of the charging port.
-
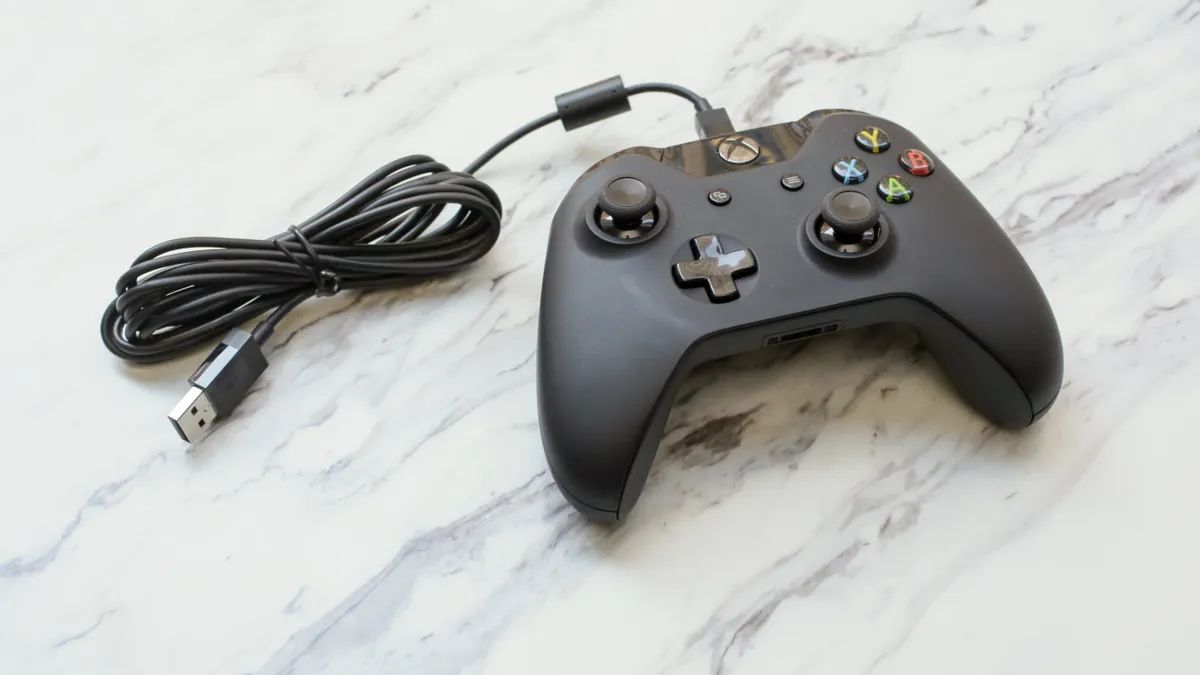
Use the Provided Charging Cable: Wireless gaming headsets usually come with a dedicated charging cable, often a USB cable that connects to the headset for charging. Locate the provided charging cable in the headset's packaging, ensuring that it's the correct cable specified for your particular headset model.
-
Connect to a Power Source: Once you have the charging cable, connect it to a power source. This can be a USB port on your Xbox console, a wall adapter, or a dedicated charging dock if one was included with your headset. Ensure that the power source is reliable and stable to facilitate efficient charging.
-
Monitor the Charging Indicator: Many wireless headsets feature a charging indicator light that illuminates during the charging process. This indicator provides visual feedback, signaling the charging status of the headset. It's essential to monitor this indicator to ascertain when the charging process is complete.
-
Allow Sufficient Charging Time: Depending on the headset model and its battery capacity, the charging duration may vary. It's advisable to allow the headset to charge for the recommended duration specified by the manufacturer. This ensures that the battery reaches its full capacity, providing extended usage during your gaming sessions.
-
Unplug and Verify Full Charge: Once the charging indicator signals that the headset is fully charged, unplug the charging cable and verify that the headset's battery is at full capacity. This step is crucial, as a fully charged headset ensures uninterrupted gameplay without the risk of sudden battery depletion.
By meticulously following these steps, you can ensure that your wireless headset is fully charged and ready to deliver an immersive and uninterrupted gaming experience. A fully charged headset provides the freedom to delve into extended gaming sessions without the inconvenience of frequent recharging, allowing you to focus on the excitement of your gaming adventures.
Step 3: Connect Your Headset to the Xbox
Connecting your wireless headset to the Xbox is a pivotal step that bridges the gap between your audio peripherals and the gaming console. This seamless connection enables you to harness the full potential of your headset, immersing yourself in high-quality audio and seamless communication during gameplay. Here's a comprehensive guide on how to connect your wireless headset to the Xbox, ensuring a hassle-free setup process:
-
Power On Your Headset: Begin by powering on your wireless headset. Most headsets feature a power button or a multi-function switch that initiates the pairing mode. Refer to the headset's user manual for specific instructions on powering it on and activating the pairing mode.
-
Access the Xbox Settings: Navigate to the settings menu on your Xbox console. This can typically be accessed through the main dashboard or home screen. Look for the settings icon, often represented by a gear or cogwheel symbol, and select it to access the console's settings.
-
Locate the Devices Menu: Within the settings menu, locate the "Devices" or "Accessories" section. This is where you can manage and configure external devices, including wireless headsets, controllers, and other peripherals. Select the "Devices" option to proceed.
-
Add a New Device: In the "Devices" menu, look for the option to "Add a new device" or "Pair new device." This initiates the Xbox's scanning process, allowing it to detect and connect to nearby wireless peripherals, including your headset.
-
Activate Pairing Mode on Your Headset: While the Xbox is scanning for new devices, ensure that your wireless headset is in pairing mode. Depending on the headset model, this may involve pressing and holding a designated pairing button or following specific instructions to enable the headset's visibility to the Xbox console.
-
Select Your Headset: Once the Xbox detects your wireless headset, it should appear in the list of available devices on the screen. Select your headset from the list to initiate the pairing process.
-
Follow On-Screen Instructions: The Xbox will prompt you to follow on-screen instructions to complete the pairing process. This may involve confirming the pairing request on both the console and the headset, ensuring a secure and stable connection between the two devices.
-
Verify Successful Connection: After completing the pairing process, verify that your wireless headset is successfully connected to the Xbox. This can be confirmed by checking the audio output settings and ensuring that the headset is recognized as an active audio device by the console.
By meticulously following these steps, you can seamlessly connect your wireless headset to the Xbox, unlocking the immersive audio experience and seamless communication capabilities that wireless gaming headsets offer. This connection paves the way for uninterrupted gaming sessions, allowing you to fully immerse yourself in the captivating audio landscapes of your favorite games while communicating effortlessly with your fellow gamers.
Step 4: Adjust Your Headset Settings
Once your wireless headset is successfully connected to your Xbox, it's essential to fine-tune its settings to optimize the audio output, microphone performance, and overall user experience. Adjusting your headset settings allows you to tailor the audio and communication features to suit your preferences, ensuring that you can fully immerse yourself in the gaming world while maintaining clear and seamless communication with your teammates. Here's a detailed breakdown of the essential adjustments you can make to enhance your wireless headset experience:
Audio Output Settings
- Volume Control: Most wireless headsets feature onboard volume controls, allowing you to adjust the audio output directly from the headset. Experiment with the volume levels to find the optimal balance, ensuring that the game audio and communication cues are clear and immersive without being overpowering.
- Equalizer Presets: Explore the available equalizer presets on your headset, if applicable. These presets offer tailored audio profiles, such as bass boost, vocal enhancement, or balanced settings, allowing you to personalize the audio output based on your gaming preferences.
Microphone Configuration
- Mic Monitoring: Some wireless headsets offer mic monitoring features, enabling you to hear your own voice in the headset. Adjust the mic monitoring level to a comfortable setting, providing real-time feedback on your voice volume while preventing inadvertent shouting or speaking too softly during intense gaming moments.
- Noise Cancellation: If your headset includes noise cancellation capabilities, adjust the settings to minimize background noise and ensure that your voice comes through clearly during in-game communication. Fine-tuning the noise cancellation feature can significantly enhance the clarity of your voice transmission.
Communication and Chat Features
- Party Chat Settings: If you frequently engage in multiplayer gaming sessions with friends, explore the party chat settings on your Xbox. Adjust the audio balance between game audio and chat communication, ensuring that you can hear your teammates clearly while staying attuned to the in-game soundscapes.
- Mic Sensitivity: Depending on the headset model, you may have the option to adjust the microphone sensitivity. Finding the optimal sensitivity level prevents audio distortion and ensures that your voice is transmitted clearly without being overwhelmed by ambient noise or unintended background sounds.
Surround Sound and Spatial Audio
- Spatial Audio Modes: Some wireless headsets support spatial audio modes, offering immersive surround sound experiences. Experiment with these modes to gauge their impact on your gaming immersion, adjusting the spatial audio settings to align with the specific game genres and environments you frequent.
By customizing these settings to align with your gaming preferences and communication needs, you can elevate your wireless headset experience to new heights, ensuring that every gaming session is enriched by high-quality audio, seamless communication, and personalized audio profiles tailored to your unique preferences. These adjustments empower you to harness the full potential of your wireless headset, immersing yourself in the captivating audio landscapes of your favorite games while communicating effortlessly with your fellow gamers.
Step 5: Test Your Wireless Connection
After setting up your wireless headset with your Xbox, it's essential to test the wireless connection to ensure that everything is functioning as intended. Testing the wireless connection allows you to verify the audio output, microphone performance, and overall functionality of your headset within the gaming environment. This crucial step ensures that you can seamlessly transition into your gaming sessions with the confidence that your wireless connection is stable and delivers the immersive experience you expect.
Here's a comprehensive guide on how to test your wireless connection and validate the performance of your headset:
Audio Output Verification
- Game Audio: Launch a game or multimedia content on your Xbox to verify that the audio is transmitted wirelessly to your headset. Pay attention to the clarity, richness, and spatial positioning of the game audio, ensuring that the wireless connection delivers high-quality sound without interruptions or distortions.
- Volume Consistency: Adjust the volume levels on your headset to ensure that the audio output remains consistent and clear across different in-game scenarios. Test the volume controls to confirm that they respond accurately, allowing you to fine-tune the audio output to your preferences.
Microphone Performance Check
- Voice Transmission: Engage in a test chat or communication session with friends or fellow gamers to verify the performance of your headset's microphone. Speak naturally and listen for the clarity and fidelity of your voice transmission, ensuring that your communication is clear and devoid of static or distortion.
- Background Noise Handling: Introduce controlled background noise, such as ambient room sounds or simulated gaming environments, to assess how well your headset's microphone handles background noise. Confirm that the noise cancellation features, if available, effectively minimize unwanted ambient sounds during voice transmission.
Mobility and Range Assessment
- Wireless Range: Move around within your gaming environment while wearing the wireless headset to assess the range and stability of the wireless connection. Verify that the audio remains consistent and uninterrupted as you navigate different areas, ensuring that the wireless range meets your expectations for seamless connectivity.
- Interference Testing: Introduce potential sources of wireless interference, such as other electronic devices or Wi-Fi signals, to gauge how resilient your headset's wireless connection is in the presence of external interference. Confirm that the headset maintains a stable connection even in challenging wireless environments.
Surround Sound and Spatial Audio Experience
- Immersive Audio Scenarios: Engage in gameplay segments that emphasize surround sound and spatial audio effects, such as intense action sequences or atmospheric environments. Evaluate how well your wireless headset delivers immersive spatial audio, ensuring that the wireless connection accurately reproduces the intricacies of the in-game audio landscapes.
By meticulously testing your wireless connection through these comprehensive assessments, you can validate the performance and reliability of your headset within the gaming ecosystem. This proactive approach empowers you to identify any potential issues or fine-tune the settings to align with your gaming preferences, ensuring that your wireless headset delivers a seamless, immersive, and uninterrupted gaming experience.
Conclusion
In conclusion, the process of setting up your Xbox headset wirelessly opens the door to a world of gaming freedom and immersive audio experiences. By meticulously following the steps outlined in this guide, you have embarked on a journey towards seamlessly integrating a wireless headset into your gaming setup, unlocking unparalleled convenience and flexibility.
The initial step of checking your Xbox compatibility with wireless headsets laid the foundation for a smooth setup process. By ensuring that your Xbox model supports wireless connectivity and aligns with the wireless standards utilized by your headset, you have preemptively addressed potential compatibility issues, paving the way for a seamless integration.
Charging your headset to full capacity emerged as a pivotal preparatory step, ensuring that your gaming adventures are uninterrupted by sudden battery depletion. By adhering to the charging guidelines and verifying a full charge, you have set the stage for extended gaming sessions, free from the constraints of wired connections and frequent recharging.
The meticulous process of connecting your headset to the Xbox culminated in a seamless pairing, enabling you to harness the full potential of your wireless headset. By navigating the Xbox settings and following the pairing instructions, you have established a stable and secure connection, empowering you to immerse yourself in high-quality audio and seamless communication during gameplay.
Fine-tuning your headset settings further personalized your gaming experience, allowing you to tailor the audio output, microphone performance, and communication features to align with your unique preferences. By exploring the audio and communication adjustments, you have optimized your headset for immersive gaming sessions and clear, effective communication with your fellow gamers.
Finally, testing your wireless connection validated the performance and reliability of your headset, ensuring that the wireless setup delivers a seamless and immersive gaming experience. By assessing the audio output, microphone performance, wireless range, and spatial audio capabilities, you have confirmed that your wireless headset aligns with your expectations for uninterrupted, high-quality gaming experiences.
As you embark on your wireless gaming journey, the steps outlined in this guide serve as a roadmap to seamlessly integrate your wireless headset into your gaming ecosystem, unlocking the freedom to move and the immersive audio experiences that wireless technology offers. With your wireless headset seamlessly connected to your Xbox, you are now poised to embark on captivating gaming adventures, empowered by the convenience, flexibility, and high-quality audio that wireless headsets provide.