Introduction
Dealing with a quiet headset microphone can be a frustrating experience, especially when you're in the midst of an important virtual meeting or trying to communicate with friends during a gaming session. The inability to effectively convey your thoughts due to low microphone volume can significantly hinder your overall experience. However, before giving in to the exasperation, it's essential to explore potential troubleshooting steps to rectify the issue.
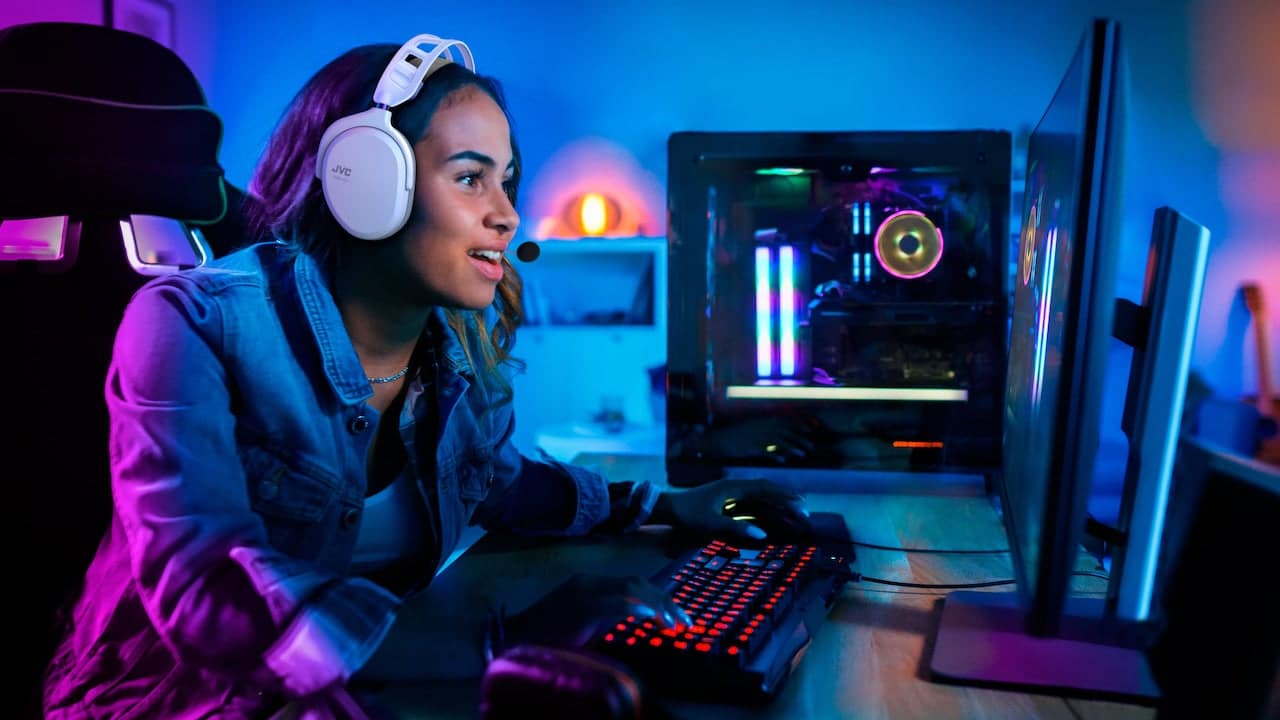
In this comprehensive guide, we'll delve into the various methods to troubleshoot a quiet headset microphone. Whether you're using a headset for gaming, virtual meetings, or simply communicating with friends and family, ensuring that your microphone operates at an optimal volume is crucial for seamless communication.
From checking physical connections to updating audio drivers and testing the microphone on a different device, we'll cover a range of troubleshooting techniques to help you identify and resolve the root cause of the low microphone volume. By following these steps, you can potentially save yourself from the frustration of dealing with a barely audible microphone and regain the clear and crisp audio quality you need for effective communication.
So, if you've found yourself struggling with a quiet headset microphone, don't fret. With the right approach and a bit of troubleshooting, you can potentially resolve the issue and restore your headset's microphone to its full functionality. Let's dive into the troubleshooting process and work towards ensuring that your headset microphone delivers the clarity and volume you need for seamless communication in various settings.
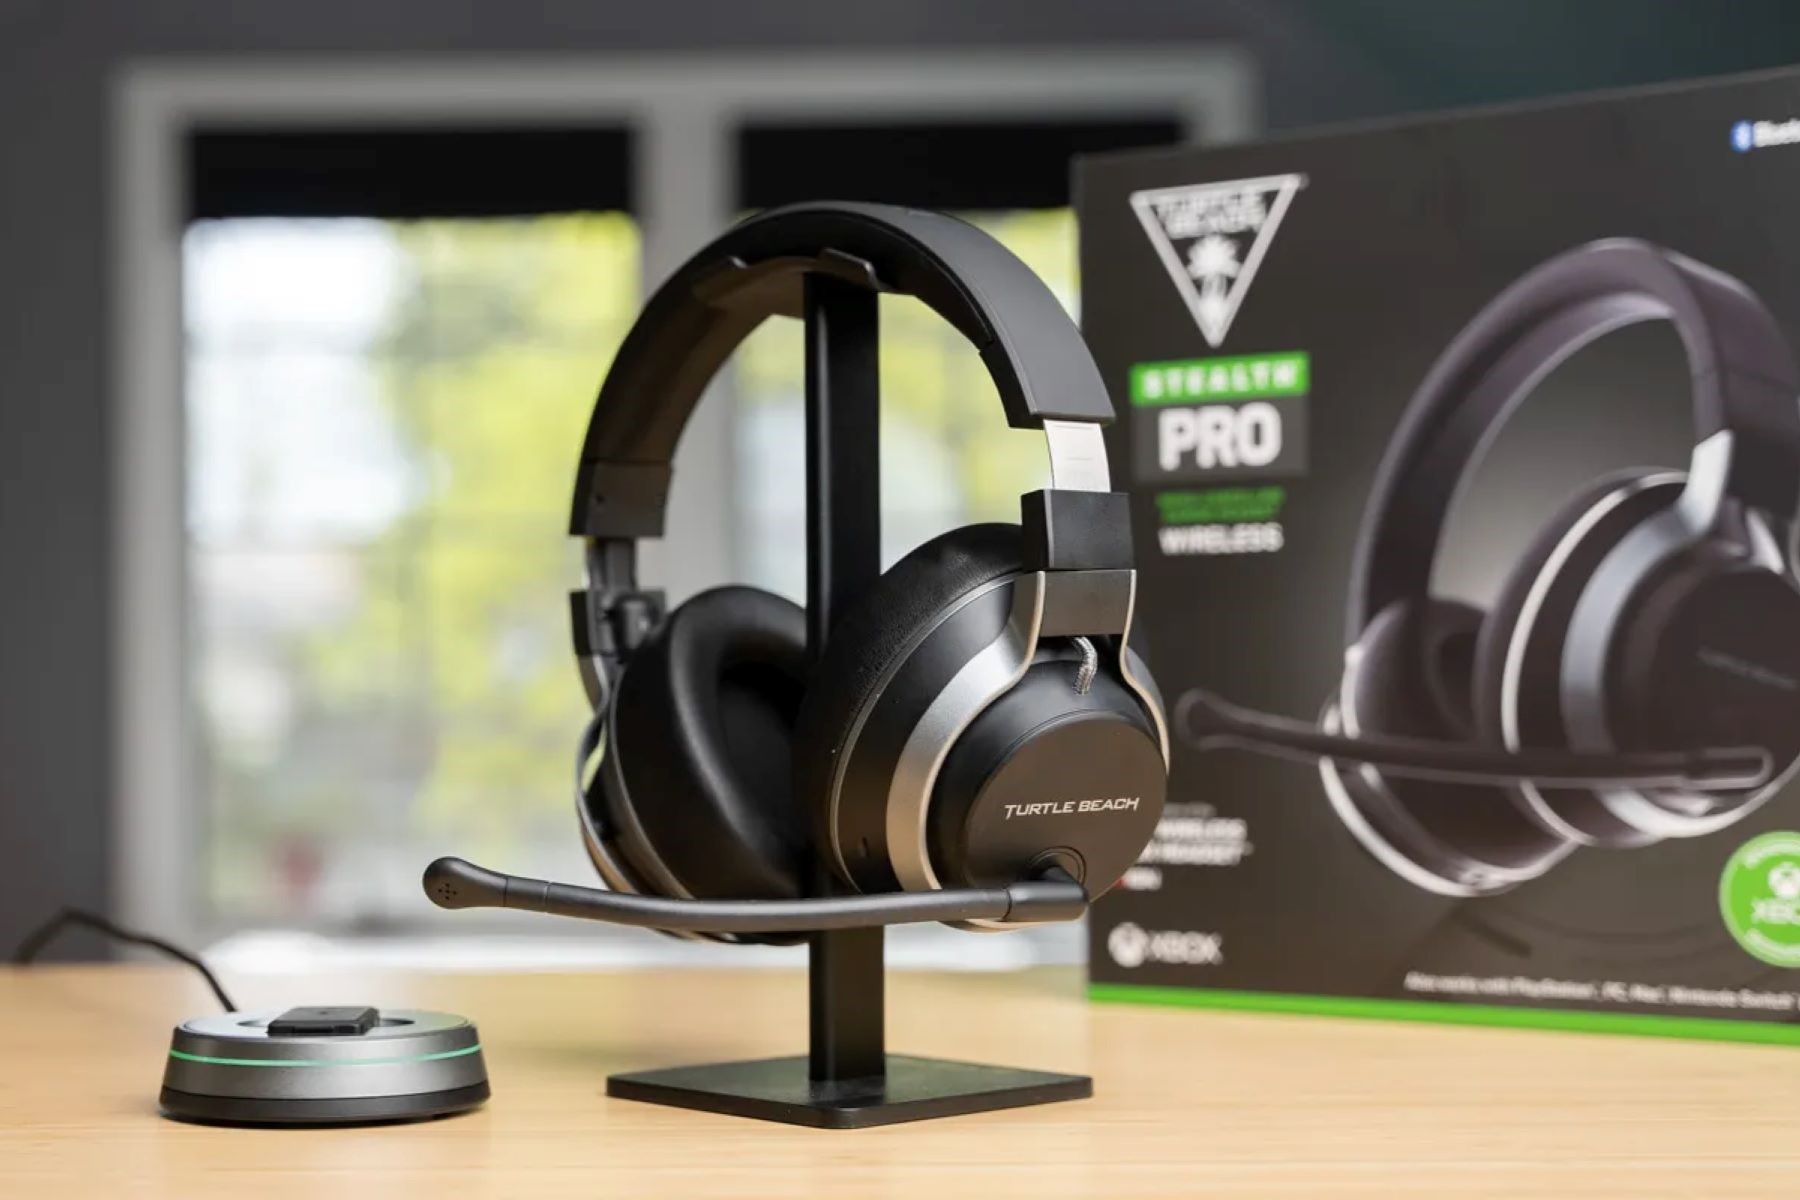
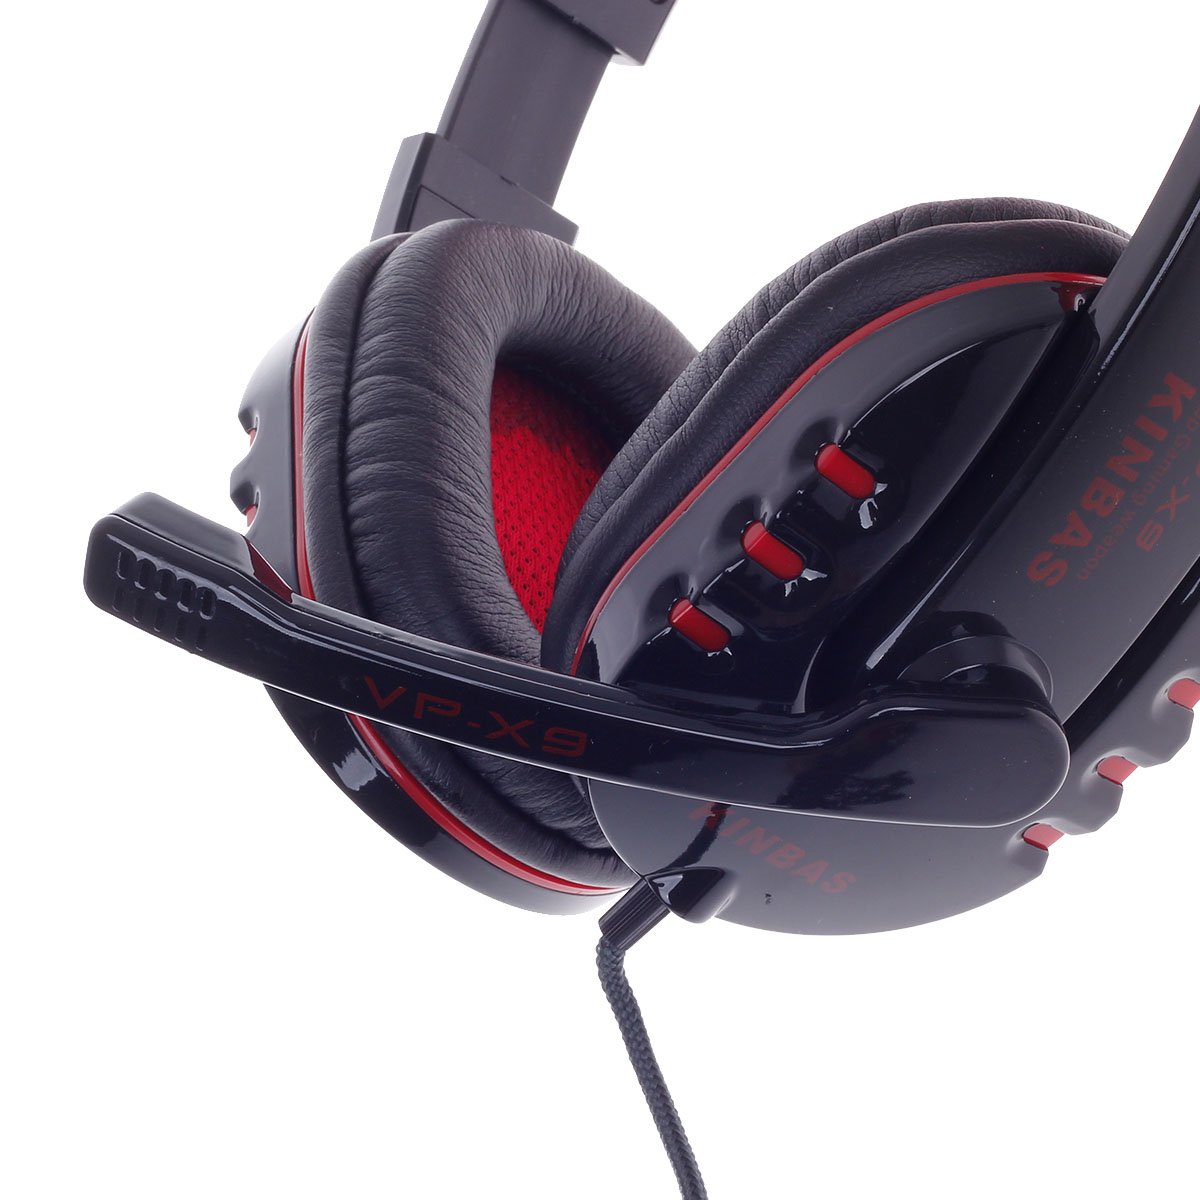
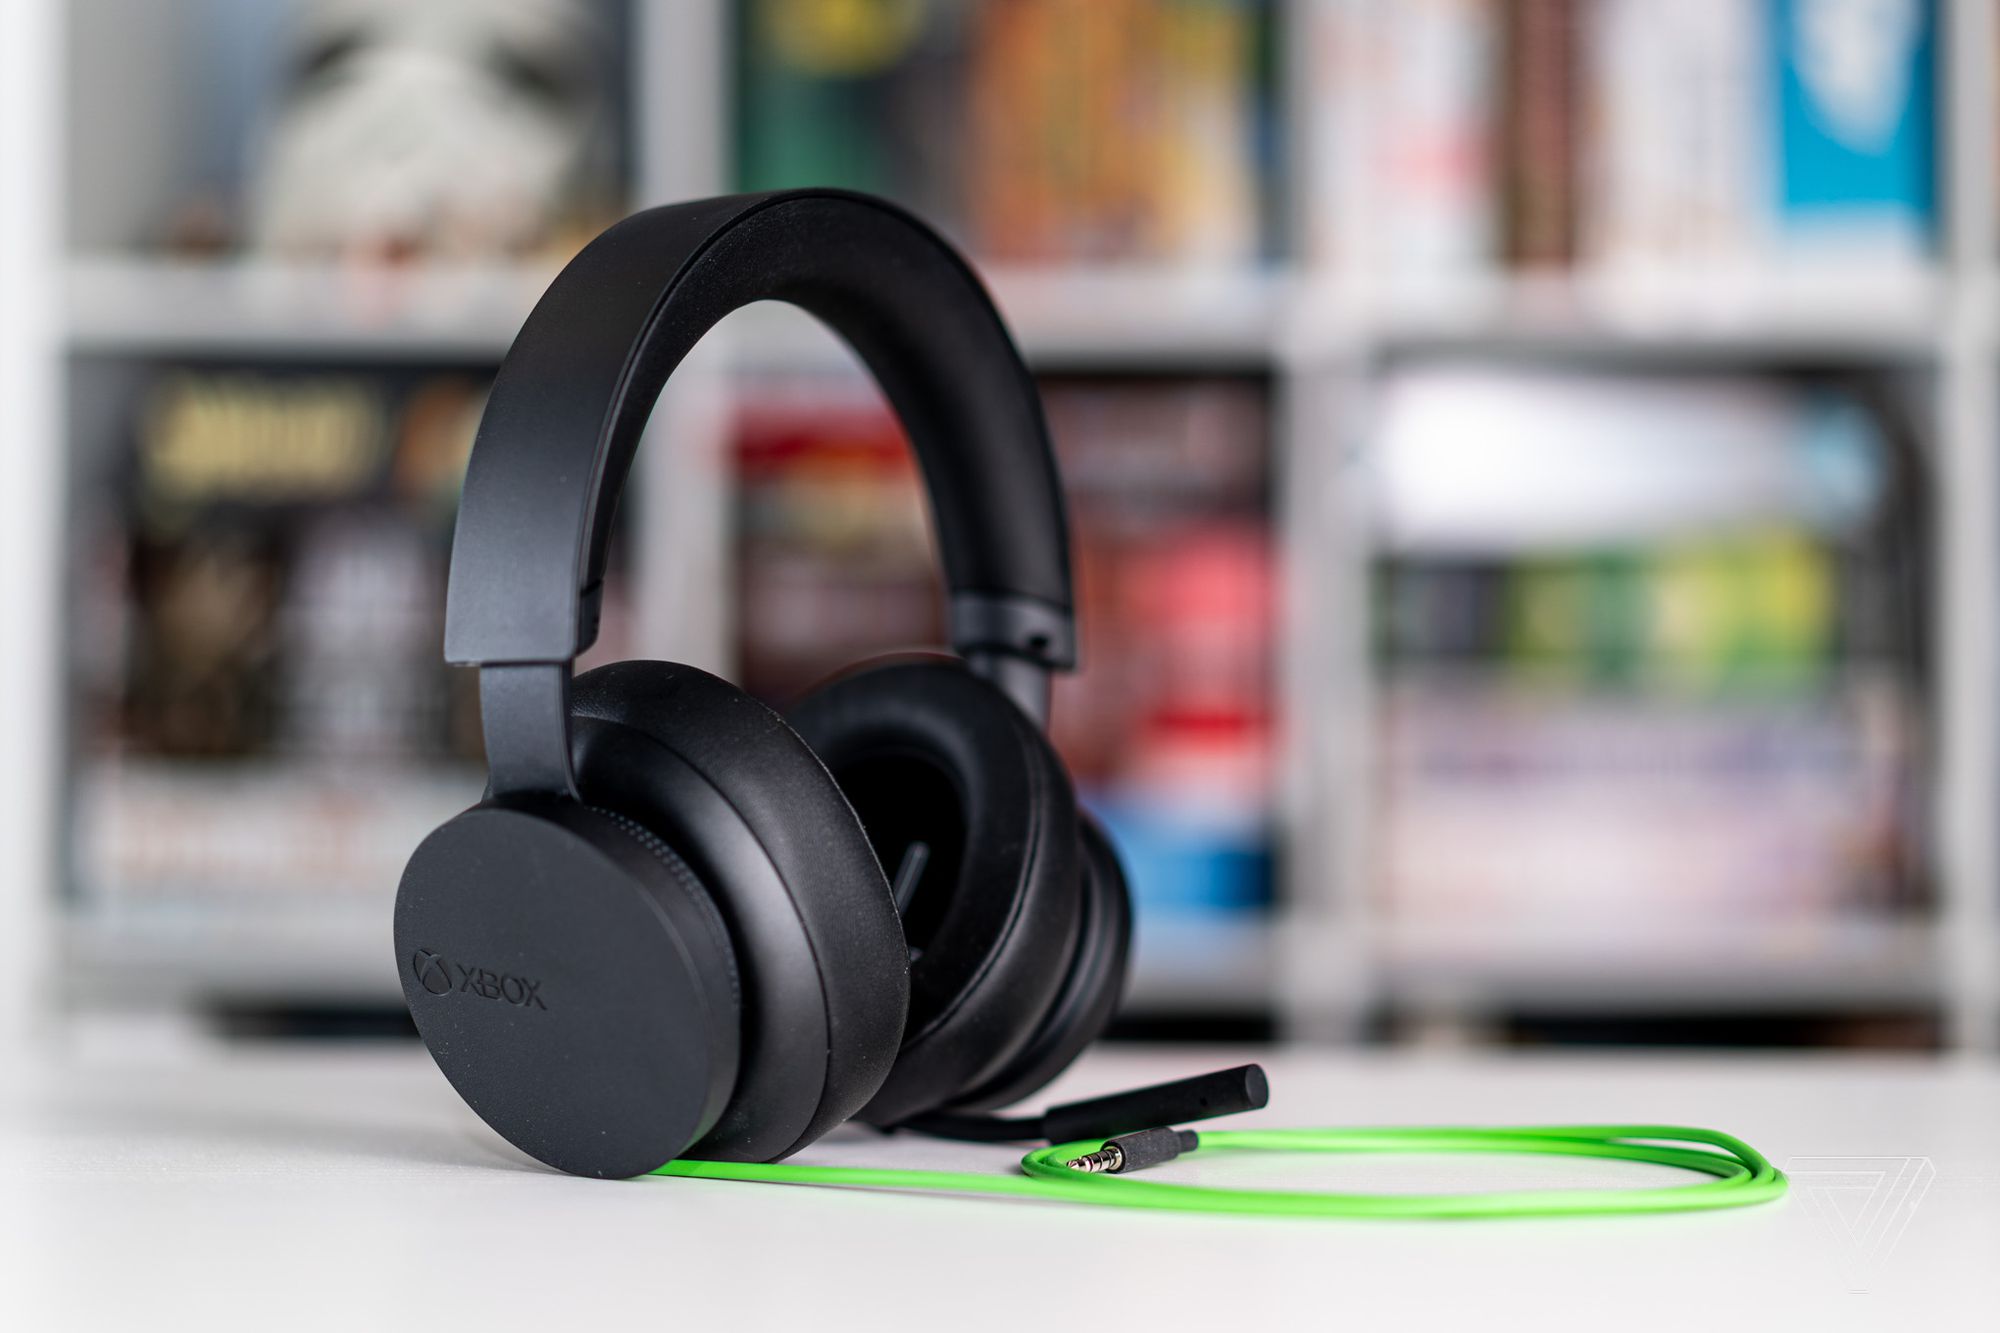
Check the Physical Connections
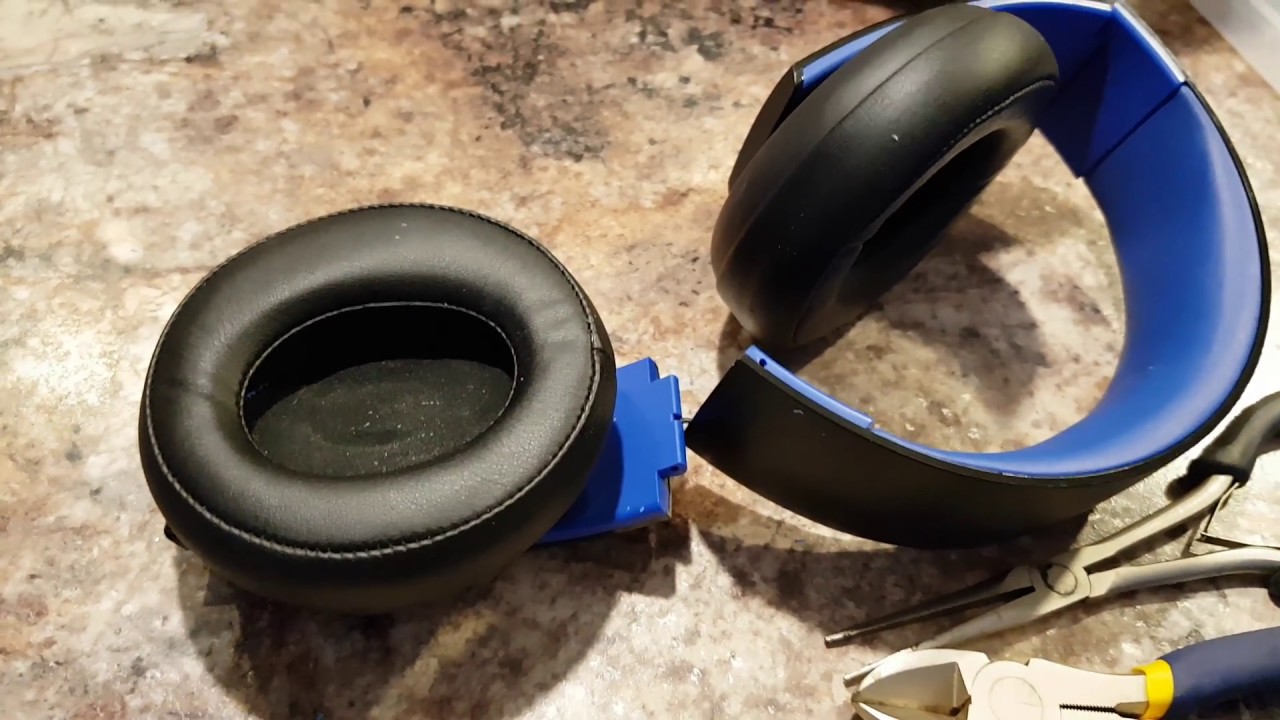
Ensuring that the physical connections of your headset are secure and properly configured is a fundamental step in troubleshooting a quiet headset microphone. Oftentimes, loose or faulty connections can lead to a decrease in microphone volume, causing frustration and hindering effective communication. To address this, follow these steps to meticulously inspect and rectify any potential issues related to the physical connections of your headset.
-
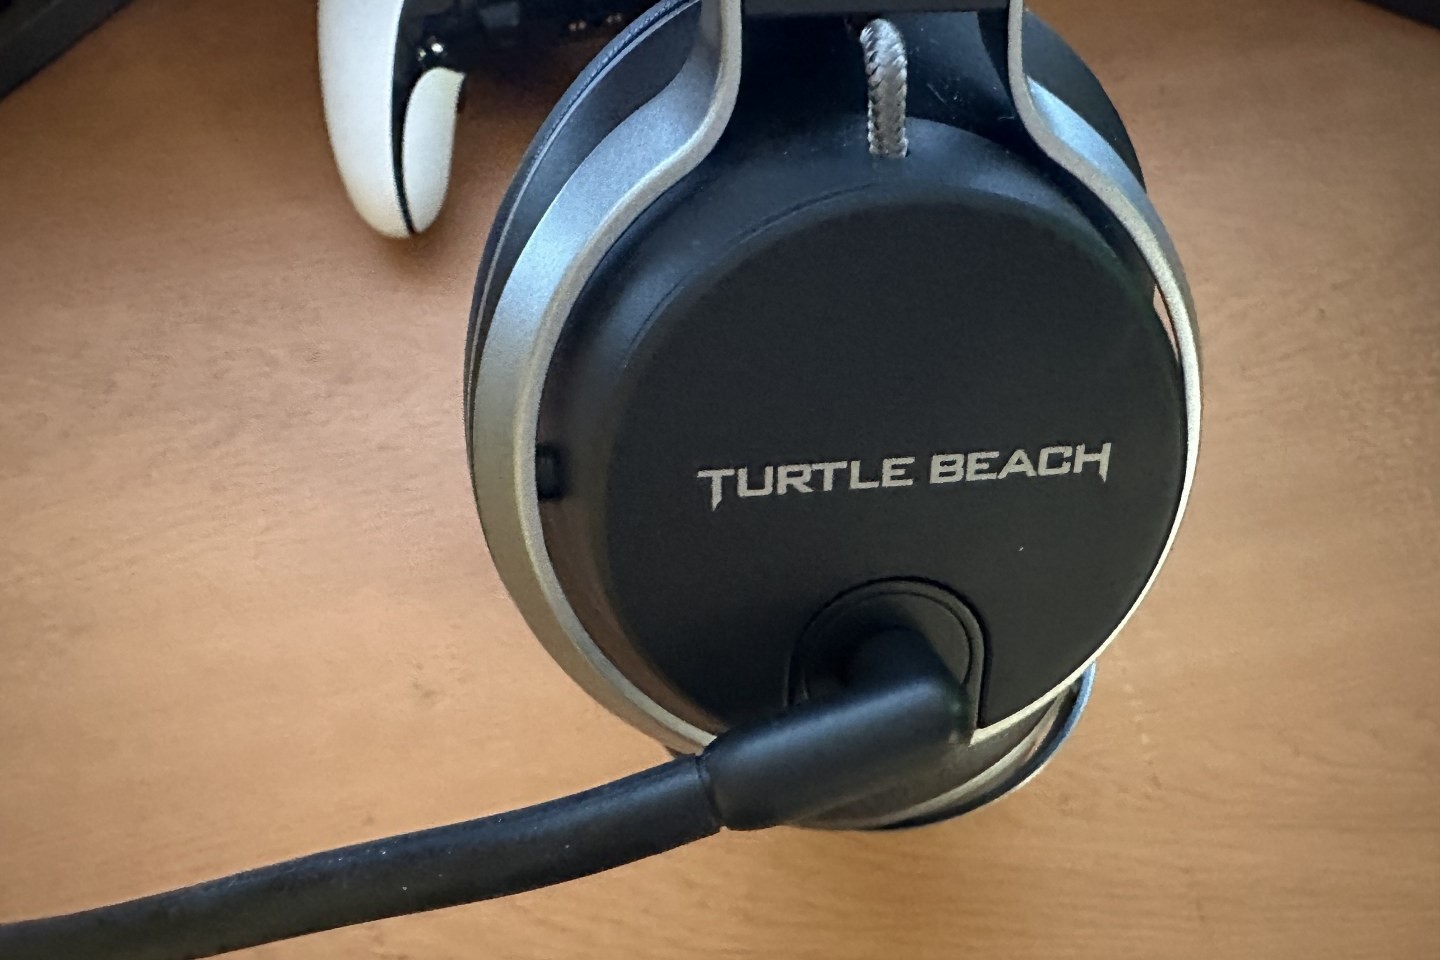
Inspect the Headset Jack: Begin by examining the headset jack to ensure that it is fully inserted into the appropriate port on your device. If you're using a PC, verify that the jack is plugged into the correct audio input/output port. On laptops and mobile devices, ensure that the headset is connected to the designated audio jack.
-
Check for Damaged Cables: Carefully examine the cables of your headset for any signs of damage, such as fraying or exposed wires. If any damage is identified, it's imperative to replace the affected cables to restore the integrity of the connection.
-
Verify the USB Connection (If Applicable): For headsets that utilize USB connections, confirm that the USB cable is securely plugged into the appropriate port. Additionally, test the headset on a different USB port to rule out potential issues with the original port.
-
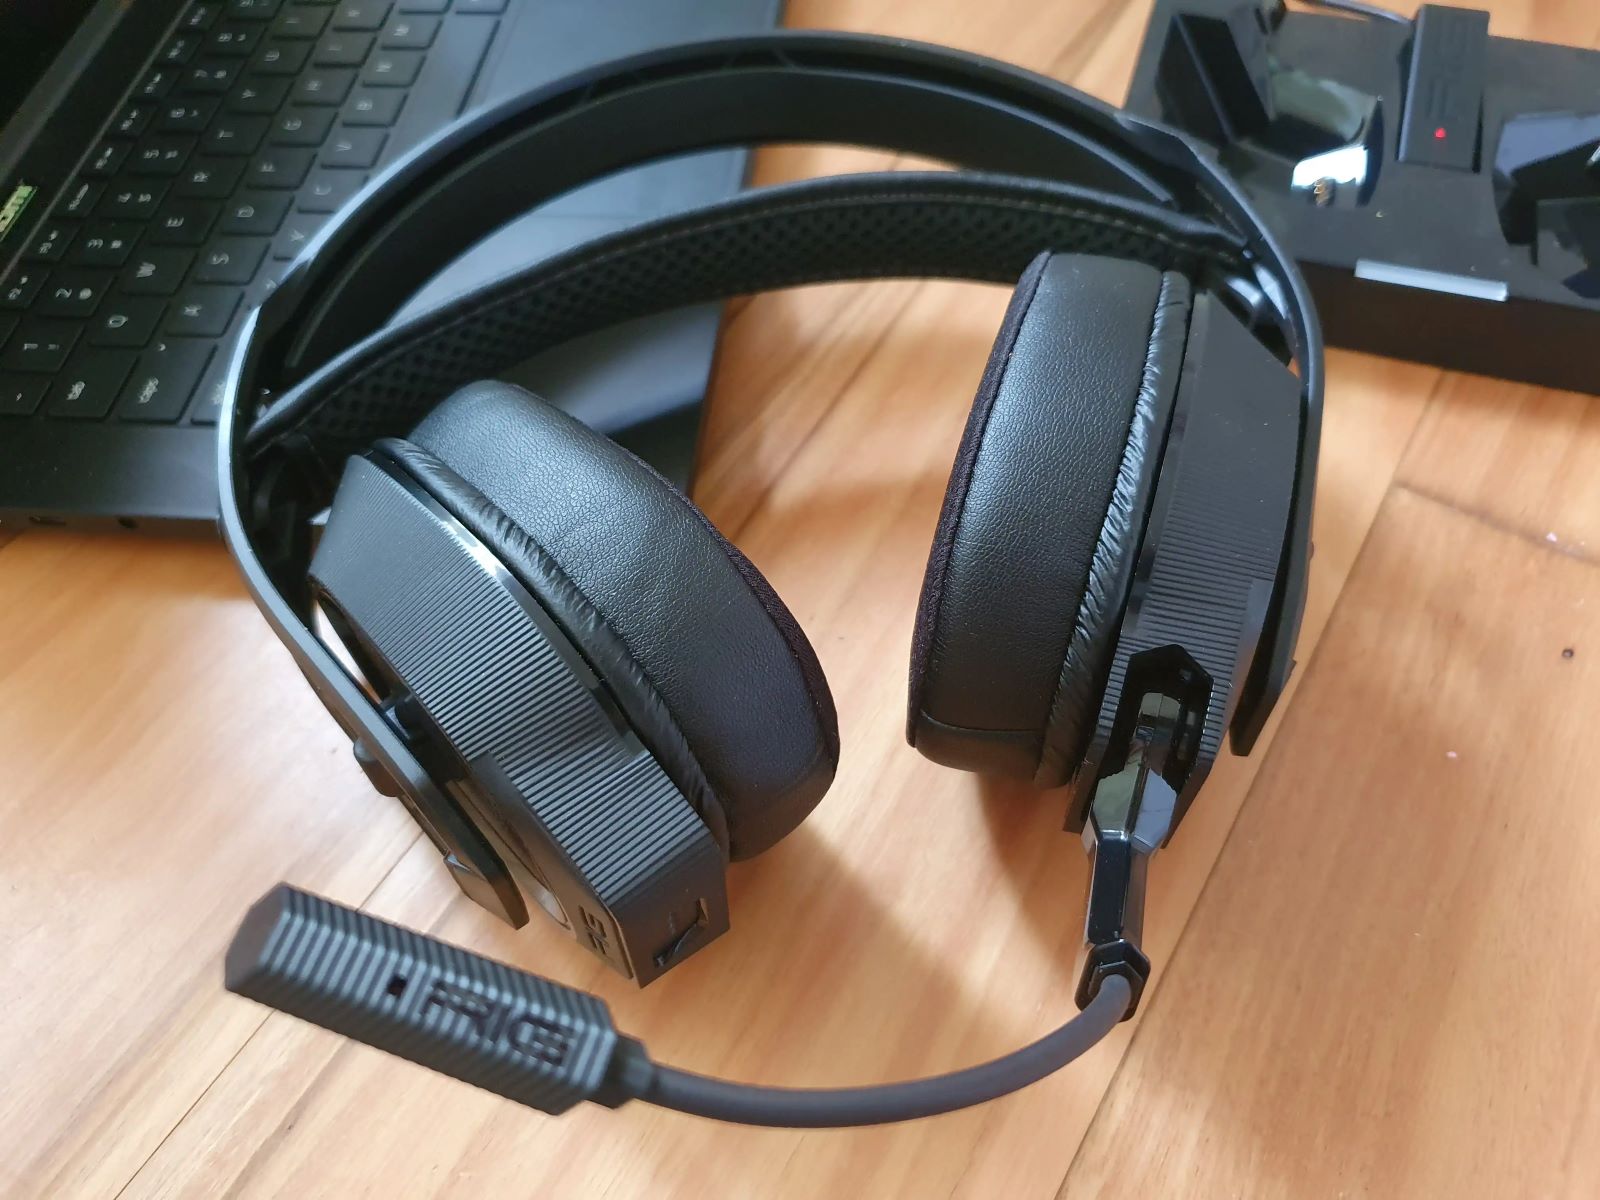
Inspect the Microphone Boom: If your headset features a retractable microphone boom, ensure that it is fully extended and positioned close to your mouth. Adjust the microphone boom to an optimal distance from your mouth to facilitate clear and audible transmission of your voice.
-
Clean the Connection Points: Over time, dust and debris can accumulate in the connection points of your headset, leading to compromised audio quality. Use a soft, dry cloth to gently clean the connection points, ensuring that there is no obstruction hindering the connection.
By meticulously checking and addressing any issues related to the physical connections of your headset, you can potentially identify and resolve the root cause of the quiet microphone volume. Taking these proactive measures can significantly contribute to restoring the optimal functionality of your headset microphone, allowing for clear and uninterrupted communication in various scenarios.
Adjust the Mic Volume Settings
Adjusting the microphone volume settings is a pivotal step in troubleshooting a quiet headset microphone. By fine-tuning the volume settings, you can potentially rectify the issue and restore the microphone's audio output to an optimal level. Whether you're using a Windows PC, Mac, or gaming console, the process of adjusting mic volume settings may vary slightly. Here's a detailed breakdown of how to adjust the mic volume settings on different platforms:
Windows PC
-
Access Sound Settings: Right-click on the speaker icon in the system tray and select "Open Sound settings." Alternatively, you can access sound settings through the Control Panel or Settings app.
-
Adjust Microphone Volume: Within the Sound settings, navigate to the "Input" or "Recording" tab, depending on your Windows version. Locate your headset's microphone in the list of input devices and click on it to access the volume settings. Adjust the microphone volume slider to increase or decrease the input level as needed.
-
Additional Settings: For more advanced volume adjustments, you can click on "Device properties" or "Additional device properties" to access the microphone's properties window. Here, you can fine-tune settings such as microphone boost and levels for further customization.
Mac
-
Open System Preferences: Click on the Apple logo in the top-left corner of the screen and select "System Preferences." Then, choose "Sound" to access the sound settings.
-
Adjust Input Volume: In the Sound preferences, navigate to the "Input" tab to view the available input devices, including your headset's microphone. Use the input volume slider to adjust the microphone's input level according to your preferences.
-
Advanced Settings: To access additional settings, such as input gain and ambient noise reduction, you can click on "Input" and then select the microphone from the list of input devices. This allows for more granular control over the microphone's volume and performance.
Gaming Consoles
-
Navigate to Settings: Depending on the console, access the system settings and locate the audio or microphone settings within the menu.
-
Adjust Microphone Volume: Within the audio or microphone settings, look for options to adjust the microphone volume. This may involve a slider or numerical input for adjusting the volume level.
-
Test and Fine-Tune: After adjusting the volume, it's essential to test the microphone in a gaming or communication scenario to ensure that the volume level is optimal for clear and audible communication.
By carefully adjusting the mic volume settings on your respective platform, you can potentially mitigate the issue of a quiet headset microphone and optimize the audio output for seamless communication and enhanced user experience.
Update Audio Drivers
Updating audio drivers is a crucial step in troubleshooting a quiet headset microphone, as outdated or faulty drivers can significantly impact the performance of the microphone. Audio drivers serve as the communication bridge between the operating system and the audio hardware, facilitating the proper functioning of input and output devices, including microphones. When the audio drivers are outdated or corrupted, it can lead to various audio-related issues, including low microphone volume. To address this, updating the audio drivers is essential to potentially resolve the underlying driver-related issues and restore the optimal functionality of the headset microphone.
Windows PC
On a Windows PC, updating audio drivers can be accomplished through the Device Manager or utilizing third-party driver update software. Here's how to update audio drivers using the Device Manager:
-
Access Device Manager: Right-click on the Start button and select "Device Manager" from the context menu. Alternatively, you can search for "Device Manager" in the Windows search bar.
-
Locate Audio Devices: Within the Device Manager, expand the "Audio inputs and outputs" category to view the audio devices, including the headset's microphone.
-
Update Driver Software: Right-click on the headset's audio device, select "Update driver," and choose the option to search for updated driver software automatically. Follow the on-screen prompts to allow Windows to search for and install the latest audio drivers for the headset.
Alternatively, you can visit the official website of the headset manufacturer or the motherboard's manufacturer to download the latest audio drivers compatible with your system.
Mac
For Mac users, updating audio drivers involves ensuring that the operating system is up to date, as macOS includes built-in support for a wide range of audio devices. By installing the latest macOS updates, you can ensure that the system has the necessary audio drivers to support the headset's microphone. Additionally, if the headset requires specific drivers, you can visit the manufacturer's website to download and install the latest drivers compatible with macOS.
Gaming Consoles
When using a headset with gaming consoles such as Xbox or PlayStation, updating audio drivers typically involves installing system updates released by the console manufacturer. These updates often include enhancements and bug fixes related to audio performance, potentially addressing issues with headset microphones. By keeping the console's operating system up to date, you can ensure that the audio drivers and system software support the optimal functionality of the headset's microphone.
By updating the audio drivers on your respective platform, you can potentially resolve driver-related issues that contribute to a quiet headset microphone. This proactive approach can lead to improved audio performance and enhanced communication capabilities, allowing you to fully utilize your headset for various activities, including gaming, virtual meetings, and voice communication.
Use a Different USB Port
When troubleshooting a quiet headset microphone, exploring the option of using a different USB port can be a strategic step in identifying and addressing potential connectivity issues. USB ports can sometimes experience technical glitches or power delivery inconsistencies, leading to suboptimal performance of connected devices, including headsets with built-in microphones. By switching to an alternate USB port, you can potentially circumvent the underlying issues associated with the original port and restore the proper functionality of the headset microphone.
The process of using a different USB port involves unplugging the headset's USB connector from the current port and plugging it into an alternative USB port on your device. This simple yet effective maneuver allows you to test whether the quiet microphone issue is linked to the specific USB port being used. Here are the key considerations when implementing this troubleshooting step:
Windows PC
On a Windows PC, the availability of multiple USB ports provides the flexibility to test different connections for the headset. By switching to an alternate USB port, you can assess whether the quiet microphone issue persists or if the new port yields improved microphone volume. This process can help in isolating the source of the problem and determining whether the original USB port is contributing to the low microphone volume.
Mac
For Mac users, the option to use a different USB port applies to devices such as MacBooks, iMacs, and Mac mini, which feature multiple USB ports. By connecting the headset to a different USB port, you can gauge whether the microphone volume exhibits any improvement, thereby gaining insights into the potential impact of the original port on the headset's performance.
Gaming Consoles
When using a headset with gaming consoles like Xbox or PlayStation, the availability of multiple USB ports or USB adapters allows for the exploration of alternative connections. By utilizing a different USB port, you can assess whether the quiet microphone issue persists across different ports, potentially narrowing down the root cause of the problem and paving the way for a viable solution.
In essence, the process of using a different USB port serves as a practical troubleshooting method to determine the influence of the USB connection on the headset microphone's volume. By conducting this test, you can gain valuable insights into the potential role of the original USB port in contributing to the quiet microphone issue, ultimately guiding you toward a resolution that restores the optimal functionality of the headset.
Test the Microphone on Another Device
Testing the headset microphone on another device is a pivotal step in troubleshooting a quiet microphone, as it provides valuable insights into the nature of the issue and helps in isolating potential device-specific factors. By connecting the headset to an alternative device and assessing the microphone volume, you can gain a clearer understanding of whether the quiet microphone issue is linked to the headset itself or the original device it was connected to.
To execute this troubleshooting step, begin by identifying an alternative device that supports the use of a headset with a microphone. This can include another computer, laptop, smartphone, or tablet with compatible audio input/output ports or USB connectivity. Once the alternative device is identified, proceed to connect the headset to the device using the appropriate audio jack or USB connection.
After establishing the connection, engage in a test scenario that involves utilizing the headset microphone, such as making a voice recording, initiating a voice call, or engaging in a gaming session that requires voice communication. During this test, pay close attention to the microphone volume and assess whether the issue of low volume persists on the alternative device.
If the headset microphone exhibits optimal volume and clear audio output on the alternative device, it indicates that the issue may be related to the original device's configuration or settings, rather than the headset itself. In this scenario, further troubleshooting on the original device, such as adjusting audio settings, updating drivers, or checking for software conflicts, may be necessary to address the quiet microphone issue effectively.
Conversely, if the quiet microphone problem persists even when connected to an alternative device, it suggests that the issue may be inherent to the headset or its connection, rather than being device-specific. In such cases, focusing on headset-related troubleshooting, such as inspecting the physical connections, adjusting mic volume settings, or seeking technical support from the headset manufacturer, becomes crucial to rectify the underlying issue and restore the microphone's optimal functionality.
By testing the microphone on another device, you can effectively narrow down the scope of the troubleshooting process and gain valuable insights into the root cause of the quiet microphone issue. This method allows for a targeted approach to resolving the problem, whether it pertains to the headset, the original device, or specific configurations, ultimately leading to an enhanced user experience and seamless communication.
Contact Customer Support
If all the previous troubleshooting steps have been diligently followed and the issue of a quiet headset microphone persists, reaching out to the customer support team of the headset manufacturer is the next logical step. Customer support representatives are equipped with the knowledge and resources to provide tailored assistance and guidance in addressing technical issues related to the headset's microphone performance.
When contacting customer support, it's essential to provide comprehensive details regarding the troubleshooting steps already undertaken, including the specific actions taken to rectify the quiet microphone problem. This information enables the support team to understand the extent of the troubleshooting efforts and helps in streamlining the support process.
During the interaction with customer support, be prepared to share relevant details such as the headset model, purchase information, and any specific error messages or observations related to the quiet microphone issue. Additionally, if the headset is under warranty, it's advisable to have the purchase receipt or warranty details readily available, as this information may be required for validation purposes.
The customer support team may guide you through additional troubleshooting steps tailored to your specific headset model and the nature of the microphone issue. This can include advanced settings adjustments, firmware updates, or specialized diagnostic procedures aimed at identifying and resolving the root cause of the problem.
In cases where the quiet microphone issue is determined to be a hardware fault or a manufacturing defect, the customer support team can facilitate the initiation of a warranty claim or provide instructions for repair or replacement processes. Their expertise and guidance can significantly expedite the resolution of the issue and ensure that you receive the necessary support to address the quiet microphone problem effectively.
By engaging with the customer support team, you not only gain access to specialized assistance but also contribute to the ongoing improvement of the headset's performance. Your feedback and experiences provide valuable insights to the manufacturer, potentially influencing future product enhancements and quality assurance measures.
Overall, contacting customer support represents a proactive and effective approach to addressing persistent technical issues, such as a quiet headset microphone. By leveraging the expertise and resources of the customer support team, you can navigate through the troubleshooting process with confidence, ultimately working towards a resolution that restores the optimal functionality of the headset's microphone and enhances your overall user experience.