Introduction
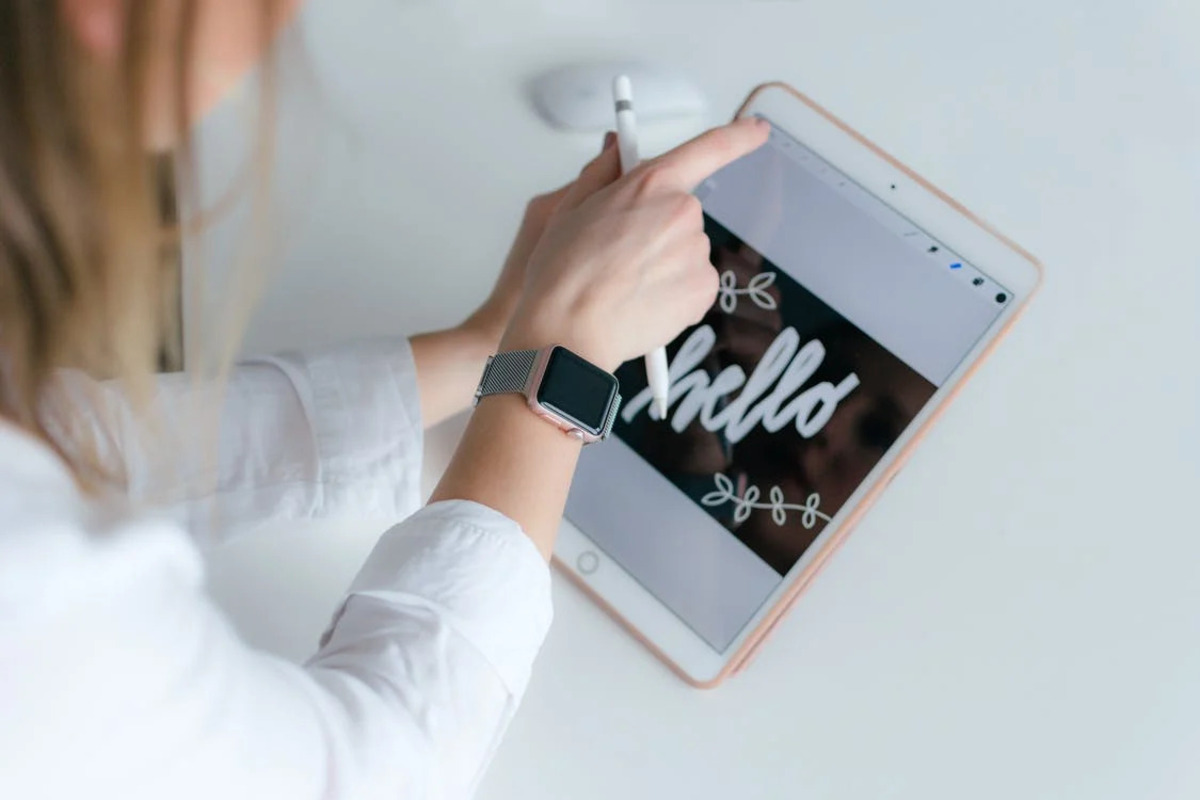
Welcome to the world of digital creativity and productivity with your Surface Pro and its remarkable stylus pen. The Surface Pen is not just a mere accessory; it is an essential tool that enhances the functionality and versatility of your device. Whether you are an artist, a student, a professional, or simply someone who appreciates the convenience of digital note-taking and sketching, the Surface Pen is designed to elevate your experience.
In this guide, we will walk you through the process of setting up your stylus pen with your Surface Pro, allowing you to unleash its full potential. From unboxing the pen to customizing its settings, we will cover everything you need to know to seamlessly integrate the Surface Pen into your workflow.
As you embark on this journey, keep in mind that the Surface Pen is more than just a writing or drawing tool. It is a gateway to a world of precision, creativity, and efficiency. With its pressure sensitivity, tilt support, and customizable buttons, the Surface Pen empowers you to express your ideas with unparalleled accuracy and finesse.
So, whether you are preparing to take digital notes, sketch a masterpiece, annotate documents, or navigate your device with ease, the Surface Pen is your trusted companion. Let's dive into the process of setting up and optimizing your stylus pen to make the most of its capabilities.
Step 1: Removing the Stylus Pen from the Surface Pro
Before you can start using your Surface Pen, you need to remove it from its designated storage space on your Surface Pro. This process is straightforward, and it ensures that your stylus pen is readily accessible whenever inspiration strikes.
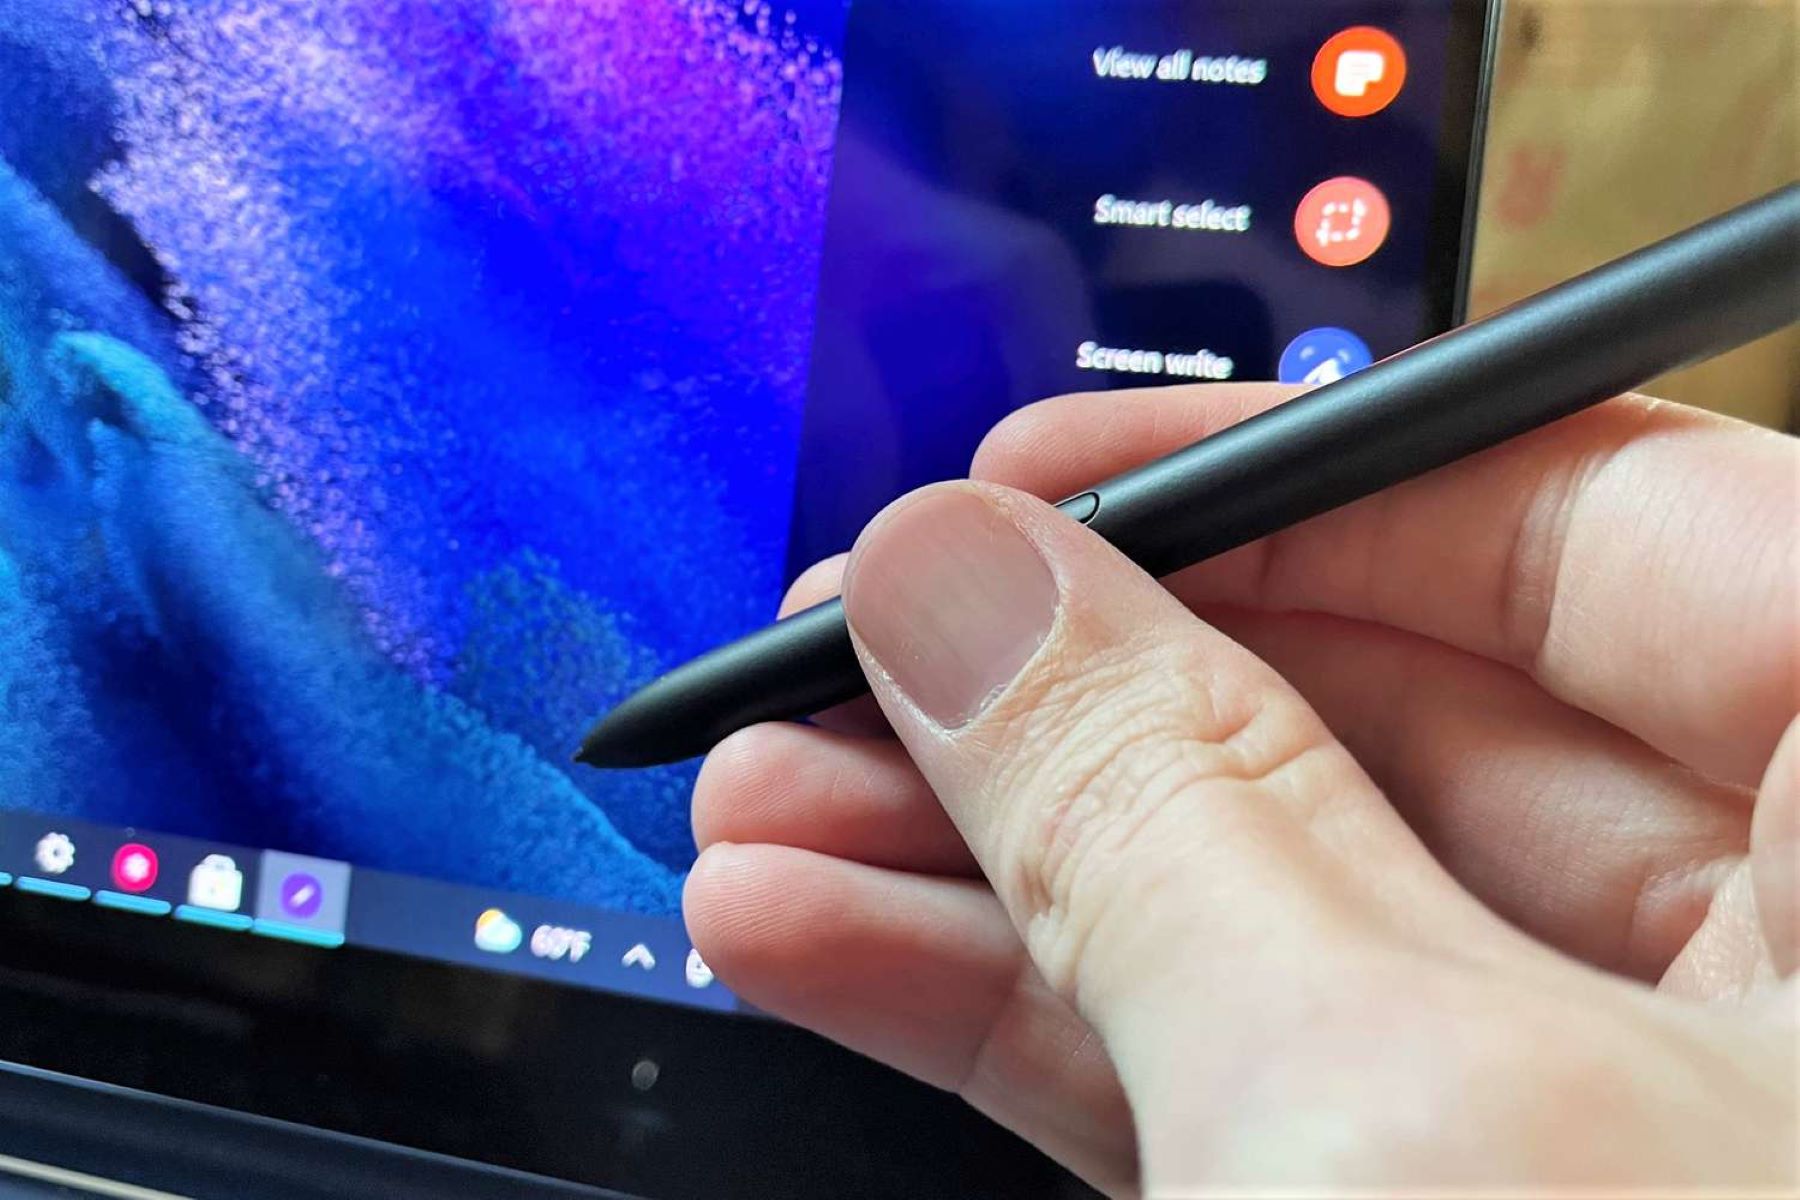
First, locate the Surface Pen on your device. Depending on your Surface Pro model, the pen may be magnetically attached to the side of the device or secured in a dedicated pen loop on the Type Cover. Once you have located the pen, gently grasp it and pull it away from the Surface Pro. If the pen is magnetically attached, you may feel a satisfying click as it disengages from the device.
If your Surface Pro is equipped with a Type Cover featuring a pen loop, carefully slide the pen out of the loop, taking care not to apply excessive force that could potentially damage the pen or the loop itself.
As you remove the Surface Pen, take a moment to appreciate its sleek design and ergonomic feel. The pen is engineered to provide a comfortable and natural writing experience, whether you are jotting down notes or creating intricate digital artwork.
Once the pen is in your hand, you are ready to embark on a journey of digital expression and productivity. The simple act of removing the Surface Pen signifies the beginning of a seamless transition from traditional pen and paper to the boundless possibilities offered by digital ink.
With the Surface Pen in hand, you are now prepared to pair it with your Surface Pro and unlock its full potential. The next step in this guide will walk you through the process of pairing the stylus pen with your device, paving the way for a seamless and intuitive user experience.
Step 2: Pairing the Stylus Pen with the Surface Pro
Pairing your Surface Pen with your Surface Pro is a crucial step that enables seamless interaction between the pen and the device. This process establishes a wireless connection, allowing the Surface Pro to recognize the pen’s input and leverage its advanced features.
To begin, ensure that your Surface Pro is powered on and ready for the pairing process. Next, remove the cap from the back of the Surface Pen to reveal the battery and the pairing button. Press and hold the pairing button for a few seconds until the LED light on the pen begins to blink. This indicates that the pen is in pairing mode.
On your Surface Pro, navigate to the Settings menu and select “Devices.” Within the Devices menu, choose “Bluetooth & other devices” to access the Bluetooth settings. Ensure that Bluetooth is turned on and actively searching for nearby devices.
As the Surface Pen enters pairing mode, it should appear in the list of available devices on your Surface Pro. Select the Surface Pen from the list to initiate the pairing process. Once the pairing is successful, the LED light on the pen will stop blinking, indicating that it is now paired with your Surface Pro.
With the Surface Pen successfully paired with your Surface Pro, you are now ready to harness its full potential. The seamless connection between the pen and the device enables precise input recognition, pressure sensitivity, and tilt support, allowing you to create, annotate, and navigate with unparalleled accuracy and fluidity.
By establishing this wireless connection, you have unlocked the transformative capabilities of the Surface Pen, empowering you to express your creativity and enhance your productivity in ways that were previously limited by traditional input methods.
With the stylus pen now paired with your Surface Pro, the next step is to explore the customization options that allow you to tailor the pen’s behavior to suit your unique preferences and workflow. This will be covered in the following section, guiding you through the process of customizing stylus pen settings to optimize your digital experience.
Step 3: Customizing Stylus Pen Settings
Now that your Surface Pen is paired with your Surface Pro, it’s time to explore the customization options that allow you to tailor the pen’s behavior to suit your unique preferences and workflow. The ability to customize stylus pen settings empowers you to optimize your digital experience, making the most of the pen’s advanced features.
To begin customizing the Surface Pen settings, navigate to the Settings menu on your Surface Pro and select “Devices.” Within the Devices menu, choose “Pen & Windows Ink” to access the pen settings. Here, you will find a range of options that can be adjusted to enhance your interaction with the Surface Pen.
One of the key settings to explore is the pressure sensitivity of the pen. By adjusting the pressure sensitivity, you can fine-tune the pen’s responsiveness to varying levels of pressure, allowing for more nuanced control when sketching, shading, or writing. Experiment with different pressure sensitivity levels to find the setting that best suits your artistic or writing style.
Additionally, you can customize the behavior of the pen’s buttons to streamline your workflow. The Surface Pen typically features one or more programmable buttons that can be assigned specific functions, such as launching apps, activating shortcuts, or accessing context-sensitive menus. By defining the actions associated with these buttons, you can tailor the pen’s functionality to align with your preferred tasks and applications.
Another aspect of the pen settings to explore is the tilt support. If your Surface Pen model includes tilt functionality, you can adjust the tilt sensitivity to control the pen’s response to changes in angle. This feature is particularly valuable for digital artists, as it simulates the natural behavior of traditional drawing tools, allowing for realistic and expressive brush strokes.
Furthermore, within the pen settings, you may find options to customize handwriting recognition, palm rejection, and other advanced features that enhance the overall usability of the Surface Pen.
By customizing the stylus pen settings to align with your preferences and creative workflow, you are maximizing the potential of this powerful tool. The ability to tailor the pen’s behavior and functionality to suit your individual needs underscores the versatility and adaptability of the Surface Pen, making it an indispensable asset for digital creators, note-takers, and professionals alike.
With the Surface Pen settings customized to your satisfaction, you are now equipped to leverage the full capabilities of the pen, unleashing your creativity and productivity in a manner that is uniquely tailored to your preferences.
Conclusion
Congratulations! You have successfully navigated the process of setting up and customizing your Surface Pen, unlocking its full potential and integrating it seamlessly with your Surface Pro. By following the steps outlined in this guide, you have embarked on a journey of digital creativity, productivity, and intuitive interaction.
With the Surface Pen in hand and paired with your Surface Pro, you are now poised to explore the boundless opportunities that this powerful tool offers. Whether you are an artist seeking to bring your digital creations to life, a student taking dynamic and interactive notes, or a professional leveraging the precision and versatility of digital ink, the Surface Pen is your gateway to a world of possibilities.
As you familiarize yourself with the Surface Pen’s features and customization options, take the time to experiment, innovate, and make the pen truly your own. Embrace the pressure sensitivity, tilt support, and programmable buttons to tailor the pen to your unique creative process and workflow.
Keep in mind that the Surface Pen is not just a tool; it is an extension of your creativity and a facilitator of seamless digital interaction. Its ability to capture the nuance of your expression, whether through precise lines, subtle shading, or fluid handwriting, empowers you to communicate and create with unparalleled accuracy and finesse.
As you continue to explore the possibilities of the Surface Pen, remember that its potential is limited only by your imagination. Whether you are sketching, annotating, or simply navigating your device with precision, the Surface Pen is your trusted companion, ready to elevate your digital experience.
In conclusion, the journey of setting up your stylus pen with your Surface Pro is just the beginning. Embrace the versatility, adaptability, and transformative capabilities of the Surface Pen as you embark on your digital endeavors. With its seamless integration and customizable features, the Surface Pen is poised to become an indispensable tool in your creative and productive pursuits.