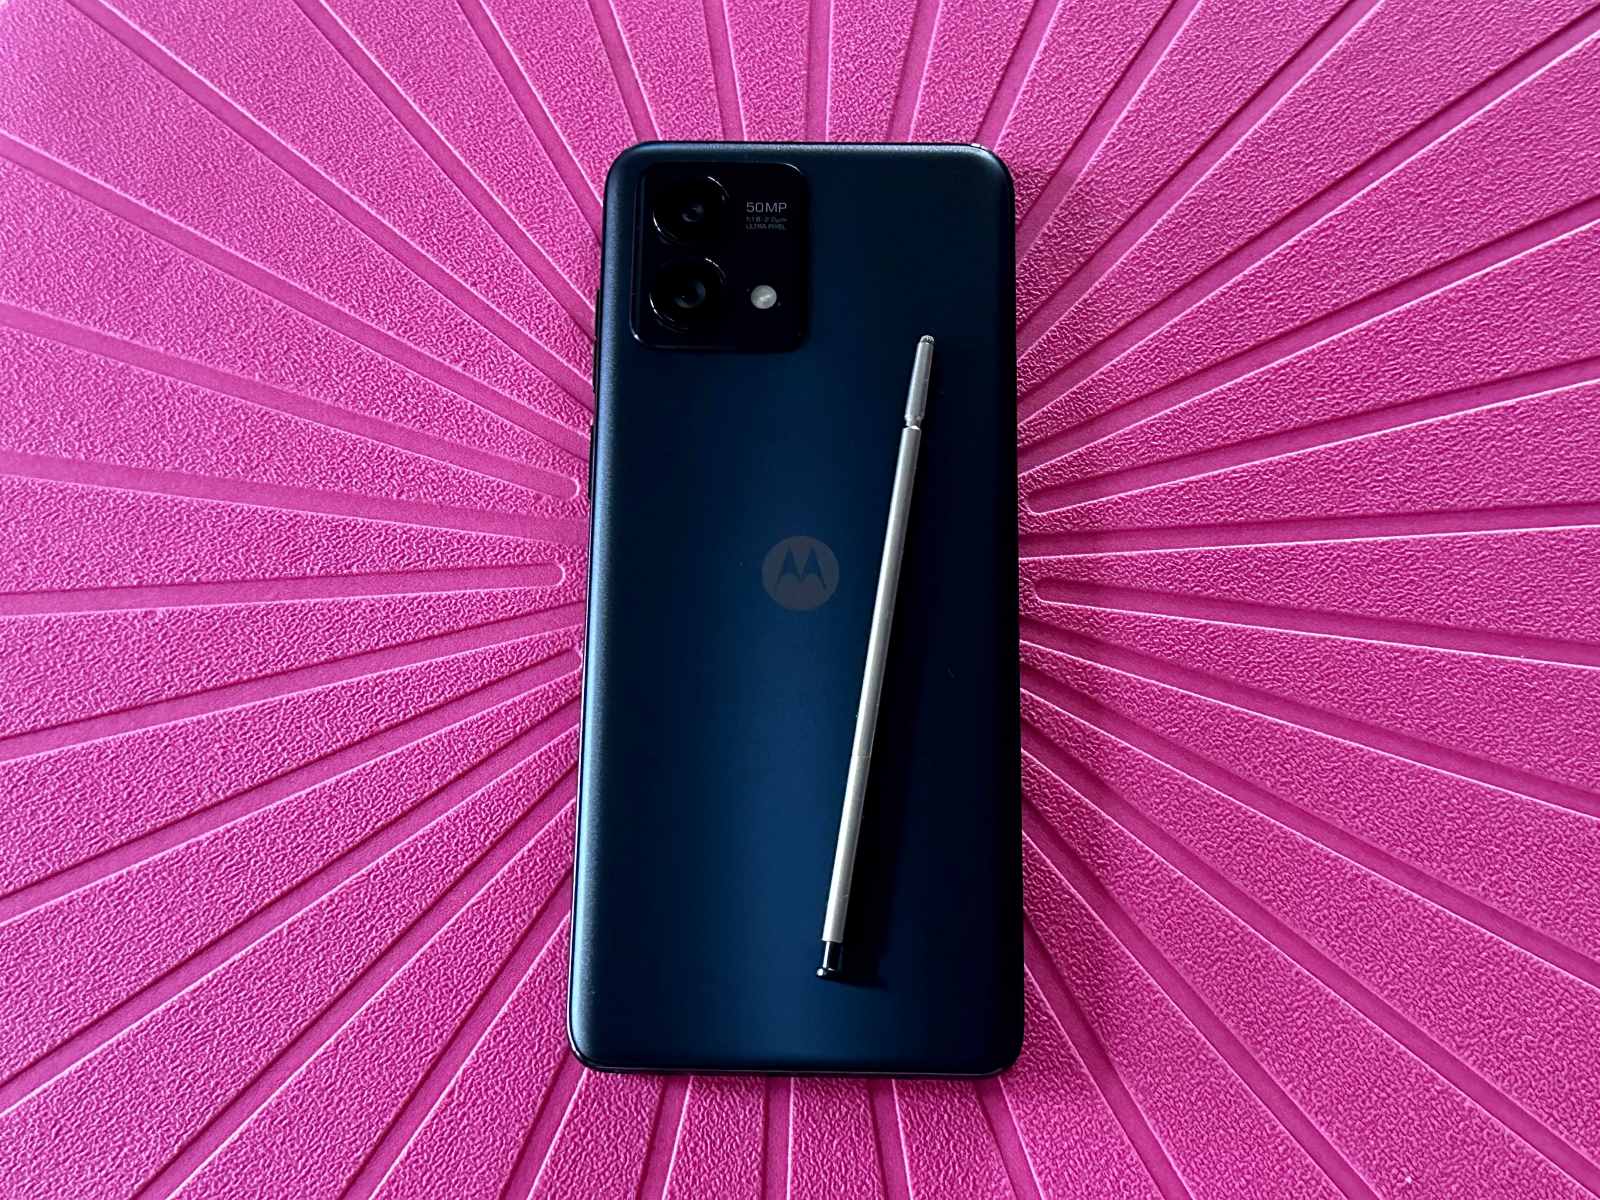
Introduction
The SIM card is a small but essential component of your mobile phone, enabling it to connect to your cellular network and access various services. Whether you're upgrading to a new device or switching carriers, knowing how to remove and replace the SIM card is a valuable skill for any smartphone user. In this guide, we'll focus on the Moto G Stylus 5G and walk you through the process of removing the SIM card from this particular device.
By understanding the steps involved in removing a SIM card from the Moto G Stylus 5G, you can confidently handle this task whenever the need arises. Whether you're troubleshooting network issues, upgrading to a new phone, or simply swapping out your SIM card, having a clear understanding of the process will empower you to take control of your device's connectivity.
In the following sections, we'll delve into the specifics of preparing for a SIM card swap, the step-by-step process of removing the SIM card from the Moto G Stylus 5G, and offer tips to ensure a smooth transition. Whether you're a seasoned tech enthusiast or a novice smartphone user, this guide will equip you with the knowledge and confidence to handle SIM card swaps with ease. So, let's get started and explore the intricacies of removing a SIM card from the Moto G Stylus 5G.
Preparing for SIM Card Swap
Before embarking on the process of removing the SIM card from your Moto G Stylus 5G, it’s essential to take several preparatory steps to ensure a smooth transition. Here’s what you need to do:
- Backup Your Data: Prior to removing the SIM card, it’s prudent to back up your device’s data to prevent any potential loss. This includes contacts, photos, videos, and any other important files stored on your device. You can utilize cloud storage services or transfer your data to a computer to create a secure backup.
- Power Off Your Device: To avoid any potential damage to your device or SIM card, power off your Moto G Stylus 5G before proceeding with the SIM card removal. This ensures that the device is in a safe state for handling the SIM card.
- Gather Necessary Tools: While removing the SIM card from the Moto G Stylus 5G doesn’t require specialized tools, having a small SIM ejector tool or a paperclip on hand can make the process more convenient. These tools will help you safely eject the SIM tray from the device.
By taking these preparatory steps, you can minimize the risk of data loss and ensure that your device is powered off and ready for the SIM card removal process. Once you’ve completed these preparations, you’ll be well-equipped to proceed with removing the SIM card from your Moto G Stylus 5G.
Removing the SIM Card from Moto G Stylus 5G
Now that you’ve prepared for the SIM card swap, it’s time to proceed with removing the SIM card from your Moto G Stylus 5G. Follow these step-by-step instructions to safely remove the SIM card:
- Locate the SIM Tray: The SIM tray is typically located on the side of the device. Look for a small pinhole or slot that houses the SIM tray.
- Insert the Ejector Tool: If you’re using a SIM ejector tool or a paperclip, gently insert it into the pinhole or slot. Apply light pressure to push the tool into the hole until the SIM tray partially ejects from the device.
- Remove the SIM Tray: Once the SIM tray is partially ejected, carefully pull it out from the device. The SIM card will be seated within the tray.
- Remove the SIM Card: With the SIM tray in hand, gently tip it to slide the SIM card out. Be cautious not to apply excessive force, as this may damage the SIM card or the tray.
- Inspect the SIM Card: Take a moment to inspect the SIM card for any signs of damage or wear. If the SIM card appears to be in good condition, you can proceed with swapping it or storing it securely for future use.
By following these steps, you can safely remove the SIM card from your Moto G Stylus 5G without risking damage to the device or the SIM card itself. Once the SIM card is removed, you can proceed with swapping it for a new SIM card or reinserting it after performing any necessary maintenance.
Conclusion
Mastering the art of removing a SIM card from your Moto G Stylus 5G empowers you to take control of your device’s connectivity with confidence and ease. By following the preparatory steps and the detailed process of removing the SIM card, you’ve gained valuable insights into managing this essential aspect of smartphone ownership.
Whether you’re upgrading to a new device, troubleshooting network issues, or switching carriers, the ability to remove and replace a SIM card is a fundamental skill for any smartphone user. Additionally, by taking the time to prepare your device and gather the necessary tools, you’ve ensured that the SIM card removal process is seamless and stress-free.
Remember, handling the SIM card with care and attention is crucial to prevent any damage to the card or the device. By following the step-by-step instructions and exercising caution, you’ve successfully removed the SIM card from your Moto G Stylus 5G, setting the stage for any future SIM card swaps or device upgrades.
Armed with this knowledge, you’re well-prepared to tackle SIM card-related tasks with confidence, ensuring that your device remains connected and functional at all times. Whether it’s for personal use or assisting others with similar tasks, your newfound expertise in SIM card management is a valuable asset in the realm of smartphone ownership.
So, as you proceed with your device maintenance or upgrade endeavors, carry forward the knowledge and skills you’ve acquired here to navigate the world of SIM card swaps with ease and proficiency.


