Introduction
Understanding the Importance of USB Charger Repair
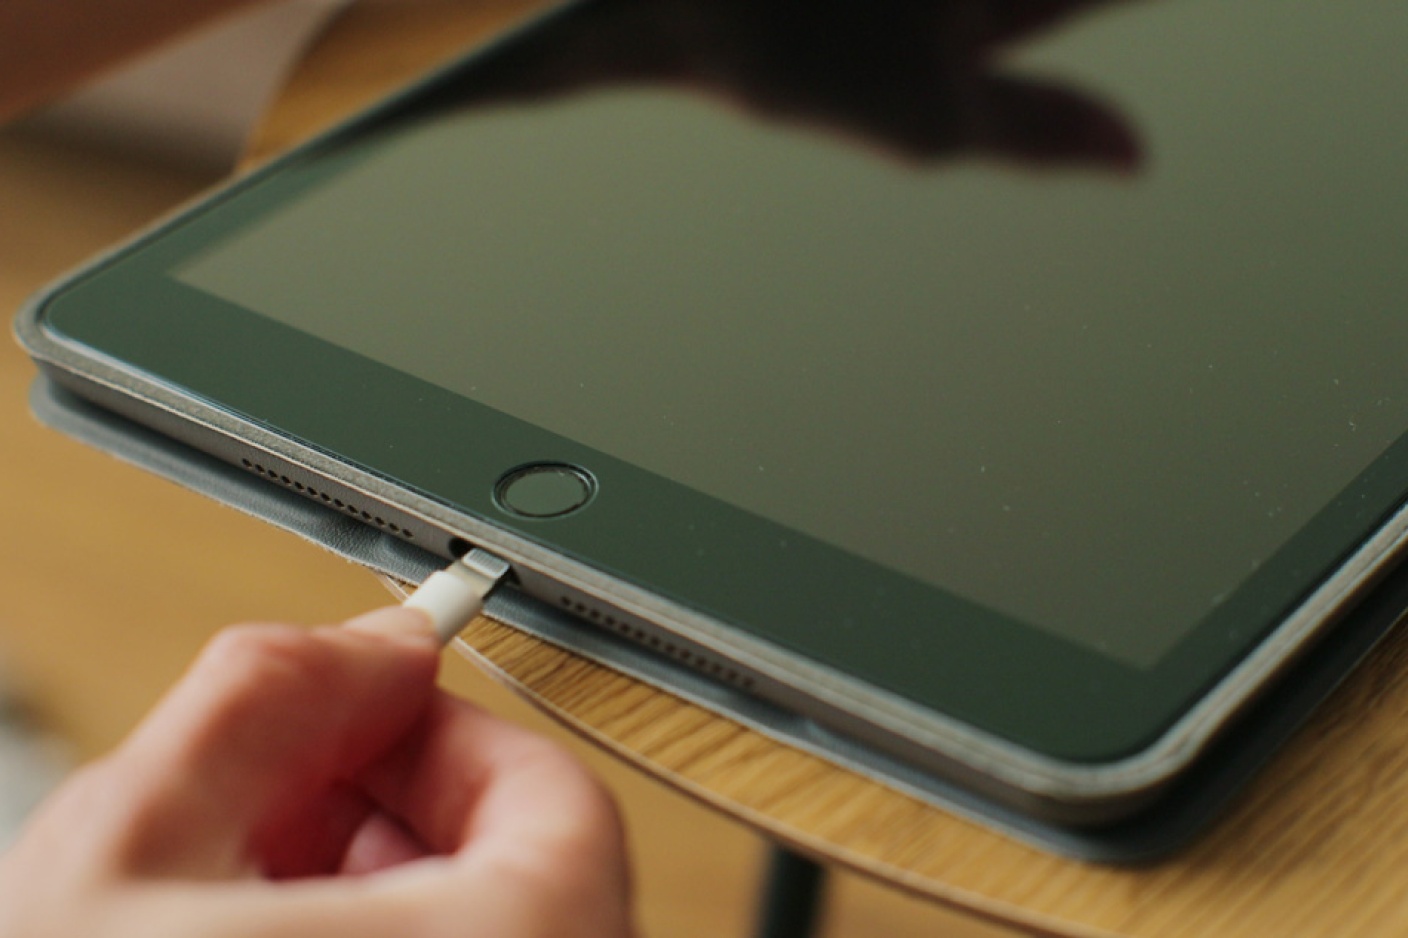
USB chargers are essential accessories for powering our electronic devices, from smartphones and tablets to fitness trackers and Bluetooth headphones. However, frequent use and wear and tear can lead to various issues, such as frayed cables, loose connections, or damaged internal components. When faced with a malfunctioning USB charger, the prospect of purchasing a new one may seem like the most straightforward solution. However, with a little know-how and the right tools, repairing a faulty USB charger can be a cost-effective and environmentally friendly alternative.
By learning how to diagnose and fix common issues with USB chargers, you can extend the lifespan of your devices’ power sources and reduce electronic waste. Moreover, repairing your USB charger provides a sense of empowerment and independence, allowing you to take control of maintaining your gadgets and saving money in the process. This comprehensive DIY guide will walk you through the step-by-step process of repairing your USB charger, empowering you with the knowledge and skills to tackle this common electronic dilemma.
Whether you’re a tech enthusiast looking to delve into the intricacies of electronic repair or a budget-conscious individual seeking to minimize unnecessary expenses, this guide will equip you with the essential knowledge and techniques to revive your USB charger and keep your devices powered up.
Step 1: Assess the Damage
Evaluating the Condition of Your USB Charger
Before embarking on the repair process, it’s crucial to conduct a thorough assessment of the USB charger to identify the specific issues that need attention. Begin by visually inspecting the entire length of the charger cable, paying close attention to any visible damage such as fraying, kinks, or exposed wires. Additionally, examine the connector ends for signs of wear, such as bent or corroded pins, which may hinder proper connectivity with your device.
Next, test the charger by plugging it into different devices and outlets to determine if it consistently fails to provide a stable charge. Take note of any intermittent charging or complete failure to function, as these observations will guide the troubleshooting process later on. If your charger features an LED indicator, observe its behavior when connected to a power source, as irregular blinking or a lack of illumination can indicate underlying issues.
Furthermore, consider the history of the charger’s usage. Has it been subjected to excessive bending or pulling, potentially leading to internal wire breakage? Understanding the charger’s past treatment can offer valuable insights into the root cause of its malfunction. By thoroughly assessing the damage, you’ll gain a clearer understanding of the specific problems that require attention, setting the stage for the subsequent repair steps.
Step 2: Gather Necessary Tools and Materials
Equipping Yourself for the Repair Process
Before delving into the repair process, it’s essential to assemble the required tools and materials to ensure a smooth and efficient repair experience. Here’s a comprehensive list of items you’ll need:
- Wire cutters and strippers: These tools are essential for cutting damaged sections of the cable and stripping the insulation from the wires for soldering.
- Soldering iron and solder: A quality soldering iron and solder are indispensable for rejoining any broken or disconnected wires within the charger.
- Heat shrink tubing: This material is used to insulate and protect soldered connections, providing a secure and durable repair.
- Electrical tape: Electrical tape can be used as an alternative to heat shrink tubing for insulating and securing repaired sections of the cable.
- Small screwdriver set: A set of precision screwdrivers will enable you to disassemble the charger and access its internal components with ease.
- Multi-meter: This device is invaluable for testing the continuity of wires and identifying any electrical faults within the charger.
- Replacement connector (if needed): If the charger’s connector end is damaged beyond repair, having a replacement connector on hand will facilitate a complete restoration.
- Work mat or surface: A designated work mat or surface will provide a stable and safe area for conducting the repair, preventing damage to the charger and ensuring your workspace remains organized.
By gathering these tools and materials, you’ll be well-prepared to address a wide range of issues that may be affecting your USB charger. This proactive approach will streamline the repair process and empower you to tackle the necessary tasks with confidence and precision.
Step 3: Disassemble the Charger
Accessing the Internal Components
With the necessary tools and materials at hand, the next step in the repair process is to carefully disassemble the USB charger to gain access to its internal components. Begin by identifying any visible screws or fasteners securing the charger’s casing. Utilize the appropriate screwdriver from your set to remove these fasteners, taking care to organize and store them safely to prevent misplacement.
Upon removing the outer casing, you may encounter internal components such as a circuit board, wiring, and insulation. Take note of the arrangement and orientation of these elements, as this will aid in reassembling the charger later on. Additionally, inspect the interior for any signs of damage, such as loose wires, broken connections, or charred components, as these issues will need to be addressed during the repair process.
As you disassemble the charger, it’s advisable to document each step by capturing photographs or making notes. This documentation can serve as a valuable reference during the reassembly phase, ensuring that every component is reinstated correctly and in its original position. Exercise caution and patience when disassembling the charger, as some internal components may be delicate and susceptible to damage if mishandled.
By methodically disassembling the charger, you’ll gain a comprehensive understanding of its internal structure and the specific areas requiring attention. This hands-on approach sets the stage for the subsequent steps, allowing you to address the identified issues with confidence and precision.
Step 4: Identify the Problem
Pinpointing the Root Cause of Charger Malfunction
Once the charger is disassembled, it’s time to pinpoint the specific issue or issues causing the malfunction. Begin by visually inspecting the internal components, focusing on the wiring, circuit board, and connector ends. Look for any signs of physical damage, such as frayed or severed wires, loose connections, or visibly damaged electronic components. Additionally, use a multi-meter to test the continuity of the wires, ensuring that there are no breaks or interruptions in the electrical pathways.
If the issue lies within the connector end, carefully examine the pins and connectors for signs of corrosion, bending, or damage. These issues can hinder proper connectivity with your device, leading to charging inconsistencies or failures. In the case of a damaged connector, consider replacing it with a new one to ensure reliable performance.
Furthermore, inspect the circuit board for any visible signs of damage, such as burnt areas, broken traces, or damaged components. Identifying these issues is crucial, as they can directly impact the charger’s functionality and overall performance. By meticulously assessing the internal components, you’ll gain valuable insights into the root cause of the charger’s malfunction, paving the way for targeted and effective repairs.
It’s important to approach this step with a methodical and detail-oriented mindset, carefully documenting any identified issues and their locations within the charger. This documentation will serve as a roadmap for the subsequent repair tasks, enabling you to address each problem systematically and ensure a comprehensive restoration of the charger’s functionality.
Step 5: Repair the Damaged Components
Restoring Functionality Through Precision Repair
With the specific issues identified, it’s time to initiate the repair process by addressing the damaged components within the USB charger. If the cable exhibits fraying or exposed wires, carefully trim the damaged sections using wire cutters, ensuring that the remaining wires are of equal length. Subsequently, use wire strippers to remove a small portion of the insulation from the wire ends, preparing them for soldering.
Once the wires are prepared, apply a small amount of solder to the exposed wire ends, joining them securely to restore the electrical pathway. After soldering, insulate the repaired sections using heat shrink tubing or electrical tape, providing protection and reinforcement to the soldered connections. Ensure that the insulating material completely covers the soldered areas to prevent electrical shorts and maintain the integrity of the repair.
If the charger’s internal components, such as the circuit board or electronic elements, exhibit damage, carefully assess the extent of the issues. In the case of burnt areas or damaged components, consider desoldering and replacing the affected parts with suitable replacements. Exercise precision and caution during component replacement, ensuring that the new components are compatible and securely soldered into place.
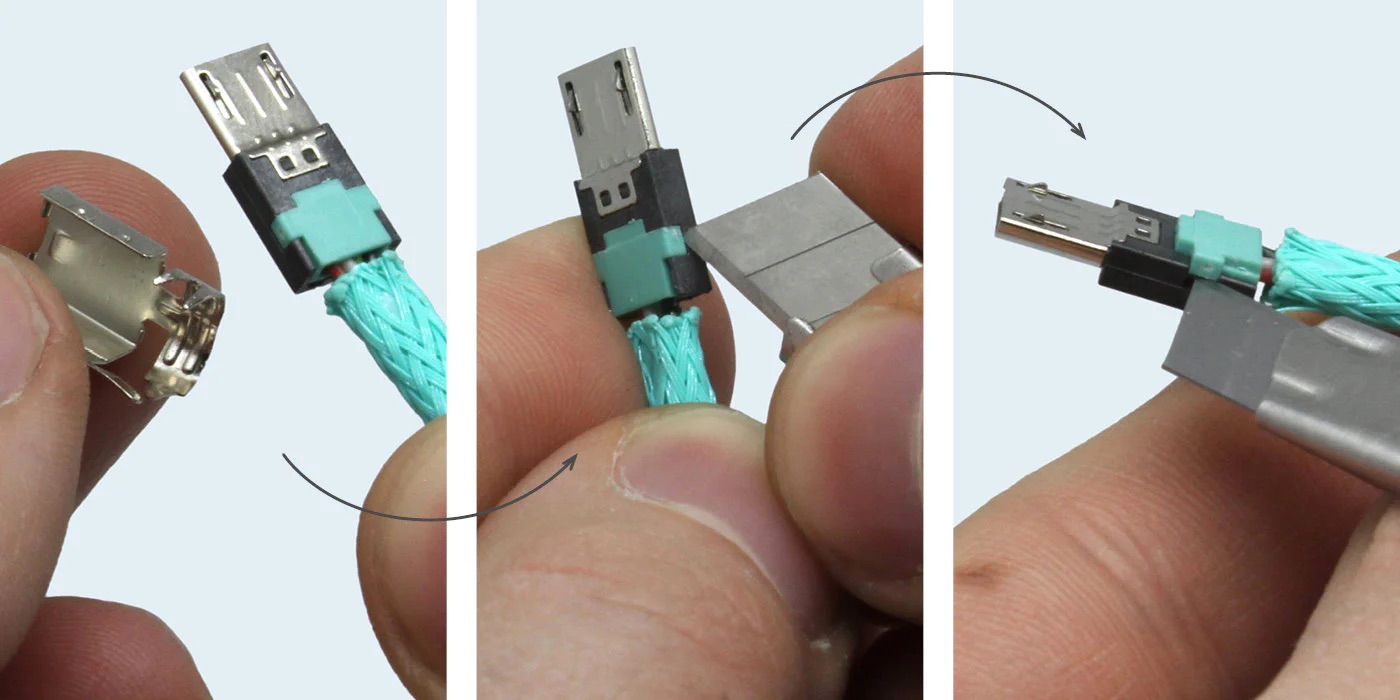
When repairing the connector end, address any bent or corroded pins by carefully straightening or cleaning them to restore proper connectivity. If the connector is irreparably damaged, replace it with a new connector, ensuring that the wiring is securely soldered to the appropriate terminals. Additionally, verify that the connector’s housing is securely reassembled to prevent strain on the repaired wires.
Throughout the repair process, meticulous attention to detail and precision is paramount to ensure the charger’s reliable functionality. By systematically addressing each identified issue and executing targeted repairs, you’ll effectively restore the charger to optimal working condition, prolonging its lifespan and utility for powering your electronic devices.
Step 6: Reassemble the Charger
Reconstructing the Charger for Seamless Operation
After successfully repairing the damaged components, the next pivotal step is to reassemble the USB charger, reinstating its structural integrity and ensuring seamless operation. Begin by carefully arranging the internal components, such as the circuit board, wiring, and insulation, in their original positions within the charger’s casing. Refer to any documentation or photographs taken during the disassembly phase to guide the reassembly process, ensuring that each component is correctly oriented and aligned.
As you reassemble the charger, take care to secure any loose wiring and ensure that the repaired sections are neatly organized within the casing. Avoid overcrowding or pinching the wires, as this can lead to future issues and compromise the charger’s functionality. Additionally, verify that any fasteners or screws removed during disassembly are securely reattached, maintaining the structural integrity of the charger.
If the charger’s casing features clips or latches, carefully align and secure them to encapsulate the internal components, providing a snug and secure fit. Pay attention to any alignment markers or indicators that facilitate the proper reassembly of the charger, ensuring that each element is reinstated in its intended position.
Once the internal components are reassembled, conduct a final visual inspection to confirm that all elements are correctly positioned and secured within the charger’s casing. This meticulous approach will minimize the likelihood of reassembly errors and ensure that the charger is poised for reliable operation upon completion.
By methodically reassembling the charger, you’ll not only restore its physical integrity but also set the stage for the final step of the repair process: testing the charger to verify its functionality. This systematic approach will culminate in a fully restored USB charger, ready to power your electronic devices with renewed efficiency and reliability.
Step 7: Test the Charger
Verification of Restored Functionality
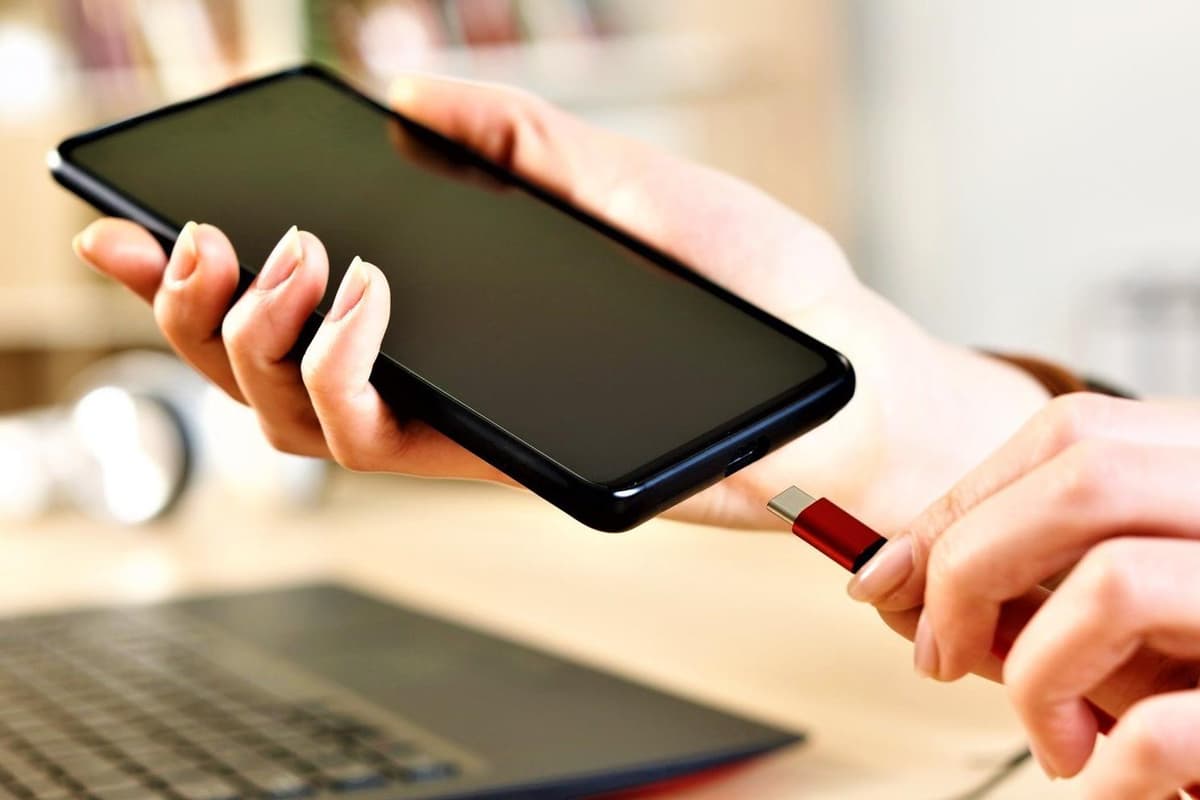
With the USB charger successfully reassembled, the final crucial step is to test its functionality, verifying that the repair efforts have effectively restored its charging capabilities. Begin by connecting the repaired charger to a compatible electronic device, such as a smartphone or tablet, and plugging it into a power source. Observe the device’s response to the connection, ensuring that the charger is capable of initiating and maintaining a stable charging process.
During the testing phase, monitor the charging process for any irregularities or inconsistencies, such as intermittent charging, slow charging rates, or a failure to establish a connection. These observations will provide valuable insights into the charger’s performance and enable you to address any residual issues that may impact its functionality.
If the charger features an LED indicator, pay close attention to its behavior when connected to a power source. A steady and consistent illumination can signify proper functionality, while erratic blinking or a lack of illumination may indicate underlying issues that require further attention.
Additionally, consider testing the charger with multiple power outlets and electronic devices to ensure its compatibility and reliability across various scenarios. This comprehensive testing approach will validate the charger’s functionality under different conditions, providing assurance of its restored capabilities and reliability.
Throughout the testing phase, maintain a keen eye for any unexpected behaviors or performance deviations, as these observations can guide additional adjustments or fine-tuning to optimize the charger’s functionality. By conducting thorough and methodical testing, you’ll gain confidence in the charger’s restored capabilities and ensure its readiness to power your electronic devices effectively.
Conclusion
Empowerment Through DIY Charger Repair
Embarking on the journey of repairing your USB charger has not only equipped you with valuable technical skills but also instilled a sense of empowerment and resourcefulness. By diligently assessing the damage, gathering the necessary tools and materials, disassembling the charger, identifying the root cause of the malfunction, and executing precision repairs, you’ve demonstrated a proactive and capable approach to resolving common electronic issues.
Through the meticulous reassembly of the charger and comprehensive testing of its functionality, you’ve verified the effectiveness of your repair efforts, ensuring that the charger is ready to power your electronic devices reliably and efficiently. This hands-on experience has not only saved you the expense of purchasing a new charger but has also contributed to reducing electronic waste, aligning with sustainable and eco-friendly practices.
Furthermore, the knowledge and skills gained from this DIY repair endeavor have empowered you to take control of maintaining your electronic devices, fostering a deeper understanding of their inner workings and the ability to extend their lifespan through proactive maintenance. This newfound proficiency in charger repair may also inspire you to explore similar DIY projects, nurturing a sense of self-reliance and technical aptitude.
As you integrate the repaired charger back into your daily life, take pride in the accomplishment of reviving a seemingly defunct device through your resourcefulness and determination. Embrace the satisfaction of breathing new life into a familiar gadget and harness the knowledge gained from this experience to tackle future repair challenges with confidence and proficiency.
Ultimately, the journey of repairing your USB charger transcends the restoration of a single device; it embodies a testament to your ingenuity, resilience, and commitment to sustainable practices. Embrace the empowerment that comes with DIY repair and carry forward the valuable skills and mindset cultivated through this endeavor into your future technological pursuits.