Introduction
Are you constantly frustrated by the inability to download files on your device? The Download Manager is an essential feature that allows you to efficiently manage your downloads. However, it may be disabled by default on some devices. In this guide, we will show you how to turn on the Download Manager and regain control over your downloads.
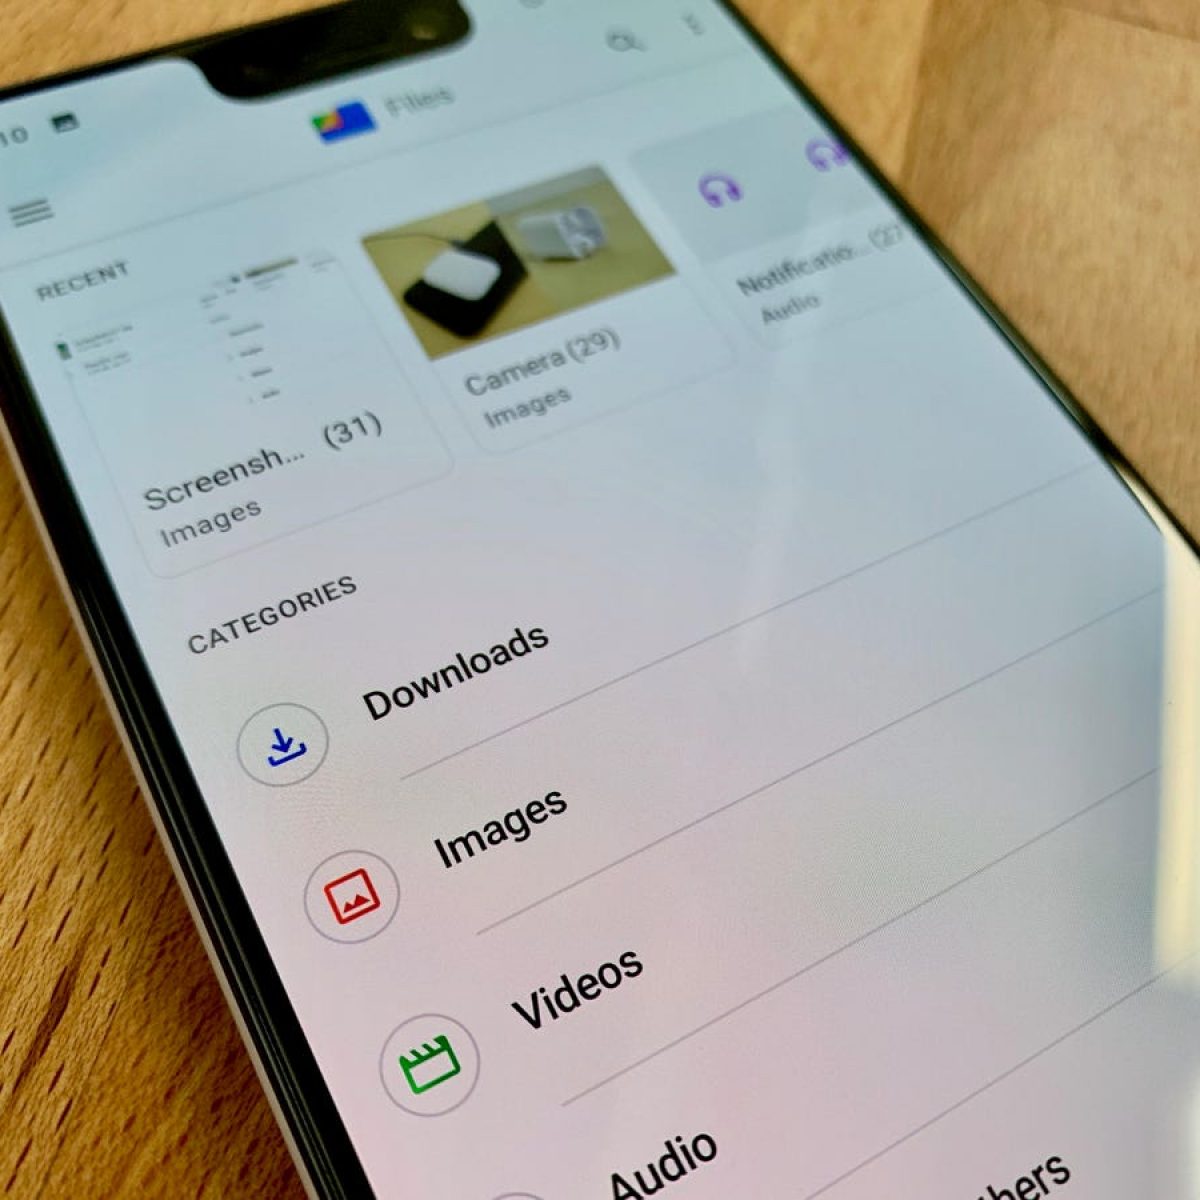
The Download Manager is a system component that handles the downloading of files, whether it’s from web browsers, email attachments, or other apps. It ensures that your downloads are organized, secure, and can be easily accessed. If you’ve discovered that your Download Manager is disabled or not working, it’s important to enable it to avoid any inconvenience and make the most of your device’s capabilities.
This guide is applicable to various Android devices, such as smartphones and tablets. The process may vary slightly depending on the manufacturer and operating system version, but the general steps remain the same. So, whether you’re using a Samsung, Google Pixel, Huawei, or any other Android device, we’ve got you covered.
With that said, let’s dive into the step-by-step instructions on how to turn on the Download Manager.
Step 1: Accessing the Settings menu
The first step to enabling the Download Manager is accessing the Settings menu on your Android device. The Settings menu acts as a control center where you can customize various aspects of your device’s functionality. Here’s how you can access it:
1. Open the app drawer on your Android device by tapping on the “App Drawer” icon, usually located at the bottom of the home screen.
2. Look for the “Settings” app among your installed applications. The Settings app is usually represented by a gear or cogwheel icon.
3. Tap on the “Settings” app icon to launch it.
4. Once you’re in the Settings menu, you’ll have full control over your device’s settings and configurations. You’ll be able to tweak various aspects, including network settings, display settings, privacy settings, and more.
Keep in mind that the appearance and organization of the Settings menu may differ slightly depending on the device manufacturer and Android version you are using. Nevertheless, the overall process of accessing the Settings menu remains consistent across most Android devices.
Now that you’ve successfully accessed the Settings menu, you’re one step closer to enabling the Download Manager. Let’s move on to the next step!
Step 2: Navigating to the App & notifications section
After accessing the Settings menu, the next step is to navigate to the “App & notifications” section. This section allows you to manage the settings and permissions for individual apps installed on your Android device. Here’s how you can find it:
1. In the Settings menu, scroll down and look for the “Apps” or “Applications” option. It may be located under different categories, such as “Device” or “Applications & notifications.”
2. Tap on the “Apps” or “Applications” option to access the list of installed apps on your device.
3. Depending on your Android device, you may need to further navigate to a submenu or select an additional option, such as “Manage apps” or “All apps,” to view all the installed apps.
4. Look for the “Download Manager” app in the list. You may need to scroll through the list or use the search bar to find it. The apps are usually listed in alphabetical order, making it easier to locate them.
Once you’ve successfully reached the “App & notifications” section and located the Download Manager app, you’re ready to proceed to the next step and enable the Download Manager. Keep in mind that the layout and appearance of this section may vary slightly depending on your device’s manufacturer and Android version.
Now that you’ve found the Download Manager app, let’s move on to the next step and learn how to enable it.
Step 3: Selecting the Download Manager
Now that you have reached the “App & notifications” section and located the Download Manager app, the next step is to select it. By selecting the Download Manager app, you will be able to access its settings and make the necessary changes to enable it. Here’s what you need to do:
1. In the list of installed apps under the “App & notifications” section, find and tap on the “Download Manager” app. Make sure you select the correct app and not any other similar-sounding app.
2. Once you tap on the Download Manager app, you will be taken to its dedicated settings page. This page contains various options and configurations specific to the Download Manager.
3. On the Download Manager settings page, you may see options such as “App info,” “Permissions,” and “Storage.” Here, we will focus on enabling the Download Manager, so you can disregard the other options for now.
By selecting the Download Manager app, you are one step closer to enabling it. In the next step, we will explore how to enable the Download Manager and take full control of your downloads.
Now that you have successfully selected the Download Manager app, let’s move on to the next step and enable it.
Step 4: Enabling the Download Manager
Enabling the Download Manager is a simple process that requires just a couple of taps. Once you’ve accessed the Download Manager settings page, follow these steps to enable it:
1. On the Download Manager settings page, you should see a toggle switch or checkbox labeled “Enable,” “Turn on,” or something similar. This switch allows you to enable or disable the Download Manager.
2. Tap on the toggle switch or checkbox to enable the Download Manager. You should see the switch move to the “On” position or the checkbox become filled.
3. Some devices may require you to confirm your action by tapping on the “OK” or “Enable” button that appears after enabling the Download Manager.
4. Once you’ve enabled the Download Manager, you can now exit the settings page and return to your device’s home screen or continue customizing other settings if desired.
By following these steps, you have successfully enabled the Download Manager on your Android device. This means that you can now effectively manage and control your downloads without any restrictions.
Now that you’ve enabled the Download Manager, let’s move on to the next step and confirm the changes.
Step 5: Confirming the changes
After enabling the Download Manager, it’s essential to confirm that the changes have been successfully applied. This step will ensure that the Download Manager is now active and ready to manage your downloads. Here’s how you can confirm the changes:
1. Exit the Download Manager settings page by either pressing the back button on your device or tapping on the “Back” option within the settings menu.
2. Return to your device’s home screen or app drawer.
3. Open a web browser or any app that allows you to download files. For example, you can try downloading a small image or PDF file from a website.
4. Once you initiate the download, you should see a notification or prompt indicating that the Download Manager is handling the download. This confirms that the Download Manager is now active and working as intended.
5. If you see the notification or prompt, it means that the changes you made to enable the Download Manager have been successful. You can proceed with managing your downloads efficiently.
By confirming the changes, you can ensure that the Download Manager is properly enabled and ready to facilitate your file downloads. If you encounter any issues or if the Download Manager is still not working, you may need to revisit the previous steps and double-check your settings.
Now that you have confirmed the changes, let’s move on to the final step and wrap up the process of turning on the Download Manager.
Step 6: Verifying the Download Manager is turned on
Once you have completed the previous steps to enable the Download Manager on your Android device, it’s crucial to verify that it is indeed turned on. Verifying the Download Manager ensures that it is functioning correctly and ready to handle your downloads. Here’s how you can verify the Download Manager:
1. Open the Settings menu on your Android device.
2. Navigate to the “App & notifications” or “Apps” section, as mentioned in earlier steps.
3. Locate and select the “Download Manager” app from the list of installed apps.
4. On the Download Manager settings page, check if the toggle switch or checkbox for enabling the Download Manager is still in the “On” position or if the checkbox is still filled.
5. If the toggle switch is still in the “On” position or the checkbox is filled, this confirms that the Download Manager is turned on and functioning as intended.
6. You can also check for any additional settings or options related to the Download Manager, such as download location, notifications, or download preferences. This ensures that the Download Manager is configured according to your preferences.
Verifying the Download Manager helps you ensure that the changes you made to enable it have been successfully applied and that it is actively managing your downloads.
Congratulations! You have successfully verified that the Download Manager is turned on and ready to facilitate your file downloads.
By following the steps outlined in this guide, you can fully utilize the capabilities of your Android device and manage your downloads efficiently.
Now that you have verified the Download Manager, you can enjoy a seamless and organized downloading experience on your Android device.
Conclusion
Enabling the Download Manager on your Android device allows you to regain control over your downloads and ensures a smooth and organized downloading experience. Throughout this step-by-step guide, we have taken you through the process of turning on the Download Manager, from accessing the Settings menu to verifying its activation.
The Download Manager is a essential system component that handles the downloading of files, such as documents, images, videos, and more. By enabling it, you can take advantage of its features, such as pausing and resuming downloads, managing download queues, and keeping track of your downloaded files.
Remember that the specific steps may vary slightly depending on your device’s manufacturer and Android version. However, the general process of enabling the Download Manager remains consistent across most Android devices.
Now that you have successfully enabled the Download Manager, you can enjoy a hassle-free downloading experience on your Android device. Say goodbye to frustrated attempts at downloading files and hello to organized and efficient downloads!
If you encounter any issues or have further questions, consult your device’s manual or reach out to the customer support of your device’s manufacturer.
We hope this guide has been helpful in enabling the Download Manager and enhancing your Android device’s functionality. Enjoy your seamless downloading experience!