Introduction
Welcome to the digital age, where technology has made our lives more convenient than ever before. In the past, purchasing software meant heading to a store and picking up a physical copy. However, with the rise of online shopping and digital downloads, you can now easily download software directly to your computer in a matter of minutes. This is especially true for Mac users who no longer have CD drives in their devices.
One popular software that many people download is TurboTax, a comprehensive tax preparation program that offers step-by-step guidance and ensures accurate calculations. If you’re a Mac user and wondering how to download TurboTax without a CD drive, you’re in the right place. In this article, we’ll provide a simple guide on how to download TurboTax on Mac without a CD drive, making the process quick and hassle-free.
By following these steps, you’ll have TurboTax up and running on your Mac in no time, ready to help you navigate the complexities of tax season. So, let’s dive in and learn how to download TurboTax on your Mac!
Step 1: Visit the official TurboTax website
The first step in downloading TurboTax on your Mac without a CD drive is to visit the official TurboTax website. Open your preferred web browser and type in the URL https://turbotax.intuit.com/. This will take you to the TurboTax homepage.
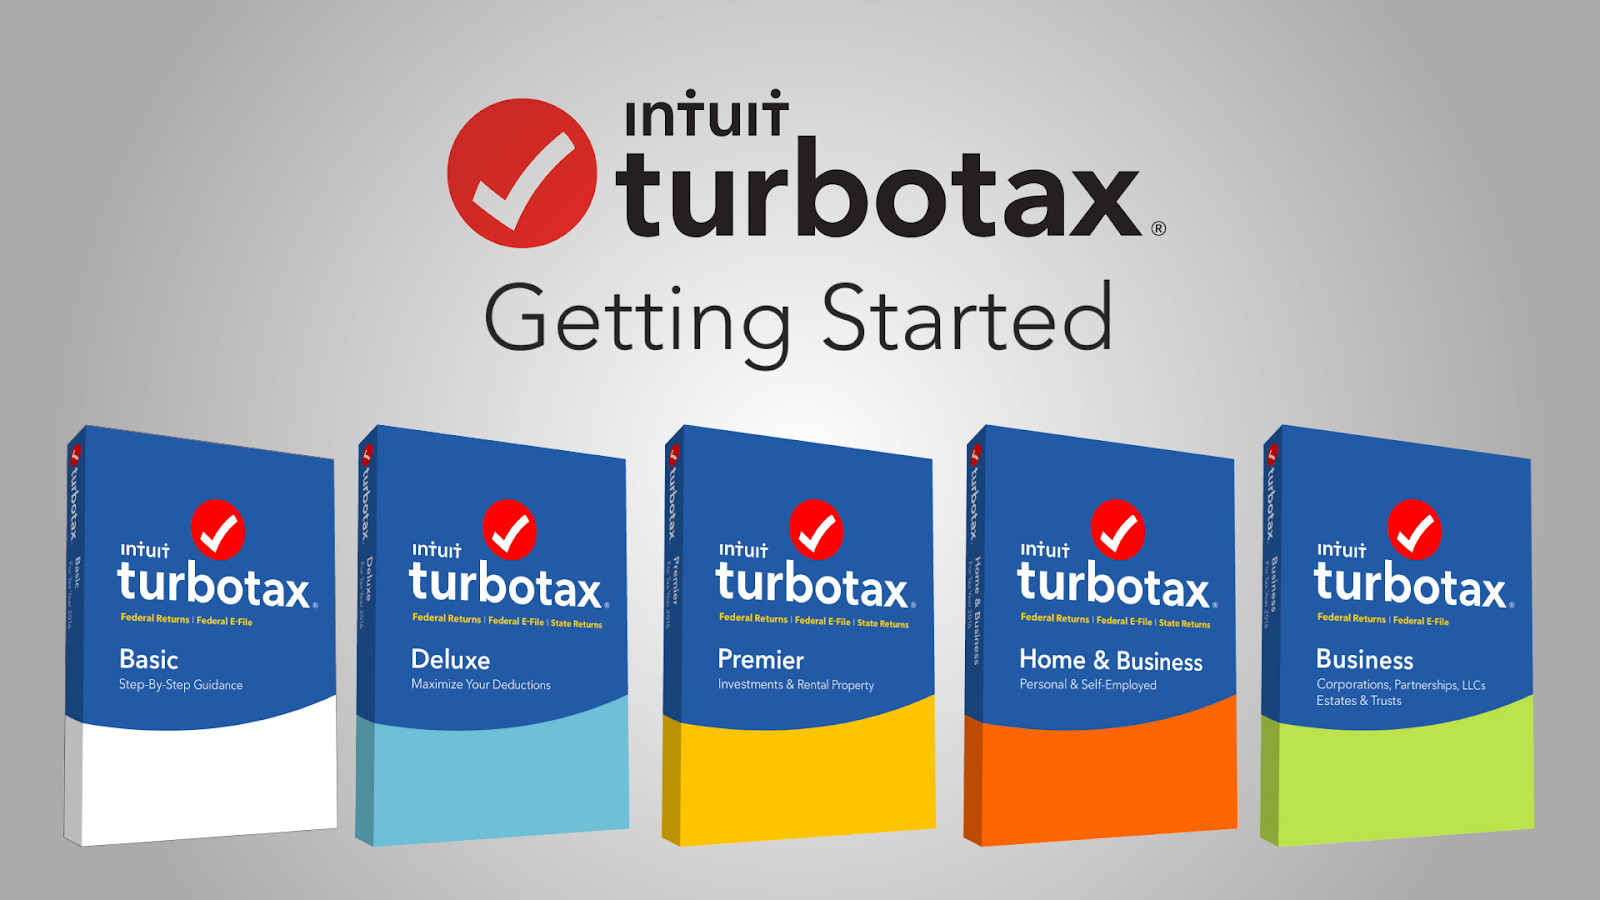
Once you’re on the TurboTax website, take some time to explore the various products and editions available. TurboTax offers different versions to suit different tax scenarios, such as TurboTax Deluxe for individuals with itemized deductions, TurboTax Home & Business for self-employed individuals, and more. Choose the version that best fits your needs.
It’s important to ensure that you’re on the official TurboTax website to avoid downloading any potentially harmful or pirated copies. Double-check the URL to confirm that you’re on the legitimate TurboTax website before proceeding with the download.
Now that you’re on the official TurboTax website and have selected the version you want, you’re ready to move on to the next step: choosing the download option. Remember, the website will guide you through the process, offering clear instructions along the way.
Step 2: Choose the TurboTax product that suits your needs
After visiting the official TurboTax website, it’s time to choose the TurboTax product that suits your specific tax needs. TurboTax offers a range of products and editions, each tailored to different tax scenarios and complexities.
Take a moment to carefully consider your tax situation. Are you an individual with basic tax needs, or do you have more complex requirements as a self-employed individual or small business owner? TurboTax Deluxe is a popular choice for most individuals, providing comprehensive guidance for itemized deductions and maximizing tax refunds. However, if you need more advanced features like business expense tracking or rental property income, TurboTax Premier or TurboTax Home & Business may be more suitable.
While each version may have different features and pricing options, they all have one common goal: to simplify the tax filing process and help you accurately complete your taxes. TurboTax guides you step by step through a series of questions, prompting you to enter your financial information and ensuring that you don’t miss any important deductions or credits.
It’s essential to choose the edition that matches your specific tax situation to maximize your benefits and avoid unnecessary costs. Consider your financial circumstances, any investments or properties you may have, and other factors that may impact your taxes.
Once you have decided on the TurboTax product that suits your needs, you’re ready to proceed to the next step, which is selecting the download option.
Step 3: Select the download option
Now that you have chosen the TurboTax product that suits your tax needs, it’s time to select the download option. On the TurboTax website, you will find various download options available for Mac users.
Select the download option that corresponds to your chosen TurboTax product. Ensure that it is compatible with your Mac operating system version to avoid any compatibility issues during installation.
When selecting the download option, you may have the choice between a one-time download or a subscription-based option. The one-time download allows you to download the software and use it for one tax filing season. The subscription-based option provides the flexibility of using TurboTax for multiple tax years and includes additional benefits like automatic updates and access to prior-year tax returns.
Consider your tax filing needs and budget to determine which option is best for you. If you only need TurboTax for the current tax year, the one-time download may be the most cost-effective choice. However, if you anticipate using TurboTax in the future or require additional features, a subscription-based option may be a better investment.
Once you have selected the download option and completed the purchase process, you’re ready to move on to the next step: downloading the TurboTax installer file.
Step 4: Create a TurboTax account (if you don’t have one)
If you don’t already have a TurboTax account, you’ll need to create one before proceeding with the download. Creating an account is quick and easy.
On the TurboTax website, look for an option to “Sign In” or “Create an Account.” Click on that option to begin the account creation process.
You will be prompted to provide your email address and create a password. Make sure to choose a strong password that includes a combination of letters, numbers, and special characters to ensure the security of your account.
After entering your email and password, click on the “Create Account” or similar button to proceed. You may also have the option to sign up using your Google or Apple account, depending on the available options on the TurboTax website.
Once your account is created, you may be asked to provide additional information, such as your name, address, and phone number. This information helps TurboTax personalize your experience and provide relevant tax-related information.
Creating a TurboTax account is essential for accessing and managing your tax return information, as well as for receiving important updates from TurboTax regarding any changes to tax laws or software updates.
Remember to keep your TurboTax account credentials secure and don’t share them with anyone. Your account contains sensitive personal and financial information, so it’s important to take precautions to protect it.
Now that you have created your TurboTax account, you’re all set to proceed with the download process. Let’s move on to the next steps!
Step 5: Complete the purchase process
After selecting the TurboTax product and downloading the installer file, it’s time to complete the purchase process. Depending on the TurboTax website’s interface, you may be prompted to go through a secure checkout process or provide payment details during the download process itself.
Follow the instructions provided on the TurboTax website to complete the purchase. You may have the option to pay with a credit card, debit card, or other available payment methods. Ensure that you provide accurate and valid payment information to avoid any issues during the transaction.
Verify the purchase details, including the TurboTax product version, price, and any applicable discounts or promotions. Double-check your order summary to ensure that you’re purchasing the correct product and edition for your tax needs.
If you have any discount codes or coupons, enter them in the designated field during the checkout process to apply the discount to your purchase. This can help you save some money on your TurboTax software.
Once you’re satisfied with the purchase details, go ahead and complete the transaction by clicking on the “Place Order” or similar button. The TurboTax website will guide you through the necessary steps to complete the purchase securely.
After successfully completing the purchase process, you may receive a confirmation email containing your order details and any relevant activation codes or instructions. Keep this email for future reference.
Now that you have completed the purchase process, it’s time to move on to the next step: downloading the TurboTax installer file.
Step 6: Download TurboTax installer file
With the purchase process completed, it’s time to download the TurboTax installer file. This file contains the necessary software to install and run TurboTax on your Mac.
After the purchase, you may be redirected to a download page or receive a download link via email. Follow the instructions provided to begin the download process.
Click on the download link or button to start downloading the TurboTax installer file. The download may take a few moments, depending on your internet connection speed.
Once the download is complete, locate the downloaded file on your Mac. By default, it should be saved in the “Downloads” folder or the designated location for downloaded files on your device.
It’s a good practice to verify the authenticity of the downloaded file to ensure that it hasn’t been tampered with or corrupted during the download process. One way to verify the file is to compare its size and checksum with the information provided on the TurboTax website or in the confirmation email.
If the file size and checksum match, you can proceed with confidence. If there are any discrepancies or concerns, reach out to the TurboTax support team for assistance.
Now that you have the TurboTax installer file downloaded and verified, you’re ready to move on to the next step: running the installer and installing TurboTax on your Mac.
Step 7: Run the installer file
With the TurboTax installer file downloaded to your Mac, it’s time to run the installer and begin the installation process.
Locate the downloaded TurboTax installer file on your computer. It may be in the “Downloads” folder or the designated location where you saved it.
Double-click on the installer file to run it. Depending on your Mac’s security settings, you may need to confirm your identity or enter your administrator password to authorize the installation.
The TurboTax installer will launch, and you’ll be presented with the installation wizard or prompts. Follow the on-screen instructions to proceed with the installation process.
Read through the installation instructions carefully and accept any license agreements or terms of use presented during the installation. It’s important to review and understand any bundled software or additional features that may be included with the TurboTax installation.
During the installation process, you may be prompted to select the installation location or customize the installation settings. By default, TurboTax will be installed in the recommended location, but you can choose a different location if desired.
Once you have reviewed and confirmed the installation settings, click on the “Install” or similar button to start the installation process. The TurboTax installer will copy the necessary files to your Mac’s hard drive.
The installation process may take a few minutes to complete, so be patient and avoid interrupting it. Once the installation is finished, you’ll be notified that TurboTax has been successfully installed on your Mac.
Now that you have run the installer and installed TurboTax on your Mac, you’re one step closer to preparing and filing your taxes with ease.
Step 8: Follow the on-screen instructions to install TurboTax
After running the TurboTax installer, you will be guided through the installation process with on-screen instructions. Pay close attention and follow these instructions to ensure a successful installation.
As the installation progresses, TurboTax may ask you to provide certain information or make choices that tailor the software to your tax needs. Read each prompt carefully and select the appropriate options based on your specific tax situation.
During the installation, TurboTax may also offer additional features or services that can enhance your tax preparation experience. These features could include options for importing data from previous tax files, connecting to financial institutions for automatic income and deduction imports, or signing up for additional support services.
Take your time to review and understand these additional features and decide whether you would like to take advantage of them. Keep in mind that some features may require additional fees or subscriptions.
If at any point during the installation process you encounter an error message or prompt that you’re unsure about, consult the TurboTax support resources or reach out to their customer support team for assistance. They can provide guidance and help troubleshoot any issues you may encounter during the installation.
Once you have completed the installation process and followed all the on-screen instructions, TurboTax will be successfully installed on your Mac. Congratulations!
Now, you’re ready to activate and start using TurboTax to prepare and file your taxes smoothly.
Step 9: Activate and start using TurboTax
After successfully installing TurboTax on your Mac, the final step is to activate the software and start using it to prepare and file your taxes.
Launch the TurboTax application on your Mac. You may find it in your Applications folder or on your desktop, depending on where you chose to install it during the installation process.
Upon launching TurboTax, you will be prompted to sign in to your TurboTax account. Use the same email and password you used to create your account earlier. If you already have a TurboTax account, you can simply sign in. If you don’t have an account, you’ll have the option to create one at this stage.
After signing in, TurboTax will guide you through the process of creating a new tax return or importing your previous year’s tax files, if applicable. Follow the on-screen instructions and provide the necessary information, such as your personal details, income sources, deductions, and credits.
As you enter your tax information, TurboTax will automatically perform calculations and guide you through the various sections of your tax return. It will ask you relevant questions to ensure you don’t miss any potential deductions or credits.
Take your time to review each section and input your data accurately. TurboTax provides helpful explanations and tips along the way to assist you in understanding the tax codes and maximizing your tax benefits.
Once you have completed entering your tax information, TurboTax will perform a final review of your return to check for any errors or missing information. It’s important to carefully review any suggested changes or corrections before finalizing your tax return.
When you are satisfied with your tax return, TurboTax will guide you through the process of filing electronically or printing a copy for mail-in submission. Follow the provided instructions to complete the filing process.
Remember to save a copy of your completed tax return and any supporting documents for your records.
Congratulations! You have successfully activated and started using TurboTax to prepare and file your taxes on your Mac. TurboTax’s intuitive interface and comprehensive tools will help make the tax filing process easier and more accurate.
We hope this guide has been helpful in assisting you with downloading TurboTax on your Mac without a CD drive. Happy tax filing!
Conclusion
Downloading TurboTax on your Mac without a CD drive is a simple and convenient process. By following the steps outlined in this guide, you can have TurboTax up and running on your Mac in no time, ready to assist you in preparing and filing your taxes accurately.
We started by visiting the official TurboTax website and selecting the product that best suits your tax needs. We then proceeded to choose the download option and create a TurboTax account if you didn’t already have one. After completing the purchase process, we downloaded the TurboTax installer file and ran it to install TurboTax on your Mac.
Once TurboTax was successfully installed, we emphasized the importance of following the on-screen instructions to activate the software and start using it to enter your tax information. By carefully inputting your personal details, income sources, deductions, and credits, TurboTax will guide you through the tax preparation process and help ensure accurate calculations.
Remember to review your completed tax return, make any necessary corrections, and save a copy for your records before filing electronically or by mail.
We hope this guide has been helpful in assisting you with downloading TurboTax on your Mac and starting the tax preparation process. TurboTax’s user-friendly interface and comprehensive features make it a trusted tool for many individuals and businesses during tax season.
If you encounter any difficulties during the process or have specific questions related to TurboTax, don’t hesitate to reach out to their customer support team for further assistance.
Thank you for choosing TurboTax, and we wish you a successful and stress-free tax filing experience!