Introduction
Welcome to the world of Overleaf, a popular online LaTeX editor that allows you to create and collaborate on professional-looking documents. As an Overleaf user, you may wonder how to download your Tex file from the platform. This article will guide you through the simple steps to download your Tex file from Overleaf and save it to your computer.
Overleaf provides a user-friendly interface where you can effortlessly write, edit, and compile your LaTeX documents. However, there may be instances when you need to have a local copy of your Tex file for various purposes, such as offline access, sharing with others who don’t have Overleaf accounts, or backing up your work.
In this guide, you will learn how to download your Tex file as a ZIP archive from Overleaf. Once downloaded, you can extract the contents of the ZIP file to your preferred location on your computer.
Whether you are a student, researcher, or professional, being able to download your Tex file from Overleaf is an essential skill. So, let’s dive in and explore the simple steps to download your Tex file from Overleaf.
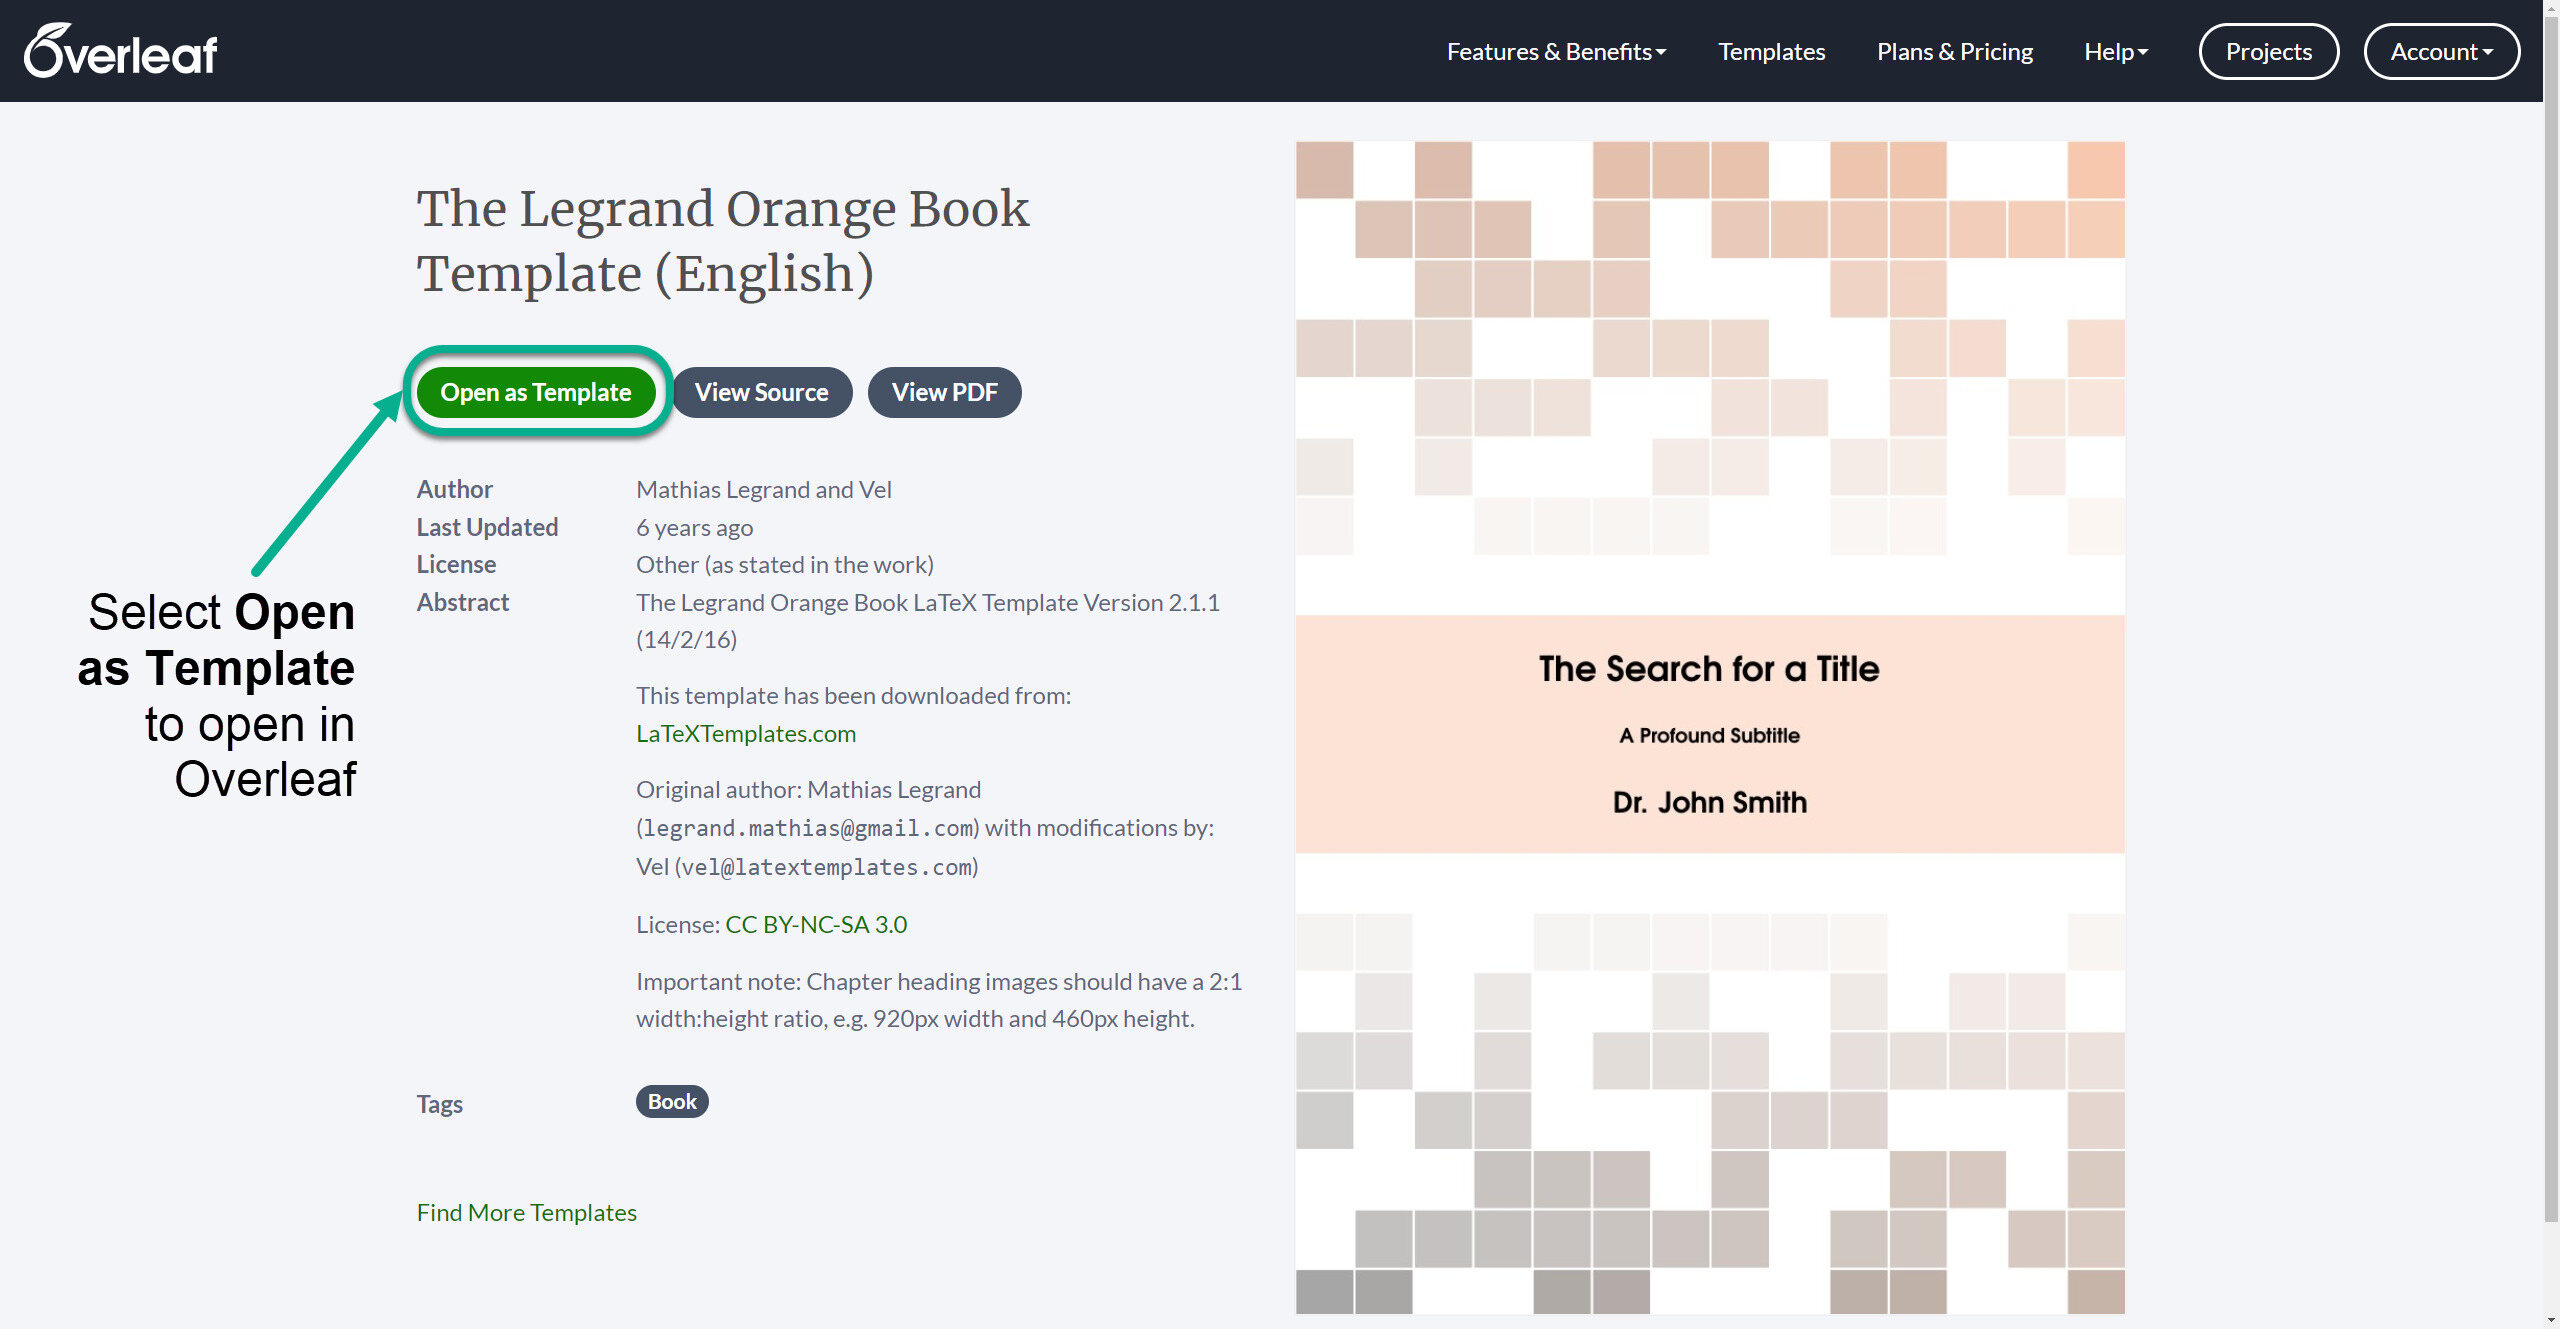
Step 1: Open the project in Overleaf
The first step to download your Tex file from Overleaf is to open the project in the Overleaf editor. If you already have an account, log in and navigate to the Overleaf dashboard. If you are new to Overleaf, sign up for a free account.
Once you are on the dashboard, locate the project you want to download. If you are the owner of the project, it will be listed under “Your Projects.” If you are collaborating on a project with someone else, it will be listed under “Shared with You.” Click on the project name to open it in the Overleaf editor.
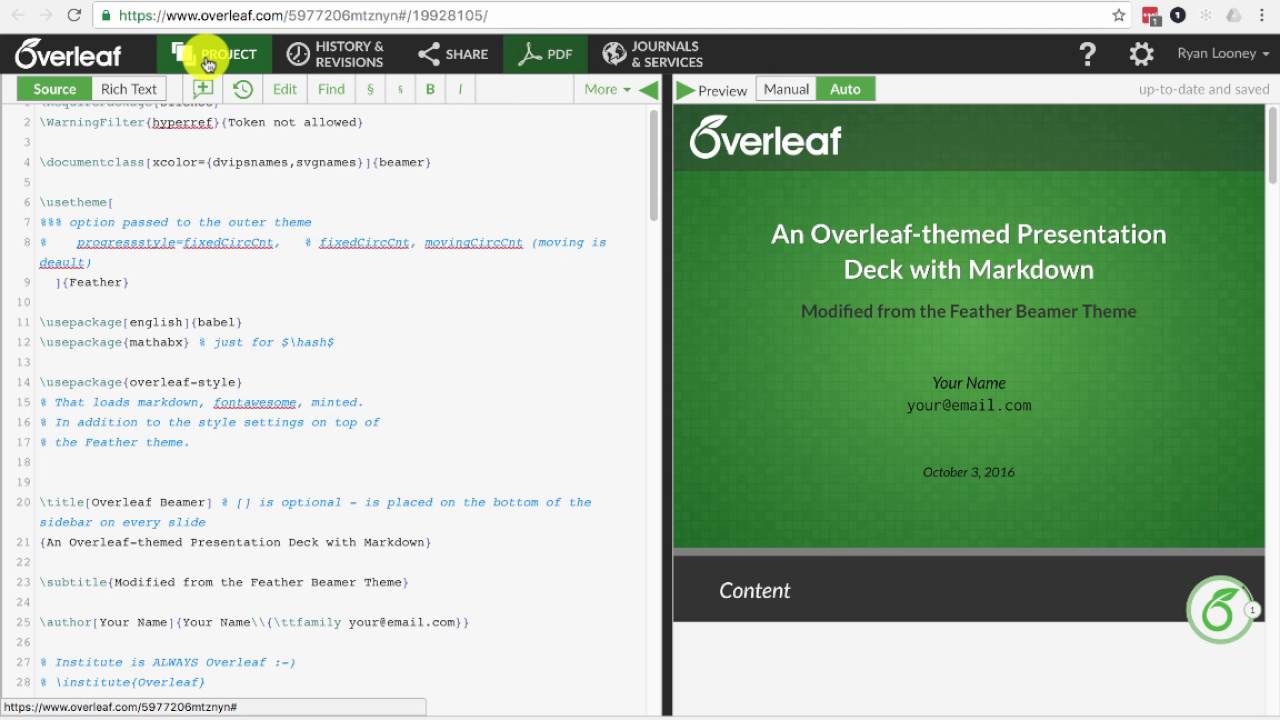
When the project opens, you will see the LaTeX source code in the editor window. This is where you can make changes, write content, and customize your document. Take a moment to navigate through your files and ensure that you have selected the correct project.
It’s important to double-check that you have the correct project open before proceeding to the next steps. This ensures that you download the desired Tex file without any confusion or errors.
If you need to create a new project, you can do so by clicking on the “New Project” button on the dashboard. This will allow you to start a fresh project and then follow the steps mentioned above to open it in the Overleaf editor.
Step 2: Click on the Menu button
After opening your project in the Overleaf editor, the next step is to locate and click on the Menu button. The Menu button is located at the top left corner of the editor window, and it is represented by three horizontal lines arranged vertically.
Clicking on the Menu button will reveal a drop-down menu with various options and settings that you can access. This menu allows you to perform different actions related to your project, such as saving, compiling, and downloading files.
Once you click on the Menu button, take a moment to familiarize yourself with the options available in the drop-down menu. You will notice that there are several sections, including “File,” “Edit,” “View,” “Compile,” “Tools,” and “Help.”
In order to download your Tex file, you need to find the option that allows you to download the project as a ZIP archive. This option is usually located under the “File” or “Download” section of the Menu.
If you are unsure about which option to choose, you can hover your mouse over each option in the drop-down menu, and a tooltip will appear, providing a brief description of the action. Look for an option that mentions “Download” or “Export.”
Once you have identified the appropriate option, move on to the next step to continue the process of downloading your Tex file from Overleaf.
Step 3: Select “Download as ZIP” option
Now that you have opened your project in the Overleaf editor and clicked on the Menu button, it’s time to select the “Download as ZIP” option. This option allows you to download your Tex file and any associated files as a compressed ZIP archive.
After clicking on the Menu button, scroll down the drop-down menu until you find the section that contains the “Download as ZIP” option. The exact location of this option may vary slightly depending on the version of Overleaf you are using.
Once you locate the “Download as ZIP” option, click on it to initiate the download process. You might see a prompt or a confirmation message asking you to confirm the download. Click “OK” or “Download” to proceed with the download.
Overleaf will then start generating the ZIP file, which may take a few moments depending on the size of your project. Please be patient and do not navigate away from the page until the ZIP file is fully generated.
It’s worth mentioning that the “Download as ZIP” option allows you to download the entire project, including all Tex files, auxiliary files, images, and any other files associated with your project. This ensures that you have a complete copy of your project, ready for further editing or sharing.
By choosing the “Download as ZIP” option, you have taken an important step towards obtaining a local copy of your Tex file from Overleaf. Now, let’s move on to the next step to save the ZIP file to your computer.
Step 4: Save the ZIP file to your computer
After selecting the “Download as ZIP” option in Overleaf, the next step is to save the generated ZIP file to your computer. This will allow you to have a local copy of your Tex file and associated files for offline access or sharing.
When you initiate the download by selecting “Download as ZIP,” your browser will typically prompt you to choose a location on your computer to save the ZIP file. The prompt may vary depending on your browser settings and operating system.
Click on the “Save” or “Save As” button in the browser prompt to proceed. This will open a file explorer window where you can navigate to the desired location on your computer where you want to save the ZIP file.
Choose a location that is easily accessible and memorable, such as your desktop or a designated folder for your project files. Give the ZIP file a descriptive name to make it easier to identify later.
Once you have chosen the location and provided a name for the ZIP file, click on the “Save” button in the file explorer window to start the download process. The ZIP file will be saved to the specified location on your computer.
Depending on the speed of your internet connection and the size of the project, the download process may take a few seconds or a couple of minutes. During this time, ensure that your internet connection remains stable and do not close the browser window.
Once the download is complete, you will have a local copy of your Tex file and associated files saved as a ZIP archive on your computer. Congratulations! You have successfully saved the ZIP file containing your Tex project from Overleaf.
Now that you have successfully saved the ZIP file to your computer, let’s move on to the final step to extract the contents of the ZIP file.
Step 5: Extract the contents of the ZIP file
Now that you have downloaded the ZIP file containing your Tex project from Overleaf, the final step is to extract or unzip the contents of the ZIP file. This will allow you to access and work with your Tex files on your computer.
To extract the contents of the ZIP file, locate the ZIP file on your computer. Depending on your operating system, you can usually find it in the location where you saved it, such as your desktop or a specific folder.
Right-click on the ZIP file and select the “Extract” or “Extract All” option from the context menu. This will initiate the extraction process. Alternatively, you can also double-click the ZIP file to open it in a file explorer, and then use the extract option provided by the file explorer’s interface.
Choose a location on your computer where you want to extract the contents of the ZIP file. You can either select a pre-existing folder or create a new folder specifically for your extracted files.
Click on the “Extract” or “OK” button to start the extraction process. Depending on the size of the ZIP file and the processing power of your computer, the extraction process may take a few moments.
Once the extraction is complete, the contents of the ZIP file will be available in the designated destination folder. You will typically find your Tex files, images, and any other associated files in this folder.
You can now access and work with your Tex files just like any other files on your computer. Open the Tex file in your preferred LaTeX editor, such as TexStudio or WinEdt, to continue editing or compiling your document as needed.
Remember to keep the extracted files organized and secure. You can choose to delete the ZIP file once you have successfully extracted its contents to free up disk space, but it’s recommended to keep a backup of the ZIP file in case you need to access or re-extract the files in the future.
With the extraction of the ZIP file, you have completed the process of downloading and saving your Tex project from Overleaf. Now you have full control and access to your files locally on your computer.
Conclusion
Congratulations! You have successfully downloaded your Tex file from Overleaf and saved it to your computer. This allows you to have a local copy of your project, giving you more flexibility and control over your files.
In this article, we have explored the step-by-step process of downloading your Tex file from Overleaf. We started by opening the project in Overleaf and then clicking on the Menu button to access the download options. We specifically selected the “Download as ZIP” option to generate a compressed ZIP archive of our project.
After selecting the option, we saved the ZIP file to our computer by choosing a location and confirming the download. Finally, we extracted the contents of the ZIP file to obtain the Tex file and associated files locally on our computer.
Having a local copy of your Tex file provides various advantages. You can work on your document offline, making it convenient if you are traveling or have limited internet access. It also allows you to share your files with others who may not have access to Overleaf.
Remember to keep your extracted files organized and secure. Regularly back up your project files and consider using version control systems like Git to manage changes and collaborative work.
We hope this guide has been helpful in assisting you in downloading your Tex file from Overleaf. Enjoy the freedom and convenience of having your project files locally accessible, and continue creating amazing documents with Overleaf!