Introduction
Are you an avid TV show lover who can’t bear to miss an episode, even when you’re on the go? Well, you’re in luck because with an iPad, you can easily download your favorite shows and watch them anytime and anywhere, even without an internet connection.
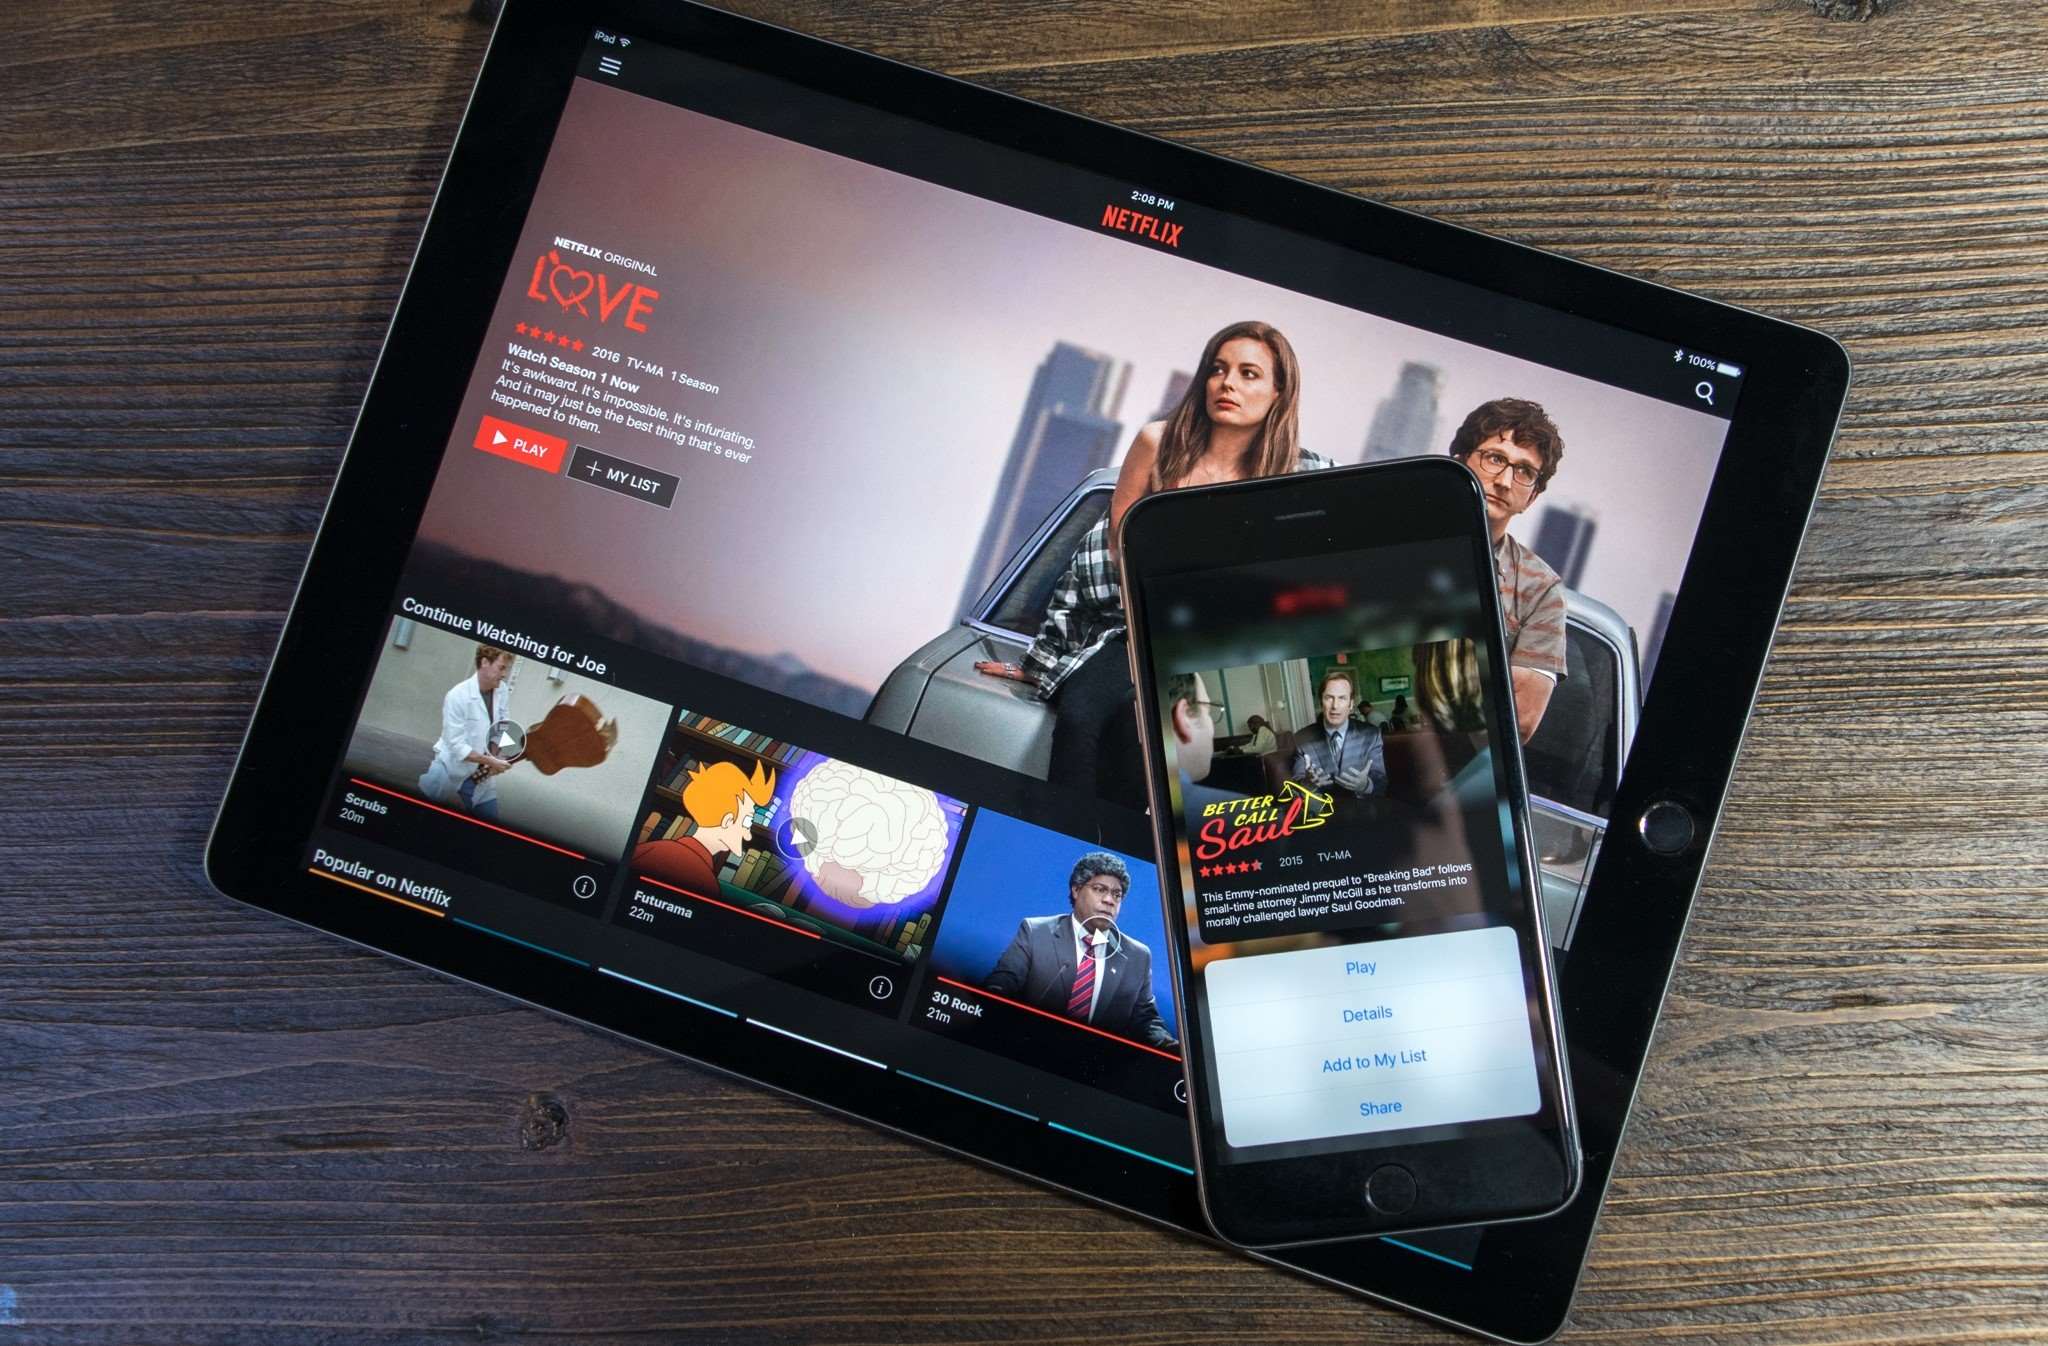
Gone are the days when you had to rely on a stable internet connection to stream your beloved shows. Now, streaming services offer the convenience of offline viewing, allowing you to download episodes or entire seasons directly to your iPad. This means you can binge-watch your favorite series on long flights, during commutes, or even in areas with poor internet connectivity.
In this guide, we will walk you through the process of downloading shows on your iPad, step by step. Whether you’re a Netflix enthusiast, a Disney+ devotee, or a Hulu fanatic, rest assured that these instructions can be applied to various streaming platforms.
So, grab your iPad and let’s dive into the world of offline entertainment!
Step 1: Update your iPad
Before you begin downloading shows on your iPad, it’s essential to ensure that your device is running on the latest software version. Regular software updates not only provide bug fixes and performance improvements but also ensure compatibility with the latest streaming apps and features.
To update your iPad, follow these simple steps:
- Connect your iPad to a stable Wi-Fi network.
- Go to the “Settings” app on your iPad’s home screen.
- Scroll down and tap on “General.”
- In the General settings menu, select “Software Update.”
- If an update is available, tap on “Download and Install.”
- Follow the on-screen instructions to complete the update. Your iPad may restart during the process, so ensure that you have enough battery power or connect it to a power source.
Updating your iPad not only ensures optimal performance but also provides access to the latest features and security patches. It’s always a good practice to keep your device up to date, so don’t skip this crucial step before diving into the world of downloaded shows!
Step 2: Choose a streaming service with offline viewing options
Now that your iPad is updated, it’s time to choose the right streaming service that offers offline viewing options. There are several popular streaming platforms, such as Netflix, Disney+, Hulu, Amazon Prime Video, and more, each with its own library of shows and movies.
Consider the following factors when selecting a streaming service:
- Available content: Make sure the streaming service you choose has a wide range of shows and movies that align with your interests.
- Offline viewing feature: Not all streaming services provide offline viewing options, so double-check if the one you’re considering offers this feature.
- Subscription cost: Compare the subscription prices of different streaming services and choose one that fits within your budget.
- User interface: Look for a streaming service with an intuitive and user-friendly interface.
Once you’ve chosen a streaming service, download and install the app from the App Store on your iPad.
Remember, different streaming services may have varying methods of downloading shows, so make sure to familiarize yourself with the specific steps for the service you’ve chosen. With the right streaming service at your fingertips, you’ll have access to a treasure trove of entertainment to download and enjoy on your iPad.
Step 3: Sign in to the streaming service on your iPad
Now that you have the streaming service app installed on your iPad, it’s time to sign in to your account. Follow these steps to sign in to the streaming service:
- Open the streaming service app on your iPad by tapping on its icon.
- Look for the option to sign in or log in. The location of this option may vary depending on the app, but it is usually found on the home screen or in the app’s main menu.
- Tap on the sign-in or log-in option, and you will be prompted to enter your account credentials.
- Enter your email address or username and your password.
- If the streaming service offers multi-factor authentication, follow the additional steps to verify your identity.
- After successfully signing in, you will have access to your personal profile where you can customize your preferences and manage your downloaded shows.
Signing in to the streaming service allows you to access the full range of features and content. It also ensures that your downloaded shows are associated with your account, enabling you to seamlessly switch between devices if needed.
Make sure to keep your account credentials secure and refrain from sharing them with others. With your streaming service account signed in on your iPad, you’re ready to explore and download your favorite shows for offline viewing!
Step 4: Browse and find the show you want to download
With your streaming service account signed in, it’s time to browse and find the show that you want to download and watch offline. Here’s how:
- Open the streaming service app on your iPad.
- Explore the app’s interface and navigate to the section where shows are listed. This is typically labeled as “Browse” or “Search.”
- Use the search function or browse through different categories and genres to find the specific show you’re interested in.
- Once you’ve located the show, tap on its thumbnail or title to access its detailed information page.
- On the show’s information page, you’ll find additional details like the show’s description, cast, and episode list. You may also see a button or icon indicating the availability of offline downloading.
- Some streaming services allow you to download entire seasons, while others may only allow you to download individual episodes.
- Take note of any download limitations, such as the maximum number of downloads or the expiration period for downloaded content.
Browsing and finding the show you want to download may require some exploration within the streaming service app. Take your time to search for your favorite shows and enjoy the vast selection available. Once you’ve decided on the show, proceed to the next step to download it onto your iPad.
Step 5: Tap on the download button or icon
After you’ve found the show you want to download on your streaming service app, it’s time to initiate the download process. The exact steps may vary depending on the streaming service and app, but generally, you can follow these instructions:
- On the show’s information page, look for a download button or icon. This is usually represented by a downward arrow or a cloud symbol.
- Tap on the download button or icon to start the download process. In some cases, you may also have the option to choose the video quality before downloading.
- The download will begin, and you may notice a progress bar indicating the status of the download.
- Ensure that you have a stable internet connection during the download process. If the connection is interrupted, the download may pause or fail.
- Depending on the size of the show and your internet speed, the download may take some time to complete. Be patient and avoid interrupting the process.
- Once the download is finished, you will receive a notification or the download button/icon will change to indicate that the show is ready to be viewed offline.
Now that you’ve successfully initiated the download, you can move on to the next step and wait for the download to be completed. Keep in mind that the time it takes to download a show will depend on various factors, such as the size of the show and the speed of your internet connection.
Step 6: Wait for the download to complete
After tapping on the download button or icon, you will need to be patient and wait for the download to complete. The time it takes for the download to finish depends on factors such as the size of the show and the speed of your internet connection. Here are a few things to keep in mind while waiting:
- Stay connected to a stable internet connection until the download is finished. If the connection is interrupted, the download may pause or fail.
- Depending on your streaming service and app, you may be able to monitor the progress of the download. Look for a progress bar or indicator that shows the percentage completed.
- Avoid multitasking or using other data-intensive apps during the download process. This can slow down the download and may cause interruptions.
- Ensure that your iPad has enough storage space to accommodate the downloaded show. If your device runs out of storage, the download may fail.
- If you encounter any issues or errors during the download, try restarting the app or your iPad and attempt the download again.
Waiting for the download to complete requires a bit of patience, but once it’s finished, you’ll have the satisfaction of having your favorite show ready for offline viewing. Now, let’s move on to the next step to access and watch the downloaded show on your iPad!
Step 7: Access and watch the downloaded show on your iPad
Now that the download is complete, it’s time to access and watch the downloaded show on your iPad. Follow these steps to enjoy your offline entertainment:
- Open the streaming service app on your iPad.
- Look for a section or tab labeled “Downloads” or “Offline” within the app.
- Tap on the “Downloads” or “Offline” section to view all the shows and movies you’ve downloaded.
- Locate the downloaded show you want to watch and tap on its thumbnail or title.
- The show will start playing, and you can enjoy it without needing an internet connection.
- Use the playback controls, such as pause, play, fast forward, and rewind, to navigate through the show.
- Enjoy watching your downloaded show on your iPad, whether you’re traveling, in a low-signal area, or simply prefer to watch it offline.
Remember that downloaded shows are typically available for a specific duration, depending on the streaming service. Ensure that you watch the show before it expires or is removed from your device to make way for new downloads.
With easy access to your downloaded show, you can enjoy your favorite series or catch up on missed episodes whenever and wherever you want, without relying on an internet connection.
Step 8: Manage downloaded shows to free up space
As you continue to download and watch shows on your iPad, you may encounter situations where you need to free up storage space. Managing your downloaded shows effectively will help you maintain a good balance between having enough space for new downloads and preserving your favorite content. Here are some tips to help you manage your downloaded shows:
- Open the streaming service app on your iPad.
- Go to the “Downloads” or “Offline” section within the app.
- Locate the show or shows that you want to remove from your device.
- Look for an option to “Delete,” “Remove,” or “Free up space” next to each downloaded show.
- Tap on the corresponding option to remove the selected show from your device.
- If you want to free up space for new downloads, consider deleting shows that you have already watched or are no longer interested in.
- Some streaming services may have an automatic expiration feature where downloaded shows are automatically deleted after a certain period. Be aware of this feature if you prefer to keep your downloads for a longer time.
- Regularly review your downloaded shows and remove any that you no longer need to optimize your device’s storage space.
By actively managing your downloaded shows, you can ensure that you have sufficient space for new downloads and prevent your iPad from running out of storage. This will also help you keep your content organized and make it easier to find the shows you want to watch.
Now that you know how to manage your downloaded shows, you’re ready to enjoy a seamless offline entertainment experience on your iPad!
Conclusion
With the availability of offline viewing options on streaming services, downloading shows on your iPad has never been easier. Whether you’re traveling, have limited internet access, or simply prefer to watch your favorite shows offline, following these steps will allow you to enjoy uninterrupted entertainment on your iPad.
We started by emphasizing the importance of updating your iPad to the latest software version, ensuring compatibility and optimal performance. Then, we highlighted the significance of choosing a streaming service that offers offline viewing options and walked you through the process of signing in to your streaming service account on your iPad.
Next, we guided you through browsing and finding the show you want to download, tapping on the download button or icon, and waiting for the download to complete. Once the download is finished, accessing and watching the downloaded show on your iPad is a breeze, as we showed you how to navigate to the Downloads or Offline section of the streaming service app.
Finally, we discussed the importance of managing your downloaded shows to free up space on your iPad. By regularly reviewing and removing shows you no longer need, you can ensure that you have enough room for new downloads.
Now that you’re armed with this knowledge, get ready to embark on a journey of portable entertainment with your iPad. Download your favorite shows, sit back, and enjoy binge-watching anytime, anywhere!