Introduction
Welcome to our guide on how to download recordings from Microsoft Teams. With the increasing popularity of remote collaboration, Microsoft Teams has become a widely used platform for conducting virtual meetings, webinars, and conferences. One of the valuable features of Microsoft Teams is the ability to record meetings for future reference or sharing with team members who couldn’t attend the live session.
Downloading these recordings allows you to keep a local copy of the meeting for offline viewing, archiving, or sharing with others who may not have access to Microsoft Teams. Whether it’s an important business presentation, a training session, or a team brainstorming session, having the ability to easily download and retain the recordings is essential.
In this guide, we will walk you through the step-by-step process of downloading recordings from Microsoft Teams. We will cover the necessary actions you need to take within the application to locate and save your meeting recordings.
Before we dive into the specific steps, it’s important to note that the ability to download recordings is usually available to meeting organizers and owners. If you are not the meeting organizer, you may need to request access or permission from the organizer to download the recording.
Now, let’s get started with the first step: signing in to Microsoft Teams.
Step 1: Sign in to Microsoft Teams
The first step in downloading recordings from Microsoft Teams is to sign in to your Microsoft Teams account. If you don’t have an account yet, you can sign up for one on the Microsoft Teams website. Once you have your account credentials ready, follow these steps:
- Open your preferred web browser and go to the Microsoft Teams website (teams.microsoft.com).
- Click on the “Sign In” button located at the top-right corner of the page.
- Enter your email address and password associated with your Microsoft Teams account.
- Click on the “Sign In” button to access your account.
Alternatively, if you have the Microsoft Teams desktop application installed on your computer, you can launch the application and sign in using the same credentials.
Once you have successfully signed in to your Microsoft Teams account, you will be able to access and manage your meetings, chats, and recordings.
Now that you are signed in, let’s proceed to the next step: accessing the Teams meeting where the recording is located.
Step 2: Access the Teams Meeting
To download a recording from Microsoft Teams, you need to first access the Teams meeting where the recording took place. Here’s how you can do it:
- From the Microsoft Teams main dashboard, navigate to the “Calendar” tab located on the left-hand side of the screen.
- Look for the specific date when the meeting occurred and click on it to view your scheduled meetings for that day.
- Locate the meeting that you want to download the recording from and click on it to open the meeting details.
Alternatively, if you remember the name of the meeting or the participants involved, you can use the “Search” feature at the top of the Microsoft Teams window to find the meeting directly.
Once you have opened the meeting details, you will be able to see various options and information related to the meeting, including any recordings that were made during the session.
If there is a recording available, it will usually be listed under the “Meeting Details” section. Look for a “Recordings” tab or a direct link to the recording to proceed to the next step.
If there are no recordings listed or you can’t find the meeting you are looking for, it is possible that the meeting was not recorded or the recording may have been deleted. In such cases, you may need to contact the meeting organizer or owner for further assistance.
With the meeting details and recording link in hand, it’s time to move on to the next step: locating and downloading the recording.
Step 3: Locate the Recording
Once you have accessed the Teams meeting where the recording took place, the next step is to locate the recording within the meeting details. Here’s how you can do it:
- In the meeting details, look for a “Recordings” tab or a direct link to the recording. Click on it to access the recordings related to the meeting.
- Alternatively, if there is no specific “Recordings” tab, check the various tabs or sections within the meeting details for any mention of the recording.
- If the meeting had multiple recordings, they may be organized by date or title. Look for the recording that you want to download based on the specified criteria.
- Click on the recording to preview or play it directly within Microsoft Teams.
- Take note of the recording’s details, such as the file name, duration, and any additional information provided.
If you are unable to find the recording within the meeting details or if the recording is not listed, it is possible that the recording was deleted or is not available for download. In such cases, you may need to reach out to the meeting organizer or owner for further assistance or clarification.
Once you have successfully located the recording, you are ready to move on to the next step: downloading the recording.
Step 4: Download the Recording
Downloading the recording from Microsoft Teams is a straightforward process. Once you have located the recording within the meeting details, follow these steps to download it:
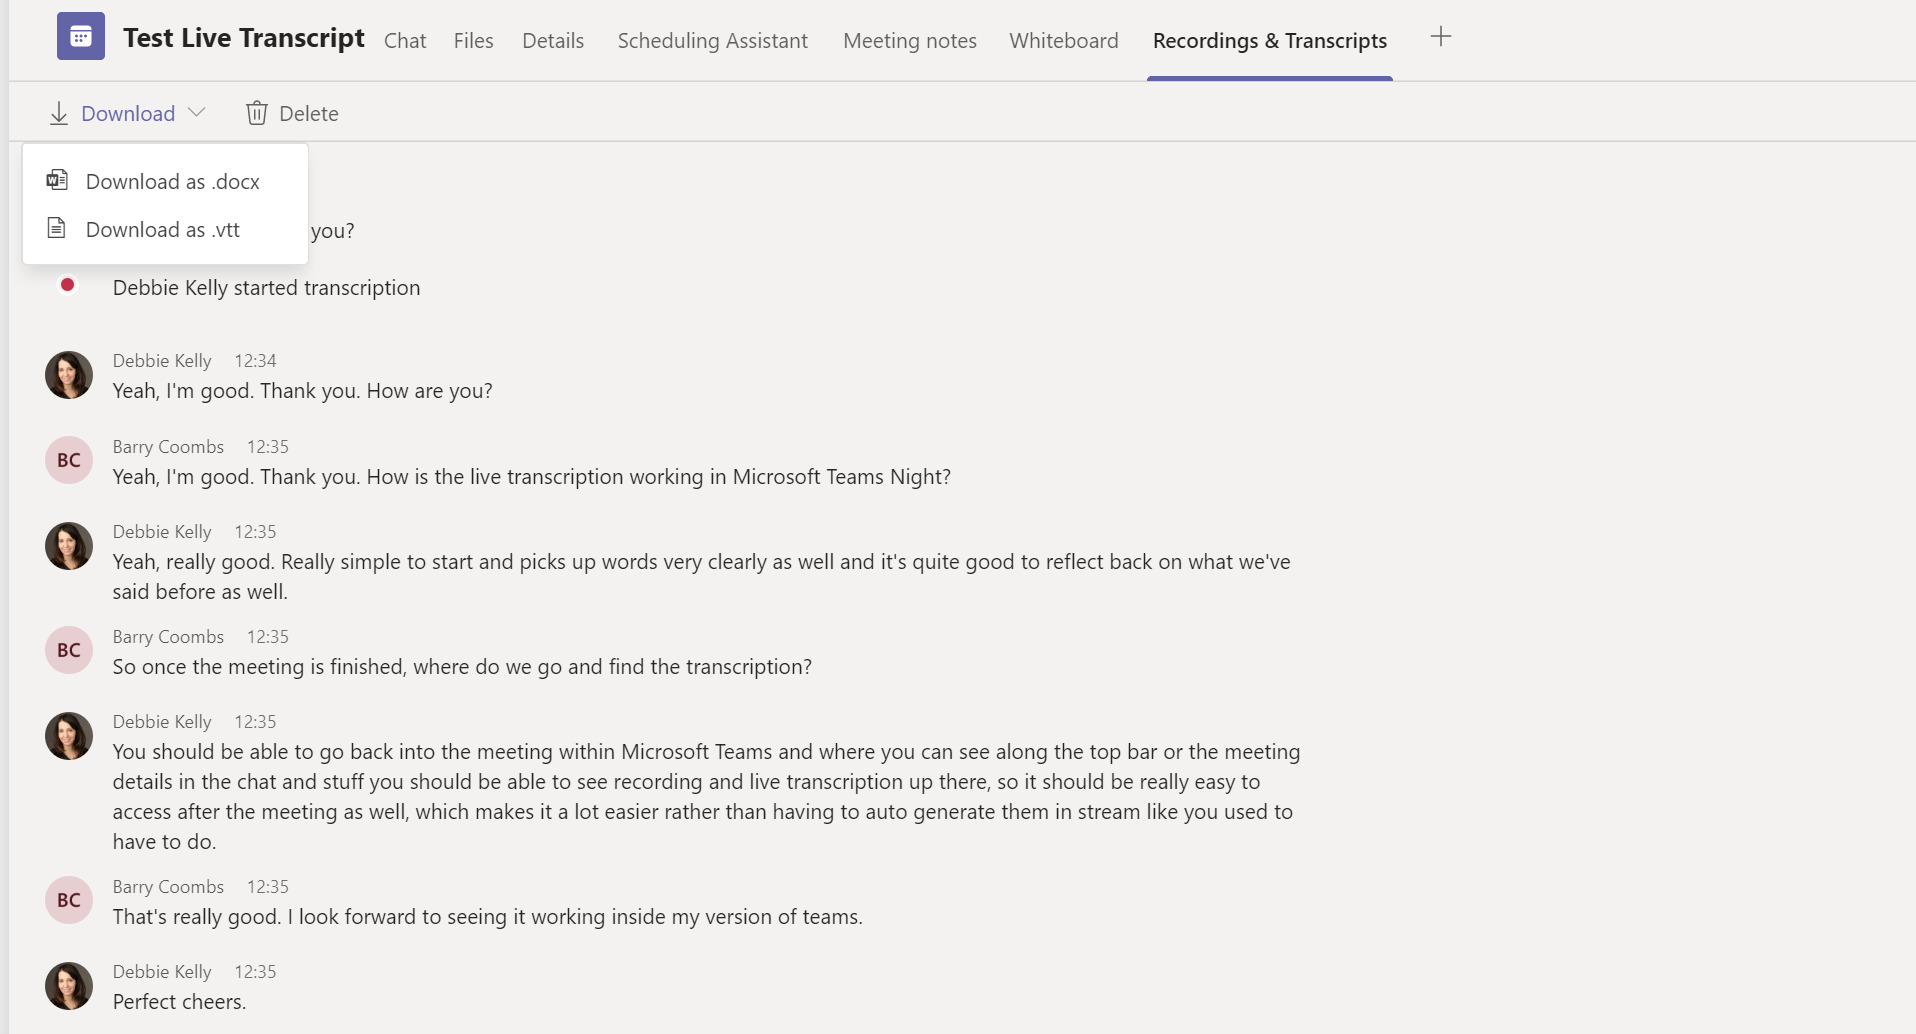
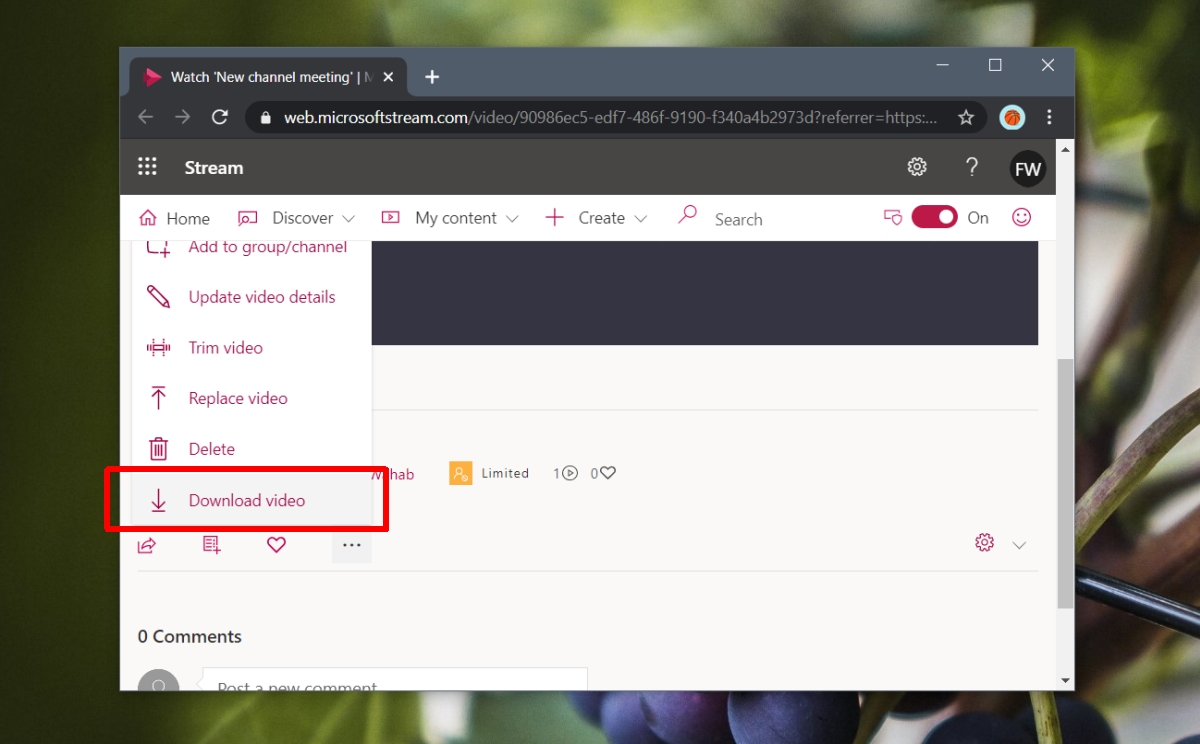
- Click on the ellipsis (…) or the three-dot menu icon next to the recording to access the options menu.
- From the options menu, select “Download” or a similar download-related option.
- A window or prompt will appear, asking you to choose the download location on your computer. Select a folder or directory where you want to save the recording.
- Click on “Save” or a similar confirmation button to start the download.
Depending on the size of the recording and the speed of your internet connection, the download process may take a few moments to complete. Once the download is finished, you will have a local copy of the recording saved on your computer.
It’s important to note that the file format of the downloaded recording may vary depending on the settings and configuration of the meeting and the recording. The next step will guide you on how to choose the recording format.
Now that you have successfully downloaded the recording, let’s move on to the final step: choosing the recording format.
Step 5: Choose the Recording Format
When downloading a recording from Microsoft Teams, you may have the option to choose the format in which the recording is saved. The available formats can vary depending on the settings and configuration of the meeting and the recording. Here’s how you can choose the recording format:
- Before starting the download, check if there is an option to select the recording format. This option is usually displayed in the download prompt or window.
- If the format selection option is available, click on it to see a list of the supported formats.
- Choose the format that best suits your needs or the requirements of the project or system you will be using the recording with.
- Once you have selected the desired format, proceed with the download as usual.
If there is no format selection option available, the recording will be downloaded in the default format determined by the meeting settings or the application configuration.
The most common formats for Microsoft Teams recordings include MP4, WMP, and M4A. However, depending on your meeting settings, you may have additional options or be limited to specific formats.
After downloading the recording with the chosen format, you can play it using a compatible media player on your computer or device. Additionally, you can use video editing software or other tools to further process or convert the recording if needed.
With the recording format selected and the download completed, you have successfully downloaded and saved the recording from Microsoft Teams.
To wrap up, we have covered the necessary steps to download recordings from Microsoft Teams. By signing in to Microsoft Teams, accessing the Teams meeting, locating the recording, downloading it, and choosing the recording format, you can now have local copies of your important meetings, presentations, and discussions available for review, sharing, and archiving.
Conclusion
Downloading recordings from Microsoft Teams is a valuable feature that allows you to keep a local copy of important meetings and presentations. By following the step-by-step process outlined in this guide, you can easily save and access your recorded sessions for future reference or sharing with team members who may have missed the live event.
We began by signing in to your Microsoft Teams account, ensuring that you have the necessary access and permissions to download the recordings. Then, we learned how to access the Teams meeting where the recording took place, making it easier to locate and download the recording.
Once we located the recording within the meeting details, we proceeded to download it by selecting the download option and choosing a suitable location on our computers for storage. Additionally, we explored the possibility of choosing the recording format, allowing for compatibility with various devices and systems.
By following these steps, you can ensure that you have readily available copies of your recorded meetings, webinars, and conferences. Whether it’s for review, archiving, or sharing with others, having these recordings at your disposal can be immensely useful.
Remember, the availability of recordings and the options for downloading them may vary depending on the settings and configurations set by the meeting organizer. If you encounter any difficulties or have questions about downloading recordings, it’s best to reach out to the meeting organizer or your IT support for further assistance.
With this guide, you are now equipped with the knowledge to effectively download recordings from Microsoft Teams. Use this feature to enhance your remote collaboration experience and ensure that valuable content is saved for future use.