Introduction
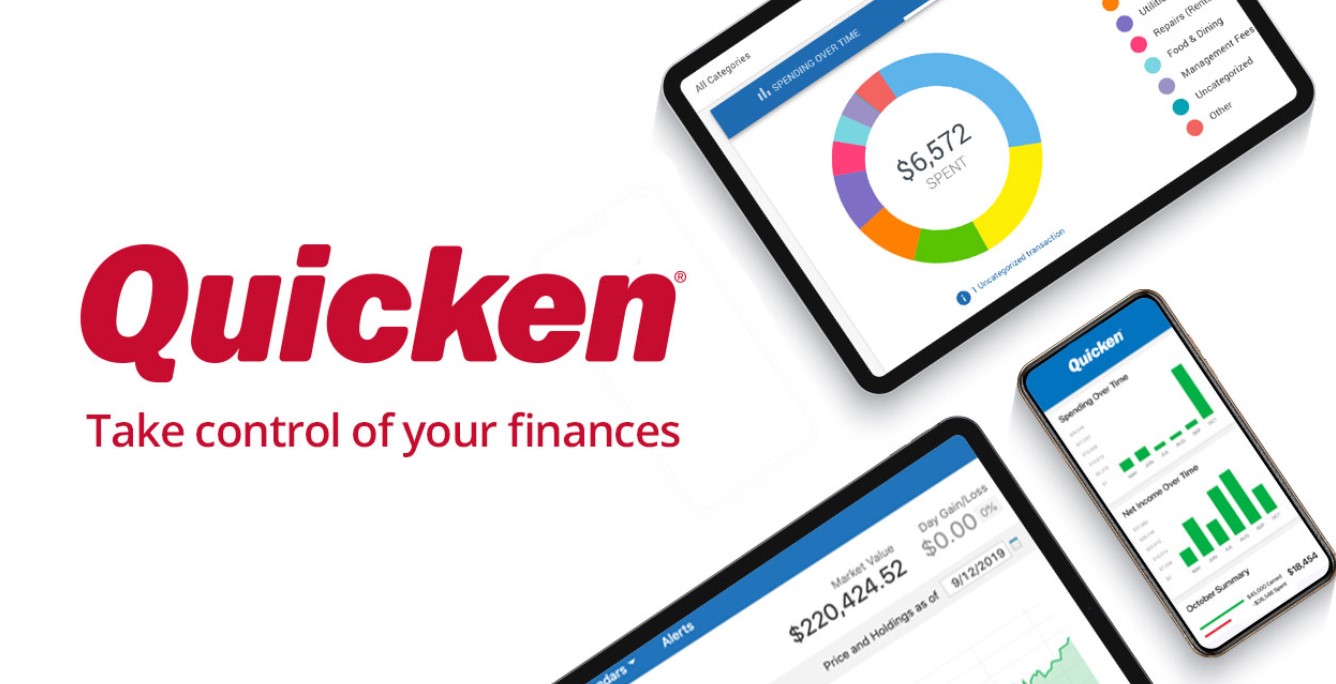
Welcome to the world of Quicken, an essential financial management software that helps you track and manage your personal or business finances effectively. By downloading Quicken, you gain access to a wide range of features, such as tracking expenses, creating budgets, monitoring investments, and much more.
In today’s digital age, downloading software has become a convenient and quick way to access the tools and resources you need. In this article, we will guide you through the process of downloading Quicken, ensuring that you have all the necessary steps to get started.
Whether you are a first-time user or upgrading to a newer version, downloading Quicken is a straightforward process that requires a few simple steps. With the right information at your fingertips, you can download and install Quicken in no time, helping you take control of your finances and achieve your financial goals.
Before diving into the download process, it’s essential to understand the different versions of Quicken available. Quicken offers various editions tailored to meet the specific needs of individuals and businesses. From the basic Quicken Starter edition to the more advanced Quicken Home & Business edition, each version offers unique features and capabilities. By selecting the appropriate edition, you can ensure that you have access to the tools and functionalities that best suit your financial needs.
Now that you have a better understanding of the importance of Quicken and the various versions available, let’s dive into the step-by-step guide on how to download Quicken. By following the instructions provided in the upcoming sections, you will be well on your way to successfully installing Quicken and transforming the way you manage your finances.
Step 1: Visit the Quicken Website
The first step in downloading Quicken is to visit the official website. Open your preferred web browser and enter the URL “www.quicken.com” in the address bar. Press Enter, and you will be directed to the Quicken homepage.
Once you reach the Quicken website, take a moment to familiarize yourself with the various options and features available. The homepage provides valuable information about the different versions of Quicken, customer testimonials, and the latest updates. You can also find helpful resources, such as FAQs, user guides, and community forums, which can assist you in getting the most out of Quicken.
One of the key aspects to consider when visiting the Quicken website is to ensure that the website is legitimate and secure. Look for indicators such as the padlock icon in the URL bar, which signifies that the website has a valid SSL certificate and your connection is encrypted. This protects your personal information and financial data during the download and installation process.
Browsing through the Quicken website will also give you an overview of the features and benefits offered by the software. You can explore the specific functionalities that interest you, such as managing bills, tracking investments, or generating reports. This will help you determine which version of Quicken is best suited to meet your individual or business needs.
Additionally, the Quicken website may also provide information regarding any ongoing promotions, discounts, or pricing plans that are available. Take a moment to review these offerings to ensure you make an informed decision when selecting and purchasing your desired Quicken edition.
Once you have gained a clear understanding of the different Quicken versions, features, and pricing, you are ready to proceed to the next step. In the upcoming section, we will guide you through the process of choosing the right Quicken version that suits your financial requirements.
Step 2: Choose the Right Version
Choosing the right version of Quicken is an important step in the download process. With several editions available, it’s crucial to select the one that aligns with your specific financial management needs. Let’s explore the options to help you make an informed decision.
Quicken offers several editions, each designed to cater to different user requirements. The available editions include Quicken Starter, Deluxe, Premier, and Home & Business. Here’s a brief breakdown of each edition:
- Quicken Starter: Perfect for individuals who are just getting started with financial management. It provides basic features like expense tracking, bill management, and budgeting.
- Quicken Deluxe: Ideal for individuals looking to take their financial management to the next level. It offers additional features such as investment tracking and retirement planning tools.
- Quicken Premier: Tailored for individuals with more complex financial situations. It includes advanced investment tracking, tax reporting, and analysis features.
- Quicken Home & Business: Designed for small business owners and self-employed professionals. It includes features like business expense tracking, invoice management, and rental property tracking.
Consider your specific financial goals, requirements, and the level of complexity in your financial situation when choosing the right Quicken edition. Think about the features that are most important to you and will help you achieve your financial objectives.
It’s also worth mentioning that Quicken is available for both Windows and Mac operating systems. Ensure that the version you choose is compatible with your device to avoid any compatibility issues during the download and installation process.
Once you have identified the Quicken edition that best suits your needs, it’s time to proceed to the next step: creating a Quicken account. By creating an account, you gain access to Quicken’s online features and services that enhance your financial management experience. This will be discussed in detail in the upcoming section.
Step 3: Create a Quicken Account
Before you can proceed with downloading Quicken, you need to create a Quicken account. A Quicken account allows you to access Quicken’s online services, sync your financial data across devices, and manage your account information. Follow these steps to create your Quicken account:
- Visit the Quicken website and click on the “Sign In” or “Create Account” button. This will take you to the account creation page.
- On the account creation page, you will be prompted to enter your email address and create a password. Make sure to choose a strong password that includes a combination of uppercase and lowercase letters, numbers, and special characters.
- After entering your email address and password, click on the “Create Account” button to proceed.
- You may be prompted to verify your email address by clicking on a verification link sent to your email. Follow the instructions in the email to complete the verification process. If you don’t receive the email, check your spam or junk folder.
- Once your email is verified, you will be directed to a page where you can enter your personal information such as your name, address, and phone number. Fill in the required fields and click “Next” to proceed.
- In the next step, you may have the option to choose additional services or features that complement your Quicken experience. Review the available options and select the ones that best fit your needs. This step is optional, so you can skip it if you prefer.
- Finally, review your account information and settings on the confirmation page. Make sure all the details are accurate and click “Create Account” to complete the process.
Once you have successfully created your Quicken account, you are ready to download the Quicken software. In the next section, we will guide you through the steps to select the appropriate version of Quicken based on your operating system.
Step 4: Select Your Operating System
Choosing the right version of Quicken for your operating system is crucial to ensure compatibility and a seamless installation process. Quicken is available for both Windows and Mac operating systems. Follow these steps to select the appropriate version based on your operating system:
- On the Quicken website, navigate to the download page or section.
- Look for the options to choose your operating system, typically displayed as icons or tabs for Windows and Mac. Click on the icon or tab that corresponds to your operating system.
- By selecting your operating system, you will be directed to the page that displays the available Quicken versions compatible with your system.
- Review the versions and editions available for your operating system. Choose the edition that you previously determined to be the best fit for your financial management needs.
- Verify the system requirements to ensure your device meets the minimum specifications for the selected Quicken edition. This includes checking the required operating system version, available storage space, and other necessary specifications.
- Take note of any additional information provided, such as recommended system configurations or compatibility notes.
It’s important to select the correct version of Quicken for your operating system to ensure a smooth installation process and optimal performance. Installing a version that is not compatible with your operating system may result in errors or functionality issues.
Once you have selected the appropriate version for your operating system, you are ready to proceed with the actual download of the Quicken software. In the next section, we will guide you through the process of downloading the Quicken installer.
Step 5: Download the Installer
Now that you have determined the right version of Quicken for your operating system, it’s time to download the Quicken installer. Follow these steps to download the Quicken installer:
- On the Quicken website, locate the download section or page.
- Look for the download button or link associated with the version of Quicken you have chosen for your operating system. Click on the download button or link.
- A file download prompt will appear on your screen. Choose a location on your computer where you want to save the Quicken installer file. It’s recommended to save it in a location that is easily accessible, such as the Downloads folder.
- Click “Save” to start the download process. The file size of the Quicken installer may vary depending on the version and edition you have chosen, so it may take some time to complete the download.
- Once the download is complete, locate the Quicken installer file on your computer. It is typically in the format of a .exe file for Windows or a .dmg file for Mac.
Please note that the download process may vary slightly depending on your web browser and operating system. If you encounter any issues or have difficulty downloading the file, refer to the Quicken support documentation or contact their customer support for assistance.
Once you have successfully downloaded the Quicken installer file, you are ready to proceed to the next step: running the installer. We will provide detailed instructions on how to run the installer in the upcoming section.
Step 6: Run the Installer
After downloading the Quicken installer file, it’s time to run the installer and begin the installation process. Follow these steps to run the Quicken installer:
- Locate the Quicken installer file on your computer, whether it’s a .exe file for Windows or a .dmg file for Mac.
- Double-click on the installer file to launch the installation wizard. This will typically open a dialogue box asking for your permission to run the installer. Click “Yes” or “Run” to proceed.
- The installation wizard will guide you through the setup process. Follow the on-screen prompts and instructions to proceed to the next steps.
- Read and review the End User License Agreement (EULA) or Terms and Conditions presented by the installer. If you agree to the terms, check the box that indicates your acceptance and proceed to the next step.
- Choose the installation options that best suit your preferences. This may include selecting the installation location, language, additional features, and creating icons or shortcuts for easy access to Quicken.
- Once you have selected your desired installation options, click “Install” or “Next” to start the installation process. The installation progress will be displayed on your screen.
- Depending on the size of the installation file and your computer’s performance, the installation process may take a few minutes. Do not interrupt the process and ensure your computer remains powered on.
- Once the installation is complete, you will see a confirmation message indicating that Quicken has been successfully installed on your computer. You may be prompted to restart your computer to complete the installation.
Congratulations! You have successfully run the Quicken installer and completed the installation process. Quicken is now ready to be launched and configured. In the next section, we will discuss how to set up Quicken and guide you through the initial configuration process.
Step 7: Follow the Installation Wizard
After running the Quicken installer, the installation wizard will guide you through the final steps to configure and set up Quicken on your computer. Follow these instructions to complete the installation process:
- When the installation is complete, the installation wizard will prompt you to launch Quicken. Check the box that says “Launch Quicken” and click “Finish” or “Close”.
- The first time you launch Quicken, you may be asked to sign in with your Quicken account credentials. Enter your email address and password associated with your Quicken account and click “Sign In” or “Continue”.
- Next, you may have the option to restore a backup of your financial data from a previous version of Quicken. If you have a backup file, follow the prompts to restore your data. If you don’t have a backup or want to start with a fresh file, choose the option to create a new file.
- Quicken will then guide you through the process of setting up your financial accounts. This includes adding bank, credit card, and investment accounts to Quicken for automatic transaction downloading and updates. Follow the instructions provided and enter the necessary account information.
- Once you have added your accounts, Quicken may prompt you to review and categorize transactions to ensure accurate tracking and reporting. Take the time to review and categorize transactions as needed.
- You may also have the option to customize Quicken’s settings and preferences, such as currency, date format, and report preferences. Adjust the settings according to your preferences and click “Save” or “Apply”.
- After completing the initial setup, Quicken will display the main dashboard where you can start exploring the various features and tools available. Take some time to familiarize yourself with the dashboard interface and navigation.
With the installation wizard completed, you are now ready to take full advantage of Quicken’s features and capabilities. Spend some time exploring the different areas of Quicken, such as budgeting, expense tracking, investment management, and reporting, to get a comprehensive understanding of what Quicken has to offer.
Congratulations! You have successfully followed the installation wizard and set up Quicken on your computer. Enjoy the benefits of Quicken’s powerful financial management tools and take control of your finances.
Conclusion
Congratulations on successfully downloading and installing Quicken! You have taken an important step towards effective financial management. Quicken offers a wide range of features and tools that can help you track expenses, create budgets, manage investments, and more.
In this guide, we walked you through the process of downloading Quicken, step by step. We started by visiting the Quicken website and choosing the right version that suits your financial needs. Then, we guided you through the process of creating a Quicken account, selecting your operating system, downloading the installer, running the installer, and following the installation wizard to set up Quicken on your computer.
Now that Quicken is up and running, it’s time to make the most of its features. Explore the various areas of Quicken, such as budgeting, expense tracking, investment management, and reporting, to help you gain insights into your financial situation and make informed decisions.
Remember, Quicken is designed to simplify and streamline your financial management tasks. Take advantage of features like automatic transaction imports, bill reminders, and customized reports to save time and have a clear picture of your financial health.
Should you encounter any issues during the installation process or when using Quicken, don’t hesitate to refer to the Quicken support documentation or reach out to their customer support for assistance.
Now that you have the tools and knowledge to download and install Quicken, it’s time to take control of your finances and achieve your financial goals. Start using Quicken today and experience the benefits of effective financial management.