Introduction
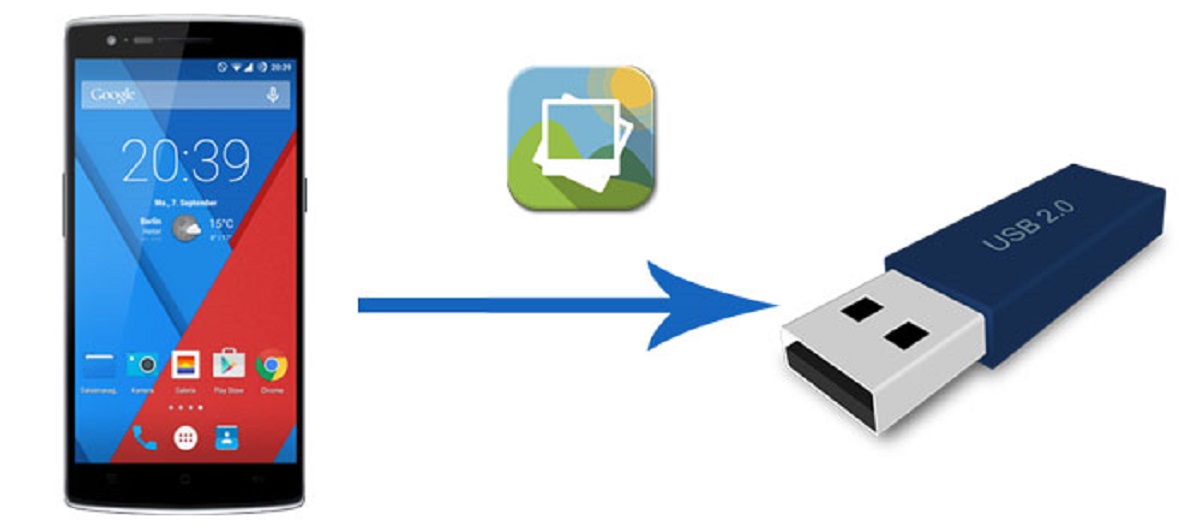
Welcome to this step-by-step guide on how to download photos to a flash drive! If you’re looking for a convenient and secure way to backup your precious memories or transfer your photos from one device to another, using a flash drive is an excellent option.
Photographs hold special moments and memories that we cherish, and it’s important to ensure their safekeeping. By downloading your photos to a flash drive, you can create a portable and compact storage solution that allows you to easily access and share your pictures anytime, anywhere.
In this guide, we will walk you through the process of downloading photos to a flash drive, providing you with simple instructions to make the task feel effortless. Whether you’re a beginner or a tech-savvy individual, this guide will ensure that you can successfully complete the process without any hassle.
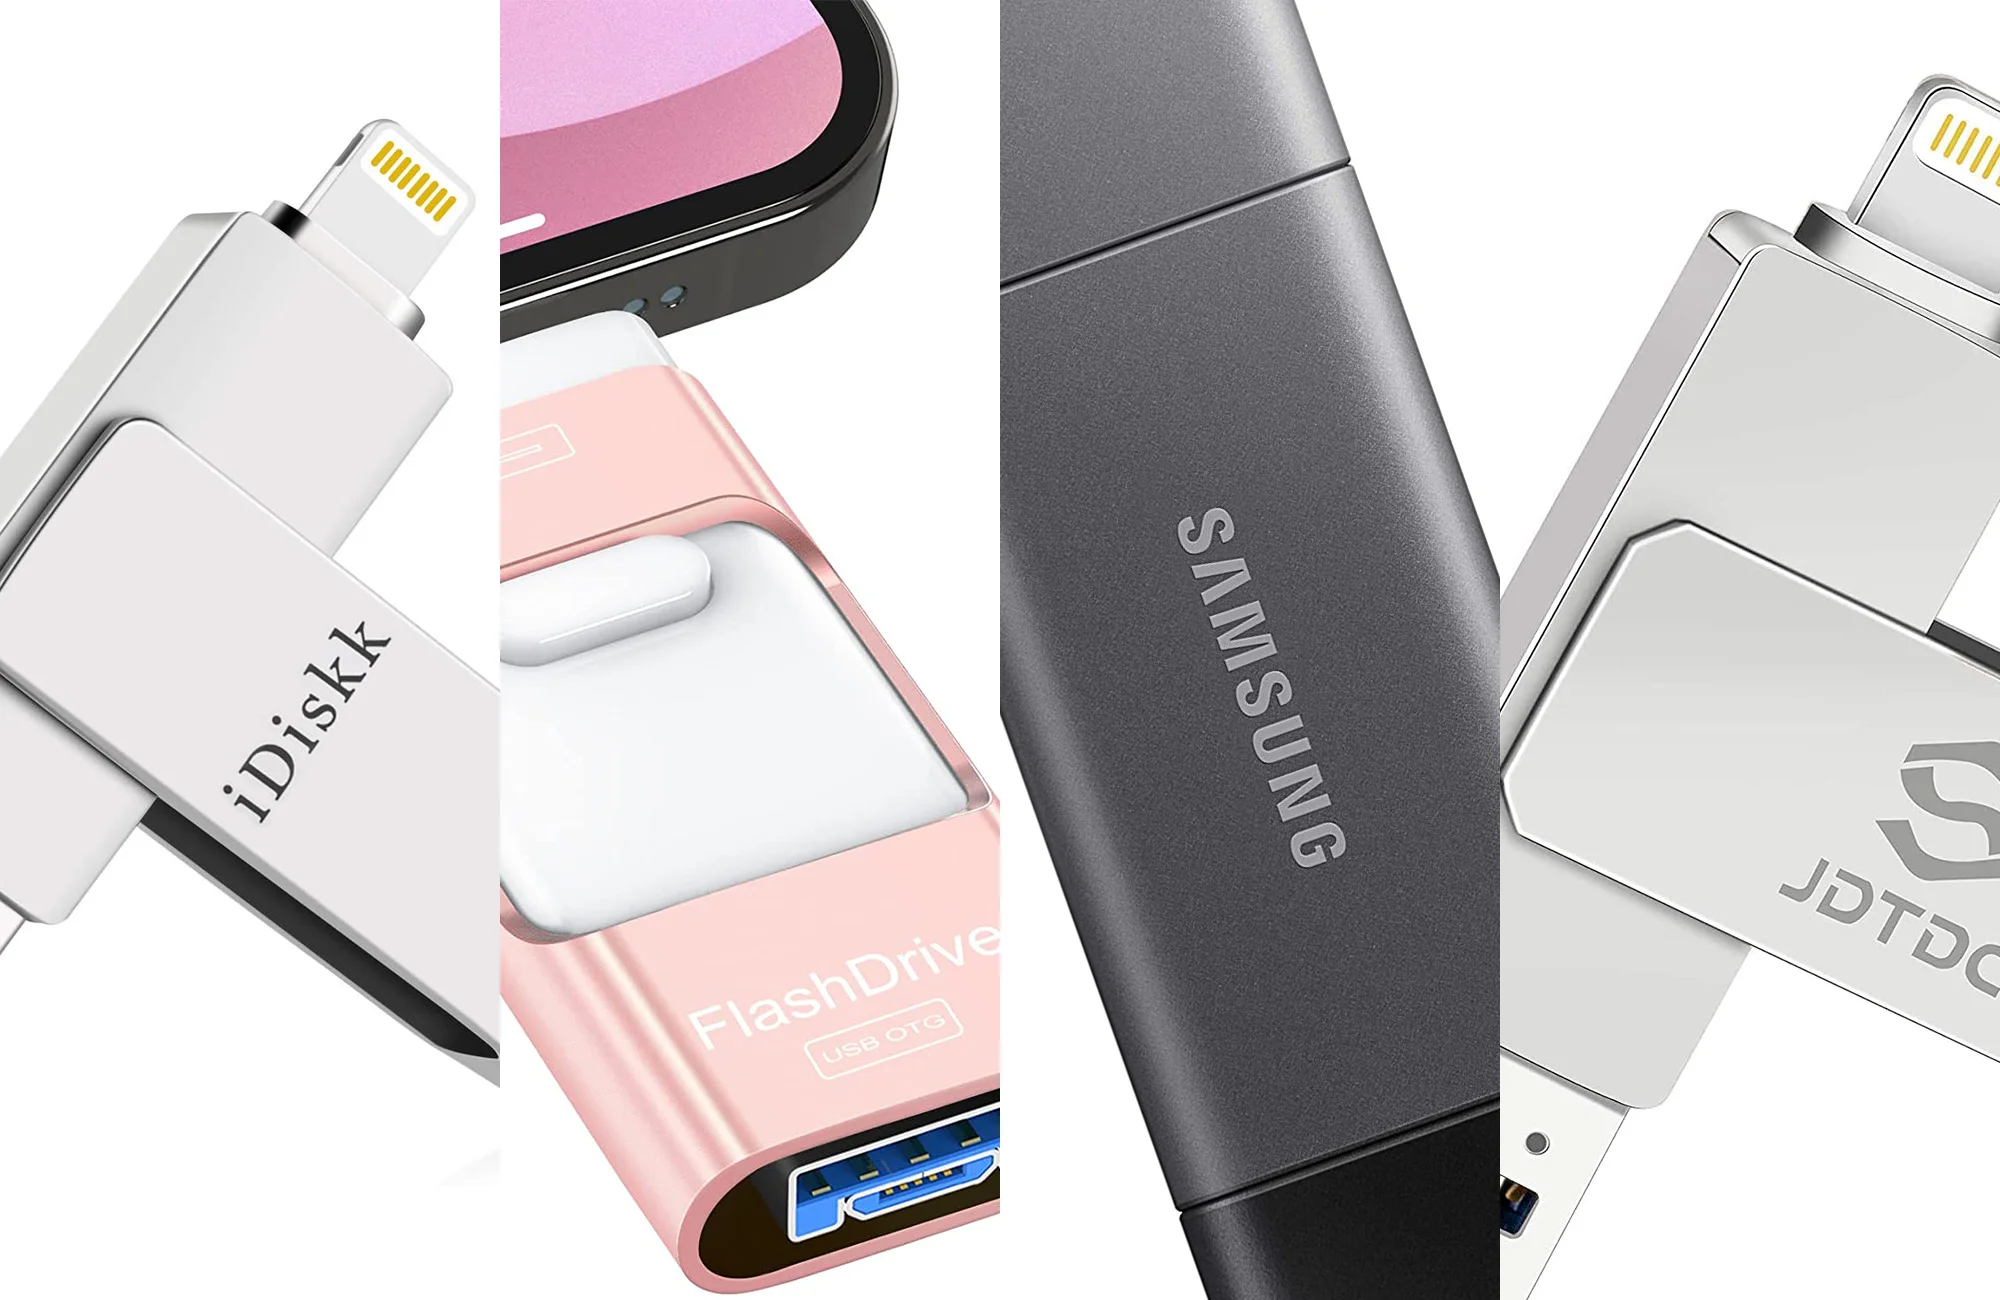
Before we dive into the steps, let’s briefly discuss the basic equipment you will need. Firstly, you will need a computer or laptop with a USB port. This allows you to connect the flash drive and transfer the photos. Secondly, you will need a flash drive with sufficient storage capacity to accommodate the photos you wish to download. If you don’t have one already, you can easily purchase a flash drive from any computer or electronics store.
Now that we have covered the essentials, let’s get started with the step-by-step instructions. Follow along and soon you’ll be transferring your photos onto a flash drive like a pro!
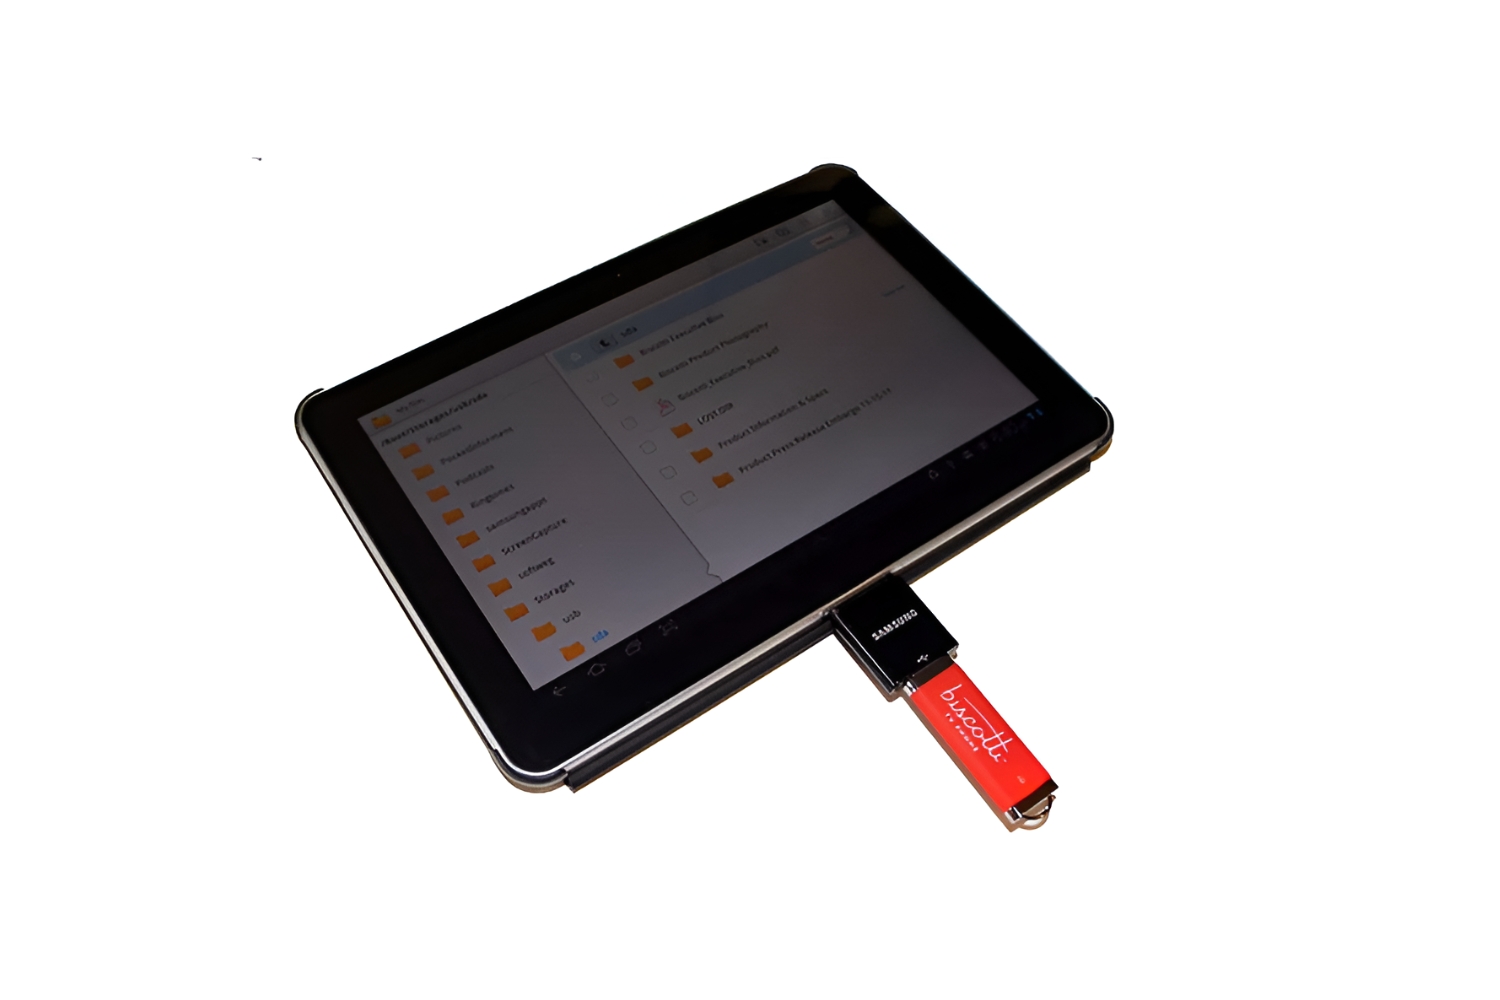
Step 1: Connect the flash drive to your computer
The first step in downloading photos to a flash drive is to connect the flash drive to your computer. This allows you to establish a connection between the two devices and transfer the photos.
To connect the flash drive, locate an available USB port on your computer. USB ports are typically located on the sides or back of a desktop computer, or on the sides or back of a laptop. They are rectangular in shape and usually have the USB symbol on them.
Take the flash drive and insert it into the USB port. Ensure that it is inserted firmly and completely into the port to establish a secure connection. The flash drive should fit snugly into the port, with no parts sticking out.
Once the flash drive is connected, your computer will usually recognize it automatically and show a notification on the screen. Depending on your computer’s operating system, you may also hear a sound indicating that the flash drive has been connected successfully.
If your computer does not recognize the flash drive, try connecting it to a different USB port or restarting your computer and reconnecting the flash drive. Sometimes, this simple troubleshooting step can resolve any connectivity issues.
It is important to note that some flash drives may have a protective cap or cover. Before inserting the flash drive into the USB port, remove the cap or cover and set it aside in a safe place. This ensures that the USB connector is exposed and ready for connection.
Now that you have successfully connected the flash drive to your computer, you are ready to move on to the next step: locating the photos you want to download. Let’s dive in!
Step 2: Locate the photos you want to download
Now that the flash drive is connected to your computer, it’s time to locate the photos you want to download. Depending on where your photos are stored, the process may vary slightly.
If your photos are stored in a specific folder on your computer, open the file explorer or Finder on your operating system. Navigate to the folder where the photos are located. You can usually find the file explorer or Finder icon on your desktop or in the taskbar or dock.
Once you’ve opened the file explorer or Finder, you will see a list of folders and files on your computer. Look for the folder that contains the photos you want to download. If you know the name of the folder, you can quickly search for it using the search bar provided.
If your photos are scattered across different folders or are stored in additional devices such as cameras or smartphones, you will need to locate them separately. Connect the devices or cameras to your computer as per their specific instructions. Once connected, navigate to the respective folders or devices using the file explorer or Finder.
When you locate the folder or device that contains the photos you want to download, take a moment to ensure that you have identified the correct files. You can preview the photos by clicking on them or using the thumbnail view provided in the file explorer or Finder.
If you need to organize or sort your photos before downloading them, you can create a new folder on your computer or flash drive and move the selected photos into it. This helps maintain a neat and organized file structure.
Now that you have successfully located the photos you want to download, it’s time to move on to the next step: selecting the photos. Let’s proceed!
Step 3: Select the photos
With the photos now located, it’s time to select the specific ones you want to download onto the flash drive. Selecting photos is a straightforward process that allows you to choose the images you wish to transfer.
In the file explorer or Finder window, navigate to the folder or device where your photos are stored. Take a moment to review the images and decide which ones you want to download. You can select individual photos by clicking on them, or you can select multiple photos by holding down the Ctrl (Windows) or Command (Mac) key while clicking on the desired images.
If you want to select all the photos within a folder or device, you can use a shortcut. Simply press Ctrl+A (Windows) or Command+A (Mac), and all the photos in that location will be selected. This is particularly useful if you want to download all the photos in a specific folder or from a connected camera or smartphone.
As you select the photos, you may notice that they become highlighted or appear with a checkmark to indicate that they are selected. This visual cue helps you keep track of the images you have chosen.
If you accidentally select the wrong photo or want to deselect a photo, you can click on it again to remove the selection. Alternatively, you can press Ctrl or Command and click on the photo to deselect it while keeping the others selected.
Take your time to go through your photos and ensure that you have selected all the ones you want to download. Double-check that no important images have been left out.
Now that you have successfully selected the photos, it’s time to proceed to the next step: copying the selected photos to the flash drive. Let’s move forward!
Step 4: Copy the selected photos to the flash drive
Now that you have selected the photos you want to download, it’s time to copy them to the flash drive. This process ensures that the selected images are transferred from your computer to the portable storage device.
In the file explorer or Finder window, right-click on any of the selected photos. A drop-down menu will appear with various options. Look for an option like “Copy” or “Copy to” and click on it. This will copy the selected photos to your computer’s clipboard.
Next, navigate to the location where your flash drive is connected. You can find it listed in the file explorer or Finder under “Devices and Drives” or by its assigned name. Click on the flash drive to open it and display its contents.
Once the flash drive’s contents are displayed, right-click on an empty area within the flash drive window and select an option like “Paste” or “Paste here” from the drop-down menu. This will initiate the transfer of the selected photos from your computer’s clipboard to the flash drive.
The time required to copy the photos will depend on various factors such as the size of the files and the speed of your computer and flash drive. During the transfer process, it’s important to avoid interrupting the operation or disconnecting the flash drive prematurely, as this may result in data corruption or loss.
While the photos are being copied, you may see a progress bar indicating the status of the transfer. This can give you an estimate of how much longer the process will take.
Once all the selected photos have been successfully copied to the flash drive, you will receive a notification confirming the completion of the transfer. At this point, you can safely disconnect the flash drive from your computer.
Congratulations! You have successfully copied the selected photos to the flash drive. Now you can safely remove the flash drive from your computer and use it to access and share your photos on other devices.
In the next step, we will cover the process of safely ejecting the flash drive from your computer. This ensures that no data is lost or corrupted during the removal process. Let’s proceed!
Step 5: Safely eject the flash drive
Once you have successfully copied the selected photos to the flash drive, it’s important to safely eject the device from your computer. Safely ejecting the flash drive ensures that the transfer process is complete and reduces the risk of data loss or corruption.
To safely eject the flash drive, first ensure that all the files and folders on the flash drive are closed. This ensures that there are no active processes or operations involving the flash drive.
In the file explorer or Finder window, right-click on the flash drive’s icon or name. A drop-down menu will appear, showing various options. Look for an option like “Eject,” “Safely Remove,” or “Disconnect.” Click on this option to initiate the ejection process.
After clicking on the eject option, you may see a notification or confirmation prompt indicating that it is safe to remove the flash drive. This notification ensures that all the pending write operations to the flash drive are completed.
Wait for a few seconds until you receive the confirmation that the flash drive can be safely removed. Once you see the notification, gently remove the flash drive from the USB port. Carefully pull it out, avoiding any excessive force or sudden movements that may cause damage.
It is crucial to follow the proper ejection process and not remove the flash drive while a transfer, read or write operation is in progress. Abruptly disconnecting the flash drive can lead to data loss, file corruption, or damage to the flash drive itself.
Now that you have safely ejected the flash drive from your computer, you can use it to access and share the downloaded photos on other devices. Keep the flash drive in a safe place to ensure that your precious memories are protected and easily accessible whenever you need them.
Congratulations! You have successfully completed the process of downloading photos to a flash drive. By following these steps, you can easily transfer your photos and have a reliable backup solution for your cherished memories.
Remember to always keep backups of your files and regularly update them to ensure their safety. We hope this guide has been helpful to you, and we wish you the best in preserving and sharing your photo collection!
Conclusion
Transferring your photos to a flash drive provides a convenient and secure way to backup, store, and share your precious memories. Throughout this guide, we have walked you through the step-by-step process of downloading photos to a flash drive.
We started by connecting the flash drive to your computer, ensuring a stable and secure connection. Then, we moved on to locating the photos you wanted to download, guiding you through any necessary folders or devices. Next, we discussed the process of selecting the specific photos you wished to transfer.
After selecting the photos, we covered the crucial step of copying the selected images to the flash drive. This copying process ensures that the photos are transferred from your computer to the portable storage device. Finally, we emphasized the significance of safely ejecting the flash drive to avoid any data loss or corruption.
By following these steps, you can successfully download your photos to a flash drive, providing you with a portable and reliable backup of your cherished memories. Having your photos stored on a flash drive allows you to access and share them with ease, whether on other computers, laptops, or compatible devices.
Remember to keep your flash drive and its contents safe by storing it in a secure location. Additionally, consider creating multiple copies of important photos and periodically updating your backup to ensure that your memories are protected.
We hope this guide has been helpful to you in understanding the process of downloading photos to a flash drive. Now, armed with this knowledge, you can confidently preserve and share your photo collection for years to come.
Thank you for reading, and we wish you the best in your photo storage and organization endeavors!