


Introduction
With millions of music videos and songs available on YouTube, it’s no wonder that many people turn to the platform to discover and enjoy their favorite tunes. However, accessing your favorite songs offline can be a bit of a challenge. Luckily, there is a way to download uploaded music from YouTube Music, allowing you to listen to your favorite tracks anytime, anywhere.
In this article, we will take you through a step-by-step guide on how to download music from YouTube Music and save it to your device. By following these simple instructions, you will be able to create a personal music library that you can enjoy without an internet connection. So, let’s get started!
Before we dive into the steps, it’s important to note that downloading copyrighted music from YouTube without proper permission is illegal. Make sure to only download and use music that is either copyright-free or that you have the necessary rights to do so.
Now that we have the legalities out of the way, let’s move on to the first step in downloading uploaded music from YouTube Music.
Step 1: Find the YouTube Music video
The first step in downloading music from YouTube Music is to find the video containing the song you want to download. YouTube Music offers an extensive collection of music videos, covers, and live performances, making it easy to find your favorite songs.
To begin, open the YouTube Music app or visit the YouTube Music website. Next, use the search bar at the top of the screen to enter the name of the song or artist you wish to download. YouTube Music will display a list of relevant search results.
Browse through the search results until you find the video that matches your desired song. It’s important to note that not all YouTube Music videos can be downloaded due to copyright restrictions. Therefore, it’s best to choose videos from official artist channels or those labeled as “copyright-free” or “royalty-free.”
Once you have found the YouTube Music video you want to download, move on to the next step to copy the video URL.
Step 2: Copy the video URL
After finding the YouTube Music video that contains the song you wish to download, the next step is to copy the video URL. The video URL is a unique address that directs you to the specific video you want to download.
To copy the video URL, you have a couple of options depending on the device you are using. If you are accessing YouTube Music through a web browser, simply look at the address bar at the top of the screen. The URL of the video should be displayed there. Highlight the entire URL and right-click to copy it. Alternatively, you can click on the share button below the video and select the option to copy the URL.
If you are using the YouTube Music mobile app, tap on the share button located below the video. From there, you will have the option to copy the URL using the available sharing methods, such as copying to your device’s clipboard.
Ensure that you have successfully copied the complete video URL before moving on to the next step. Once you have the video URL copied to your clipboard, you are ready to proceed to Step 3, where we will use a YouTube to MP3 converter to download the music.
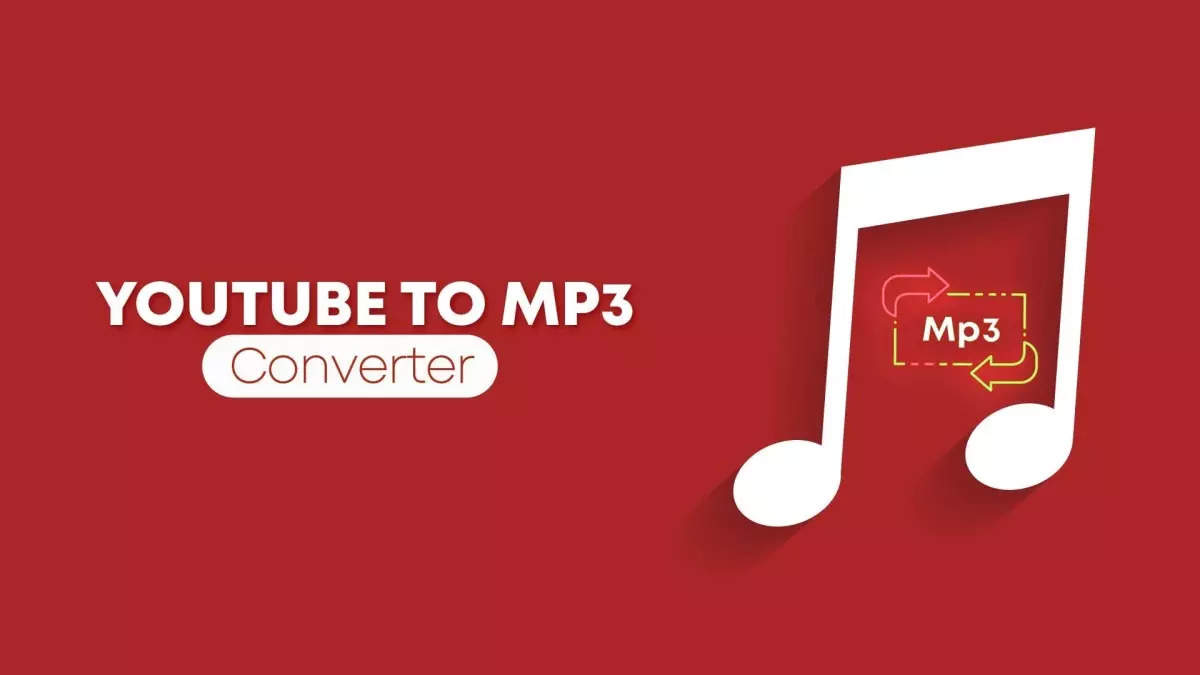
Step 3: Use a YouTube to MP3 converter
Now that you have the video URL copied, it’s time to use a YouTube to MP3 converter. A YouTube to MP3 converter is a tool that allows you to extract the audio from a YouTube video and convert it into an MP3 file that can be easily downloaded and saved to your device.
There are numerous YouTube to MP3 converters available online, both as websites and software applications. Some popular options include YTMP3, Convert2MP3, and 4K Video Downloader. These converters offer a simple and straightforward process to convert YouTube music videos into MP3 format.
To use a YouTube to MP3 converter, open a web browser and search for the converter you prefer. Access the converter’s website or download and install the software if it’s a desktop application.
Once you have accessed the converter, you will typically find a search bar or a space to paste the YouTube video URL. This is where you will insert the video URL you copied earlier. Paste the URL into the designated area and proceed to the next step.
Keep in mind that not all YouTube to MP3 converters are reliable or safe, so it’s important to do your research and choose a reputable one. Look for converter platforms with positive user reviews and a history of providing quality conversions.
With the video URL inserted into the converter, you are now ready to move on to Step 4: pasting the URL and initiating the conversion process.
Step 4: Paste the URL in the converter
Once you have accessed a reliable YouTube to MP3 converter, it’s time to paste the video URL you copied earlier into the converter’s designated area.
On the converter’s website or application, you will typically find a field or a box where you can paste the video URL. Locate this area and right-click inside it, then choose the option to paste the URL. Alternatively, you can press “Ctrl+V” (Windows) or “Cmd+V” (Mac) on your keyboard to paste the URL.
Make sure to double-check that the entire video URL is pasted correctly, as any missing or extra characters could lead to an unsuccessful conversion. Once you are confident that the URL is correctly inserted, proceed to the next step to choose the audio quality.
It’s worth noting that some YouTube to MP3 converters may offer additional features or options, such as selecting a specific start or end time for the audio or adjusting the output file format. These features can enhance your downloading experience, so feel free to explore them if they are available.
Now that you have successfully pasted the video URL into the converter, it’s time to move on to Step 5: choosing the audio quality for the downloaded file.
Step 5: Choose the audio quality
Once you have pasted the YouTube video URL into the converter, you will typically have the option to choose the audio quality for the downloaded file. The audio quality refers to the level of sound reproduction and can vary from low to high-quality depending on your preferences and the capabilities of the converter.
YouTube to MP3 converters generally offer a range of audio quality options, including standard quality, high quality, and even lossless formats. Keep in mind that higher quality audio files tend to have larger file sizes, which means they may take up more storage space on your device.
To choose the audio quality, scan the interface of the converter for any available settings or options related to the output file. Look for dropdown menus, checkboxes, or icons that represent different quality levels.
The recommended option is to choose the highest available audio quality that your device and storage capacity can handle. This will ensure the best listening experience and preserve the original audio quality of the YouTube video.
However, if you are concerned about storage limitations or prefer smaller file sizes, you can opt for a lower audio quality. Keep in mind that lower-quality audio files may have reduced clarity and dynamic range compared to higher-quality versions.
Once you have selected the desired audio quality, you are ready to proceed to Step 6: downloading the converted audio file.
Step 6: Download the converted audio file
After choosing the desired audio quality for the converted file, it’s time to initiate the download process and save the audio file to your device.
On the YouTube to MP3 converter interface, you will usually find a button or link that prompts the download. This button is often labeled “Download” or “Convert.” Click on it to start the conversion and download process.
Depending on the converter you are using and the size of the video, the conversion process may take a few seconds or a couple of minutes. During this time, the converter will extract the audio from the YouTube video and convert it into an MP3 file.
Once the conversion process is complete, the converter will typically provide a direct download link to the converted audio file. Look for a notification or a message indicating that the conversion is done, and the file is ready to be downloaded.
Click on the download link or button to initiate the download. The audio file will be saved to your device’s default download location, such as your Downloads folder. Some converters may ask you to specify a preferred download location or allow you to choose the folder where the file will be saved.
It’s important to note that the downloading process may vary depending on the converter you are using. Some converters may require you to create an account or go through additional steps to download the converted file. Make sure to follow the instructions provided by the converter to complete the download successfully.
Now that you have successfully downloaded the converted audio file from the YouTube to MP3 converter, it’s time to move on to Step 7: accessing the downloaded music on your device.
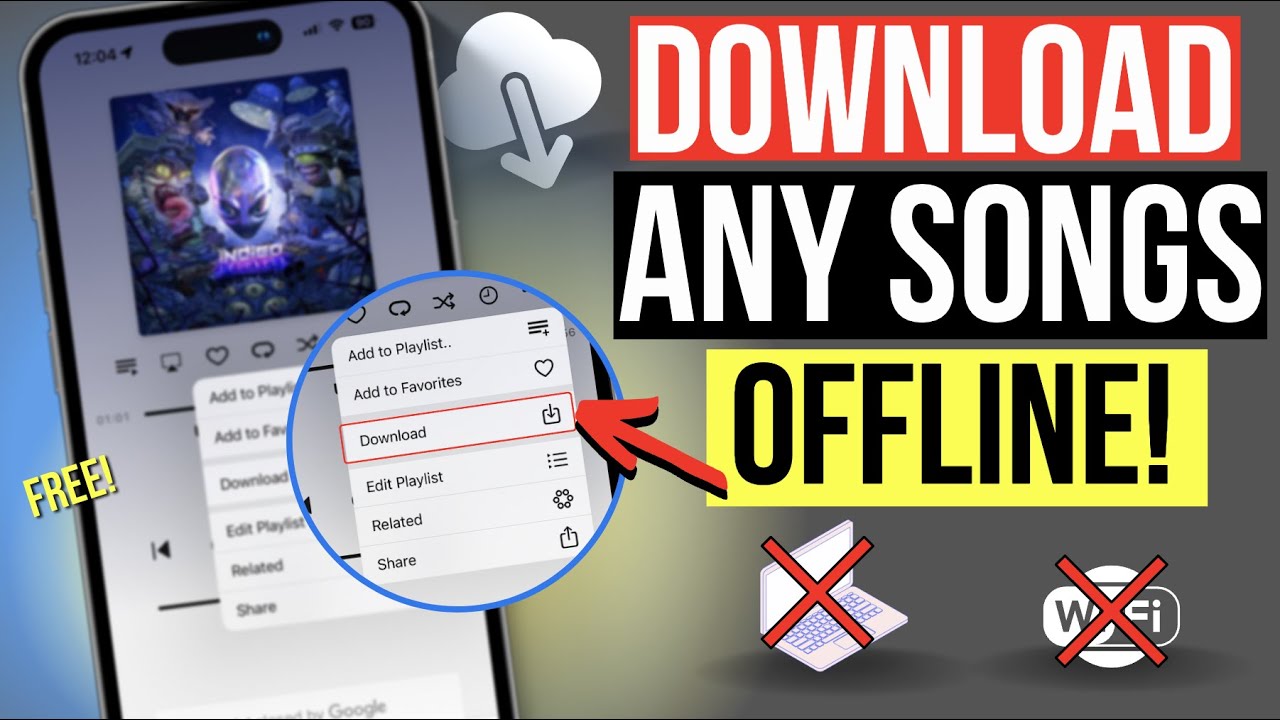
Step 7: Access the downloaded music on your device
Once you have downloaded the converted audio file, you can now access and enjoy the downloaded music on your device. The process of accessing the music may vary depending on the operating system and device you are using.
If you are using a computer, navigate to the folder where the downloaded audio file is saved. By default, it is usually the Downloads folder. You can access the Downloads folder by clicking on the folder icon in the taskbar or through the file explorer. Locate the downloaded audio file and double-click on it to open and play it using your preferred media player.
If you are using a mobile device, open the default file manager app or any file explorer app you have installed. Navigate to the folder where the downloaded audio file is saved. You can usually find the downloaded file in the “Downloads” folder. Once you have located the file, tap on it to open and play it using your device’s default music player or any other music playback app of your choice.
Alternatively, if you have a preferred music streaming app installed on your device, you may be able to import the downloaded audio file into your streaming library. Check the settings or options within your music streaming app to see if there is a way to add local files or import music from your device’s storage.
By accessing the downloaded music on your device, you can now listen to it offline, create playlists, and enjoy your favorite songs without the need for an internet connection.
Keep in mind that the downloaded music is for personal use only and should not be shared or distributed without proper authorization from the copyright owner. Make sure to respect copyright laws and use the downloaded music responsibly.
That concludes the step-by-step guide on how to download uploaded music from YouTube Music. By following these instructions, you can build your personal music collection and enjoy your favorite songs anytime, anywhere.
Conclusion
Downloading uploaded music from YouTube Music allows you to enjoy your favorite songs offline, creating a personalized music library that you can access anytime, anywhere. By following the step-by-step guide outlined in this article, you can easily download and save your desired music from YouTube Music to your device.
Remember, when downloading music from YouTube Music, it is essential to respect copyright laws. Only download and use music that is either copyright-free or that you have obtained the necessary rights for. Engaging in unauthorized downloading and sharing of copyrighted material is illegal and unethical.
Throughout this guide, we covered the following steps:
- Finding the YouTube Music video containing the desired song.
- Copying the video URL for the next steps.
- Using a reliable YouTube to MP3 converter to transform the video into an audio file.
- Pasting the video URL in the converter to initiate the conversion process.
- Choosing the audio quality for the downloaded file, aiming for the best possible listening experience.
- Downloading the converted audio file to your device.
- Accessing the downloaded music on your device, either through your default file manager or a preferred music playback app.
By following these steps, you can efficiently download and enjoy your favorite music from YouTube Music offline, making it easier to enjoy your favorite songs on-the-go or in areas with limited or no internet access.
Remember to use reliable YouTube to MP3 converters, be cautious of copyright restrictions, and respect the rights of artists and content creators. With these considerations in mind, you can create a music collection tailored to your preferences and enhance your listening experience.
Now that you have the knowledge and tools to download uploaded music from YouTube Music, go ahead and give it a try. Start building your personalized music library today and enjoy your favorite songs whenever and wherever you desire!


![12 BEST Music Converter to Convert Music into All Formats [MP3, MP4]](https://robots.net/wp-content/uploads/2020/03/image1-3-300x202.jpg)


