Introduction
Music streaming has become a popular way to enjoy music online, with a variety of platforms available for digital music consumption. Pandora Radio is one such platform that offers a vast collection of music across different genres. While Pandora Radio allows users to stream music online, it does not provide an option to download songs for offline listening. However, with the right tools and techniques, it is possible to download music from Pandora Radio and save them for offline enjoyment.
In this article, we will guide you through the process of downloading music from Pandora Radio, step by step. Whether you want to create your personalized playlist or save your favorite tracks, we’ve got you covered. Before we dive into the steps, it’s essential to note that downloading music from Pandora Radio should be done for personal use only and not for any commercial purposes.
Now, let’s get started on how to download music from Pandora Radio and enjoy your favorite tunes anytime, anywhere!
Step 1: Choose the Right Tool
Before you can download music from Pandora Radio, you need to choose the right tool that can assist you in this process. There are various software programs and online services available that allow you to capture streaming audio from websites, including Pandora Radio. One popular tool that you can use is the “Audio Recorder.”
Audio Recorders are software programs specifically designed for recording audio from various sources, such as internet streaming platforms. These tools act as a virtual microphone that captures the audio output from your computer’s soundcard. By selecting the appropriate software, you can ensure a smooth and hassle-free music downloading experience.
When selecting an audio recording tool, there are a few factors to consider:
- Compatibility: Ensure that the tool is compatible with your operating system, whether it be Windows, Mac, or Linux.
- Features: Look for the features and functionalities offered by the tool. Some recorders provide customizable settings, such as output file format, audio quality, and automatic song splitting.
- Reliability: Read reviews and testimonials to determine the reliability and stability of the tool. Choose a reputable software with positive feedback from users.
- User-friendly Interface: Consider the ease of use of the tool’s interface. A user-friendly interface makes the recording process simpler and more efficient.
Once you have identified the right recording tool that suits your needs, you are ready to move on to the next step. In the following section, we will guide you through the process of installing the chosen music downloader.
Step 2: Install the Music Downloader
Now that you have chosen the right tool for downloading music from Pandora Radio, the next step is to install the music downloader onto your computer. Follow these steps to install the software:
- Visit the official website of the chosen audio recording tool.
- Navigate to the “Downloads” or “Get Started” section of the website.
- Choose the appropriate version of the software for your operating system (Windows, Mac, or Linux).
- Click on the download button to start downloading the installation file.
- Once the download is complete, locate the downloaded file on your computer.
- Double-click on the file to begin the installation process.
- Follow the on-screen instructions to install the music downloader onto your computer.
- Once the installation is complete, launch the software to proceed to the next step.
It is essential to note that during the installation process, some audio recorders may prompt you to install additional drivers or components necessary for capturing audio from your computer’s soundcard. Follow the instructions provided by the software to ensure all required components are installed properly.
After successfully installing the music downloader on your computer, you are ready to move forward and learn how to utilize it in conjunction with Pandora Radio. The next step will guide you through launching Pandora Radio to begin the music downloading process.
Step 3: Launch Pandora Radio
With the music downloader installed on your computer, it’s time to launch Pandora Radio and prepare for the music downloading process. Follow these steps to launch Pandora Radio:
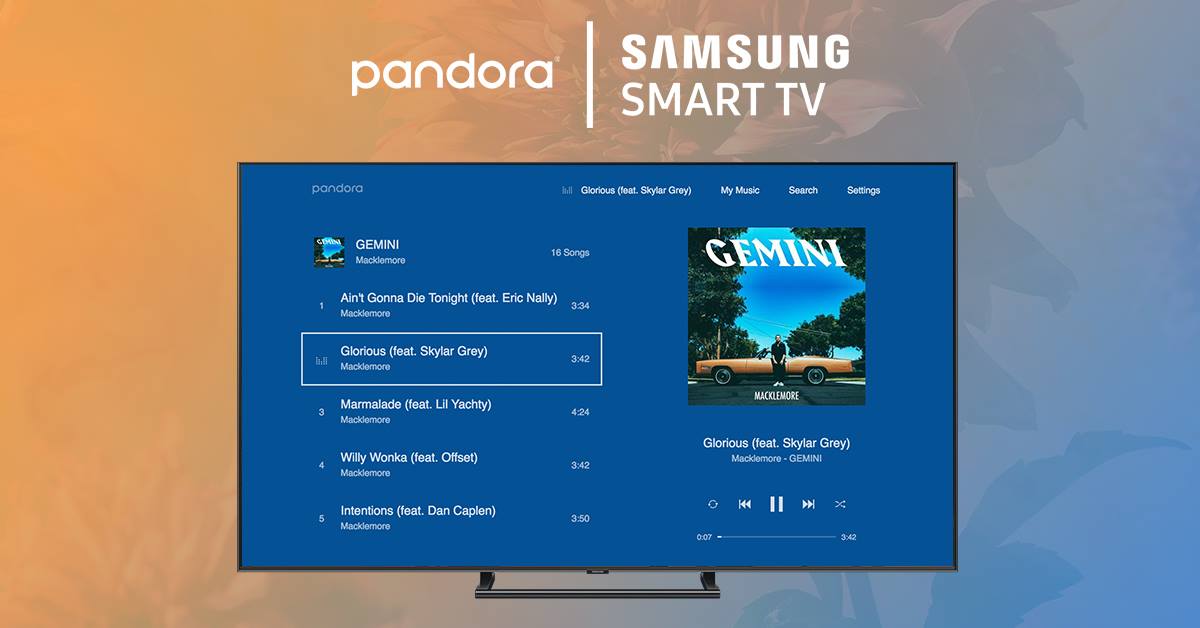
- Locate the Pandora Radio application on your computer or open your preferred web browser.
- If using the Pandora Radio application, double-click on the icon to launch it. If using a web browser, open a new tab and enter the Pandora Radio website address (www.pandora.com).
- If you already have a Pandora Radio account, enter your login credentials (email/username and password) to sign in. Otherwise, create a new account by clicking on the “Sign Up” or “Create an account” option and following the registration process.
- Once logged in or registered, you will be redirected to the Pandora Radio homepage or your personalized dashboard.
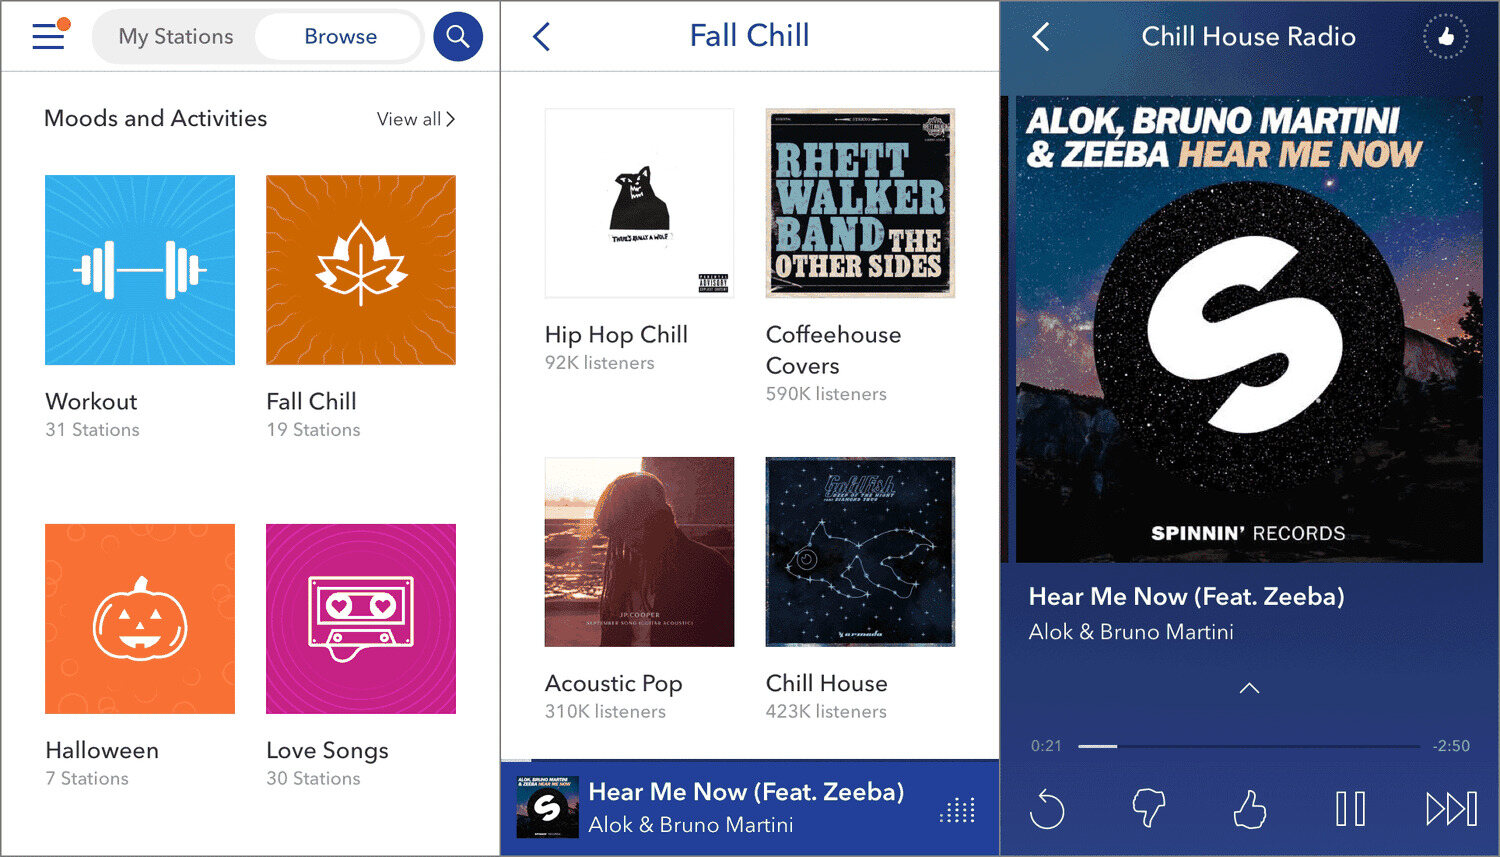
- Take some time to familiarize yourself with the Pandora Radio interface, explore different music genres, and create your personalized stations.
Pandora Radio offers a diverse range of music stations based on genres, artists, songs, and moods. You can explore different stations and select the one that matches your preferences.
It’s important to note that to download music from Pandora Radio, you need to play the desired track in order for the music downloader to capture the audio. So, find the song you want to download and get ready for the next step, which involves setting up the audio recorder to capture the streaming music.
Now that Pandora Radio is up and running, let’s move on to the next step and set up the audio recorder to capture the music playing on the platform.
Step 4: Set Up the Audio Recorder
Now that Pandora Radio is launched and you have found the desired music track to download, it’s time to set up the audio recorder to capture the streaming audio. Follow these steps to set up the recording process:
- Open the audio recording software that you installed in the previous steps.
- Ensure that the audio recorder is configured to capture audio from your computer’s soundcard. This setting may vary depending on the software you are using, but it is typically found in the options or settings menu of the recorder.
- Choose the output file format for your recorded music. Most audio recorders support popular formats like MP3, WAV, or FLAC. Select the format that suits your preferences and meets your playback requirements.
- Adjust the audio quality settings if necessary. Some recorders allow you to choose the bitrate and sample rate of the recorded audio. Higher settings result in better audio quality but also create larger file sizes.
- Ensure that the audio recorder is configured to split tracks automatically. This feature is useful if you want each song to be saved as an individual file. It prevents the need for manual splitting later on.
- Configure any additional settings or preferences according to your needs. This can include selecting the output folder for the recorded files or setting a scheduled recording timer if you want to capture music at specific times.
- Once the necessary settings are adjusted, you are ready to proceed to the next step and start playing the desired music track on Pandora Radio.
By properly setting up the audio recorder, you ensure that the software captures the best possible quality of the streaming music from Pandora Radio. With the recorder ready, it’s time to start playing the music and initiate the recording process.
Next comes step 5, where we will guide you through playing the desired music track on Pandora Radio and starting the recording process.
Step 5: Play the Desired Music
With the audio recorder properly set up, it’s time to play the desired music track on Pandora Radio and get ready to capture the audio. Follow these steps to play the music:
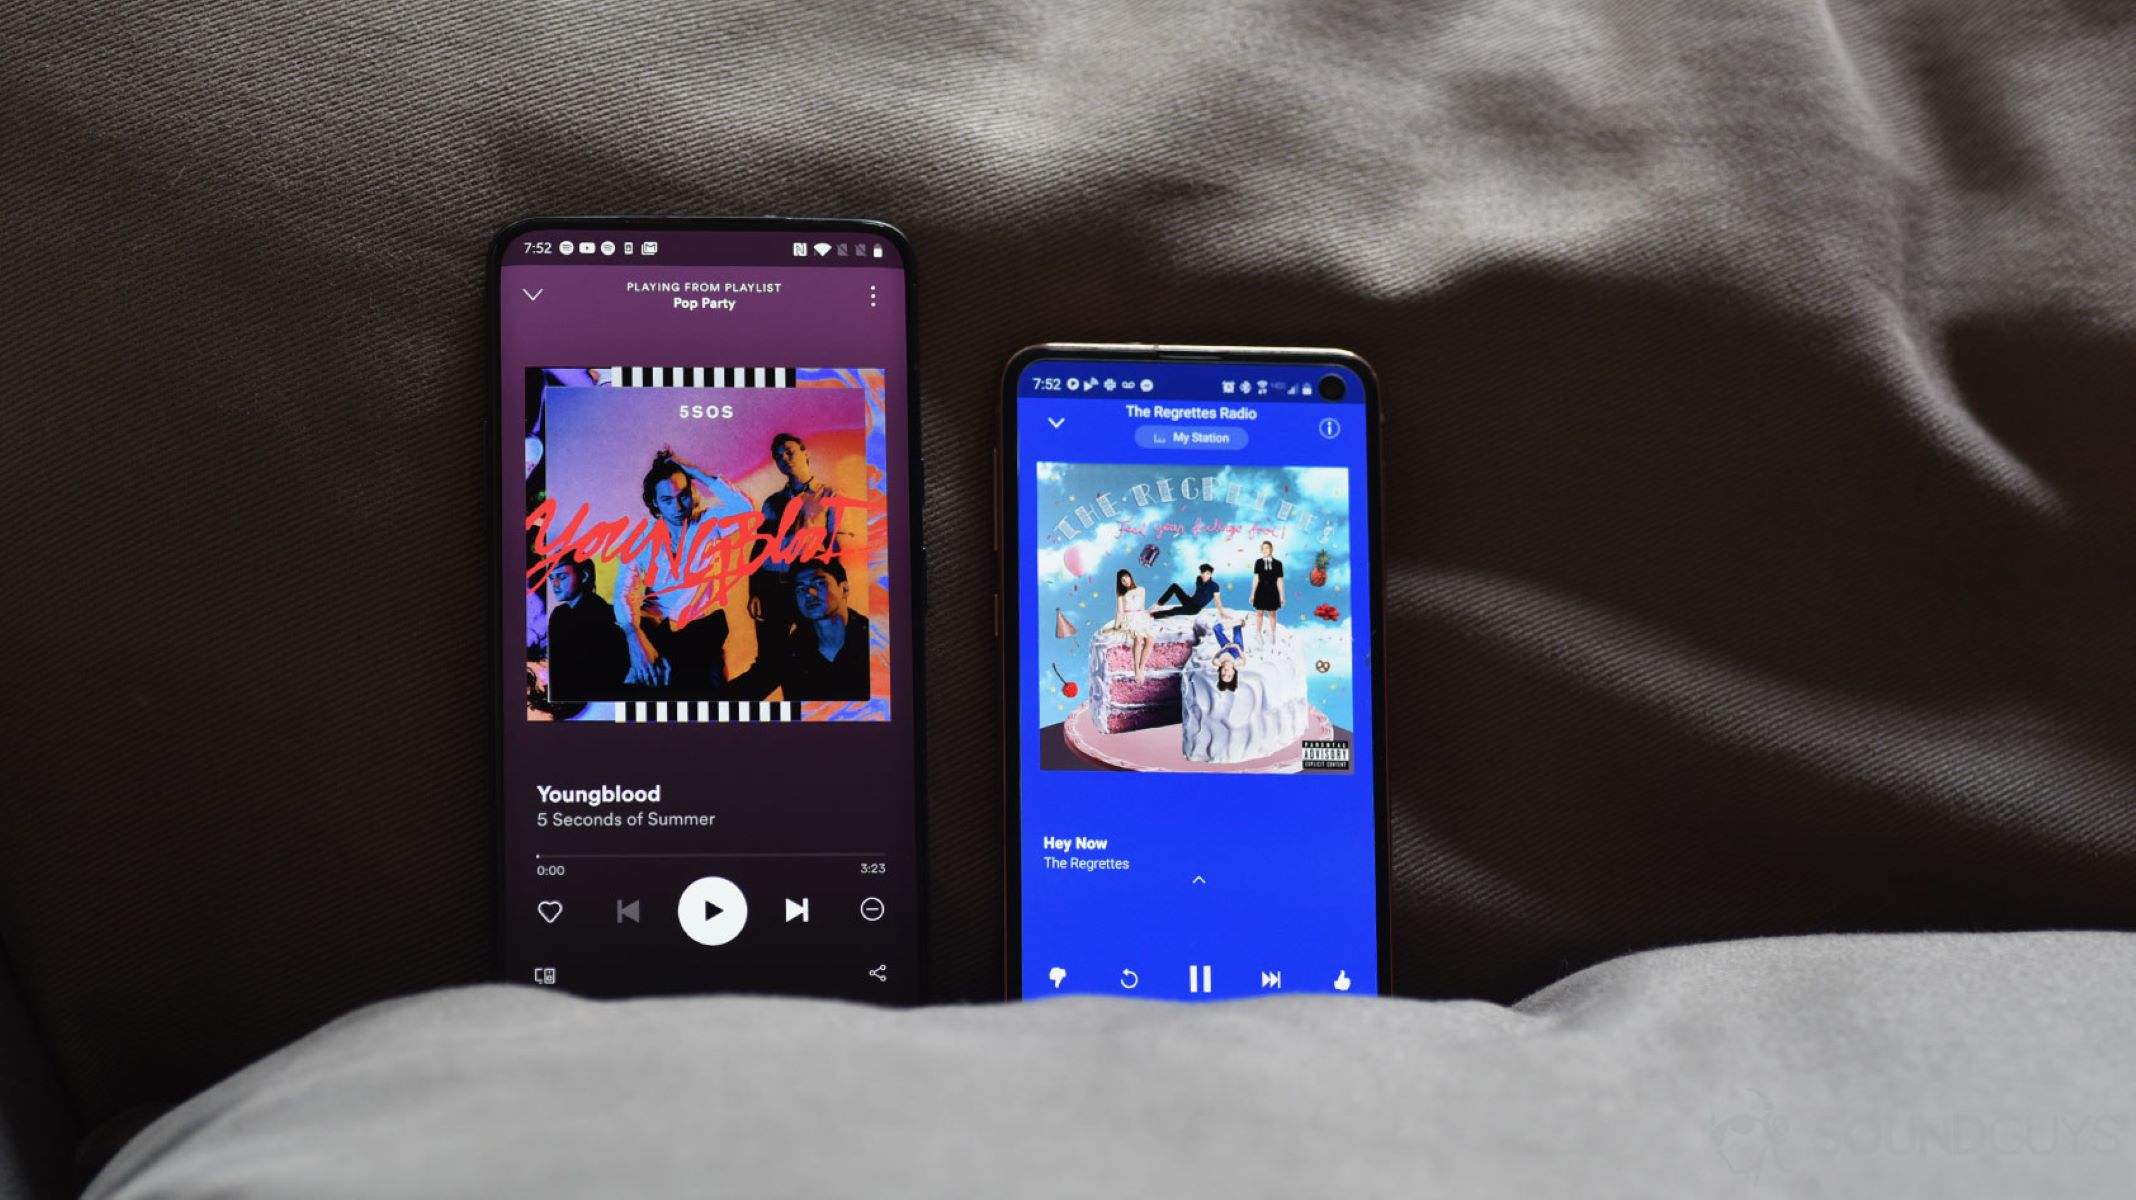
- Within the Pandora Radio interface, locate the search bar or browse through the available stations to find the song you want to download.
- Once you’ve found the desired track, click on it to start playing.
- Ensure that the volume level is set to an appropriate level, neither too low nor too high, to ensure optimal audio quality during the recording process.
- Take a moment to enjoy the music and verify that the song is playing correctly.
It’s important to note that for the audio recorder to capture the streaming music, you need to play the desired track in its entirety. Please refrain from skipping or pausing the song during the recording process to ensure a complete capture of the audio.
Once you have started playing the desired music track and confirmed that it is playing smoothly, you are ready to move on to the next step—starting the recording process to capture the audio.
The next section, step 6, will guide you through initiating the recording process on the audio recorder to save the streamed music from Pandora Radio.
Step 6: Start the Recording Process
With the desired music track playing on Pandora Radio, it’s time to start the recording process to capture the audio. Follow these steps to begin recording:
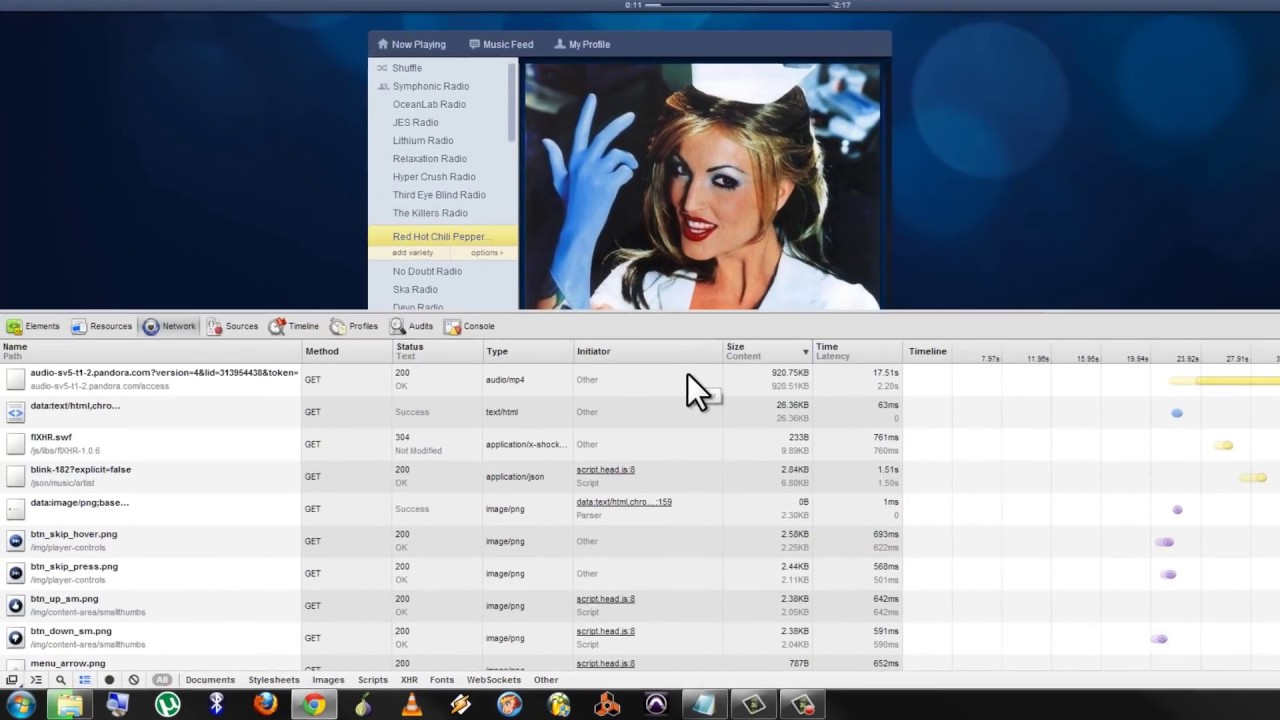
- Switch to the audio recording software that you previously set up.
- Ensure that the software is in the recording mode and ready to capture the audio.
- Double-check that the audio source is properly configured to capture the sound from your computer’s soundcard.
- Click on the “Record” or “Start” button within the audio recording software to initiate the recording process.
- As the software starts recording, navigate back to the Pandora Radio window or the web browser tab where the song is playing.
- Allow the recording to continue until the desired song or music track has finished playing. Ensure not to interrupt or pause the recording during this time.
While the recording is in progress, it is recommended to avoid any background noise or interference that may affect the audio quality. Minimizing distractions and keeping a quiet environment can contribute to better recordings.
During the recording process, the audio recorder captures the streaming audio and saves it as a file on your computer. It is essential to let the software record the full duration of the song to ensure you have a complete and uninterrupted recording of the music. Once the song has finished playing, you can proceed to the next step—stopping the recording and saving the captured audio.
Next up is step 7, where we will guide you through the process of stopping the recording and saving the recorded music from Pandora Radio.
Step 7: Stop and Save the Recording
After the desired music track has finished playing on Pandora Radio and you have completed the recording process, it’s time to stop the recording and save the captured audio. Follow these steps to stop and save the recording:
- Return to the audio recording software that you used to initiate the recording.
- Locate the “Stop” or “Finish” button within the software’s interface.
- Click on the “Stop” button to end the recording process.
- Once the recording has stopped, the audio recorder will prompt you to save the recorded file.
- Choose a location on your computer where you want to save the captured audio file.
- Provide a name for the file, ensuring it is descriptive and easily recognizable.
- Select the file format in which you want to save the audio file (e.g., MP3, WAV, FLAC).
- Click on the “Save” or “OK” button to save the recorded music.
Note that the saving process may take a few moments, depending on the length of the recording and the settings of your computer.
Once the audio file has been saved successfully, you can navigate to the chosen location on your computer to verify its presence. You now have the downloaded music track from Pandora Radio stored as an offline file that you can listen to at any time.
Congratulations! You have successfully completed the process of stopping the recording and saving the captured audio. The next step, step 8, provides an optional guide on converting the recorded file to the popular MP3 format, if desired.
Step 8: Convert the Recording to MP3 (Optional)
If you prefer to have your recorded music track from Pandora Radio in the widely supported MP3 format, you can follow this optional step to convert the recorded file. Converting the file to MP3 allows for broader compatibility with various devices and media players. Follow these steps to convert the recording to MP3:
- Open an audio converter software on your computer. There are many free and paid options available online.
- Within the audio converter software, locate the option to add or import the recorded audio file.
- Select the recorded file that you want to convert to MP3 from the saved location on your computer.
- Choose the output format as MP3 in the audio converter software.
- Configure any other settings, such as the desired bitrate, quality, or other audio parameters, according to your preferences.
- Select the output destination folder where you want the converted MP3 file to be saved.
- Initiate the conversion process by clicking on the “Convert” or similar button within the audio converter software.
- Wait for the conversion to complete, which may take a few moments depending on the file size and the capabilities of your computer.
- Once the conversion is finished, navigate to the output destination folder to locate the converted MP3 file.
Now, you have successfully converted the recorded file to MP3. This format ensures compatibility with a wide range of devices and media players, allowing you to enjoy your downloaded music from Pandora Radio on various platforms.
Please note that converting the file to MP3 is an optional step, and if you are satisfied with the originally recorded file format, you can skip this step and proceed to enjoy your downloaded music track as is.
With the conversion process completed (if chosen), you have successfully downloaded and optionally converted the music track from Pandora Radio. Enjoy your favorite tunes offline, and feel free to repeat the process to download more of your desired songs in the future.
Conclusion
Downloading music from Pandora Radio can enhance your music listening experience by allowing you to enjoy your favorite songs offline. By following the simple steps outlined in this guide, you can successfully download music from Pandora Radio and save it on your computer. Here’s a quick recap of the steps:
- Choose the right tool for downloading music from Pandora Radio.
- Install the selected audio recording software onto your computer.
- Launch Pandora Radio and find the desired music track.
- Set up the audio recorder to capture the streaming audio.
- Play the desired music track on Pandora Radio.
- Start the recording process to capture the audio.
- Stop the recording and save the captured audio file.
- Optionally, convert the recorded file to the MP3 format for broader compatibility.
Remember to comply with copyright laws and download music for personal use only. It’s important to respect the rights of the artists and industry professionals who bring us such incredible music.
Now that you know the process of downloading music from Pandora Radio, you can create personalized playlists, save your favorite tracks, and enjoy them anytime, anywhere without an internet connection. So go ahead, dive into the world of music and make the most of your music streaming experience.
Happy downloading and happy listening!