Introduction
Welcome to the world of macOS Ventura! In this article, we will guide you on how to download and install the latest version of macOS on your Mac computer. Whether you’re an avid Mac user or someone new to the Apple ecosystem, upgrading your operating system can bring a range of new features and improved functionality to your device.
macOS Ventura offers an enhanced user experience with its sleek design, seamless integration across Apple devices, and a host of exciting features. From the revamped Control Center to the powerful M1 chip support, macOS Ventura takes your Mac experience to a new level.
Upgrading to macOS Ventura not only ensures you have access to the latest software updates but also boosts the overall performance and security of your Mac. However, before diving into the download and installation process, it’s crucial to verify that your system meets the necessary requirements.
In this guide, we will walk you through the steps to download macOS Ventura, back up your data, perform a smooth installation, and set up your Mac for an exceptional user experience. Additionally, we’ll provide some troubleshooting tips and address common questions to help you overcome any challenges you may encounter along the way.
So, if you’re ready to explore the exciting new features of macOS Ventura and elevate your Mac experience, let’s get started with checking the system requirements to ensure compatibility with your device.
Checking System Requirements
Before downloading and installing macOS Ventura, it’s essential to ensure that your Mac meets the system requirements. By verifying your device’s compatibility, you can avoid any potential issues during the installation process and ensure a smooth transition to the new operating system.
Here are the minimum system requirements for macOS Ventura:
- A Mac computer with an Intel processor or Apple silicon chip
- 8GB of RAM or more
- At least 50GB of available storage space
- A display with a resolution of 1280 x 800 pixels or higher
- macOS 10.13 (High Sierra) or later
- A reliable internet connection for downloading the macOS Ventura installer
It’s important to note that while macOS Ventura is compatible with a wide range of Mac models, some older devices may not support all of the operating system’s features. To check if your Mac qualifies for the update, go to the Apple menu, click on “About This Mac,” and navigate to the “Overview” tab. There, you’ll find information about your Mac’s model, processor, memory, and the version of macOS currently installed.
If your Mac meets the system requirements, you’re ready to proceed with the download and installation. However, if your device doesn’t meet the minimum specifications, you may need to consider upgrading certain components or sticking with your current macOS version for optimal performance.
Remember, it’s always a good practice to back up your Mac before installing a new operating system. This ensures that your data remains safe, and you can easily revert to your previous macOS version if needed. In the next section, we will guide you through the backup process, providing you with peace of mind as you embark on this macOS Ventura journey.
Backing Up Your Mac
Before diving into the exciting process of downloading and installing macOS Ventura, it’s crucial to back up your Mac. This ensures that your important files, documents, and settings are safely preserved in case of any unexpected glitches or data loss during the upgrade process.
There are several methods you can use to back up your Mac, and we’ll discuss two popular options: Time Machine and iCloud.
Time Machine: Time Machine is a built-in backup feature available on macOS. Here’s how to use Time Machine to back up your Mac:
- Connect an external storage device, such as an external hard drive, to your Mac.
- Go to the Apple menu and select “System Preferences.”
- Click on “Time Machine,” and then select “Select Backup Disk.”
- Choose the external storage device you connected earlier and click “Use Disk.”
- Toggle the switch to turn on Time Machine.
- Click on “Back Up Now” to initiate the backup process. Time Machine will now start creating a copy of your files and folders, including your macOS system settings.
iCloud: Another option is to utilize iCloud to back up your files and settings. iCloud allows you to store your data securely in the cloud, giving you convenient access to your files from any Apple device. To back up your Mac using iCloud:
- Ensure that you’re signed in to iCloud on your Mac. Go to the Apple menu, select “System Preferences,” and click on “Apple ID.”
- In the left sidebar, click on “iCloud.”
- Check the box next to “iCloud Drive” to back up your documents, desktop, and other data stored on your Mac.
- Click on “Options” next to “iCloud Drive” to select specific apps and data to be included in the backup.
- Click on “Apply” to save the changes.
Remember to keep your Mac connected to a power source and an active internet connection while performing the backup process. This ensures that all your data is successfully backed up without any interruptions.
Once you’ve completed the backup process, you can now proceed with downloading and installing macOS Ventura without worries. In the next section, we will guide you through the step-by-step process of downloading the macOS Ventura installer.
Downloading macOS Ventura
Now that you’ve backed up your Mac and ensured that it meets the system requirements, it’s time to download the macOS Ventura installer. The installer is the package file that contains all the necessary files and components for installing the new operating system on your Mac.
Follow these steps to download macOS Ventura:
- Open your web browser and navigate to the Apple website.
- Search for “macOS Ventura” in the search bar or go to the macOS Ventura product page.
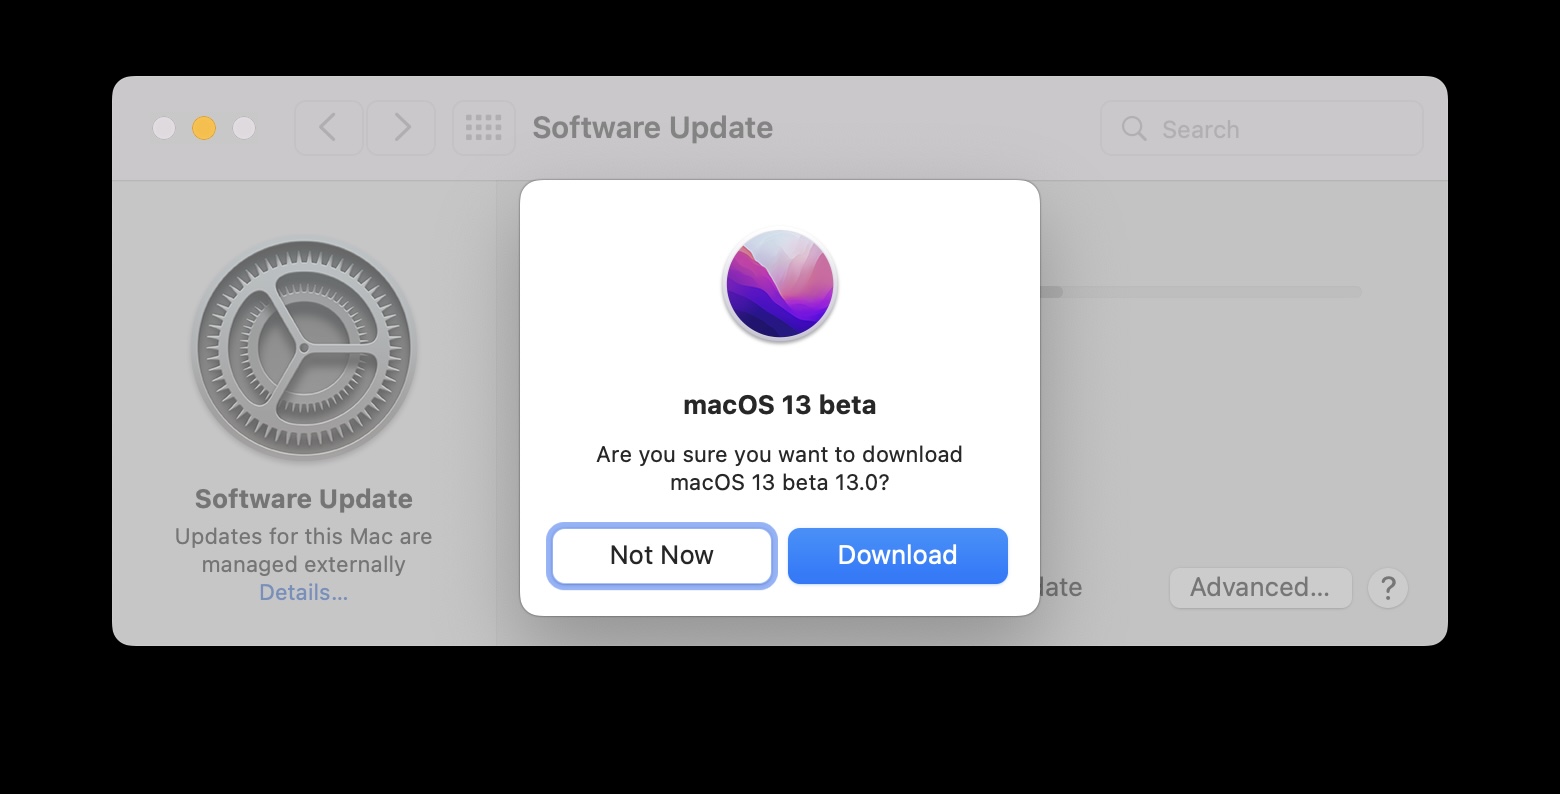
- On the macOS Ventura product page, click on the “Download” button.
- The App Store will open, displaying the macOS Ventura page.
- Click on the “Get” or “Download” button to initiate the download.
- Depending on your internet connection speed, the download may take some time. Be patient and ensure that you have a stable internet connection throughout the process.
- Once the download is complete, the macOS Ventura installer will open automatically. If it doesn’t, navigate to your Downloads folder and double-click on the installer file to launch it.
Before proceeding with the installation, it’s a good idea to connect your Mac to a power source to ensure that it remains powered throughout the process. This prevents any interruptions that could potentially cause issues during the installation.
Please note that during the download and installation process, you may be prompted to enter your Apple ID and password. Make sure to have this information handy to smoothly proceed with the installation.
Once you’ve successfully downloaded the macOS Ventura installer, you’re now ready to install the latest version of macOS. The next section will guide you through the installation process, helping you set up your Mac with macOS Ventura.
Installing macOS Ventura
Now that you have downloaded the macOS Ventura installer, it’s time to install the new operating system on your Mac. Follow these steps to install macOS Ventura:
- Ensure that your Mac is connected to a power source to avoid any interruptions during the installation process.
- Double-click on the macOS Ventura installer file to launch it.
- The installer will open, and you’ll see the macOS Ventura welcome screen. Click on the “Continue” button to proceed.
- Read and agree to the terms and conditions by clicking on the “Agree” button.
- Select the disk where you want to install macOS Ventura. If you have a single internal drive, it will be selected by default. If you have multiple drives, choose the desired disk and click on the “Continue” button.
- The installation process will begin, and you’ll see a progress bar indicating the status of the installation. This process may take some time, so be patient.
- Once the installation is complete, your Mac will automatically restart. You may see a setup wizard welcoming you to macOS Ventura. Follow the on-screen instructions to set up your preferences, such as language, Apple ID, and iCloud settings.
- After completing the setup, you’ll be greeted with the macOS Ventura desktop. Congratulations, you have successfully installed macOS Ventura on your Mac!
During the installation process, your Mac may restart more than once. This is normal, and you don’t need to be alarmed. Allow the installation process to complete without interruption.
It’s worth noting that if you encounter any errors or issues during the installation, you can refer to the Troubleshooting section or seek assistance from Apple support.
Now that you have successfully installed macOS Ventura, it’s time to set up your Mac and explore the new features and enhancements it offers. The next section will guide you through the post-installation setup process.
Setting Up Your Mac
After installing macOS Ventura on your Mac, it’s time to set up your device and personalize it to your preferences. Here are some essential steps to help you get started:
- Choose your region and preferred language: During the initial setup process, you’ll be prompted to select your region and preferred language. Choose the options that best suit your needs.
- Sign in with your Apple ID: If you already have an Apple ID, sign in with it to access iCloud, the App Store, and other Apple services. If you don’t have an Apple ID, you can create one during the setup process.
- Customize your settings: macOS Ventura offers a wide range of settings and features that you can personalize to your liking. Customize your desktop background, screensaver, trackpad gestures, and other settings to make your Mac experience truly yours.
- Set up iCloud: iCloud allows you to store and sync your files, photos, and other data across all your Apple devices. Enable iCloud and choose the apps and data you want to sync.
- Install your favorite apps: Head to the App Store and install your favorite apps and utilities to enhance your productivity and enjoyment. You can also restore apps from your Time Machine backup or manually download them from trusted sources.
- Transfer your data: If you performed a backup using Time Machine or iCloud, you can easily transfer your data to your newly installed macOS Ventura. Use the Migration Assistant tool to transfer your files, documents, apps, and settings from your backup.
- Explore new features: Take the time to familiarize yourself with the new features and improvements that macOS Ventura offers. Discover the revamped Control Center, optimized performance with the M1 chip, enhanced notifications, and more.
Setting up your Mac with macOS Ventura is an exciting process that allows you to personalize your device and make it work best for you. Take your time to explore the various settings and features, and don’t hesitate to seek help from the macOS user guide or Apple support if you have any questions or encounter any difficulties.
Now that you’ve successfully set up your Mac with macOS Ventura, you’re ready to unleash its full potential. Enjoy your upgraded Mac experience and make the most of what macOS Ventura has to offer!
Troubleshooting and FAQs
While installing and using macOS Ventura on your Mac, you may encounter some common issues or have questions regarding specific functionalities. Here are some troubleshooting tips and frequently asked questions to help you address any concerns:
1. My Mac is running slow after installing macOS Ventura. What can I do?
If you notice a decrease in performance after upgrading to macOS Ventura, try the following troubleshooting steps:
- Restart your Mac: Sometimes, a simple restart can resolve performance issues.
- Free up disk space: Ensure you have enough available storage space on your Mac. Delete unnecessary files and move large files to an external drive.
- Disable unnecessary startup apps: Go to System Preferences > Users & Groups > Login Items and remove any apps you don’t need to launch at startup.
- Reset SMC and NVRAM: Resetting the System Management Controller (SMC) and non-volatile random-access memory (NVRAM) can help resolve specific hardware-related issues.
2. Some apps are not working properly after the macOS Ventura update. What should I do?
If you experience issues with specific apps, try the following troubleshooting steps:
- Check for updates: Make sure all your apps are up to date. Developers often release updates to ensure compatibility with the latest macOS version.
- Contact the app developer: If the issue persists, reach out to the app developer’s support team for assistance. They may have specific troubleshooting steps or updates available for resolving the issue.
3. Can I revert to my previous macOS version after installing macOS Ventura?
Yes, if you have created a Time Machine backup before upgrading to macOS Ventura, you can revert to your previous macOS version. Restart your Mac while holding down the Option key, select the Time Machine backup drive, and restore your system to the previous state.
4. Is macOS Ventura compatible with older Mac models?
While macOS Ventura is designed to work with a wide range of Mac models, certain older devices may not support all the features. It’s recommended to check the system requirements and compatibility list provided by Apple to verify if your specific Mac model supports macOS Ventura.
5. What should I do if I encounter an error during the installation?
If you encounter an error message or any issues during the installation process, try the following troubleshooting steps:
- Restart your Mac and try the installation process again.
- Check your internet connection and ensure it is stable.
- Ensure you have enough available storage space on your Mac for the installation.
- If the issue persists, visit the Apple Support website or contact Apple support for further assistance.
These are just a few troubleshooting tips and FAQs to assist you in resolving common issues you may encounter while using macOS Ventura. Remember, if you encounter any persistent or complex issues, it’s always recommended to seek guidance from Apple support or visit their official support website for the most accurate and up-to-date information.
Conclusion
Congratulations on successfully downloading, installing, and setting up macOS Ventura on your Mac! By following the steps outlined in this guide, you’ve taken the leap into the world of advanced features, improved performance, and enhanced user experience that macOS Ventura offers.
Throughout this article, we covered essential aspects of the macOS Ventura installation process, including checking system requirements, backing up your Mac, downloading the installer, and performing the installation. We also discussed the post-installation setup process, troubleshooting tips, and frequently asked questions to help you navigate any challenges that may arise.
As you explore macOS Ventura and its exciting new features, such as the revamped Control Center, M1 chip support, and enhanced notifications, don’t forget to personalize your device according to your preferences. Take advantage of the extensive settings available to tailor your Mac experience and make it truly unique.
Remember to keep your Mac up to date with the latest macOS Ventura updates and regularly back up your data to ensure its safety. If you encounter any issues or have further questions, don’t hesitate to refer to the macOS user guide, visit the Apple support website, or contact Apple support directly for assistance.
We hope this guide has been helpful in your journey of downloading and installing macOS Ventura. Enjoy exploring the new features, improving your productivity, and utilizing the power of your Mac with macOS Ventura. Upgrade your Mac experience today and unlock the full potential of your device!