Introduction
Welcome to our guide on how to download the Lockdown Browser, a powerful tool designed to securely and proctor online exams. As the world becomes increasingly digital, education has embraced the shift by incorporating online learning and assessments. This has led to the need for tools that ensure academic integrity and prevent cheating during remote exams. The Lockdown Browser is one such solution, providing a locked-down environment that restricts access to unauthorized resources.
In this article, we will walk you through the step-by-step process of downloading the Lockdown Browser onto your computer. Whether you are a student taking online exams or an educator looking to secure your assessments, understanding how to install and use this software is essential.
Before we begin, it’s worth noting that the Lockdown Browser is available for both Windows and Mac operating systems. So regardless of which system you are using, this guide has got you covered. Now, let’s dive in and learn how to download the Lockdown Browser.
Please note that the Lockdown Browser is typically provided by educational institutions to their students. If you are a student, check with your institution to see if they offer Lockdown Browser for exams. If they do, follow the steps outlined below to access and install the software.
Step 1: Go to the Lockdown Browser Website
The first step in downloading the Lockdown Browser is to visit the official website. Open your preferred web browser and type in the URL for the Lockdown Browser website. You can do this by entering “Lockdown Browser” into your search engine and clicking on the official website link.
Once the website loads, you will be greeted with a homepage that provides information about the Lockdown Browser and its features. Take a moment to familiarize yourself with the details and benefits of using this software.
To proceed with the download, look for a prominent button or link that says something like “Download” or “Get Lockdown Browser.” Click on this button to continue to the download page.
On the download page, you may be asked to provide some basic information, such as your name, email address, and institution name. This information helps the Lockdown Browser team provide better support and updates to their users. Fill in the required details and submit the form to proceed.
Once you have submitted the form, you will usually be redirected to a new page where you can access the download link for the Lockdown Browser. Look for a button or link that says “Download Lockdown Browser” or something similar. Click on this link to start the download process.
Depending on your internet speed and the size of the installer file, the download may take a few seconds to a few minutes. Be patient and ensure that you have a stable internet connection during this process.
After the download is complete, you are now ready to move on to the next step: choosing your operating system. Keep following the steps outlined in this guide to successfully install and launch the Lockdown Browser.
Step 2: Choose your Operating System
Once you have successfully downloaded the Lockdown Browser installer, it’s time to choose the appropriate version for your operating system. The Lockdown Browser is compatible with both Windows and Mac, so make sure you select the correct version to ensure a smooth installation process.
1. For Windows:
– If you are using a Windows operating system, locate the downloaded installer file in your Downloads folder or the location where you saved it.
– Double-click on the file to open it. You may be prompted to confirm your action by the system’s User Account Control (UAC) dialog. Click “Yes” to proceed.
– The installer will open, and you will be presented with a window that contains the Lockdown Browser logo and some information about the software.
– Click on the “Next” button to continue.
– Read and accept the End User License Agreement (EULA) by checking the box that states you agree to the terms.
– Click on the “Next” button to proceed.
– Choose the installation location or simply leave it as the default location. Click “Next” to continue.
– Select any additional shortcut options you prefer and click “Next” to proceed.
– Finally, click the “Install” button to begin the installation process.
– Once the installation is complete, click the “Finish” button to close the installer.
2. For Mac:
– If you are using a Mac operating system, locate the downloaded installer file in your Downloads folder or the location where you saved it.
– Double-click on the file to open it. You may see a warning message stating that the file is from an unidentified developer. Ignore the warning and proceed with opening the file.
– The installer will open, and you will be presented with a window that contains the Lockdown Browser logo and some information about the software.
– Click on the “Continue” button to proceed.
– Read and accept the End User License Agreement (EULA) by clicking the “Agree” button.
– Select the installation location or leave it as the default location. Click “Continue” to proceed.
– Click “Install” to begin the installation process.
– You may be prompted to enter your administrator password to authorize the installation. Enter the password and click “Install Software”.
– Once the installation is complete, click “Close” to exit the installer.
Congratulations! You have successfully chosen the appropriate Lockdown Browser installer for your operating system. In the next step, we will cover how to install the Lockdown Browser onto your computer.
Step 3: Download the Installer
Now that you have chosen the correct version of the Lockdown Browser for your operating system, it’s time to download the installer. This installer file contains all the necessary files and components needed to install the Lockdown Browser onto your computer.
1. For Windows:
– Locate the Lockdown Browser installer file that you downloaded in the previous step.
– Double-click on the installer file to begin the download process. You may be prompted with a security warning, which you can safely ignore.
– The installer will start downloading the necessary files. Be patient, as the download time will depend on your internet speed.
– Once the download is complete, the installer will automatically launch.
2. For Mac:
– Find the Lockdown Browser installer file that you previously downloaded.
– Double-click on the installer file. If you see a warning that the file is from an unidentified developer, simply ignore it and proceed with opening the file.
– The installer will begin downloading the required files. The download time may vary depending on your internet speed.
– Once the download is finished, the installer will open automatically.
During the download process, make sure you have a stable internet connection. Interruptions or a weak connection may cause the download to fail, so it’s important to ensure a reliable connection for a smooth experience.
Once the installer has finished downloading, you are ready to move on to the next step: installing the Lockdown Browser. Continue to the next section for detailed instructions on how to complete the installation process.
Step 4: Install Lockdown Browser
With the Lockdown Browser installer downloaded onto your computer, it’s time to proceed with the installation process. Follow the steps below based on your operating system to successfully install the Lockdown Browser:
1. For Windows:
– Locate the Lockdown Browser installer file that you downloaded in the previous step.
– Double-click on the installer file to open it. You may be prompted with a User Account Control (UAC) dialog, asking for permission to make changes to your device. Click “Yes” to proceed.
– The installer will open, displaying the Lockdown Browser logo and providing some information about the software.
– Click on the “Next” button to continue the installation process.
– Read and accept the End User License Agreement (EULA) by checking the box that confirms your agreement to the terms.
– Click on the “Next” button to proceed.
– Choose the installation location for the Lockdown Browser or leave it as the default location set by the installer.
– Click on the “Next” button to continue.
– Select any additional shortcut options you prefer or leave them as default.
– Click on the “Next” button to proceed.
– Finally, click the “Install” button to start the installation process.
– Wait for the installation to complete. This may take a few moments.
– Once the installation is finished, click on the “Finish” button to close the installer.
2. For Mac:
– Locate the Lockdown Browser installer file that you downloaded earlier.
– Double-click on the installer file to open it. If you receive a warning about the file being from an unidentified developer, simply ignore it and proceed with opening the file.
– The installer will open, displaying the Lockdown Browser logo and providing information about the software.
– Click on the “Continue” button to initiate the installation.
– Read and accept the End User License Agreement (EULA) by clicking on the “Agree” button.
– Choose the installation location for the Lockdown Browser or leave it as the default location suggested by the installer.
– Click on the “Continue” button to proceed.
– Enter your administrator password when prompted to authorize the installation.
– Click on the “Install Software” button to begin the installation process.
– Wait for the installation to complete. This process may take a few moments.
– Once the installation is finished, click on the “Close” button to exit the installer.
Congratulations! You have successfully installed the Lockdown Browser onto your computer. In the next step, we will guide you on how to launch the Lockdown Browser and start using it for secure online exams.
Step 5: Launch Lockdown Browser
Now that you have successfully installed the Lockdown Browser on your computer, it’s time to launch the application and get ready for secure online exams. Follow the steps below to open the Lockdown Browser:
1. For Windows:
– Locate the Lockdown Browser icon on your desktop or in your list of installed programs.
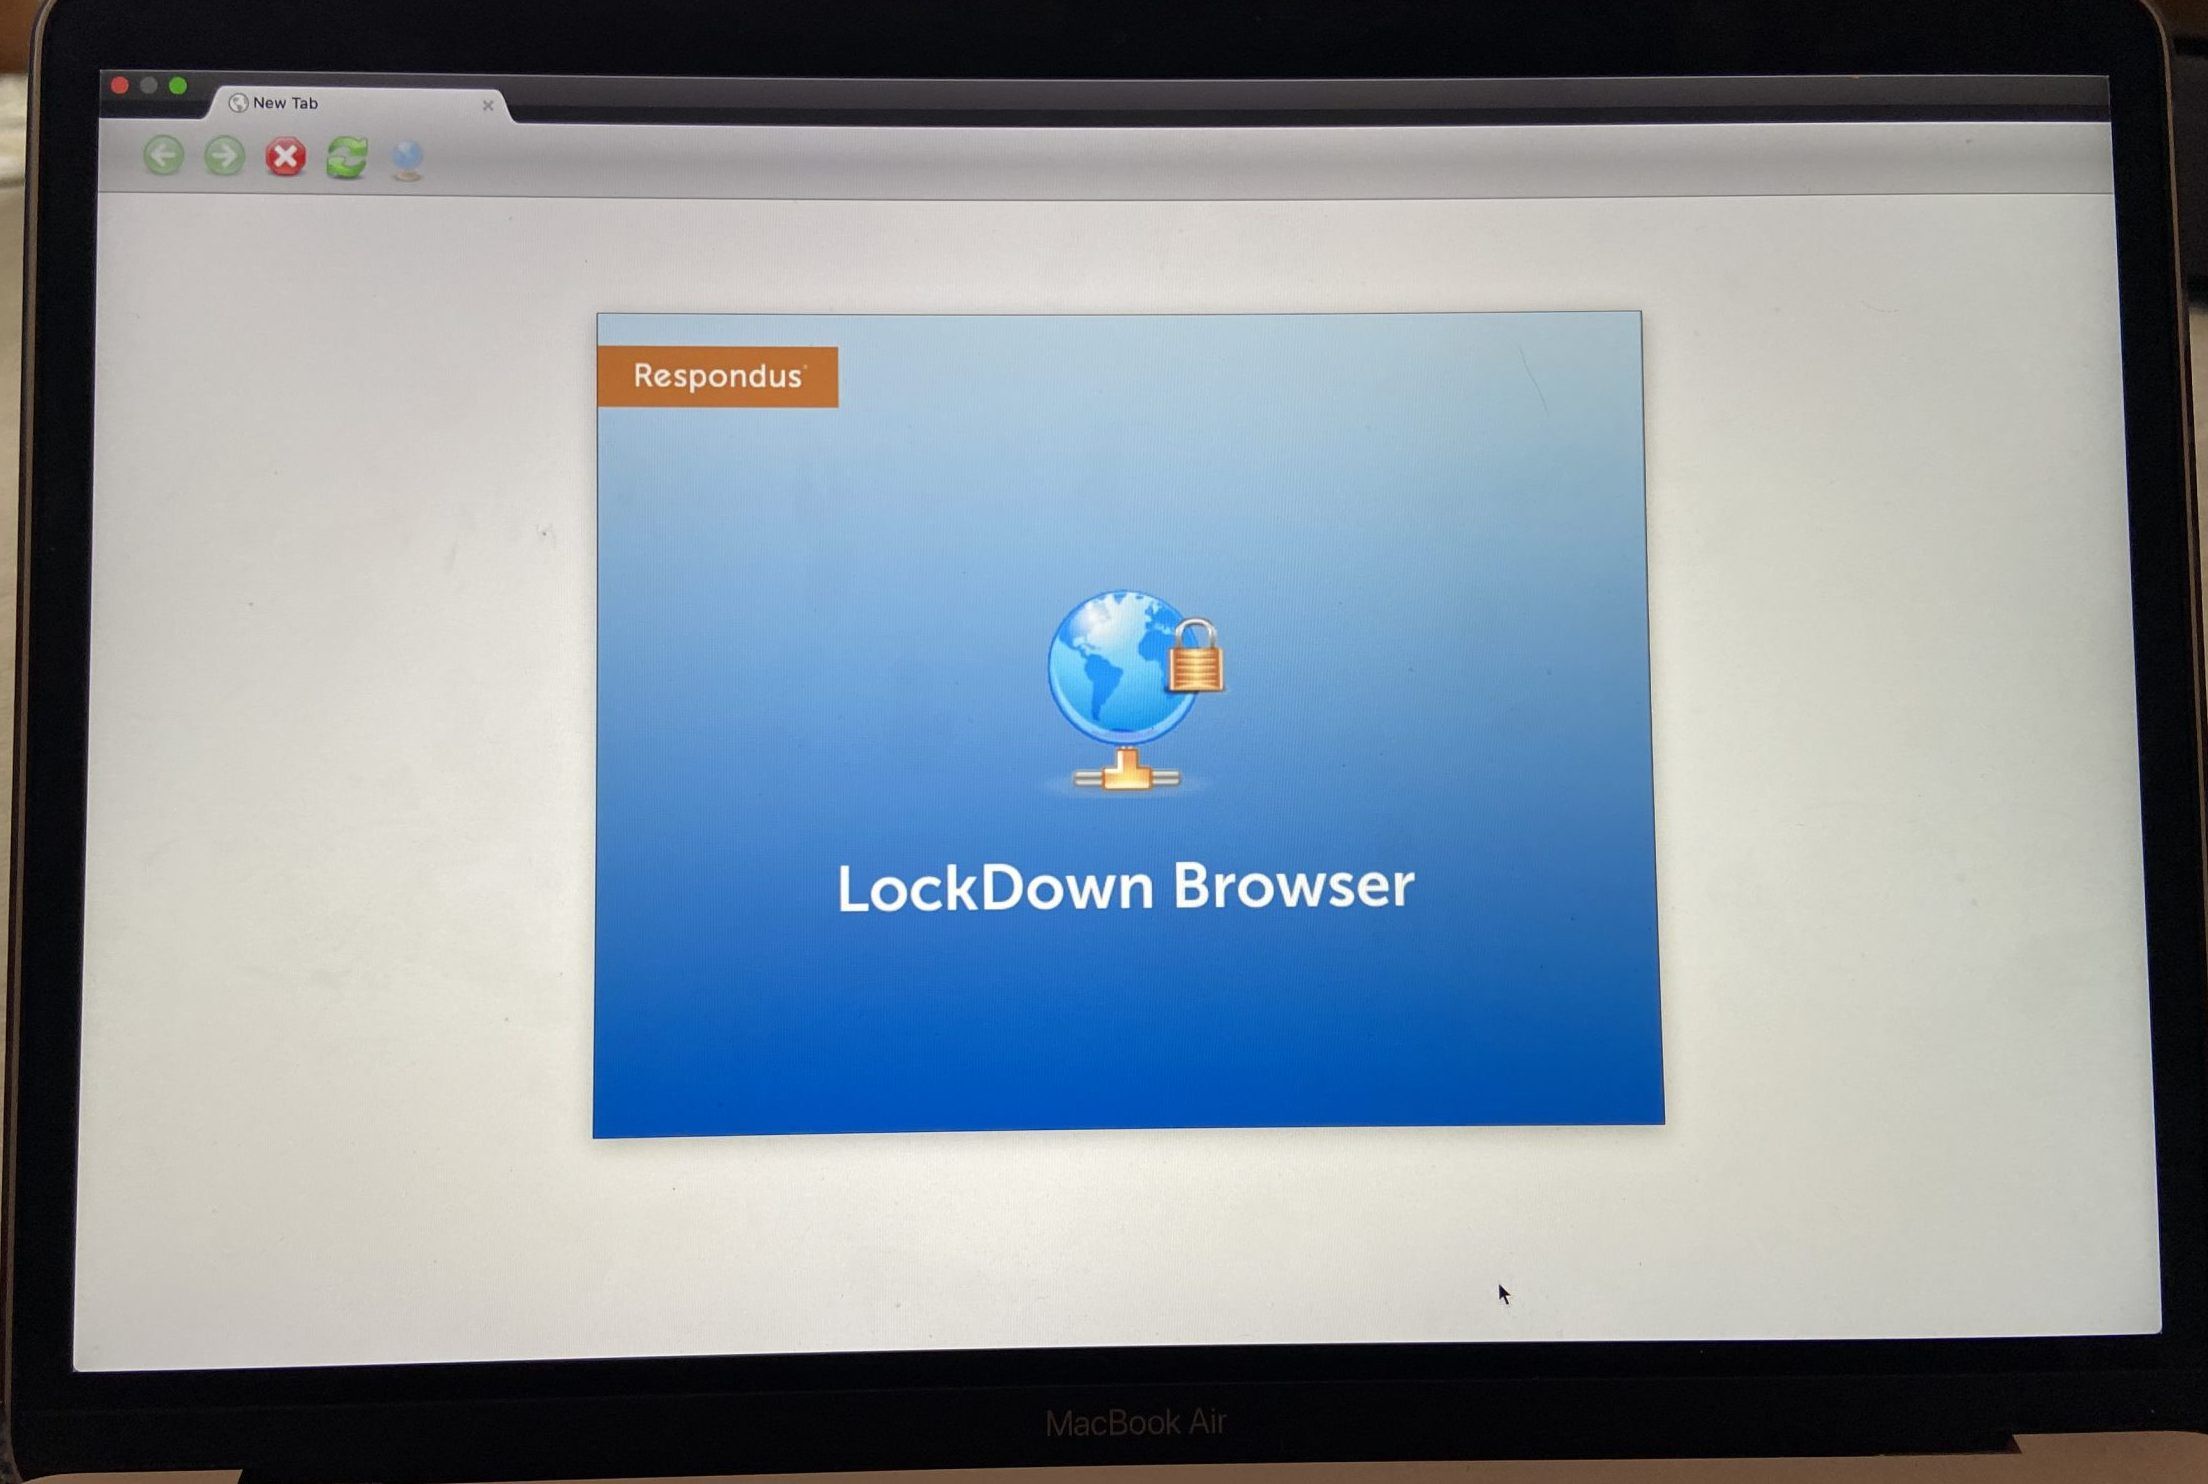
– Double-click on the Lockdown Browser icon to launch the application.
– The Lockdown Browser window will open, displaying a welcome screen or a login prompt, depending on your institution’s settings.
– If prompted, enter the necessary login credentials provided by your institution.
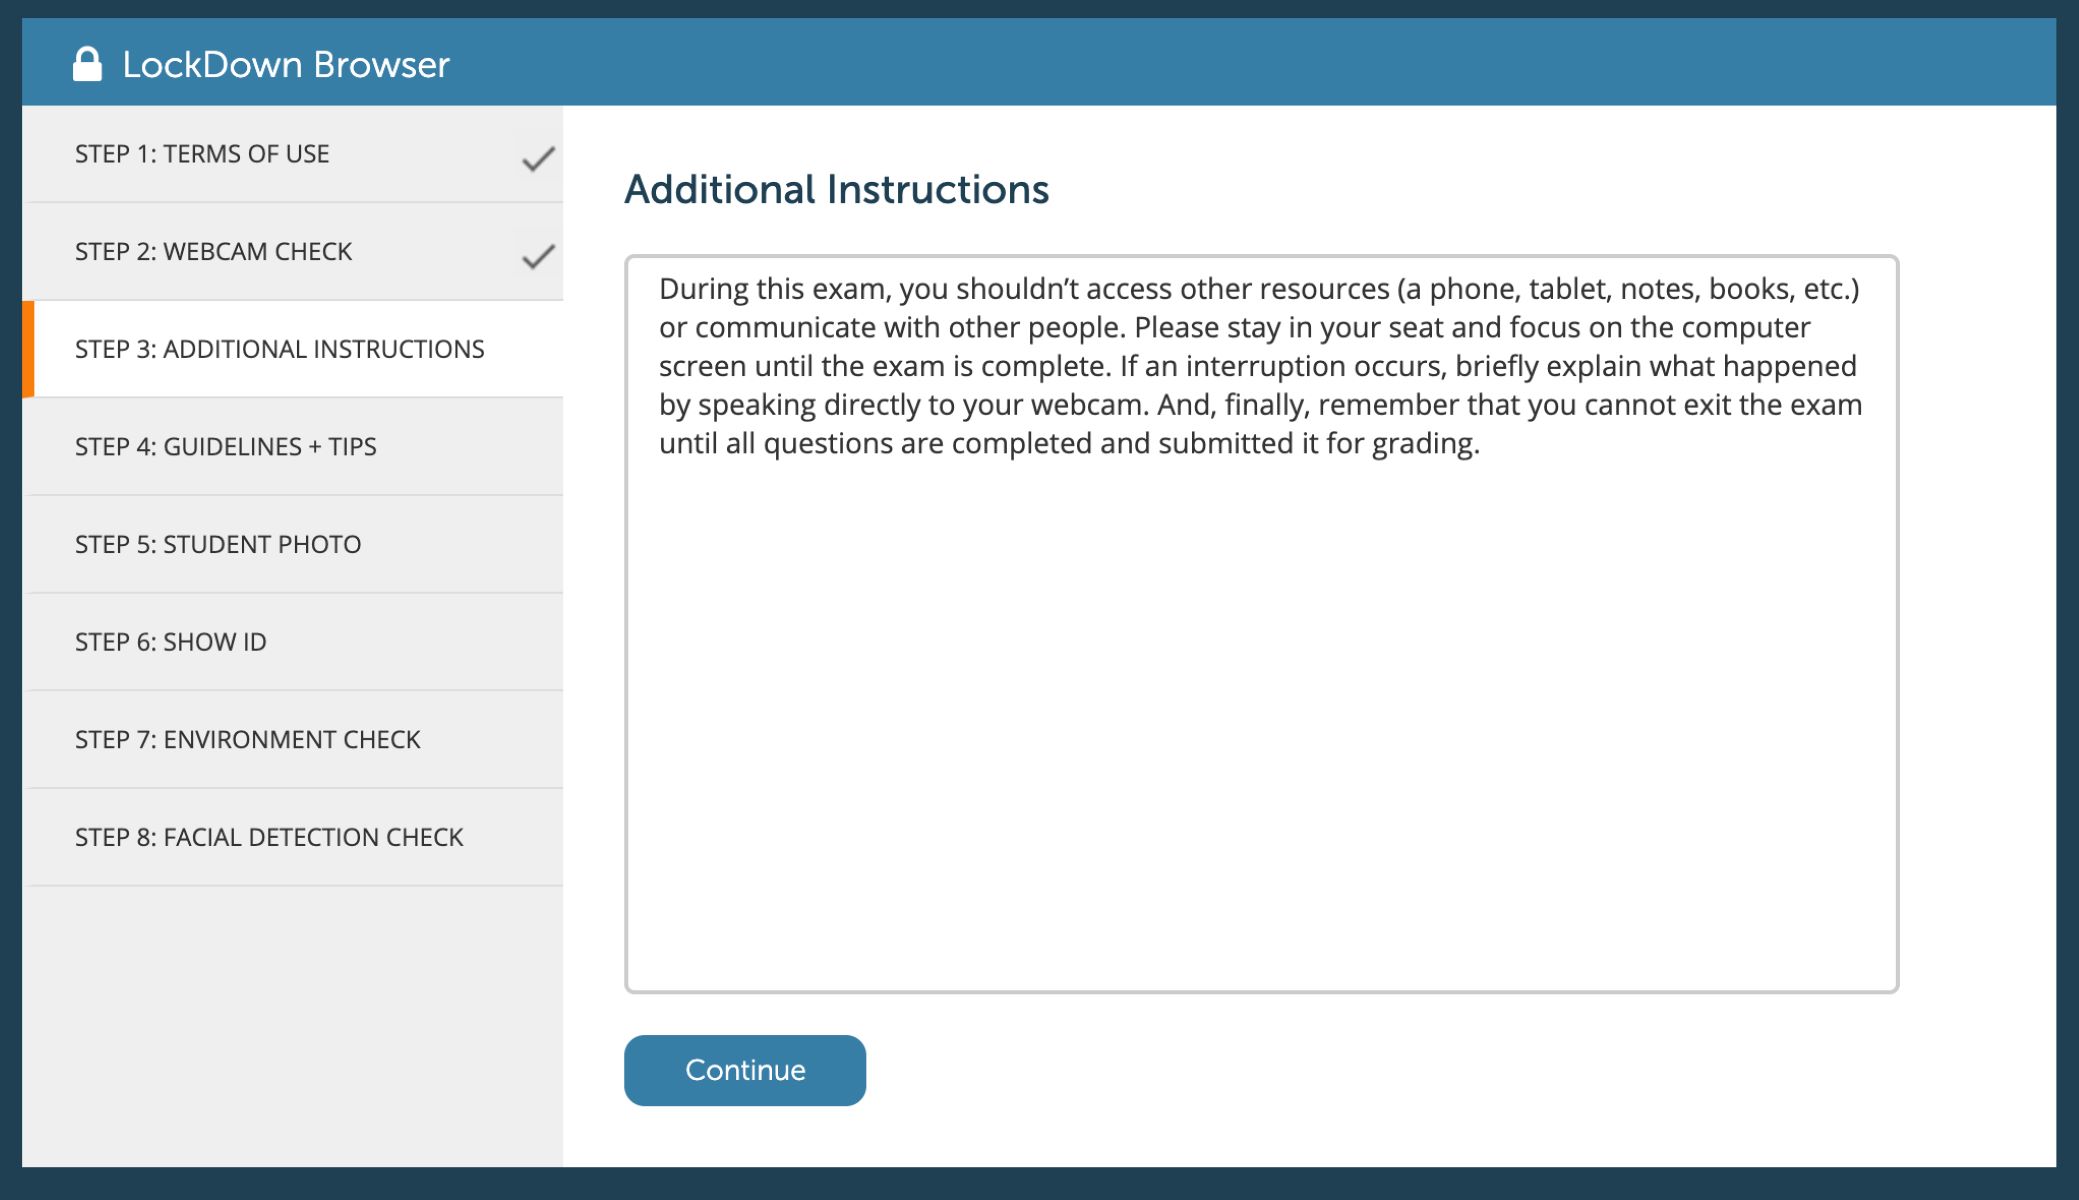
– Once logged in, you will see a list of available exams or a homepage with instructions for accessing your online assessments.
– Follow the provided instructions to select and start your exam.
2. For Mac:
– Go to your Applications folder and locate the Lockdown Browser.
– Double-click on the Lockdown Browser app to open it.
– The Lockdown Browser window will appear, displaying a welcome screen or a login prompt, depending on your institution’s setup.
– If required, enter the login details provided by your institution.
– Once logged in, you will be presented with a list of available exams or a homepage with instructions for accessing your online assessments.
– Follow the instructions provided to select and begin your exam.
Once you have launched the Lockdown Browser, it will create a secure environment that prevents access to any other applications or websites on your computer, ensuring a fair and controlled testing environment. During the exam, make sure to read and follow any specific instructions provided by your institution regarding the use of the Lockdown Browser.
It’s important to note that the Lockdown Browser is designed for assessment purposes only and may restrict access to certain features and functions on your computer while the application is running. Once you have completed your exam, you can exit the Lockdown Browser by following the provided instructions or simply closing the application.
You have successfully reached the end of our guide on downloading and launching the Lockdown Browser. Now you are ready to take secure online exams with confidence. Good luck!
Conclusion
In this guide, we have walked you through the step-by-step process of downloading, installing, and launching the Lockdown Browser. This powerful tool is essential for ensuring academic integrity and preventing cheating during online exams.
We started by visiting the Lockdown Browser website and downloading the appropriate installer for your operating system. Then, we guided you through the installation process, providing detailed instructions for both Windows and Mac users. Finally, we explained how to launch the Lockdown Browser and begin taking secure online exams.
By utilizing the Lockdown Browser, students can focus on their exams without the distraction of unauthorized resources or potential cheating methods. This software creates a locked-down testing environment that limits access to other applications and websites, ensuring a fair and controlled testing experience.
For educators, the Lockdown Browser provides the peace of mind that their online assessments are conducted with integrity. By implementing this tool, institutions can maintain the credibility of their exams and protect the academic achievement of their students.
As technology continues to shape the landscape of education, tools like the Lockdown Browser play a crucial role in adapting to remote learning environments. They provide the necessary security measures to support online exams and maintain the integrity of the educational process.
Remember, the Lockdown Browser is typically provided by educational institutions to their students. If you are a student, reach out to your institution to see if they offer the Lockdown Browser for online exams.
We hope this guide has been helpful in assisting you with downloading and using the Lockdown Browser. By following the steps outlined in this guide, you can ensure a secure online testing experience and uphold the principles of academic honesty in the digital age.
Good luck with your exams, and may your academic journey be successful and fulfilling!