Introduction
Welcome to the comprehensive guide on how to download files to an external hard drive. As technology continues to advance, the need for additional storage space becomes increasingly crucial. While computers and laptops have limited storage capacities, external hard drives offer a convenient and efficient solution.
Whether you’re looking to download large multimedia files, backup important documents, or simply free up space on your local drive, transferring files to an external hard drive is a straightforward process. In this guide, we will take you through the step-by-step instructions to ensure a smooth and successful transfer.
Before we dive into the specifics, there are a few key points to keep in mind. Firstly, make sure you have a compatible external hard drive and appropriate cables to establish a connection. Secondly, ensure that your computer or laptop has sufficient power and storage space to accommodate the files you wish to download. Finally, check that you have a reliable internet connection if you plan on downloading files directly from the internet or a cloud storage service.
Now, let’s get started with the first step: connecting the external hard drive.
Step 1: Connecting the External Hard Drive
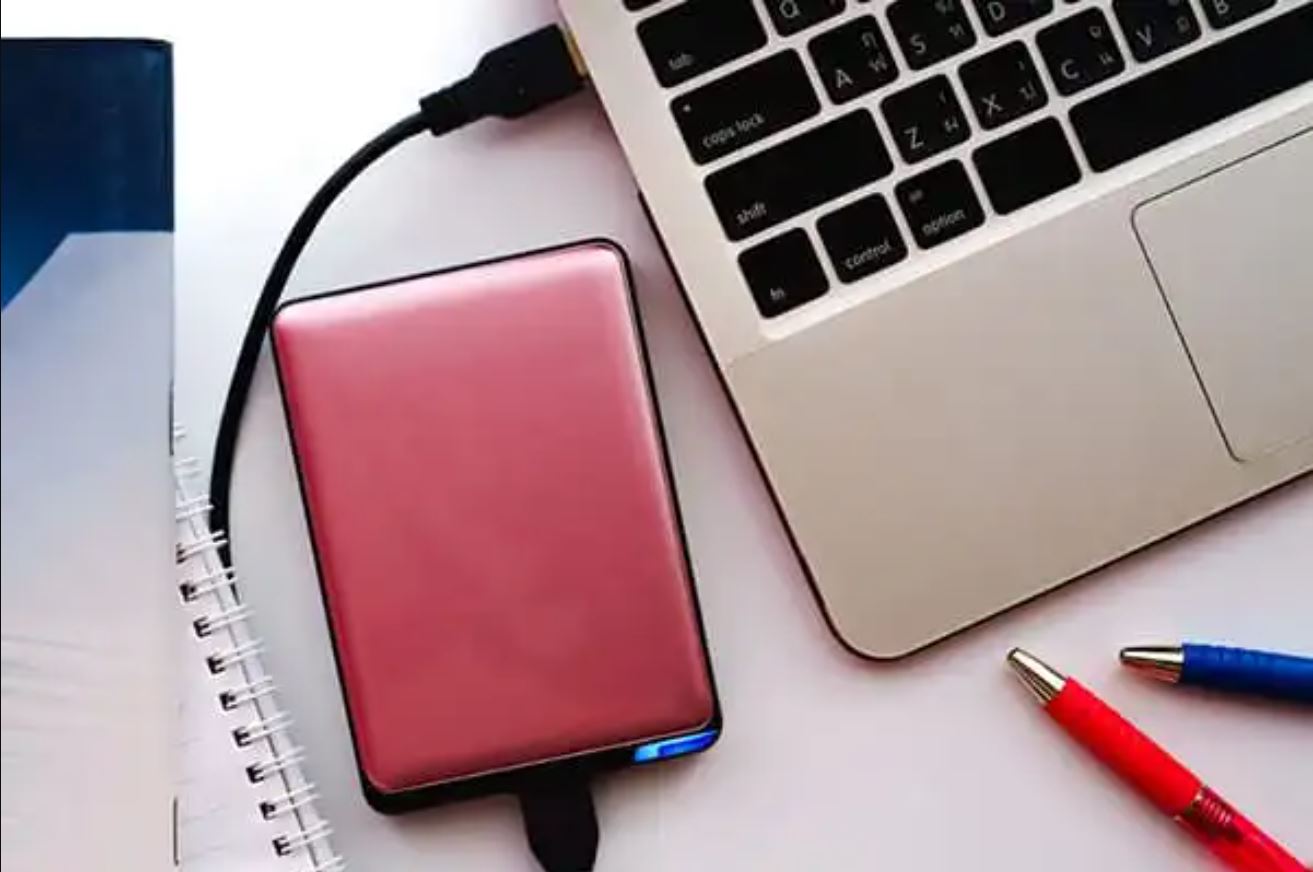
The first step in downloading files to an external hard drive is connecting it to your computer or laptop. This process may vary slightly depending on the type of external hard drive you have.
If you have a traditional external hard drive with a USB connection, locate an available USB port on your computer. Insert one end of the USB cable into the external hard drive and the other end into the USB port. Make sure the connection is secure.
If you have a newer external hard drive with a USB-C or Thunderbolt 3 connection, ensure that your computer or laptop has a compatible port. If not, you may need to use an adapter or docking station to connect the external hard drive.
Once the connection is established, your computer should recognize the external hard drive. You may receive a notification or see a new drive appear in the File Explorer or Finder. Take note of the drive letter or name assigned to the external hard drive as you will need it in later steps.
It’s worth mentioning that some external hard drives may require additional setup or installation before they can be used. In such cases, refer to the manufacturer’s instructions or visit their website for guidance.
With your external hard drive successfully connected to your computer, you are ready to move on to the next step: choosing the files you want to download.
Step 2: Choosing the Files to Download
Now that your external hard drive is connected, it’s time to determine which files you want to download. Depending on your specific needs and preferences, you may choose to download various types of files such as documents, photos, videos, music, or software.
Take a moment to decide which files are crucial for your use case. Are you looking to backup important documents or transfer large video files? Are you downloading files for work, entertainment, or personal use? Consider the size of the files and the available storage space on your external hard drive.
If you’re unsure about which files to download, it’s a good idea to create a separate folder on your computer to temporarily store the files before transferring them to the external hard drive. This allows you to review the files and organize them accordingly before committing to the download.
When selecting files, keep in mind that you may encounter copyright restrictions, especially when downloading music, movies, or software. Ensure that you have the necessary permissions or licenses to download these files legally.
Additionally, if you plan on downloading files from the internet or a cloud storage service, make sure you have access to the appropriate websites or applications. Take note of the URLs or online accounts that contain the files you wish to download.
With your files selected and ready to go, you’re prepared for the next step: downloading the files from the internet or cloud storage service.
Step 3: Downloading Files from the Internet
Downloading files from the internet to your external hard drive is a common requirement. Whether it’s downloading software installers, multimedia files, or documents, this step will guide you through the process.
Firstly, open a web browser on your computer and navigate to the website or online platform where the files are located. Once you’ve reached the desired page or file, look for a download button, link, or icon.
Click on the download button, and a dialog box will likely appear, allowing you to specify the download location. Choose your external hard drive as the destination by selecting its drive letter or name from the dropdown menu.
It’s crucial to have sufficient storage space on your external hard drive to accommodate the file(s) you’re downloading. Take note of the file size indicated on the website, and make sure your external hard drive has enough free space.
Once you’ve chosen the download location and confirmed that you have enough storage space, click the “Save” or “Download” button in the dialog box. The file(s) will begin to download, and you can monitor the progress either in the browser or in a separate download manager.
Be patient during the download process, especially if the file is large. The download speed will depend on various factors such as your internet connection speed and the server’s performance.
Once the download is complete, the file(s) will be saved to your external hard drive in the specified location. You can now access the files directly from the external hard drive using your computer’s file explorer or finder.
Repeat the process for any additional files you wish to download from the internet to your external hard drive. It’s important to organize your files in a logical and easily accessible manner on the external hard drive to avoid confusion.
Congratulations! You have successfully downloaded files from the internet and saved them to your external hard drive. The next step will cover downloading files from a cloud storage service.
Step 4: Downloading Files from a Cloud Storage Service
If your files are stored in a cloud storage service such as Google Drive, Dropbox, or iCloud, you can easily download them directly to your external hard drive. This step will guide you through the process of downloading files from a cloud storage service.
First, access the cloud storage service through your web browser or the native application on your computer. Sign in to your account and locate the files you want to download.
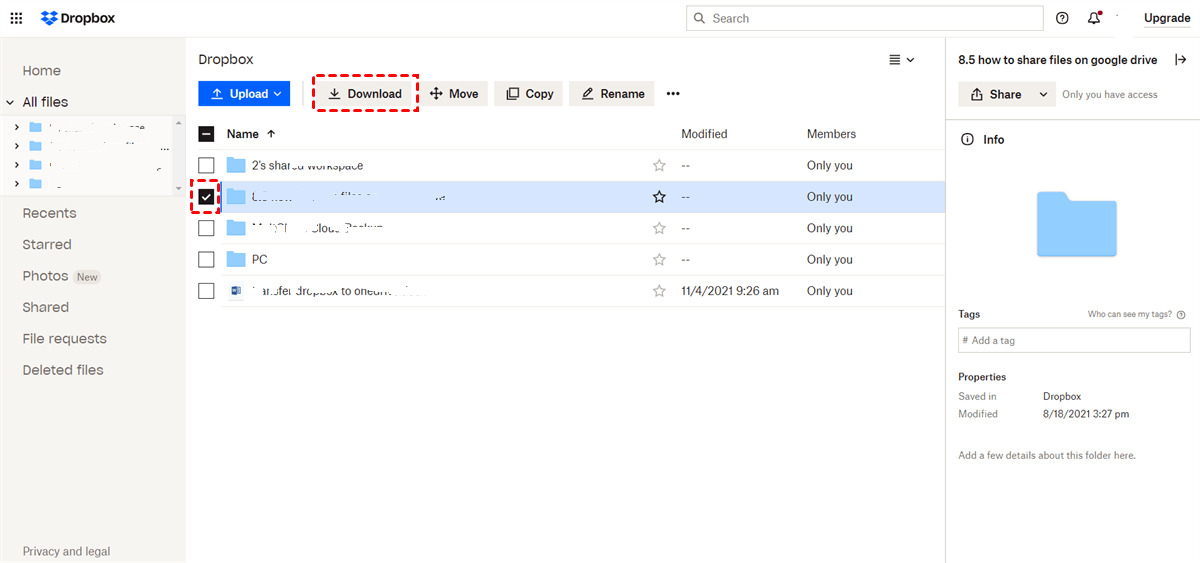
Depending on the cloud storage service, you may be able to select multiple files or an entire folder for download. Use the provided checkboxes or selection tools to mark the files or folders you need.
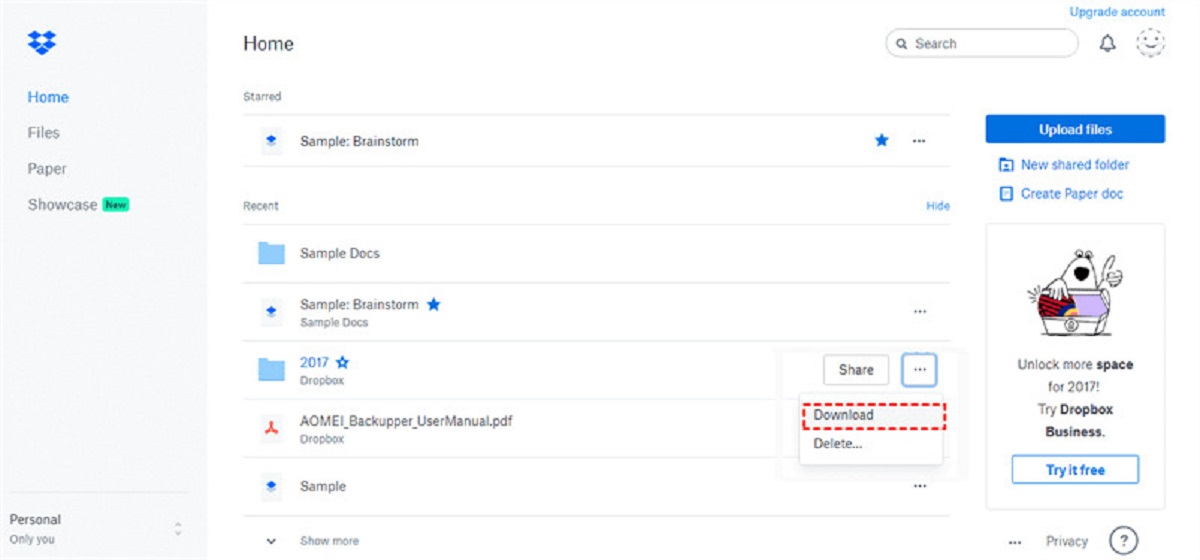
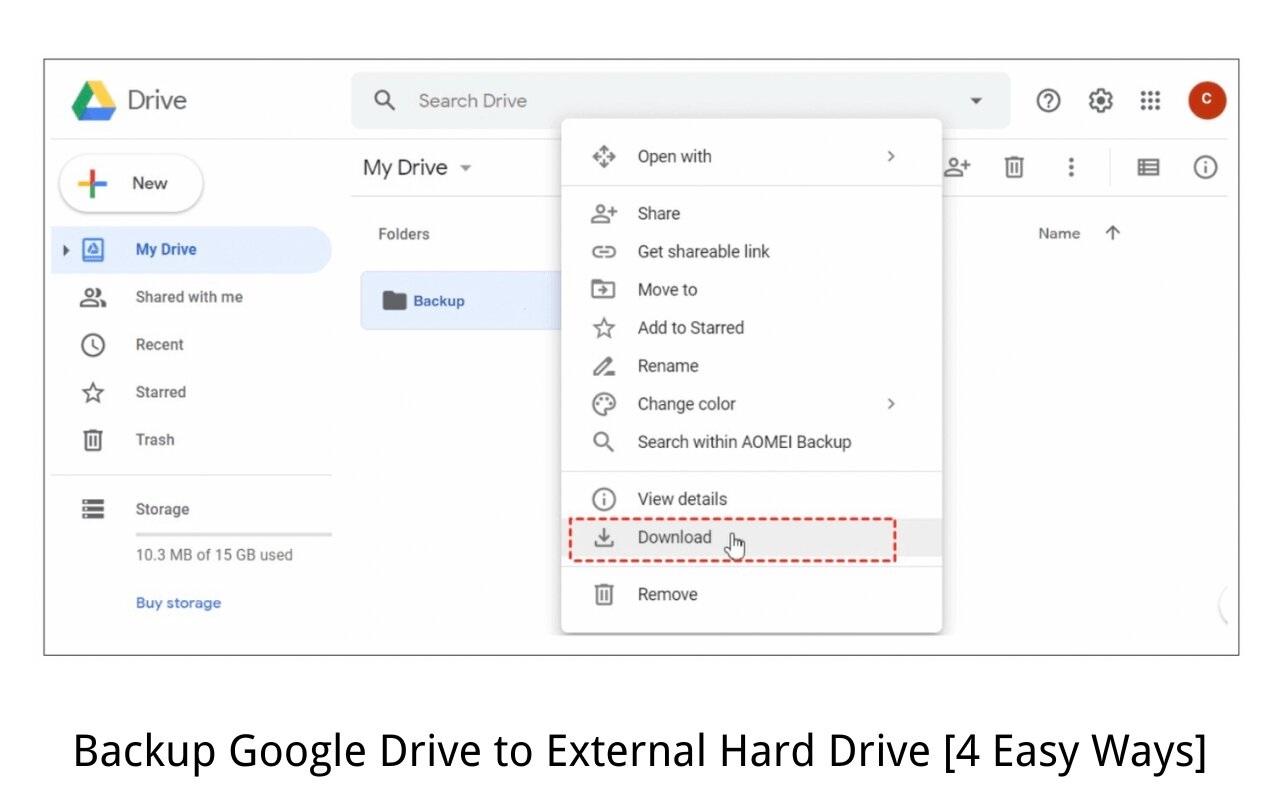
Once you have made your selections, look for the download option. This may be represented by a download button, a right-click context menu, or an overflow menu icon.
Click on the download option, and a dialog box might appear, asking you to choose a download location. Use the dropdown menu to select your external hard drive as the destination. Ensure that you have enough available space on the external hard drive.
Click the “Save” or “Download” button, and the cloud storage service will begin the process of downloading the selected files or folders to your external hard drive.
Take note that the download speed will depend on your internet connection speed and the size of the files being downloaded. Larger files or multiple files may take a longer time to complete.
Once the download is finished, you can access the downloaded files on your external hard drive through your computer’s file explorer or finder. They will be stored in the location you specified during the download process.
Repeat these steps for any additional files or folders you want to download from the cloud storage service to your external hard drive.
By following these simple steps, you can effortlessly download files from a cloud storage service and store them directly on your external hard drive. Now, let’s proceed to the next step: transferring files from your computer to the external hard drive.
Step 5: Transferring Files from Your Computer to the External Hard Drive
Transferring files from your computer to the external hard drive allows you to free up space on your local storage and create backups of important data. This step will guide you through the process of transferring files from your computer to the external hard drive.
Firstly, open the file explorer or finder on your computer. Navigate to the location where the files you want to transfer are saved. This could be your desktop, documents folder, or any other directory.
Select the files or folders you wish to transfer to the external hard drive. You can use the mouse to click and drag a selection box around multiple files, or you can hold down the “Ctrl” key (Windows) or “Command” key (Mac) to select individual files.
With the files selected, right-click on one of the selected files and choose the “Copy” option. Alternatively, you can use the keyboard shortcut “Ctrl + C” (Windows) or “Command + C” (Mac).
Next, navigate to your external hard drive in the file explorer or finder. If you are unsure where to find it, refer to the drive letter or name you noted earlier when connecting the external hard drive.
Once you have reached the external hard drive location, right-click on an empty space inside the folder and choose the “Paste” option. Alternatively, you can use the keyboard shortcut “Ctrl + V” (Windows) or “Command + V” (Mac).
The selected files will now begin to transfer from your computer to the external hard drive. The transfer speed will depend on various factors, including the file size, the number of files being transferred, and the speed of your computer’s USB connection.
During the transfer, it’s essential to refrain from disconnecting the external hard drive or shutting down your computer to ensure the process completes successfully.
Once the transfer is complete, you can verify that the files have been successfully copied to the external hard drive by navigating to its location and confirming the presence of the transferred files.
Congratulations! You have successfully transferred files from your computer to the external hard drive. This step allows you to create backups, free up space, and easily access your files from multiple devices. Now, let’s move on to step 6: safely removing the external hard drive.
Step 6: Safely Removing the External Hard Drive
Once you have completed transferring files to your external hard drive, it is essential to follow the proper procedure for safely removing it from your computer. This step will guide you through the process of safely ejecting the external hard drive.
Firstly, ensure that all file transfers or operations involving the external hard drive have been completed. It is important not to disconnect the external hard drive while files are being transferred or accessed, as this could result in data corruption or loss.
On your computer, locate the “Safely Remove Hardware” or “Eject” icon in the system tray or menu bar. The icon may look like a USB drive with a green checkmark or an arrow pointing upwards.
Click on the “Safely Remove Hardware” or “Eject” icon, and a list of connected devices will appear. Look for the entry corresponding to your external hard drive and click on it.
Once you have selected the external hard drive for removal, your computer will begin the process of ejecting it. During this time, it is crucial not to unplug the external hard drive or interrupt the process.
Once your computer has successfully ejected the external hard drive, you will receive a notification indicating that it is safe to remove the device.
Now you can physically remove the USB cable or disconnect the external hard drive from your computer. Gently unplug the USB cable from the USB port or use the appropriate mechanism specified by the external hard drive’s manufacturer.
It is important to note that abruptly removing the external hard drive without following the proper eject procedure can result in data loss or damage to the device.
If you plan to use the external hard drive with another computer or at a later time, ensure you store it in a safe place, away from extreme temperatures, moisture, or physical damage.
Congratulations! You have successfully completed the process of safely removing the external hard drive from your computer. By following this final step, you can prevent data loss and protect the integrity of your files and the external hard drive itself.
Conclusion
Downloading files to an external hard drive provides you with the convenience and flexibility of additional storage space, backups, and easy access to your files. In this comprehensive guide, we have walked through the step-by-step process of downloading files to an external hard drive.
First, we covered the important initial step of connecting the external hard drive to your computer, ensuring a secure and functional connection. Then, we discussed the process of choosing the files you want to download, considering your specific needs and available storage space.
We then explored two common methods of downloading files: from the internet and from a cloud storage service. Step 3 guided you through the process of downloading files from the internet by selecting the files, specifying the download location, and monitoring the download process.
Step 4 covered the process of downloading files from a cloud storage service, allowing you to access and save your files directly to the external hard drive. We highlighted the importance of having enough storage space and provided guidance for selecting and downloading your files.
In Step 5, we explained how to transfer files from your computer to the external hard drive, offering you the ability to free up space, create backups, and easily access your files from multiple devices.
Lastly, in Step 6, we emphasized the importance of safely removing the external hard drive from your computer to prevent data corruption and physical damage. Following the proper eject procedure ensures the integrity of your files and the external hard drive itself.
By following these steps, you have gained the knowledge and skills to successfully download files to an external hard drive, harnessing its benefits for storage expansion, file management, and data protection.
Now that you are equipped with this guide, you can confidently download, transfer, and manage your files with ease and efficiency. Enjoy the increased storage capacity and peace of mind that comes with safely storing your files on an external hard drive!