Introduction
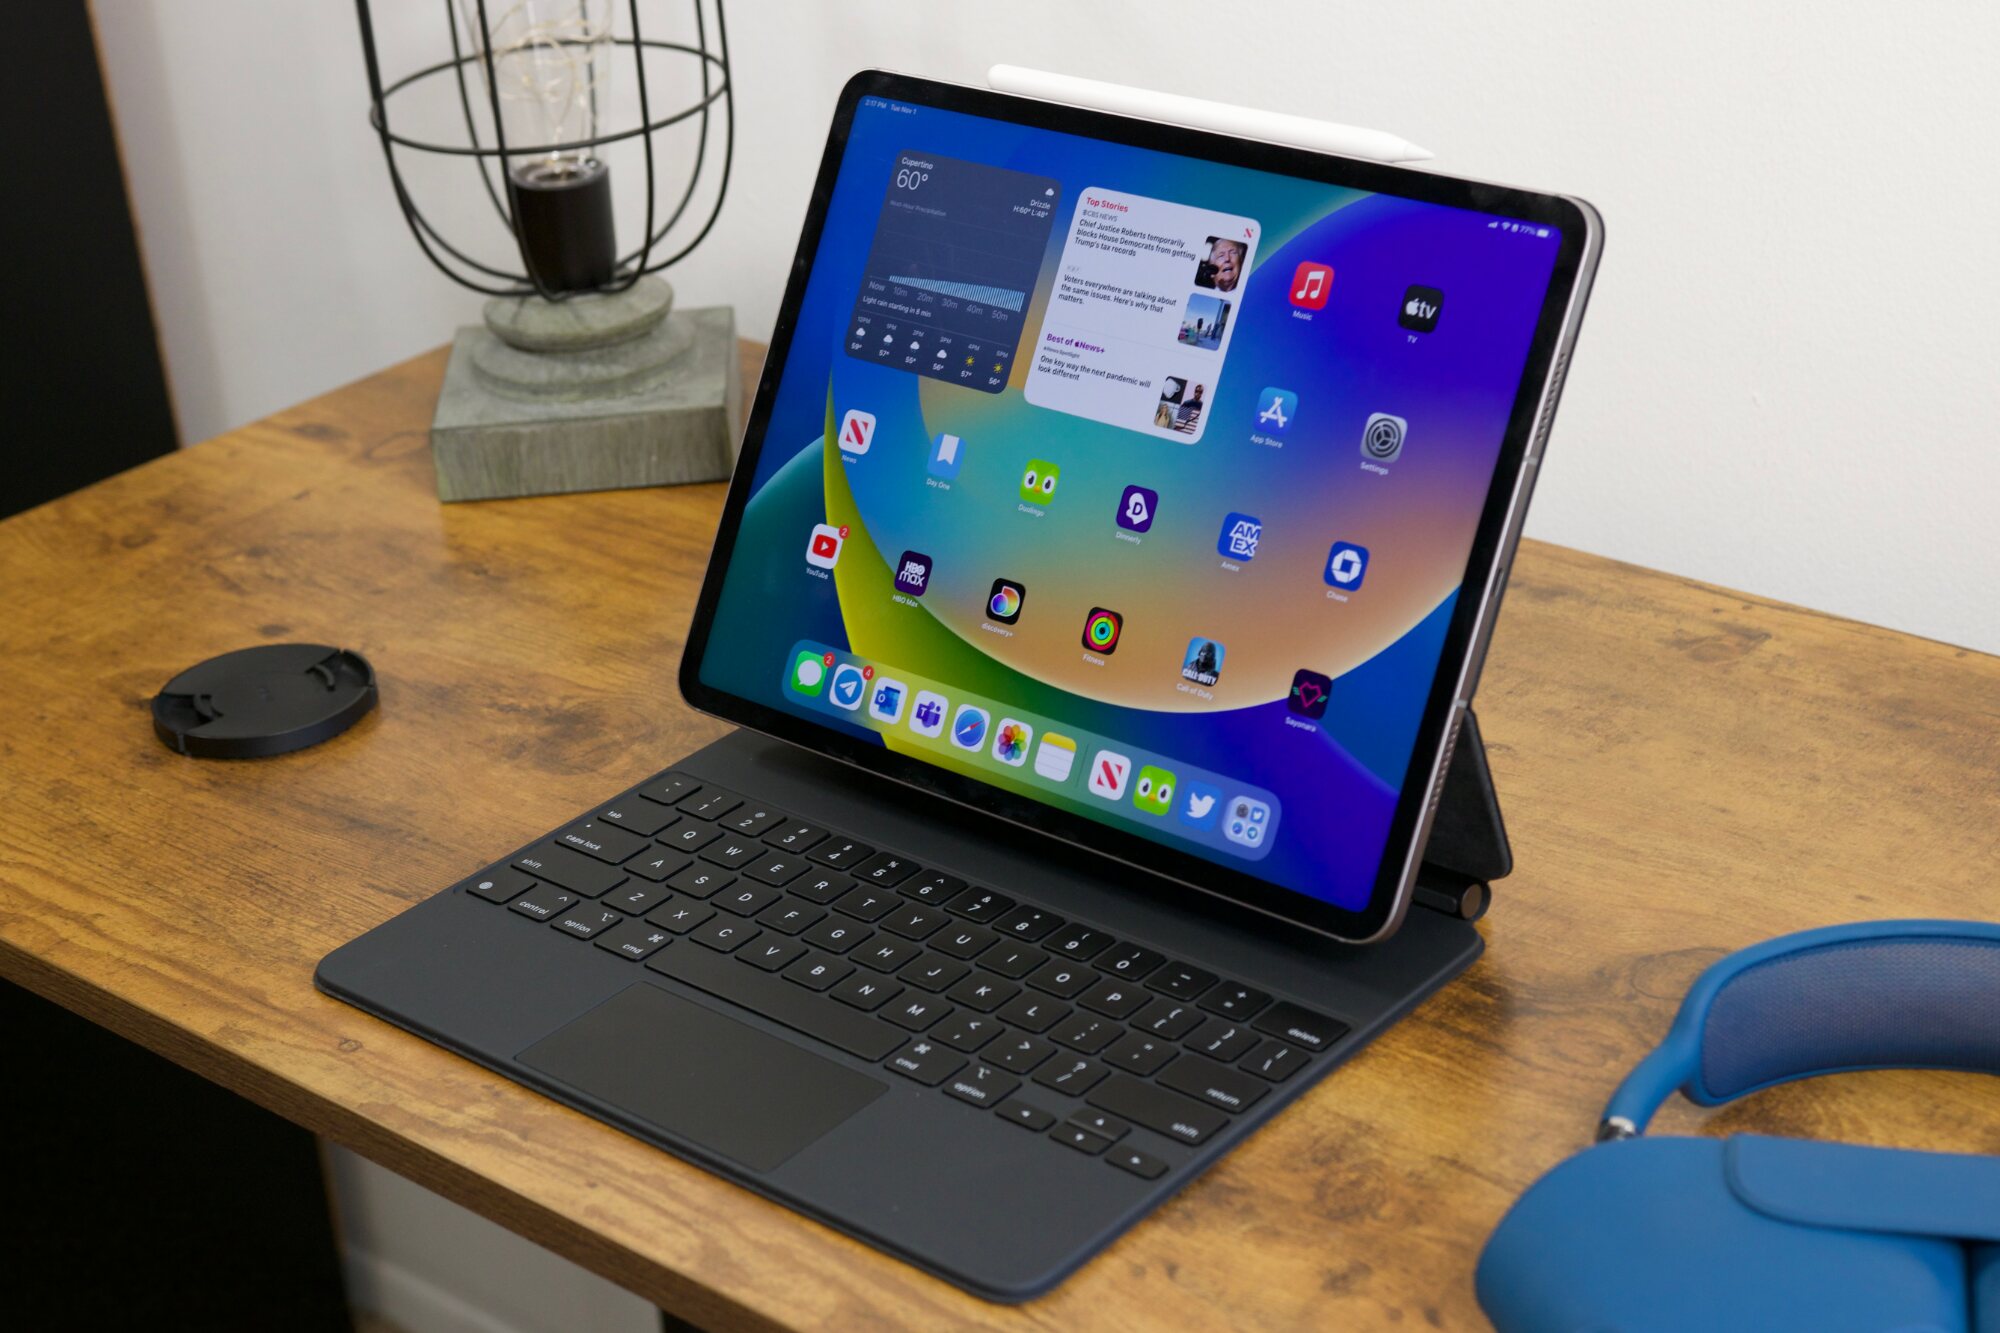
Welcome to the world of iPads in schools! As modern education embraces technology, many schools have adopted iPad programs to enhance learning experiences for students. iPads offer a wealth of educational apps that can engage students and facilitate interactive and personalized learning. However, accessing and downloading these apps on a school iPad may involve a few extra steps due to certain restrictions set by the school administration.
In this article, we will guide you through the process of downloading apps on a school iPad. Whether you’re a student, teacher, or parent, understanding how to navigate the App Store and install apps is crucial for incorporating educational tools into the learning environment.
Before we move on, it’s important to note that the specific steps outlined in this article may vary slightly depending on the school’s management policies and iPad configurations. Make sure to consult with your school’s IT department or refer to any provided guidelines to ensure compliance with their rules and regulations.
Now, let’s unlock the possibilities of the school iPad and delve into the process of downloading apps!
Unlocking the iPad
Before you can start downloading apps on your school iPad, you’ll need to unlock it. Here’s a step-by-step guide to help you with the process:
- Turn on the iPad by pressing the power button, usually located at the top or side of the device.
- Swipe the screen to access the lock screen.
- If your school has provided you with a passcode, enter it to unlock the iPad. This code may be unique to your device and should be kept confidential.
- If your iPad is enrolled in a Mobile Device Management (MDM) system, you may need to enter additional credentials, such as your school email address and password, to gain access. Follow the instructions provided by your school’s IT department.
- Once the iPad is unlocked, you’ll be greeted with the home screen, ready to explore the App Store and download educational apps.
- If you encounter any issues with unlocking the iPad, make sure to reach out to your school’s IT support for assistance.
Now that you’ve successfully unlocked your school iPad, you’re ready to discover the world of educational apps! In the next section, we’ll explore how to access the App Store and find the apps that are approved for use in your school.
Accessing the App Store
Once you’ve unlocked your school iPad, accessing the App Store allows you to browse and download a wide range of educational apps. Here’s how you can access the App Store:
- Locate the App Store icon on the home screen of your iPad. It is typically represented by a blue icon with a white capital “A”.
- Tap on the App Store icon to launch the application.
- If prompted, sign in with your Apple ID. If you don’t have an Apple ID, you may need to create one or use the school’s provided Apple ID.
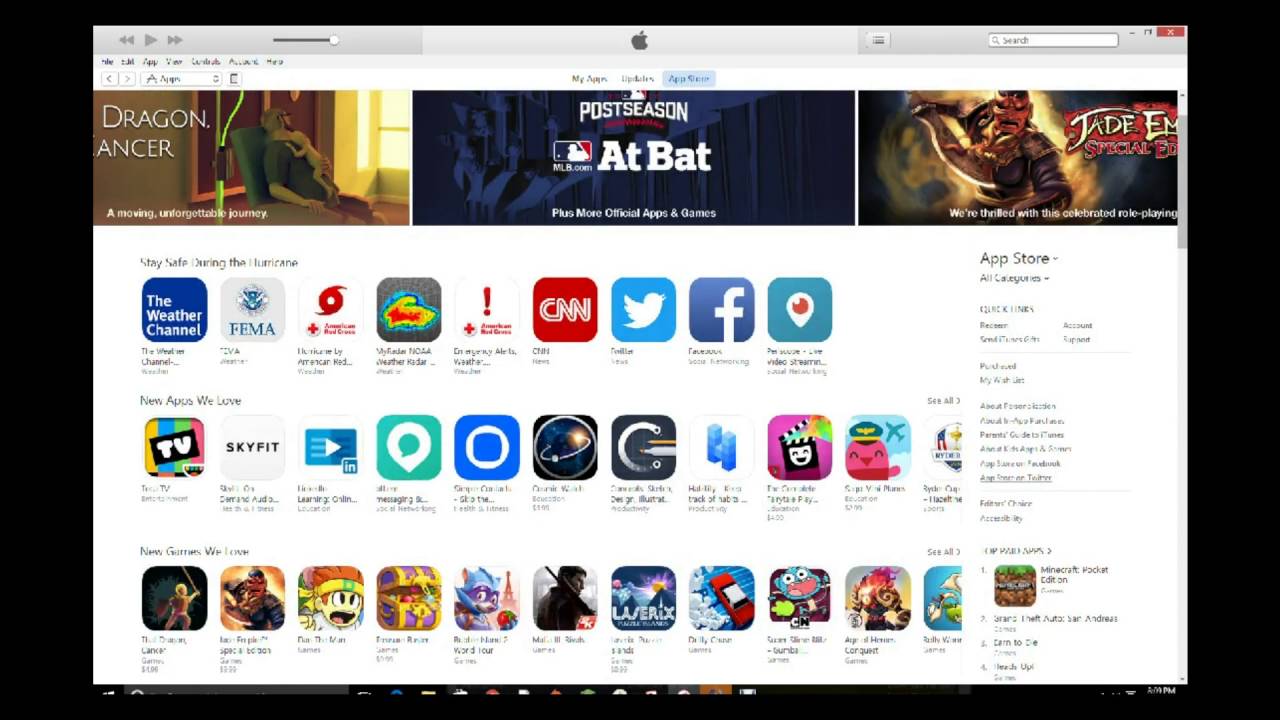
- Once signed in, you will be directed to the main page of the App Store, where you can explore featured apps, top charts, categories, and more.
- Use the search bar at the top of the screen to search for specific apps by name or keywords. You can also browse through different categories and curated collections to discover new educational apps.
- Make sure to pay attention to the age rating and reviews of an app before downloading it to ensure it is appropriate for your educational needs.
- To download an app, simply tap on the “Get” or “Download” button next to the app icon.
- If your school has specific guidelines or restrictions for app downloads, be sure to adhere to them and only download approved apps.
By following these steps, you can easily access the App Store on your school iPad and begin searching for educational apps that will enhance your learning experience. In the next section, we will explore how to search for apps and make informed decisions when downloading them.
Searching for Apps
Searching for apps in the App Store makes it easier to find specific educational tools or explore apps related to a particular subject. To effectively search for apps on your school iPad, follow these steps:
- Open the App Store on your iPad by tapping on the App Store icon.
- At the top of the screen, you’ll find a search bar. Tap on it to activate the keyboard and enter your search query.
- Start by entering relevant keywords related to the type of app you’re looking for or the subject you want to explore. For example, if you want to find a math learning app, you can search for terms like “math,” “mathematics,” or “math learning.”
- As you type, the App Store will provide suggestions based on your query. You can tap on the suggestions to refine your search or continue typing to complete your search term.
- Once you’ve entered your search term, tap the “Search” key on the keyboard.
- The App Store will display a list of apps that match your search criteria. You can swipe through the results to explore different options.
- To learn more about a specific app, tap on its icon. This will open the app’s page, where you can read descriptions, view screenshots or videos, and browse user reviews and ratings.
- If the app meets your needs and is approved for use in your school, tap the “Get” or “Download” button to begin the installation process.
By effectively searching for apps in the App Store, you can quickly find educational tools that align with your learning goals. In the next section, we will explore how to download and install apps on your school iPad.
Downloading Apps
Once you have found the desired app in the App Store, downloading it to your school iPad is a straightforward process. Here’s how you can download apps:
- Make sure you are signed in with your Apple ID in the App Store. If not, follow the prompts to sign in or use the school-provided Apple ID.
- On the app’s page, click on the “Get” or “Download” button located next to the app’s icon. The button will change to “Install” after tapping.
- If prompted, authenticate the download using Face ID, Touch ID, or entering your Apple ID password. This step helps ensure the security of your account and the device.
- Wait for the app to download. The download progress will be indicated by a progress bar or a spinning icon on the app’s icon.
- Once the download is complete, the app will be automatically installed on your school iPad.
- You can find the newly downloaded app on the home screen or in the app library, depending on your iPad’s settings and iOS version.
It’s important to note that some apps may require additional permissions or access to certain features on your school iPad. If prompted, grant the necessary permissions to ensure the app functions properly.
Remember, downloading apps on your school iPad should comply with your school’s guidelines and restrictions. Only download approved apps for educational purposes and avoid downloading apps that are not relevant to your studies.
In the next section, we will explore how to verify age restrictions and ensure the downloaded apps are appropriate for your school environment.
Verifying Age Restrictions
When downloading apps on a school iPad, it’s important to verify age restrictions to ensure the content is appropriate for the intended audience. Here are a few steps to follow when checking age restrictions:
- Before downloading an app, take a moment to review the app’s age rating. This information can be found on the app’s page in the App Store.
- The age rating is typically indicated by an age range or a specific age, such as “4+” for ages 4 and up, or “12+” for ages 12 and up.
- Consider the curriculum or educational needs for which the app is intended. Some apps may have age restrictions due to content, language, or complexity.
- If you are a teacher or a parent assisting a student, ensure that the app aligns with the appropriate grade level or subject matter.
- If an app has a higher age rating or you have concerns about its content, consult with your school’s administration or the student’s parent or guardian before downloading it.
- Remember that age restrictions are in place for a reason, so it’s important to abide by them and ensure that the apps used on school iPads are age-appropriate and align with the educational goals.
By verifying age restrictions, you can help create a safe and suitable digital learning environment for students. In the next section, we will explore how to install downloaded apps on your school iPad.
Installing Apps
Once you’ve downloaded apps on your school iPad, the next step is to install them. Follow these instructions to install the downloaded apps:
- Locate the app you want to install on your home screen or in the app library.
- If the app icon is on the home screen, simply tap on it to open the app. If the app is in the app library, swipe through the pages or use the search function to find it.
- The app will begin installing, and you will see a progress indicator on the app’s icon.
- Depending on the size of the app and your internet connection speed, installation may take a few seconds or several minutes. Be patient and do not interrupt the installation process.
- Once the installation is complete, the app’s icon will no longer have a progress indicator, indicating that it is ready to be used.
- Tap on the app’s icon to launch it and start using the educational features it offers.
If you encounter any issues during the installation process, make sure to check your internet connection and available storage space on your iPad. If storage space is limited, you may need to remove unused apps or files to make room for new installations.
Remember, only install apps that are approved by your school and relevant to your studies. Additionally, if any updates are available for installed apps, it’s a good practice to keep them updated to ensure you have access to the latest features and improvements.
In the next section, we will explore how to organize the apps on your school iPad’s home screen for easy access and efficiency.
Organizing Apps on the Home Screen
As you download and install more apps on your school iPad, it’s important to organize them on the home screen. This will make it easier to locate and access the apps you need. Here’s how you can organize your apps:
- Start by visually scanning your home screen to identify any apps that you frequently use or need quick access to. These could include apps for note-taking, educational tools, or subject-specific applications.
- To rearrange an app’s position on the home screen, press and hold your finger on the app’s icon until it begins to jiggle.
- While the app is jiggling, you can drag and drop it to a new location on the home screen. You can also move it to a different page by dragging it towards the edge of the screen.
- To create folders to organize similar apps, drag one app icon on top of another. This will create a folder, and you can give it a name based on the category of apps it contains.
- To add more apps to a folder, simply drag and drop them onto the folder icon.
- If you want to remove an app from a folder, open the folder, press and hold the app’s icon, and drag it out of the folder onto the home screen.
- To exit the jiggling mode and lock your app icons in place, press the home button or swipe up from the bottom of the screen (depending on your iPad model).
- Continue organizing your apps based on your preferences and usage patterns. Experiment with different folder structures and layouts until you find a system that works best for you.
By organizing your apps on the home screen, you can create a more efficient and personalized experience when using your school iPad. This organization can save you time and make it easier to find the apps you need, allowing for a smoother learning process.
In the next section, we will explore how to keep your apps updated to ensure you have access to the latest features and improvements.
Updating Apps
To ensure you always have access to the latest features, bug fixes, and security updates, it’s important to regularly update the apps on your school iPad. Here’s how you can update your apps:
- Open the App Store on your iPad by tapping on the App Store icon.
- At the bottom right corner of the App Store, tap on the “Updates” tab.
- You will see a list of available updates for the apps installed on your device.
- To update all apps at once, tap on the “Update All” button at the top right corner of the screen. If you prefer to update specific apps, you can individually tap the “Update” button next to each app.
- If prompted, authenticate the update using Face ID, Touch ID, or entering your Apple ID password.
- The updates will begin downloading and installing on your iPad.
- Once the updates are complete, the updated apps will have the latest versions installed on your device.
It’s recommended to keep your apps updated to ensure compatibility with the latest iOS version, maximize performance, and benefit from any new features or improvements. Regular updates also help to address any security vulnerabilities that may have been identified in previous versions.
Remember that some updates may require a stable internet connection and sufficient storage space on your iPad. If an update fails to download or install, check your internet connection and consider removing unused apps or files to free up storage space.
By regularly updating your apps, you can ensure a smooth and secure learning experience on your school iPad. In the next section, we will provide some app management tips to help you optimize your app usage.
App Management Tips
Managing the apps on your school iPad is essential for maintaining an organized and efficient learning environment. Here are some helpful tips to optimize your app management:
- Regularly review your installed apps and delete any that you no longer use or need. This will free up storage space and declutter your device.
- Consider creating folders to group similar apps together. For example, you can have separate folders for math apps, language learning apps, or productivity tools.
- Organize your app icons based on your workflow and priorities. Place the most frequently used apps on the home screen or within easy reach for quick access.
- Take advantage of app search features to quickly find specific apps. On some iPads, you can swipe down on the home screen to reveal the spotlight search, where you can type the app’s name to locate it.
- Regularly back up your iPad to safeguard your app data. This ensures that even if you need to restore your device or switch to a new one, you can easily reinstall your apps and retain your progress.
- Stay informed about updates and new app releases by periodically checking the App Store and subscribing to educational app review websites or newsletters.
- Consider exploring educational app collections created by reputable organizations or educators. These curated lists can help you discover high-quality apps that align with specific learning objectives.
- Engage in discussions with teachers, students, or parents to share app recommendations and learn about new educational tools that others have found useful.
- Regularly review the privacy settings and permissions of your apps to ensure they align with your comfort level and comply with any applicable regulations or guidelines.
- Take advantage of features like app folders, notification settings, and app restrictions to customize your app experience and optimize productivity.
By implementing these app management tips, you can maintain an organized digital learning environment and make the most of the educational apps available on your school iPad.
With these guidelines in mind, you’re now equipped with the knowledge to download, install, and manage apps on your school iPad. Enjoy exploring the world of educational apps and enhancing your learning journey!
Conclusion
Downloading and managing apps on your school iPad opens up a world of possibilities for enhancing your educational experience. By following the steps outlined in this article, you can navigate the App Store, search for relevant apps, download and install them, and organize them on your home screen. Taking the time to verify age restrictions and keep apps updated ensures a safe and optimized learning environment.
Remember to comply with your school’s guidelines and restrictions when downloading and using apps. Only install approved apps and consider the educational value and relevance of each app for your studies. By keeping your apps organized and regularly reviewing them, you can maintain an efficient and personalized app experience.
Stay informed about updates, new releases, and app recommendations from trusted sources to discover new educational tools that can enhance your learning journey. Engage in discussions with teachers, students, and parents to share insights and recommendations, fostering a collaborative learning community.
As you explore the world of educational apps on your school iPad, keep in mind the vast potential they offer for interactive and personalized learning experiences. Make the most of these resources to supplement your studies, engage with subject matter, and unlock your full potential as a student.
By mastering the process of downloading and managing apps, you can harness the power of technology to facilitate a dynamic and enriching educational experience.


