Introduction
Welcome to the world of Ancestry DNA! If you’ve ever wondered about your family’s history, ethnicity, and genetic makeup, Ancestry DNA is the perfect tool to unravel the mysteries of your ancestry. With just a simple DNA test, you can gain profound insights into your heritage and discover connections to distant relatives you never knew existed.
Ancestry DNA combines the power of advanced genetic testing with an extensive database of historical records and family trees to provide you with a comprehensive picture of your ancestry. This innovative technology allows you to explore your roots and delve deep into the story of your family.
Downloading your Ancestry DNA results is a vital part of the process, as it enables you to access and interpret the information gathered from your DNA sample. In this article, we will guide you through the step-by-step process of how to download your Ancestry DNA results, ensuring that you can effortlessly navigate this exciting journey of self-discovery.
Whether you’re a genealogy enthusiast, curious about your heritage, or simply want to know more about your genetic makeup, this guide will equip you with all the necessary information to download your Ancestry DNA results successfully.
So, without further ado, let’s embark on this thrilling adventure and learn how to download your Ancestry DNA results!
Understanding Ancestry DNA
Before we dive into the steps of downloading your Ancestry DNA results, let’s take a moment to understand what exactly Ancestry DNA is and how it works.
Ancestry DNA is a direct-to-consumer genetic testing service that analyzes your DNA to provide you with information about your ancestral origins. It uses a simple saliva sample that you provide, which contains your unique genetic code. This code contains markers that can be compared to a vast database of genetic information to determine your ethnic origins and find potential relatives.
When you send your saliva sample to Ancestry DNA, their laboratory extracts and analyzes the DNA from your sample. They examine specific sections of your DNA that are known to vary across different populations and regions around the world. By comparing these variations to their extensive database of genetic information, Ancestry DNA can estimate the likely origins of your ancestors.
It’s essential to note that Ancestry DNA is not limited to just ethnicity estimates. It also allows you to connect with other individuals who have taken the test and potentially identify relatives you never knew about. This feature has led to many heartwarming stories of long-lost family members finding each other and creating meaningful connections.
While Ancestry DNA provides you with a wealth of information, it’s crucial to keep in mind that the results are estimates based on statistical analysis. The accuracy of your ethnic origins and the identification of relatives depends on the size and diversity of the reference database and the quality of the genetic markers examined.
However, Ancestry DNA has a large and growing database with millions of users, which enhances the accuracy of the results.
Now that we have a solid understanding of what Ancestry DNA is and how it works, let’s move on to the step-by-step process of downloading your Ancestry DNA results.
Step 1: Create an Ancestry account
The first step in downloading your Ancestry DNA results is to create an Ancestry account. If you already have an account, you can skip this step and proceed to the next one.
To create an Ancestry account, go to the Ancestry website and click on the “Sign In” button in the top-right corner. On the login page, you will see an option to create a new account. Click on it, and you will be prompted to provide some basic information, such as your name, email address, and a password.
Once you have entered the required information, click on the “Create Account” button. Ancestry will send a verification email to the email address you provided during the registration process. Open the email and click on the verification link to activate your account.
After activating your account, you will be able to access your Ancestry account dashboard, which serves as the hub for all your genetic and genealogical information.
Creating an Ancestry account is essential because it allows you to manage your DNA test results, explore your family history, and connect with potential relatives who have also taken the Ancestry DNA test. It provides a centralized platform for you to track and explore your genetic heritage.
Once you have successfully created your Ancestry account, you are ready to move on to the next step in the process, which is purchasing an Ancestry DNA kit.
Step 2: Purchase an Ancestry DNA kit
Now that you have created your Ancestry account, the next step is to purchase an Ancestry DNA kit. Ancestry DNA kits are conveniently available for purchase online, and you can easily order one from the Ancestry website.
To buy an Ancestry DNA kit, go to the Ancestry website and navigate to the DNA tab. Here, you will find various options for DNA testing. Select the Ancestry DNA kit that suits your needs and click on the “Buy Now” button.
Once you click on the “Buy Now” button, you will be redirected to the shopping cart page. Here, you can review your order and add any additional items if desired. Once you are ready to proceed with the purchase, click on the “Checkout” button.
In the checkout process, you will need to provide your shipping address and payment information. Ancestry accepts various payment methods, such as credit cards and PayPal. Fill in the required details and click on the “Place Order” button to complete your purchase.
After placing your order, you will receive an order confirmation email with the details of your purchase. Ancestry will ship the DNA kit to the address you provided during the checkout process.
Purchasing an Ancestry DNA kit is an exciting step towards uncovering your heritage and connecting with your ancestors. The kit includes all the necessary materials for collecting your DNA sample, along with detailed instructions on how to proceed.
Now that you have purchased your Ancestry DNA kit, it’s time to move on to the next step, which is registering your kit in your Ancestry account.
Step 3: Register your kit
After receiving your Ancestry DNA kit, the next step is to register it in your Ancestry account. Registering your kit is crucial because it links your DNA sample to your account and ensures that you receive accurate and personalized results.
To register your kit, log in to your Ancestry account and navigate to the DNA tab. Under the DNA tab, you will find an option to “Activate Kit” or “Register Kit”. Click on this option to begin the registration process.
On the registration page, you will be prompted to enter the unique activation code that came with your DNA kit. This code is generally found on a barcode or a separate card included in the kit. Carefully enter the code and click on the “Next” or “Continue” button.
Next, you will be asked to provide a name for your DNA test, which could be your own name. This helps you differentiate between multiple DNA tests if you decide to test other family members in the future. Enter the desired name and proceed to the next step.
In some cases, you may also be prompted to provide additional information, such as your birthdate or gender. This information helps Ancestry in better understanding and analyzing your DNA data but is completely optional.
Once you have entered all the required information, review it to ensure its accuracy and click on the “Next” or “Continue” button to complete the registration process.
After successfully registering your kit, you will receive a confirmation email from Ancestry. This email will confirm that your DNA kit is linked to your account and is ready to be used for analysis.
Registering your Ancestry DNA kit is a vital step in the process as it ensures that your DNA results are associated with your account. Once you have completed the registration, you can move on to the next step, which is collecting your DNA sample.
Step 4: Collect your DNA sample
Now that your Ancestry DNA kit is registered, it’s time to collect your DNA sample. This step involves providing a saliva sample, which contains your unique genetic information, to be analyzed by Ancestry’s laboratory.
To collect your DNA sample, follow the instructions included in your Ancestry DNA kit. Typically, you will find a saliva collection tube and a stabilizing liquid in the kit.
Before collecting your sample, make sure you haven’t eaten, drank, or smoked anything for at least 30 minutes. This ensures that the sample is free from contaminants and provides accurate results.
Start by unscrewing the cap of the saliva collection tube without removing the funnel. Fill the tube with saliva until it reaches the marked line. It’s important not to overfill the tube.
Once you have collected enough saliva, securely screw the cap back onto the tube, which will release the stabilizing liquid into the sample. Shake the tube vigorously for about 5 seconds to ensure proper mixing.
After shaking the tube, place it back into the collection bag provided in the kit. Seal the bag, ensuring it is fully closed and watertight. This prevents any leakage during transit.
Remember to fill in the required information on the bag or any accompanying documentation, such as your name or the date of collection. This helps Ancestry accurately track and process your DNA sample.
It’s important to note that while collecting your DNA sample, you should follow the instructions provided in the kit carefully. Failure to do so may result in an unusable sample or inaccurate results.
Once you have collected your DNA sample and properly sealed it, you’re ready to move on to the next step: activating your kit online.
Step 5: Activate your kit online
After collecting your DNA sample, the next step is to activate your kit online. Activating your kit officially notifies Ancestry that you have sent in your DNA sample and allows them to track the progress of your test.
To activate your kit, log in to your Ancestry account and navigate to the DNA tab. Under the DNA tab, you will find an option to “Activate Kit” or “Activate Test”. Click on this option to begin the activation process.
You will be prompted to enter the activation code that is associated with your DNA kit. This code is usually found on a barcode or a separate card included in your kit. Carefully enter the code and click on the “Next” or “Continue” button.
Next, you may be asked to verify your identity by answering a few security questions or providing additional information. This step ensures that the sample belongs to you and maintains the privacy and security of your DNA data.
After confirming your identity, you will be asked to confirm the details of your DNA kit activation. Review the information to ensure its accuracy, and if everything looks correct, click on the “Activate” or “Submit” button.
Once you have successfully activated your kit, Ancestry will provide you with a confirmation message. This message will confirm that your kit has been activated, and your sample is in the process of being analyzed.
It’s important to activate your kit promptly after collecting your DNA sample to avoid any delays in processing. Failure to activate the kit may result in a longer wait time for your results.
Now that you have activated your Ancestry DNA kit, it’s time to send your sample to the lab for analysis. We will cover this next step in detail in the following section.
Step 6: Send your sample to the lab
With your Ancestry DNA kit activated, it’s time to send your DNA sample to the laboratory for analysis. This step involves carefully packaging and shipping your sample to ensure its safe arrival at the lab.
Start by placing the sealed collection bag containing your saliva sample into the return shipping box provided in your Ancestry DNA kit. The box is designed to protect your sample during transit and maintain its integrity.
Before sealing the shipping box, make sure to check if any additional documentation or labels need to be included. Ancestry may provide specific instructions or forms that need to accompany your sample for proper identification and tracking.
Once you have added any required documentation, securely seal the shipping box. Ensure that it is properly closed and will not open during transportation. This helps prevent any damage or contamination to your DNA sample.
Next, affix the prepaid shipping label to the outside of the box. This label ensures that your package is sent to the correct laboratory and expedites the processing of your sample. If a prepaid label is not provided, you may need to arrange for your own shipping method and cover the associated costs.
After attaching the shipping label, you can drop off your package at the designated shipping location. This can be a local post office or a courier service. Make sure to inquire about any specific shipping requirements, such as customs declarations or special handling instructions.
It is essential to ship your DNA sample as soon as possible after activation to minimize the time it spends in transit. This ensures the quality and integrity of the DNA material and helps expedite the processing of your results.
Once your sample reaches the laboratory, Ancestry will start the analysis process, which can take several weeks. During this time, you can track the progress of your sample through your Ancestry account.
Now that your sample is on its way to the lab, you can patiently wait for the exciting moment when your Ancestry DNA results will be available for download. In the next step, we will explore what to expect as you await your results.
Step 7: Wait for your DNA results
After sending your DNA sample to the lab, it’s time to embark on the waiting phase. Waiting for your Ancestry DNA results can be an exciting yet suspenseful time, as you anticipate uncovering the secrets of your genetic heritage.
The time it takes to receive your DNA results can vary. Ancestry typically estimates a processing time of 6-8 weeks from the moment your sample reaches the lab. However, factors such as high demand or unforeseen circumstances may cause slight delays.
While waiting, it’s important to be patient and avoid stress. Keep in mind that the comprehensive analysis of your DNA takes time to ensure accurate and reliable results. Rest assured that Ancestry’s team of experts is working diligently to process your sample and provide you with the most accurate insights into your genetic ancestry.
During this waiting period, you can continue to explore the various features on the Ancestry website. You can delve into your family tree, discover historical records, and even connect with other Ancestry members who may be distant relatives.
Ancestry may periodically send you email updates on the progress of your DNA analysis, so be sure to check your inbox regularly. These updates can provide you with a better idea of when your results will be available.
Remember, while you wait, the anticipation and excitement of unearthing your ancestral background will continue to build. Prepare yourself for the moment when your DNA results are finally unveiled.
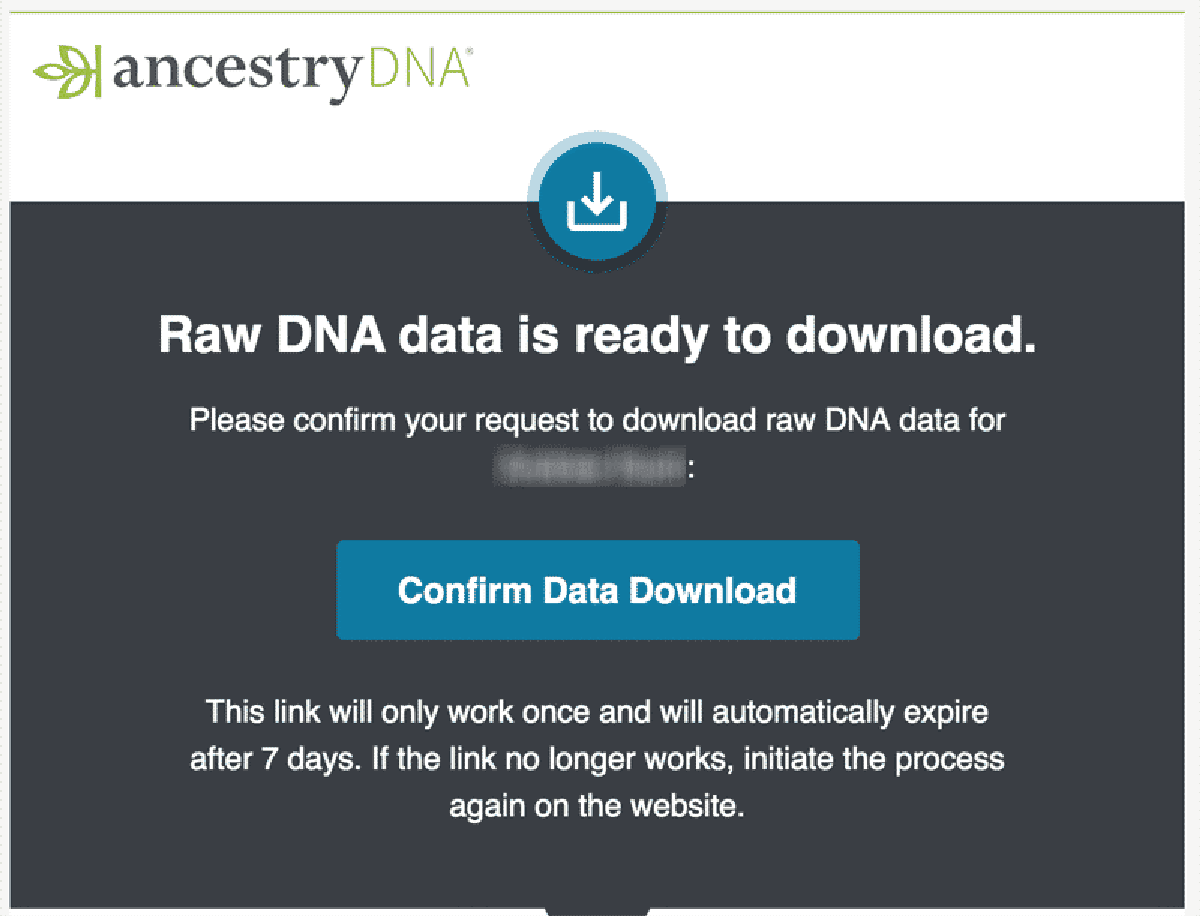
Once your DNA results are ready, you will receive an email notification from Ancestry. This notification will provide instructions on how to access and download your results through your Ancestry account.
Now that you understand the waiting process, you can patiently prepare yourself for the moment when your Ancestry DNA results will be unveiled. In the next step, we will explore how to download your Ancestry DNA results once they become available.
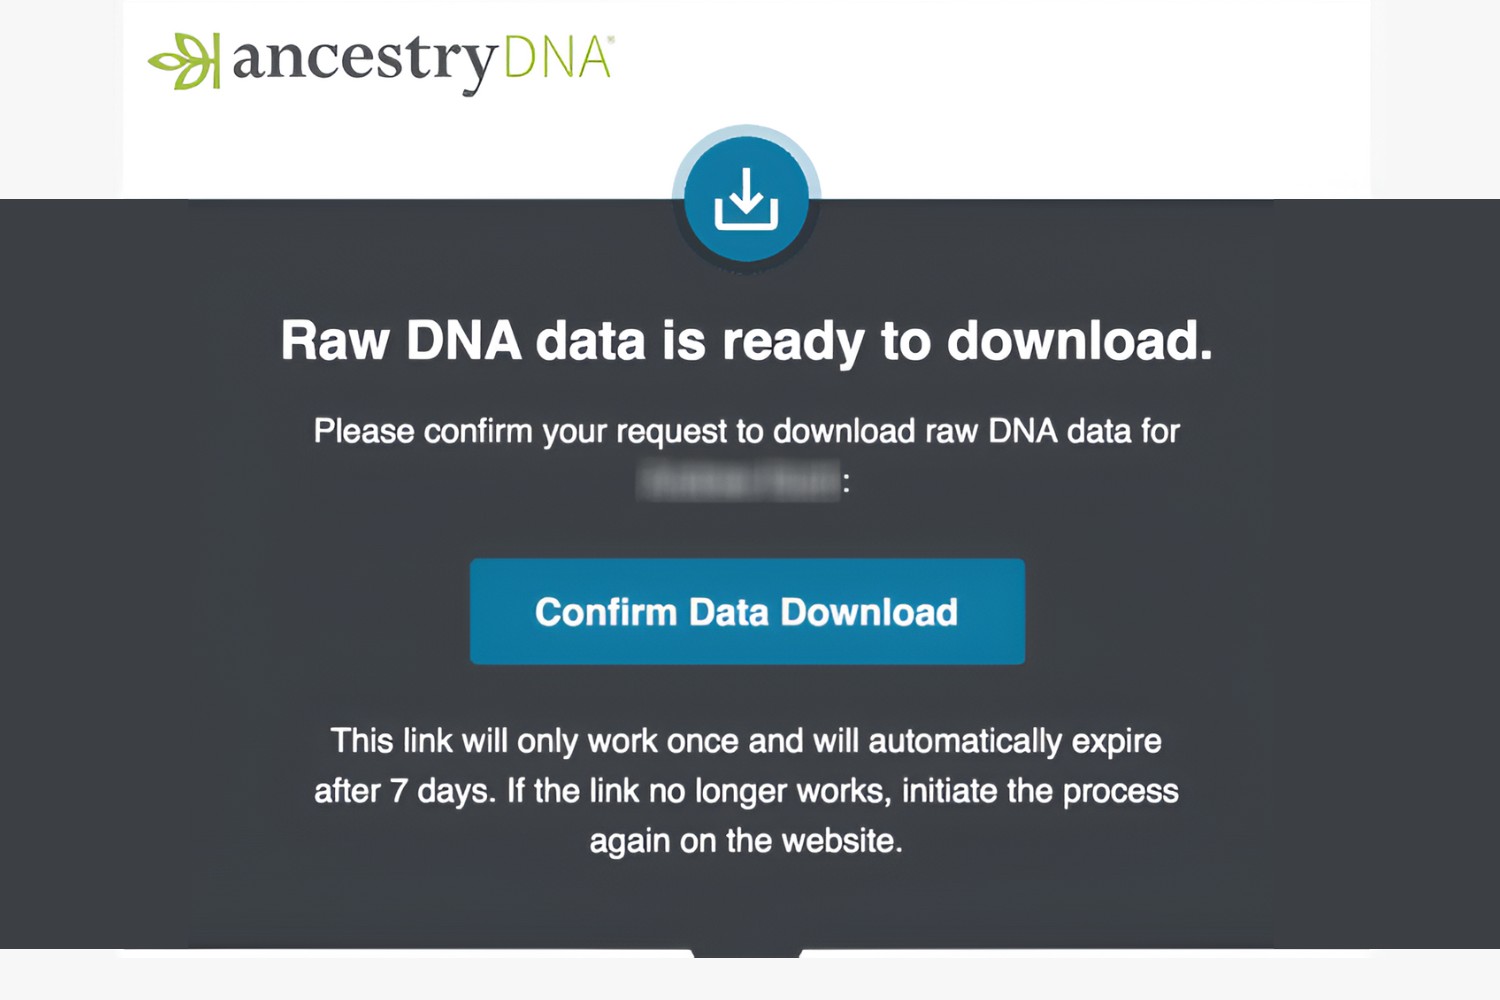
Step 8: Download your Ancestry DNA results
After the thrilling wait, the moment has finally arrived to download your Ancestry DNA results. This step allows you to access and explore the detailed insights gathered from your DNA sample, unlocking a wealth of information about your genetic heritage.
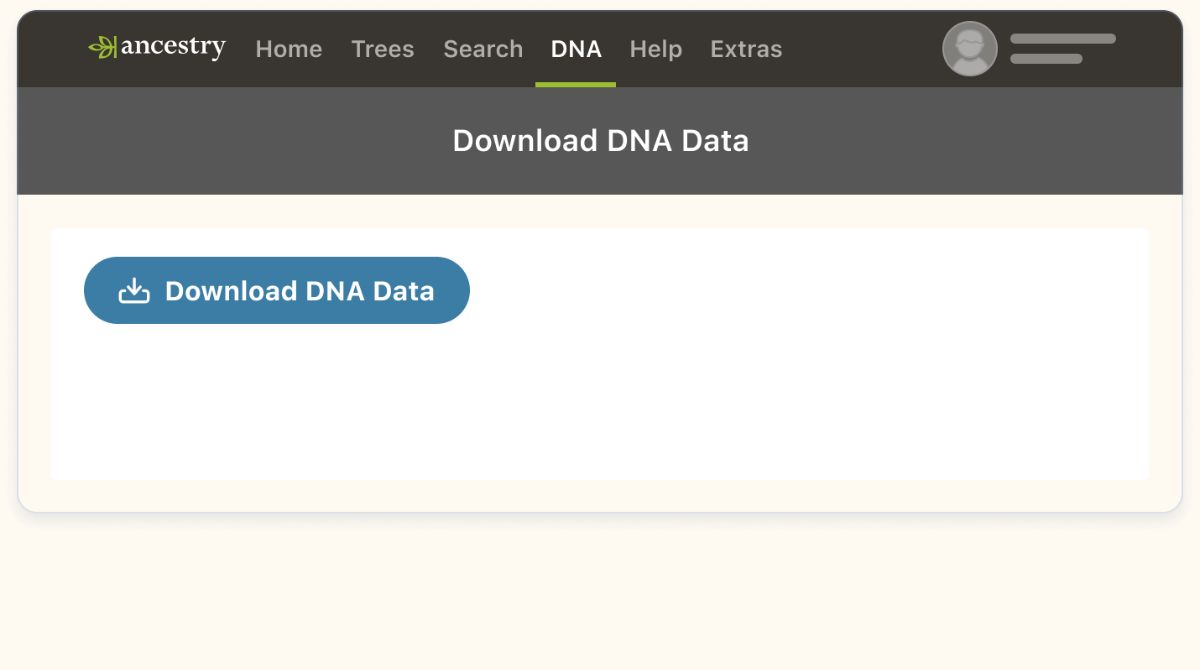
When your DNA results are ready, Ancestry will send you an email notification with instructions on how to access and download your results. Follow the provided link or log in to your Ancestry account and navigate to the DNA tab.
Under the DNA tab, you will typically find a section specifically dedicated to your DNA results. Click on the designated area or follow the instructions provided to access your results.
Once you’re in the DNA results section, you will be able to view and explore various aspects of your genetic ancestry. Ancestry provides a comprehensive breakdown of your ethnic origins, highlighting the regions and populations that make up your DNA.
In addition to the ethnic breakdown, you will also have access to genetic matches and potential relatives. Ancestry’s vast database allows you to connect with other individuals who share parts of your DNA, opening up the possibility of uncovering long-lost relatives or discovering connections you never knew existed.
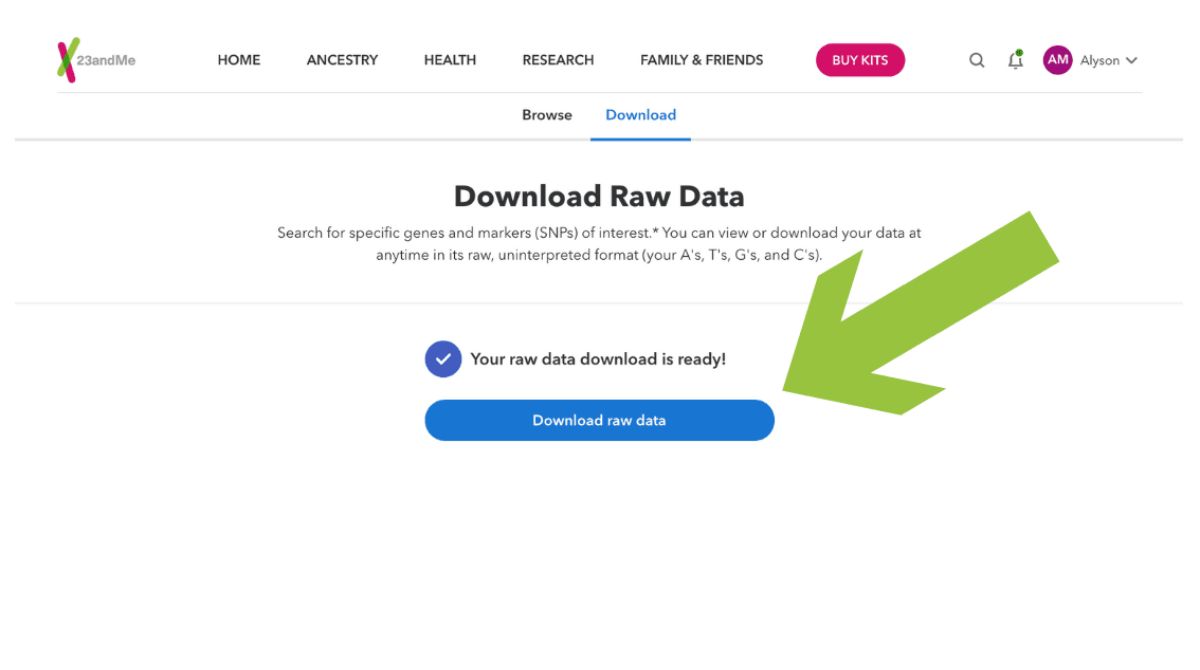
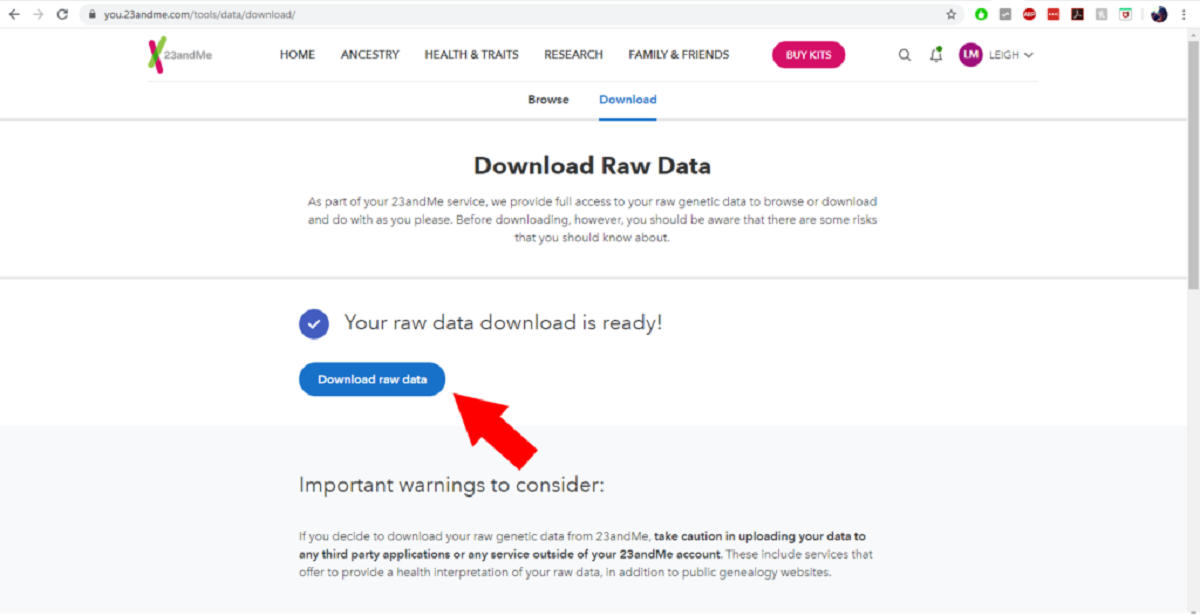
To download your Ancestry DNA results, look for a download or export option within the DNA results section. This option may vary depending on the formatting of the data, but it will typically allow you to download a digital copy of your results in a compatible file format.
Once you click on the download or export option, choose a location on your computer or device to save the file. Give it a meaningful name and click on the “Save” or “Download” button to begin the download process.
After the download is complete, you will have a local copy of your Ancestry DNA results that you can access anytime, even offline. This allows you to further analyze and explore your genetic ancestry at your convenience.
With your Ancestry DNA results downloaded, you can take your time to delve into the fascinating details of your genetic heritage. Review the data, explore the connections, and engage in further genealogical research to uncover the stories behind your DNA.
Congratulations! You have successfully completed the process of downloading your Ancestry DNA results and have gained invaluable insights into your ancestral past.
Conclusion
Embarking on the journey of exploring your genetic heritage and downloading your Ancestry DNA results is an exciting and enlightening experience. By following the step-by-step process outlined in this guide, you have gained the knowledge and confidence to navigate through each stage of the process with ease.
We started by understanding what Ancestry DNA is and how it works. With its advanced genetic testing and extensive database, Ancestry DNA provides a comprehensive view of your ancestral origins and the potential to connect with distant relatives.
Creating an Ancestry account was the first step, allowing you to access and manage your DNA test results. You then purchased an Ancestry DNA kit, registered it in your account, and collected your DNA sample following the given instructions carefully.
After activating your kit online, you securely sent your DNA sample to the laboratory for analysis. The waiting period for your DNA results may have been suspenseful, but it offered an opportunity to explore other features on the Ancestry website and connect with your family’s history.
Finally, the much-anticipated moment arrived when you could download your Ancestry DNA results. This allowed you to uncover the rich tapestry of your genetic heritage, from ethnic origins to potential genetic matches and relatives.
Now armed with a digital copy of your Ancestry DNA results, you have a wealth of information at your fingertips. Take the time to explore and comprehend the data, dive deeper into genealogical research, and continue the journey of self-discovery and connection.
Remember, your Ancestry DNA results are just the beginning. They provide a foundation for further exploration and understanding of your family’s history and genetic story. Embrace this newfound knowledge and embark on a lifelong quest to unravel the stories behind your DNA.
Congratulations once again on completing the process of downloading your Ancestry DNA results. May your genetic journey continue to inspire and empower you as you uncover the fascinating tapestry of your ancestral past.