Introduction
Google Slides is a powerful online presentation tool that allows users to create, edit, and share slideshows. While Google Slides is primarily designed for presentations, it is also a convenient platform for creating and sharing images. Whether you’re a student, professional, or simply someone who wants to download an image from a Google Slides presentation, this guide will walk you through the process.
In this article, we will outline the step-by-step instructions to help you download an image from Google Slides. Whether you need it for a project, report, or personal use, downloading an image from Google Slides is a straightforward process. By following a few simple steps, you can save the image onto your computer and use it however you like.
Before we dive into the steps, it’s worth mentioning that Google Slides offers a wide range of features and customization options. From adding text and shapes to applying animations and transitions, Google Slides provides a robust set of tools for creating visually engaging presentations. However, if you’re only interested in downloading a specific image from a presentation, you can easily do so without the need to modify or edit the entire slideshow.
Now that we have an overview let’s get started with the first step: opening Google Slides.
Step 1: Open Google Slides
The first step in downloading an image from Google Slides is to open the Google Slides website on your preferred web browser. You can do this by navigating to slides.google.com or accessing Google Slides through your Google Drive account.
If you’re using a Google account, sign in with your credentials. If you don’t have a Google account, you can create one for free by clicking on the “Create account” or “Sign Up” button on the Google homepage.
Once you’re signed in, you’ll be taken to the Google Slides homepage. Here, you’ll find a list of your recent presentations and the option to create a new slideshow. If you already have a presentation that contains the image you want to download, click on its thumbnail to open it.
If you don’t have a presentation yet, you can create a new one by clicking on the “+ Blank” button or selecting a template from the available options. This will open a new blank presentation where you can add your content, including the image you wish to download.
After opening your desired presentation or creating a new one, you’re ready to move on to the next step, which is selecting the slide that contains the image you want to download.
Step 2: Select the Slide with the Image
Once you have opened or created your Google Slides presentation, the next step is to select the specific slide that contains the image you want to download. In most cases, you’ll find the image on a single slide within the presentation.
To navigate through the slides, you can use the arrow buttons located at the bottom left corner of the Google Slides interface. Clicking the left arrow will take you to the previous slide, while clicking the right arrow will move you to the next slide.
Alternatively, you can also use the slide thumbnails on the left-hand side of the screen to quickly jump to a specific slide. Simply scroll through the thumbnails, identify the slide that contains the desired image, and click on it to select it.
Once you have selected the slide with the image, you’ll be able to see it displayed prominently on the main editing area of the Google Slides interface. At this point, you’re ready to proceed to the next step, which involves downloading the selected slide as an image.
It’s important to ensure that you have selected the correct slide that contains the desired image. If your presentation includes multiple images on different slides, take a moment to verify that you have chosen the correct slide before moving forward. This will ensure that you download the right image.
With the relevant slide now selected, it’s time to move on and learn how to download it as an image in the following step.
Step 3: Download the Slide as an Image
Now that you’ve selected the slide that contains the image you want to download, the next step is to save it as an image file. Google Slides offers a convenient option to download individual slides as images, making it easy to extract the image from the presentation.
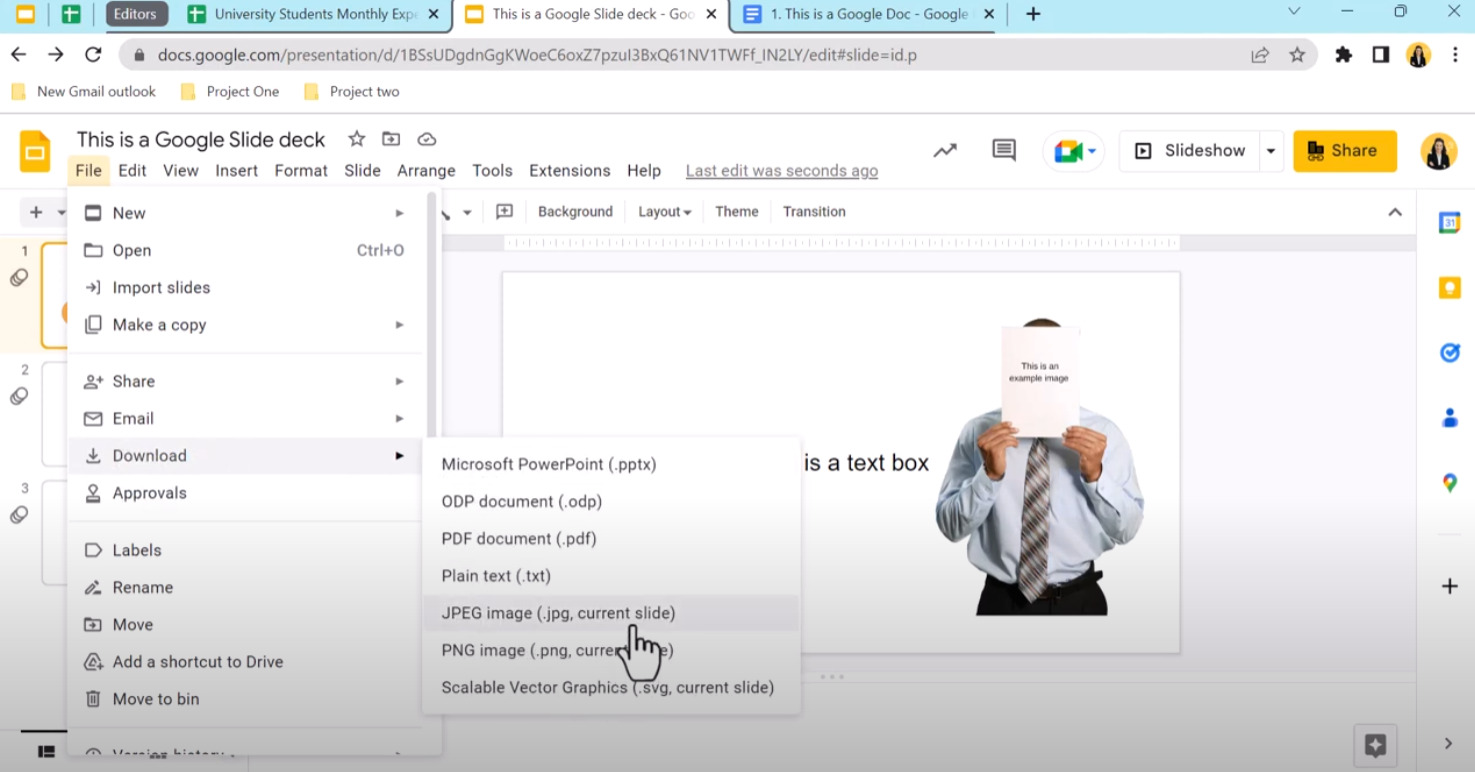
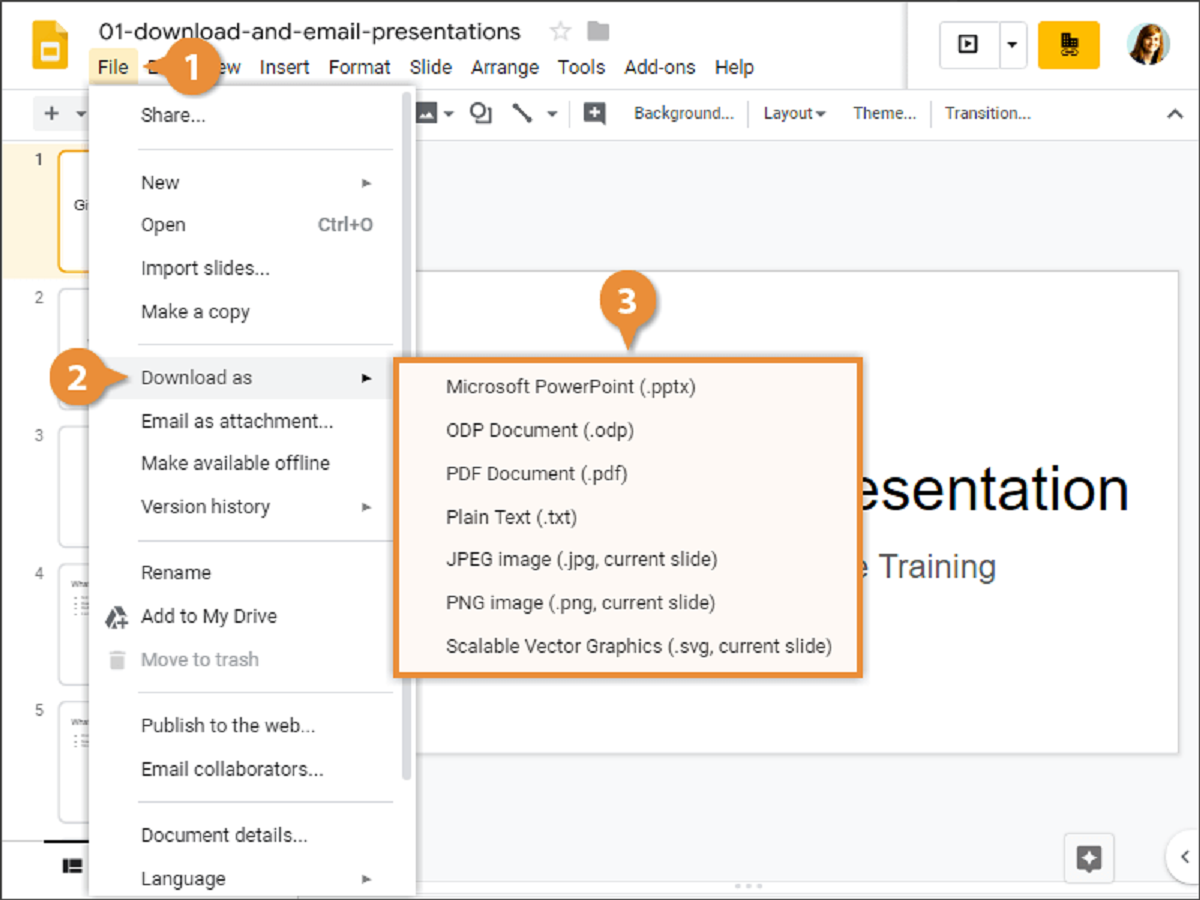
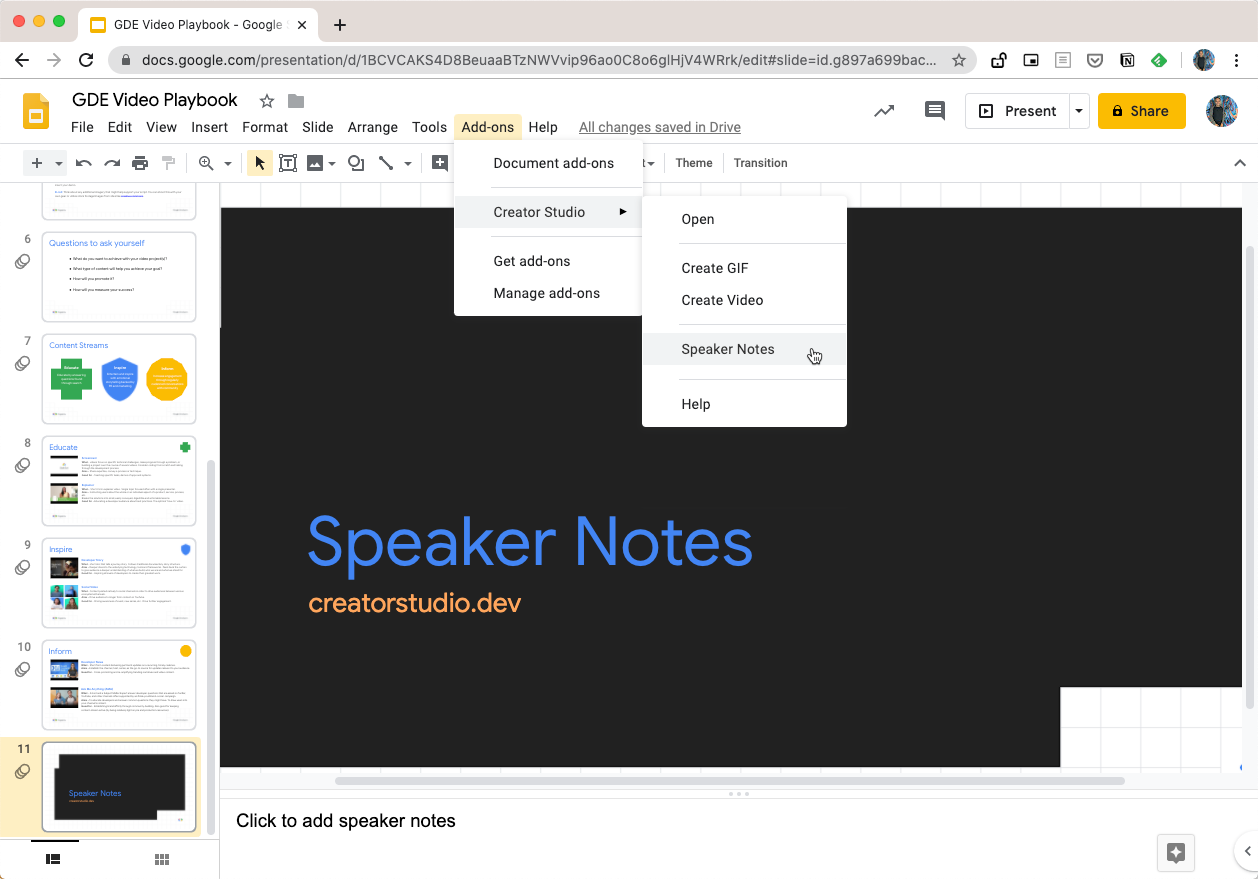
To download the slide as an image, navigate to the top menu bar of the Google Slides interface. Click on the “File” tab to open a dropdown menu, and then select the “Download” option from the list of available choices.
Within the “Download” submenu, you will find several file format options. As we want to download the slide as an image, select the “PNG” or “JPEG” option. These formats are commonly used for images and can be easily opened and edited with various image editing software.
Once you have chosen the desired image format, Google Slides will convert the selected slide into an image file and initiate the download process. The file will be saved to your computer’s default download location.
Depending on the size and complexity of the slide, the download process may take a few seconds to complete. Once the download is finished, you will be able to access the image file on your computer.
It’s worth noting that each slide in your Google Slides presentation can be downloaded as a separate image file. If you have multiple slides with desired images, simply repeat the steps for each individual slide to download them as separate image files.
Now that you have successfully downloaded the slide as an image, you can proceed to the final step, which is saving the image to your computer.
Step 4: Save the Image to Your Computer
After you have downloaded the slide as an image file, the final step is to save it to your computer in a location of your choice. By saving the image, you can easily access it and use it for your intended purposes.
When the image file finishes downloading, locate the downloaded file on your computer. The file will likely be in your default “Downloads” folder, unless you have specified a different folder for downloads.
To save the image to a different location on your computer, you can simply click and drag the file from the “Downloads” folder to the desired folder. Alternatively, you can right-click on the image file and select the “Save As” or “Move” option. This will allow you to choose the destination folder and save the image accordingly.
When saving the image, you may also consider renaming the file to something descriptive and relevant to its content. This will make it easier for you to identify or search for the image in the future.
Once you have saved the image to your preferred location, you can now use it for various purposes, such as inserting it into another document, uploading it to a website, or sharing it with others via email or social media.
It’s important to keep in mind that the downloaded image is a snapshot of the slide at the moment you downloaded it. If you make any changes to the original slide in your Google Slides presentation, those changes will not be reflected in the downloaded image. If you need an updated version of the image, simply repeat the previous steps to download the slide as an image again.
Congratulations! You have successfully downloaded the image from Google Slides and saved it to your computer. Now, you can use the image for your desired purposes.
Conclusion
Downloading an image from Google Slides is a simple process that allows you to extract and save images from your presentations for various uses. Whether you need the image for a project, report, or personal use, following the step-by-step instructions outlined in this guide will enable you to download and save the image to your computer.
Throughout this guide, we have walked you through the process of opening Google Slides, selecting the slide with the desired image, downloading the slide as an image file, and saving the image to your computer. By following these steps, you can easily access and use the image in other documents, websites, or social media platforms.
It’s important to note that Google Slides offers a range of features and options to enhance your presentations, beyond just downloading images. With its user-friendly interface and collaborative capabilities, Google Slides is a valuable tool for creating visually appealing and engaging presentations.
Remember, when you download an image from Google Slides, it is a snapshot of the slide at the time of downloading. If you make changes to the original slide, you will need to download the slide as an image again to obtain the updated version. Additionally, be mindful of copyright laws and ensure you have the necessary permissions to use and share the downloaded images.
With the knowledge gained from this guide, you can now confidently navigate Google Slides and download images to enhance your projects. Whether you’re a student, professional, or simply someone who wants to utilize images effectively, Google Slides provides a straightforward and convenient solution.
So go ahead, explore the possibilities of Google Slides, create impactful presentations, and effortlessly download and utilize images to bring your ideas to life!