Introduction
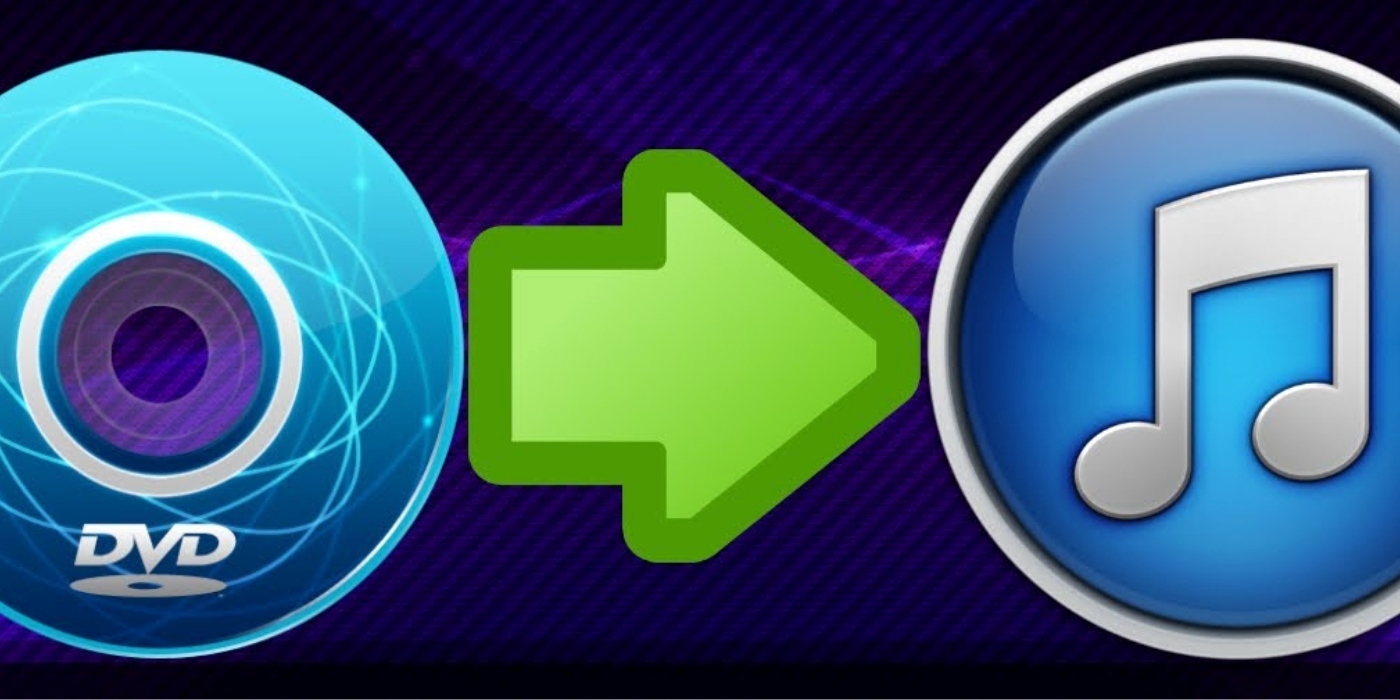
So, you’ve got a DVD that you want to download to your iTunes library? Whether it’s a movie, a TV show, or a music concert, transferring your DVD collection to your iTunes can be a great way to enjoy your favorite content on your iPhone, iPad, or iPod.
Downloading a DVD to your iTunes library allows you to access your favorite movies and shows at any time without needing the physical DVD. Plus, it gives you the flexibility to watch your content on multiple devices and even stream it to your Apple TV.
In this article, we will guide you through the process of downloading a DVD to your iTunes library. We’ll cover the steps you need to take, from ripping the DVD to importing the digital file into iTunes and syncing it with your iOS device.
Before we proceed, it’s important to mention that ripping a DVD may be subject to copyright laws in your country. Make sure you have the necessary rights to copy and convert the DVD content for personal use. Now, let’s get started!
Step 1: Insert the DVD into your computer’s DVD drive
The first step in downloading a DVD to your iTunes library is to insert the DVD into your computer’s DVD drive. Most computers come with a built-in DVD drive, but if you don’t have one, you can use an external DVD drive.
Once you have inserted the DVD, give your computer a moment to recognize it. You will sometimes hear a noise or see a notification indicating that the DVD has been detected. At this point, you may see a menu or a prompt asking you what action you would like to take regarding the DVD.
If a menu doesn’t appear automatically, you can manually access the contents of the DVD by opening your file explorer. On Windows, you can do this by clicking on the “File Explorer” icon in the taskbar or by pressing the Windows key + E on your keyboard. On a Mac, open the Finder by clicking on the Finder icon in the dock or by pressing Command + Space and searching for “Finder”.
Once you have opened the file explorer or Finder, you should see the DVD listed under the “Devices” or “Locations” section. Click on the DVD icon to open it and view its contents.
It’s important to note that some DVDs have built-in copy protection measures to prevent unauthorized duplication. In such cases, you may need to use a DVD ripping software that can bypass these protections. We will explain the ripping process in the next step.
Now that you have successfully inserted the DVD into your computer’s DVD drive and accessed its contents, you’re ready to move on to the next step: ripping the DVD to a digital file.
Step 2: Use a DVD ripping software to convert the DVD to a digital file
Now that you have the DVD inserted into your computer’s DVD drive and have accessed its contents, the next step is to convert the DVD into a digital file format that can be imported into iTunes. To do this, you will need to use a DVD ripping software.
DVD ripping software allows you to extract the audio and video files from a DVD and save them as digital files on your computer. There are various DVD ripping software options available, both free and paid, each with its own set of features.
One popular DVD ripping software is HandBrake. It’s a free and open-source tool that supports multiple platforms like Windows, Mac, and Linux. To use HandBrake, follow these steps:
- Go to the HandBrake website (handbrake.fr) and download the software for your operating system.
- Install HandBrake on your computer and launch the application.
- Click on the “Source” button and select the DVD drive that contains the DVD you inserted earlier.
- HandBrake will scan the DVD and display a list of available titles or chapters. Select the ones you want to rip by checking the corresponding checkboxes.
- Choose the output settings for your digital file. HandBrake offers a range of options like file format, video codec, audio codec, resolution, and more. You can select the settings that best suit your needs or use one of the provided presets.
- Select the destination folder where you want to save the ripped digital file.
- Click on the “Start” button to begin the ripping process. Depending on the length and complexity of the DVD, this may take some time.
- Once the ripping process is complete, you will have a digital file that can be imported into iTunes.
It’s important to note that the legality of ripping DVDs may vary in different countries. Make sure to familiarize yourself with the copyright laws in your jurisdiction before proceeding with the DVD ripping process.
Now that you have successfully ripped the DVD into a digital file, it’s time to move on to the next step: importing the file into iTunes.
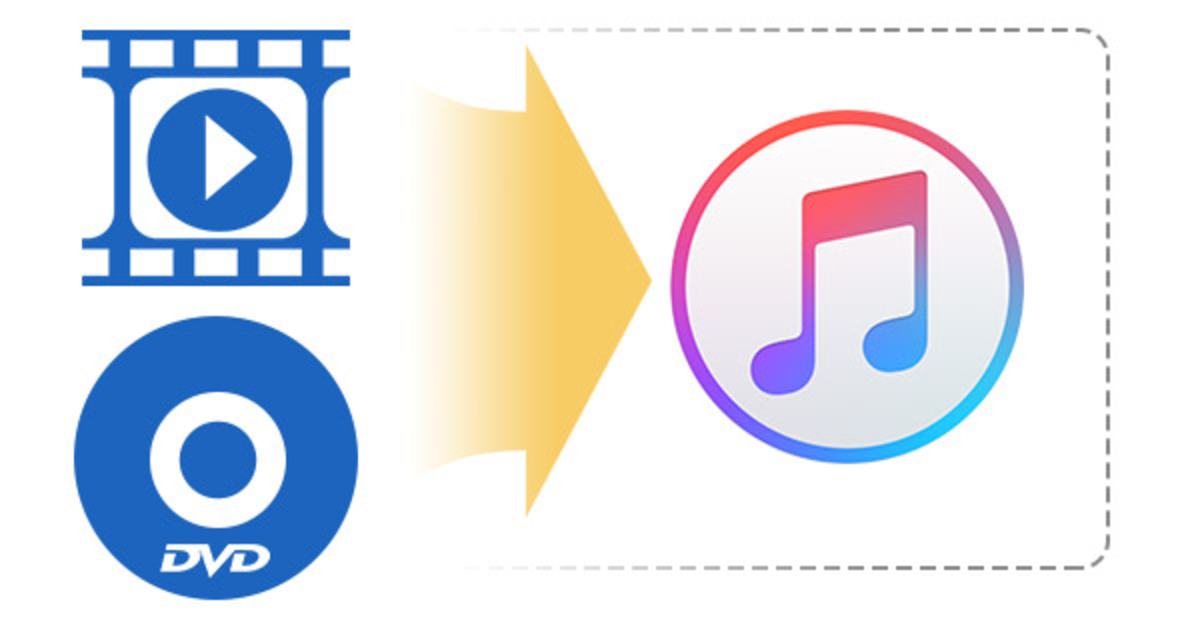
Step 3: Import the digital file into iTunes
Now that you have successfully converted the DVD into a digital file, it’s time to import that file into iTunes. iTunes is a free application developed by Apple that allows you to organize and play your media files, including music, movies, TV shows, and more.
To import the digital file into iTunes, follow these steps:
- Open iTunes on your computer. If you don’t have iTunes installed, you can download it from the Apple website.
- In the iTunes menu, click on “File” and then select “Add File to Library” or “Add Folder to Library” depending on whether you have a single file or a folder containing multiple files.
- A file browser window will appear. Navigate to the location where you saved the ripped digital file and select it. If you have multiple files, you can select the folder instead.
- Click on the “Open” button to start the import process. iTunes will now scan the selected file or folder and add it to your iTunes library.
- Once the import process is complete, you will find the digital file listed in your iTunes library, ready to be played or synced with your iOS device.
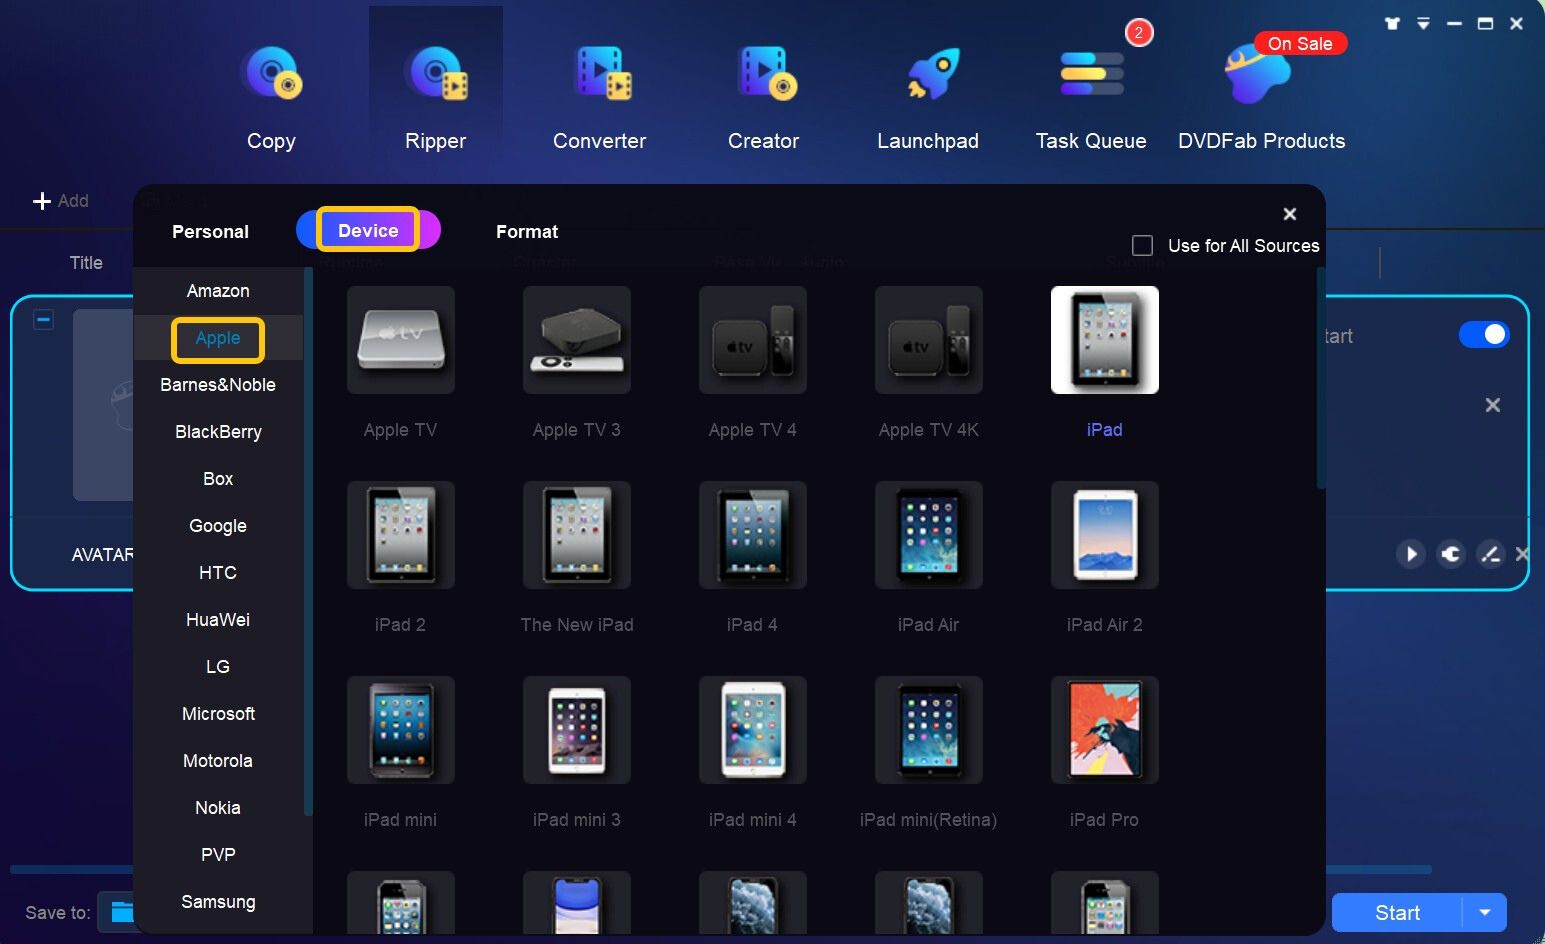
Depending on the file format of the digital file and your iTunes settings, you may need to convert the file to a compatible format before it can be played or synced with your iOS device. To do this, right-click on the file in iTunes and select “Convert” or “Create [Device] Version”.
It’s important to note that iTunes has specific requirements for the file format and codecs that it supports. If your digital file is not compatible, you may need to use a third-party video converter to convert it to a suitable format before importing it into iTunes.
Now that you have successfully imported the digital file into iTunes, it’s time for the final step: syncing your iTunes library with your iPhone, iPad, or iPod.
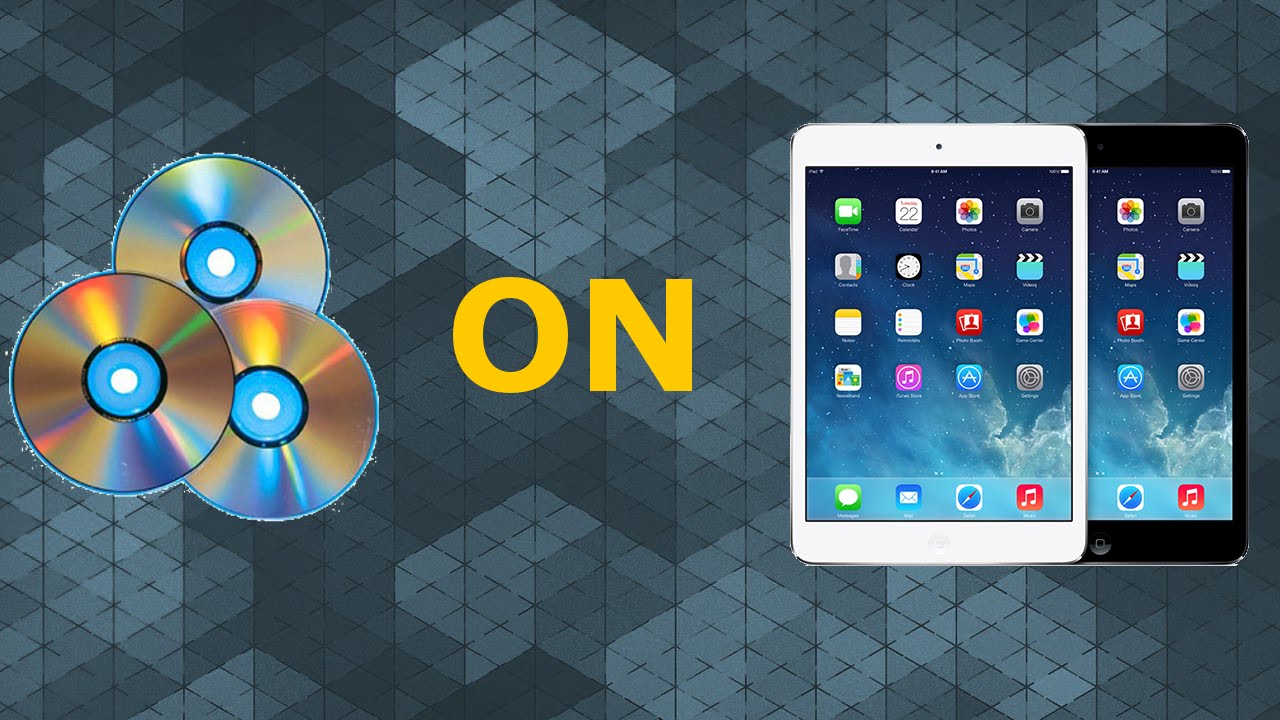
Step 4: Sync your iTunes library with your iPhone, iPad, or iPod
After importing the digital file into iTunes, the final step is to sync your iTunes library with your iPhone, iPad, or iPod. Syncing allows you to transfer the imported digital file from your computer to your iOS device so that you can enjoy your favorite content on the go.
To sync your iTunes library, follow these steps:
- Connect your iPhone, iPad, or iPod to your computer using the appropriate USB cable.
- Open iTunes if it does not launch automatically when you connect your device.
- In iTunes, click on the device icon that appears in the upper-left corner of the iTunes window. This will take you to the device summary page.
- In the left sidebar, you will see a list of categories such as Music, Movies, TV Shows, and more. Click on the category that corresponds to the imported digital file.
- Check the box next to “Sync [Category]” to enable syncing for that particular category.
- If you want to sync all the files in that category, select the option to sync the entire library. Otherwise, you can choose to sync selected items and manually select the digital file you want to transfer.
- Once you have selected the desired options, click on the “Apply” or “Sync” button in the bottom-right corner of the iTunes window.
- iTunes will now start syncing your selected files with your iOS device. The process may take a few moments, depending on the size of the file and the speed of your computer.
- Once the sync is complete, you can disconnect your iOS device from your computer and enjoy the imported digital file on your iPhone, iPad, or iPod.
It’s important to note that each time you make changes to your iTunes library, such as adding or removing files, you will need to sync your device to reflect those changes. You can sync your device manually by connecting it to your computer and following the steps mentioned above or set up automatic syncing options in iTunes.
With your iTunes library now synced with your iOS device, you can enjoy your favorite movies, TV shows, and music wherever you go.
Conclusion
Congratulations! You have successfully learned how to download a DVD to your iTunes library. By following the steps outlined in this article, you can now enjoy your favorite movies, TV shows, and music from your DVD collection on your iPhone, iPad, or iPod.
We started by inserting the DVD into your computer’s DVD drive and accessing its contents. Then, we used a DVD ripping software to convert the DVD into a digital file format. Next, we imported the digital file into iTunes, ensuring compatibility with Apple’s media management application. Finally, we synced our iTunes library with our iOS device to transfer the digital file and have it ready for portable enjoyment.
Remember, it’s essential to ensure the legality of copying and converting DVDs in your country. Familiarize yourself with the copyright laws and obtain the necessary rights to use the content for personal purposes.
Additionally, be mindful of the file format and codecs supported by iTunes. If your digital file is not compatible, you may need to convert it using third-party video conversion software.
Keep in mind that the process outlined in this article can vary slightly depending on the operating system and versions of the software you are using. Always refer to the documentation provided by the software developers for the most accurate instructions.
Now that you have successfully downloaded a DVD to your iTunes library, you can enjoy your favorite movies and shows on the go, without the need for the physical DVD. Stay entertained and make the most of your media collection!