Introduction
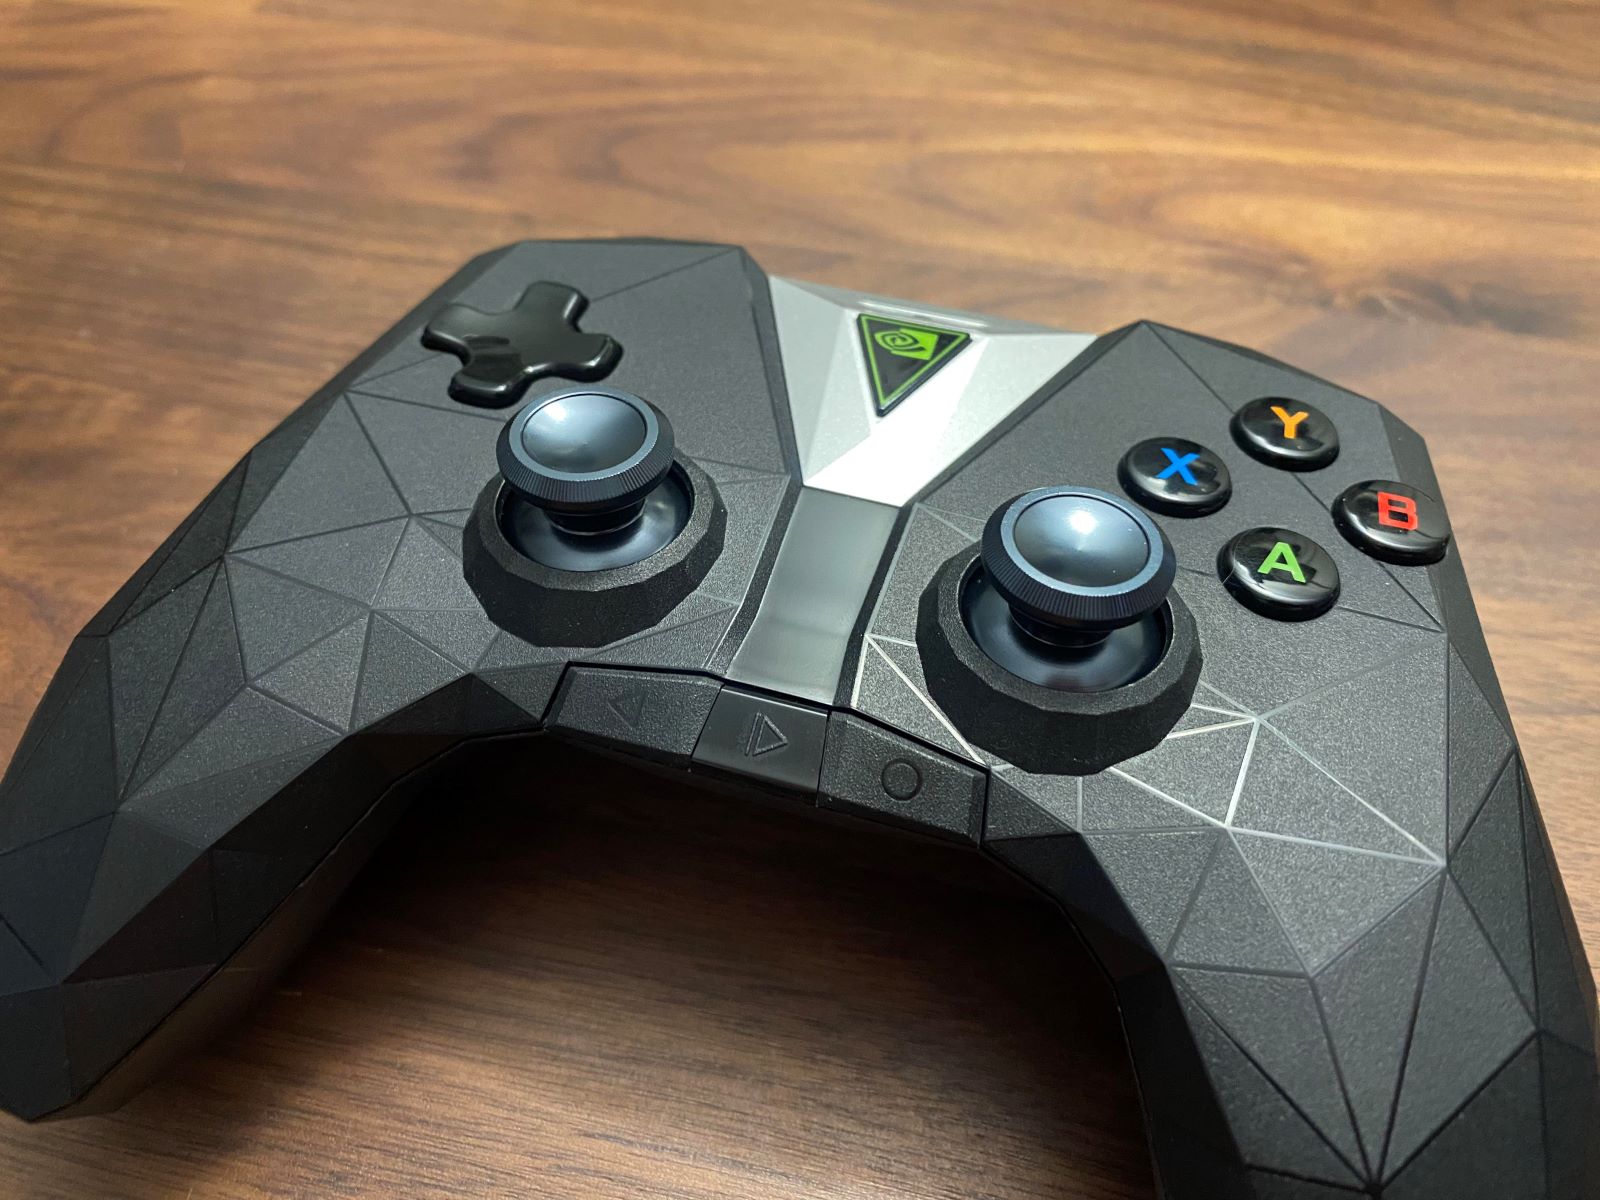
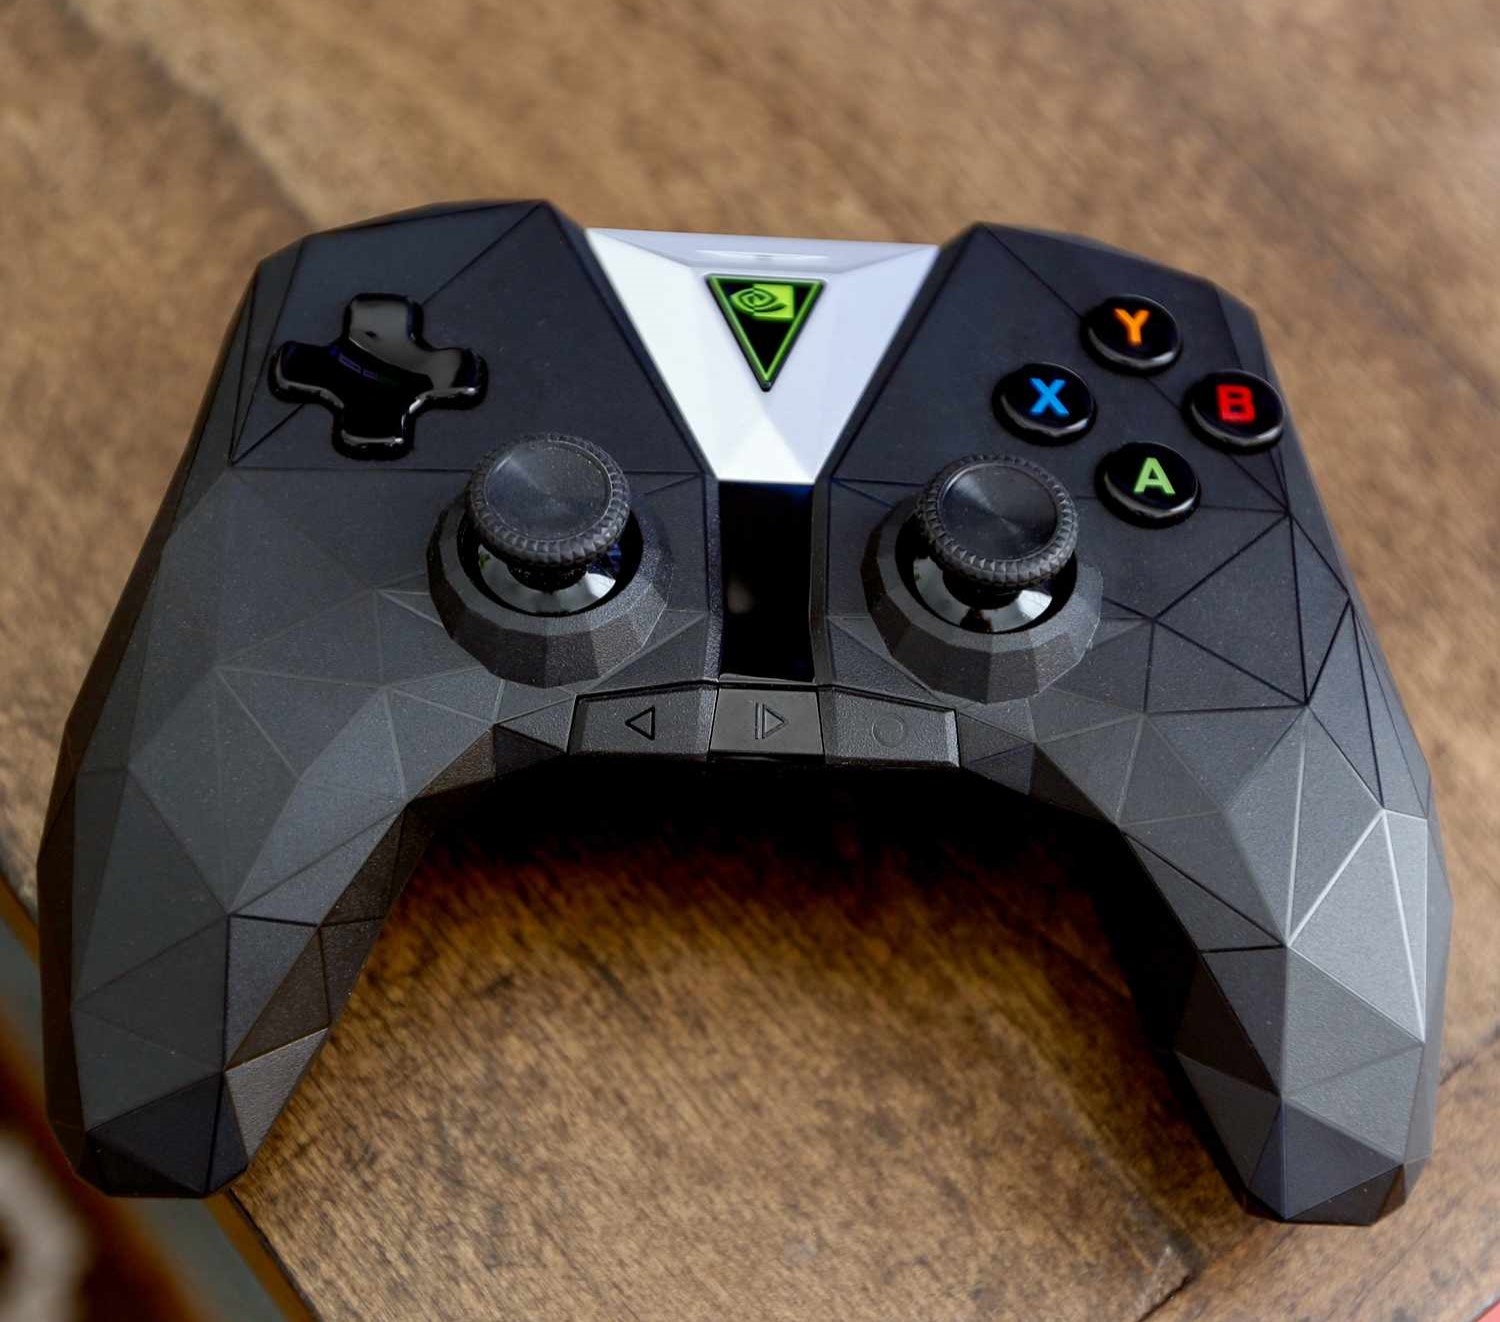
Taking apart a Nvidia Shield game controller may seem like a daunting task, but with the right tools and a bit of know-how, it can be a straightforward process. Whether you're looking to replace a worn-out component, customize the controller, or simply satisfy your curiosity, disassembling the Nvidia Shield game controller can be a rewarding endeavor. By following a few simple steps, you can gain access to the inner workings of the controller and carry out the necessary maintenance or modifications.
Understanding the intricacies of the controller's internal components can also provide valuable insights into its functionality and help you troubleshoot any issues that may arise. However, it's crucial to proceed with caution and precision to avoid causing damage to the controller.
In this guide, we will walk you through the step-by-step process of disassembling the Nvidia Shield game controller, providing detailed instructions and tips to ensure a smooth and successful disassembly. Before embarking on this endeavor, it's essential to gather the necessary tools and prepare a clean and organized workspace to facilitate the process. With the right approach and attention to detail, you can confidently dismantle the Nvidia Shield game controller and gain a deeper understanding of its internal components.
Tools Needed
Before beginning the disassembly process, it’s essential to gather the appropriate tools to ensure a smooth and efficient experience. Having the right tools at your disposal can make a significant difference in the ease and precision with which you can take apart the Nvidia Shield game controller. Here are the essential tools you will need:
- Small Phillips head screwdriver: This tool is crucial for removing the screws that secure the casing of the controller. It’s important to use a screwdriver that fits the screws snugly to prevent stripping or damaging them during removal.
- Plastic opening tools: These specialized tools are designed to safely pry apart the plastic casing of electronic devices without causing damage. They help in separating the controller’s components without scratching or marring the surfaces.
- Clean workspace: Before starting the disassembly, ensure you have a clean and well-lit workspace to work in. A clutter-free environment will help prevent misplacement of small components and make it easier to keep track of the disassembled parts.
- Container for screws and small parts: It’s advisable to have a small container or organizer to keep track of the screws and other small components as you remove them from the controller. This will help prevent loss and confusion when reassembling the controller.
- Anti-static wrist strap (optional): If you are concerned about static electricity damaging the internal components of the controller, using an anti-static wrist strap can help dissipate any static charge from your body, minimizing the risk of damage.
By ensuring you have these tools on hand, you can approach the disassembly process with confidence, knowing that you are well-equipped to tackle the task at hand. With the right tools and a methodical approach, you can effectively dismantle the Nvidia Shield game controller and carry out any necessary maintenance or modifications.
Removing the Battery Cover
To begin the disassembly process, you’ll first need to remove the battery cover from the Nvidia Shield game controller. This step is relatively simple and serves as the initial access point to the controller’s internal components.
Follow these steps to remove the battery cover:
- Turn the controller over to expose the back panel.
- Locate the battery cover, which is typically situated in the center of the back panel.
- Apply gentle pressure to the indentation or release mechanism on the battery cover to disengage it from the controller.
- Once the cover is released, carefully lift it away from the controller to reveal the battery compartment.
With the battery cover removed, you will have access to the controller’s battery, which can be removed if necessary. Additionally, this step prepares the controller for the subsequent stages of disassembly, allowing you to proceed to the next critical steps in accessing the internal components.
It’s important to handle the battery cover and the controller with care during this process to avoid causing any damage. By following these steps, you can effectively remove the battery cover and prepare the Nvidia Shield game controller for further disassembly.
Removing the Screws
Once the battery cover has been removed, the next step in disassembling the Nvidia Shield game controller involves removing the screws that secure the casing. These screws hold the controller’s housing together, and their removal is essential to gain access to the internal components.
Follow these steps to remove the screws:
- Using a small Phillips head screwdriver, identify and carefully remove the screws located on the back and sides of the controller. These screws are typically small and may be recessed into the plastic casing.
- As you remove each screw, place it in a designated container to prevent misplacement and facilitate reassembly.
- Ensure that you keep track of the different screw sizes and their respective locations, as some controllers may have screws of varying lengths.
- Once all the screws have been removed, gently set them aside and prepare to open the controller’s casing.
It’s important to exercise caution and patience when removing the screws to avoid stripping them or causing damage to the controller’s housing. Using the appropriate screwdriver size and applying steady, even pressure can help prevent mishaps during this step.
By successfully removing the screws, you will have effectively loosened the controller’s casing, setting the stage for the next phase of disassembly. With the screws safely stored and the casing ready to be opened, you are one step closer to gaining access to the internal components of the Nvidia Shield game controller.
Opening the Controller Casing
With the screws removed, the next crucial step in disassembling the Nvidia Shield game controller is to open the casing and gain access to the internal components. Opening the casing requires precision and care to avoid damaging the delicate components housed within.
Follow these steps to open the controller casing:
- Using plastic opening tools, carefully pry apart the seams of the controller’s casing. Start at one edge and work your way around the perimeter of the controller, gradually separating the two halves of the casing.
- Exercise caution to avoid using excessive force, as this can lead to the breakage of plastic clips or tabs that secure the casing together.
- Work methodically and gently, applying pressure at multiple points along the seam to gradually release the casing’s interlocking components.
- Once the casing begins to separate, continue to carefully work your way around the controller, ensuring that all the clips and tabs are disengaged before fully separating the two halves.
- Once the casing is opened, place it in a safe and clean location to prevent any damage or contamination.
By following these steps, you can successfully open the Nvidia Shield game controller’s casing and gain access to the internal components. It’s essential to exercise patience and precision during this process to avoid causing any damage to the controller’s housing or internal components.
With the casing opened, you are now ready to proceed to the next phase of disassembly, which involves accessing and removing the controller’s circuit board and other internal components. By carefully following these steps, you can effectively navigate the process of opening the controller casing and prepare for the subsequent stages of disassembly.
Removing the Circuit Board
After successfully opening the casing of the Nvidia Shield game controller, the next critical step in the disassembly process involves accessing and removing the circuit board. The circuit board houses the controller’s electronic components and is essential for its functionality.
Follow these steps to remove the circuit board:
- Locate the circuit board within the controller’s housing, taking note of its positioning and the connections to other components.
- Identify and disconnect any ribbon cables or connectors that link the circuit board to other parts of the controller, such as the buttons, triggers, or analog sticks.
- Exercise caution and gentle pressure when disconnecting the cables to avoid damaging the connectors or the circuit board itself.
- Once the cables are detached, carefully lift the circuit board from the casing, taking care not to snag or damage any of the components or wiring.
- Place the circuit board in a safe and clean location, ensuring that it is protected from static electricity, dust, or physical damage.
Removing the circuit board provides access to the controller’s internal components, allowing for maintenance, repair, or customization as needed. It’s crucial to handle the circuit board with care and avoid placing it in locations where it may be exposed to static electricity or physical harm.
By successfully removing the circuit board, you have reached a pivotal stage in the disassembly process, gaining access to the core electronic components of the Nvidia Shield game controller. This step sets the stage for any necessary maintenance, repairs, or modifications to the internal circuitry and components.
Conclusion
Disassembling the Nvidia Shield game controller is a meticulous process that, when approached with the right tools and techniques, can provide valuable insights into its internal components and functionality. By following the step-by-step guide outlined in this article, you can confidently dismantle the controller and gain access to its circuitry, buttons, and other essential parts.
Throughout the disassembly process, it’s crucial to exercise patience, precision, and caution to avoid causing damage to the controller’s components or housing. The use of appropriate tools, such as a small Phillips head screwdriver and plastic opening tools, is essential for safely removing the battery cover, screws, and opening the casing without causing damage.
As you progress through each stage of disassembly, it’s important to keep track of the removed components, such as screws and cables, to facilitate the reassembly process. Organizing and storing these parts in a designated container can prevent misplacement and confusion when reassembling the controller.
Once the circuit board is accessible, you have the opportunity to carry out maintenance, repairs, or customization as needed. Whether replacing worn-out components, cleaning the internal parts, or implementing custom modifications, the disassembly process provides a deeper understanding of the controller’s inner workings.
After completing the disassembly and any necessary maintenance or modifications, it’s essential to carefully reassemble the controller, ensuring that all components are securely and correctly positioned. Taking the time to methodically reassemble the controller with attention to detail can help maintain its functionality and integrity.
By following the guidelines provided in this article, you can confidently navigate the process of disassembling the Nvidia Shield game controller, gaining valuable insights and the ability to carry out essential maintenance or customization. Approach the disassembly process with care and attention to detail, and you can successfully explore the inner workings of the controller while maintaining its functionality and structural integrity.


