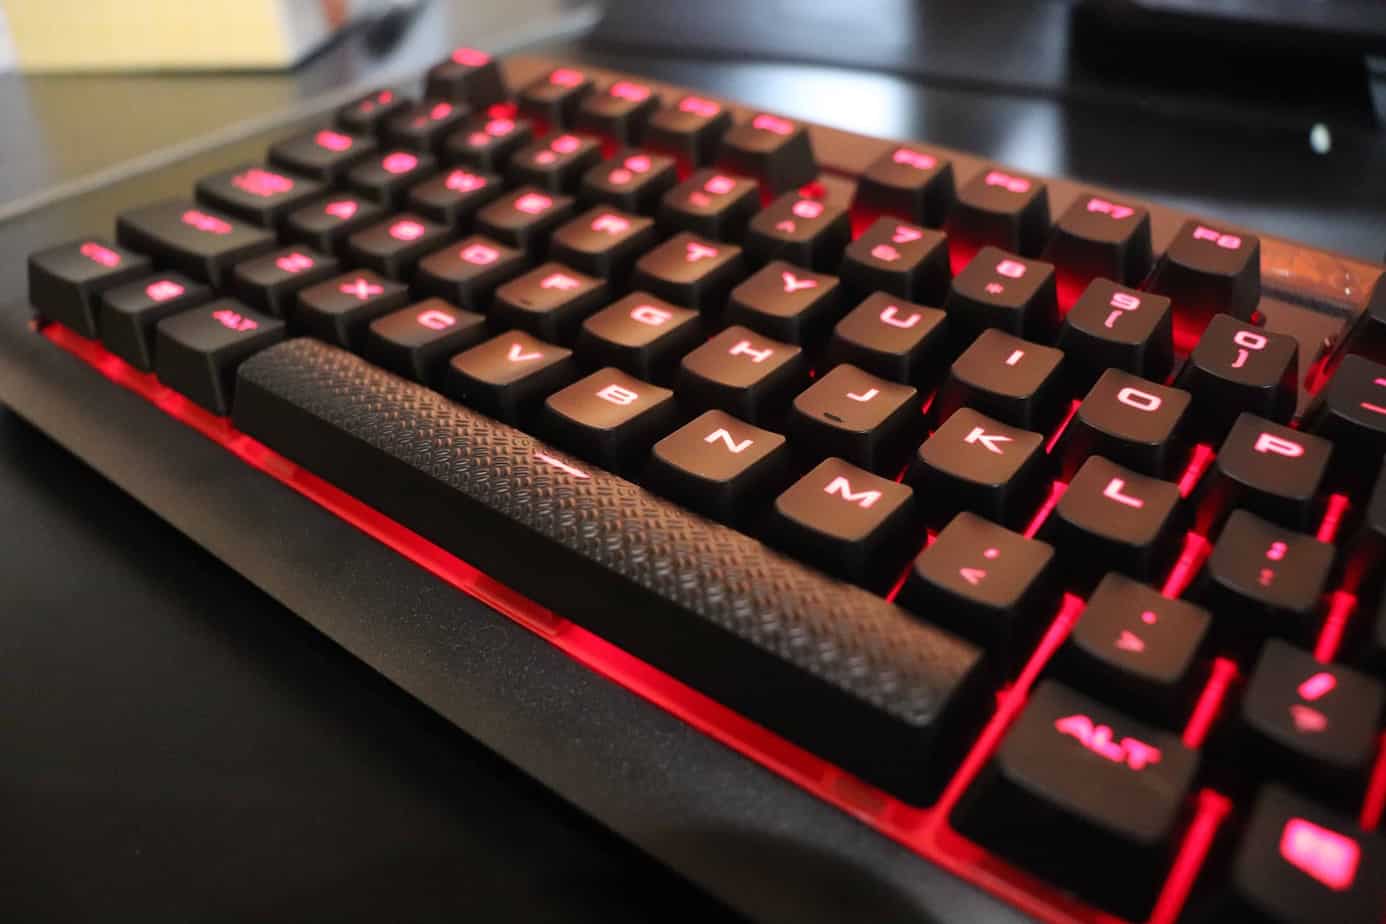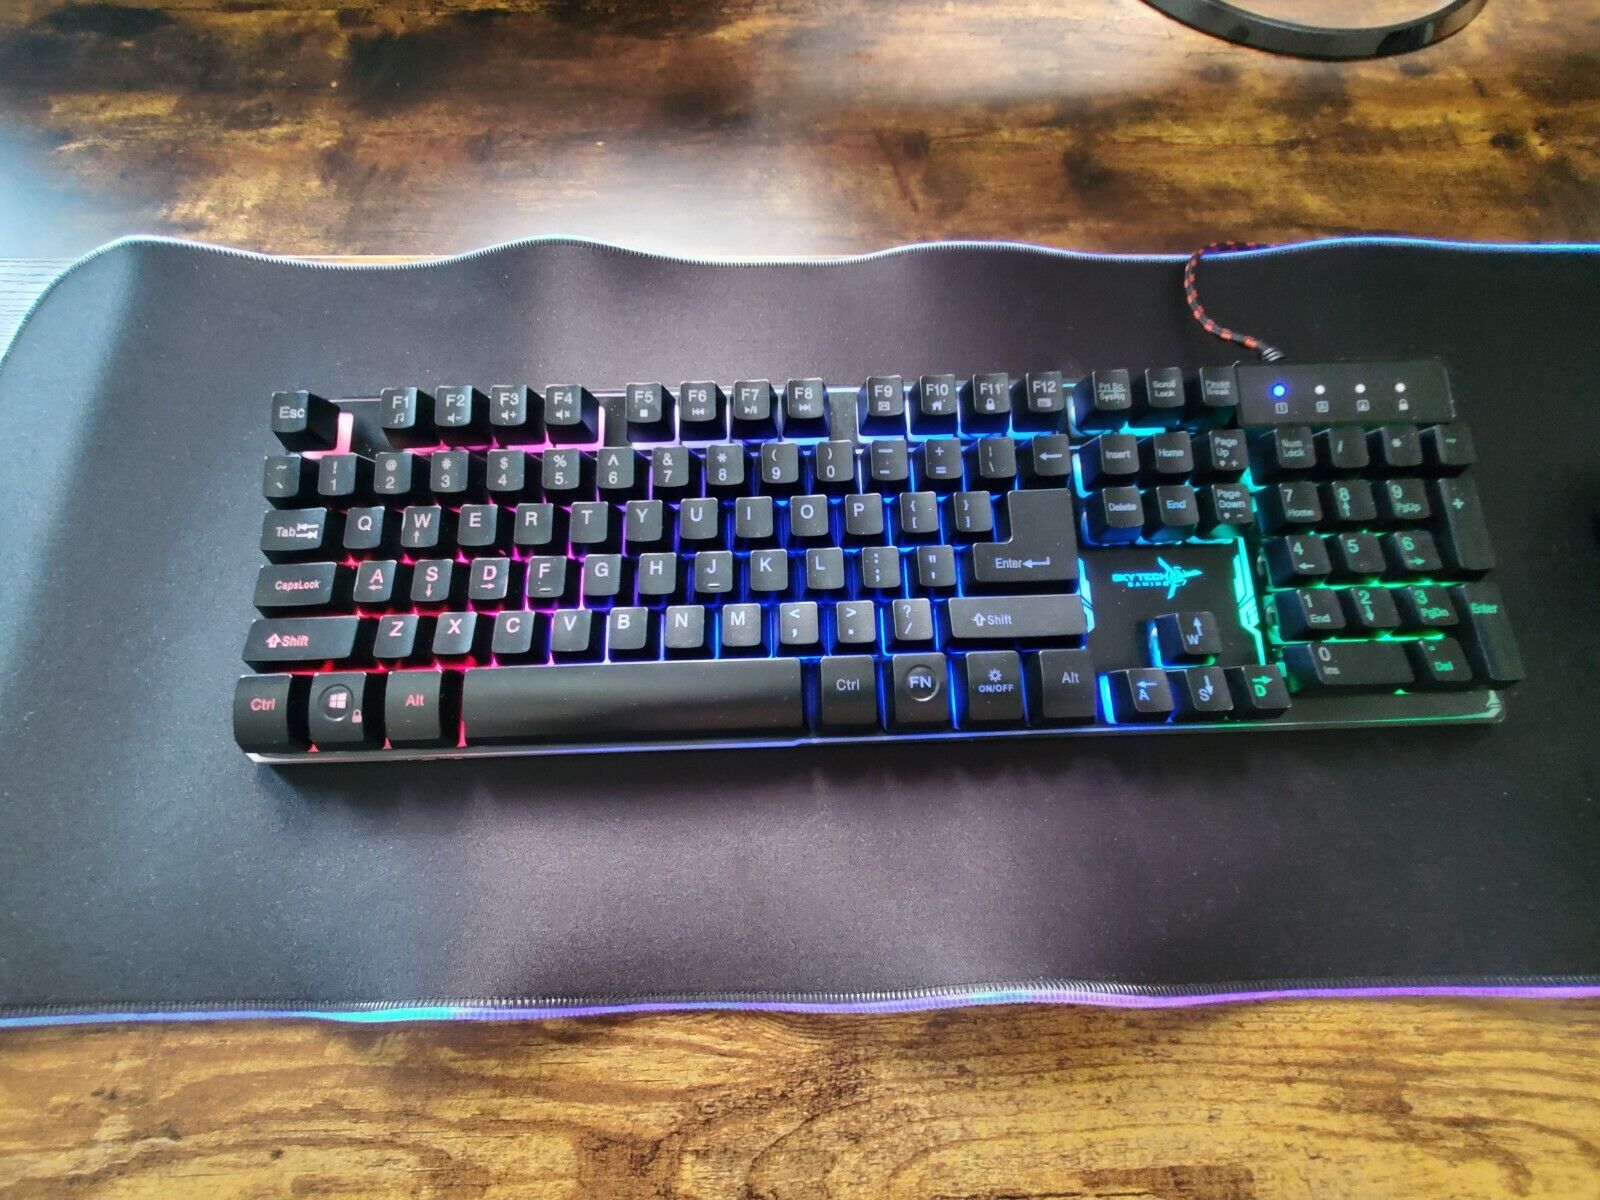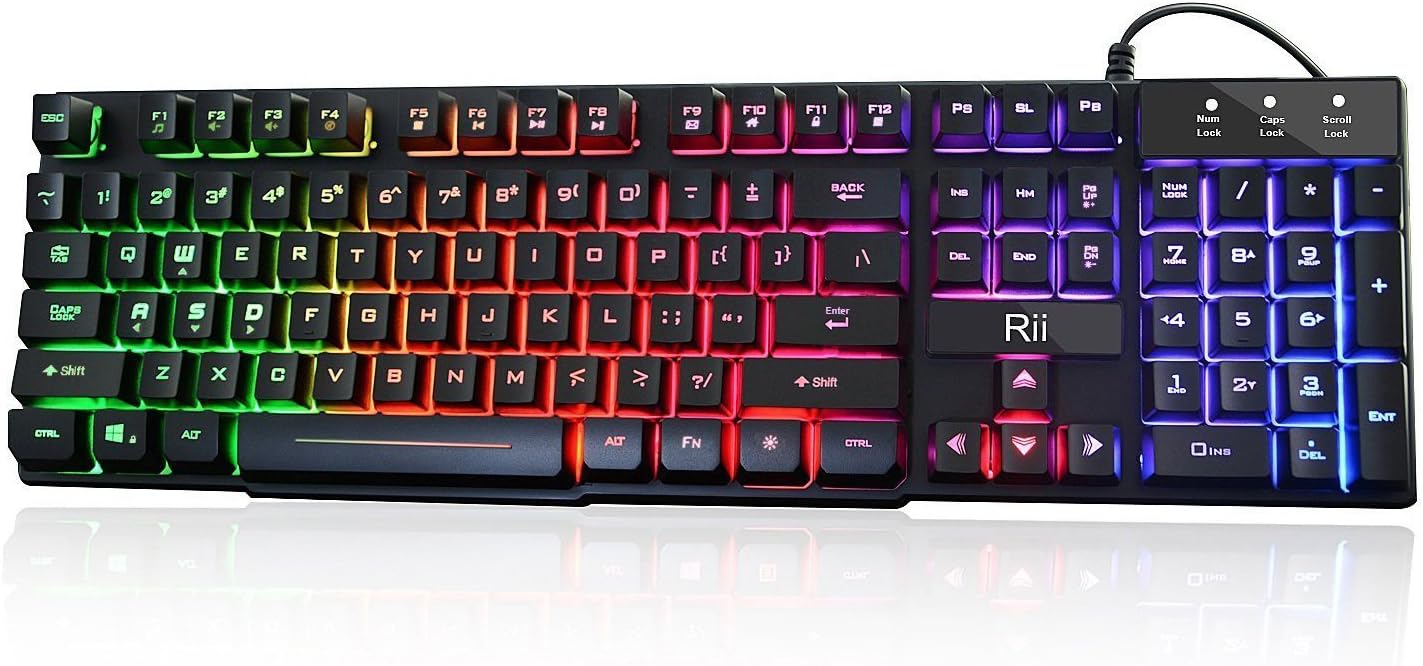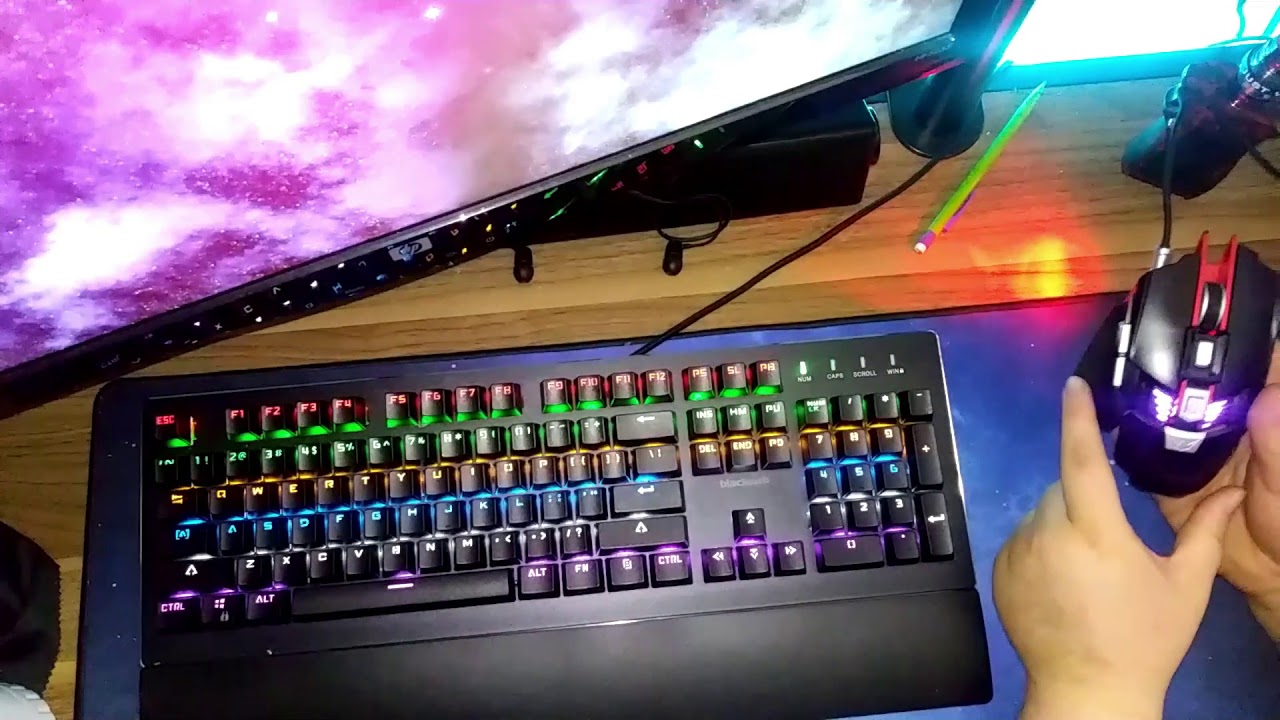
To set up your Blackweb gaming keyboard, simply plug its USB cable into any available USB port on a Windows 7 or later PC, the operating system will automatically detect it as a plug-and-play device, and the backlighting will illuminate to confirm it's ready. Since the Blackweb brand is likely defunct, this guide focuses on the hardware's built-in controls and onboard features, which work without any official software.
Before you start: a note on Blackweb software
Blackweb's official website and support channels may no longer be active, and the dedicated gaming software for these keyboards is often unavailable for download. This means you should rely primarily on the keyboard's physical controls and plug-and-play functionality, which cover backlighting, media keys, and basic operation. If you have an old CD-ROM with the software, you can try it, but do not expect to find it online or receive official support.
Unboxing and connecting your set up blackweb gaming keyboard
Open the box and confirm you have the keyboard, the instruction manual, and any included accessories like a wrist rest or keycap puller. Check the manual for model-specific details, but keep it handy only as a reference, the hardware setup is the same across most Blackweb models.
Connect the keyboard's USB cable to a powered USB port on your computer. Windows 7 or later will automatically detect the device and configure basic functionality without installing any drivers. You'll know the connection is successful when the backlighting turns on, which typically happens within a few seconds. Position the cable neatly and place the keyboard within comfortable reach.
Controlling the backlighting without software
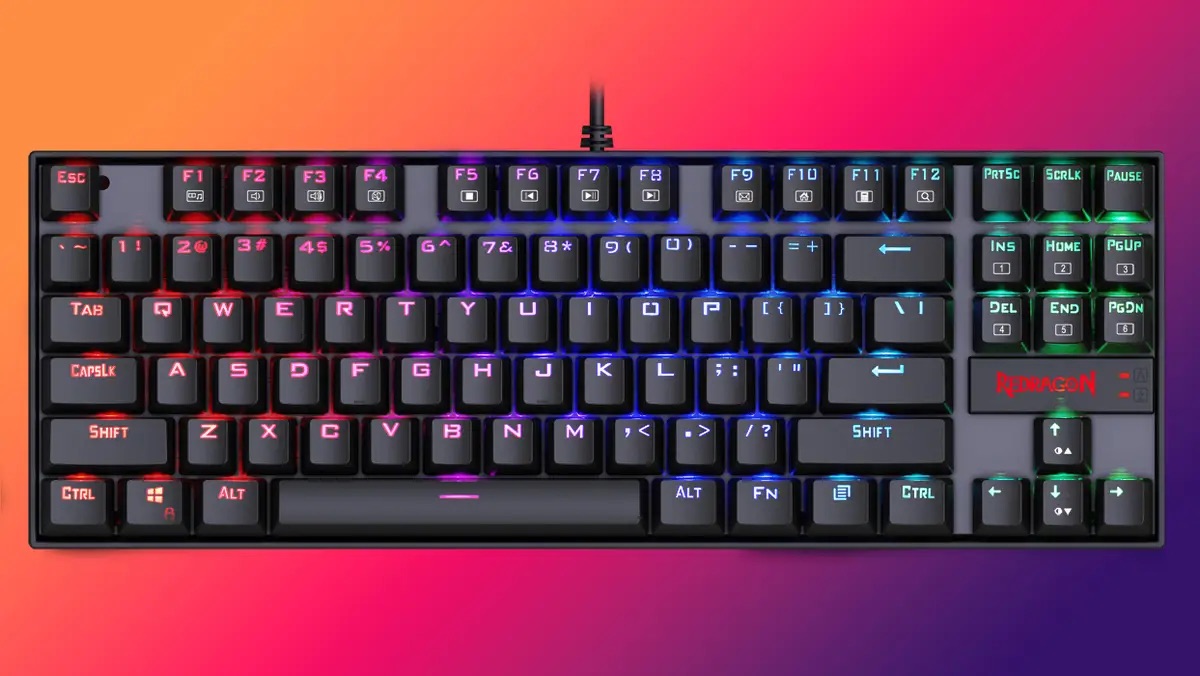
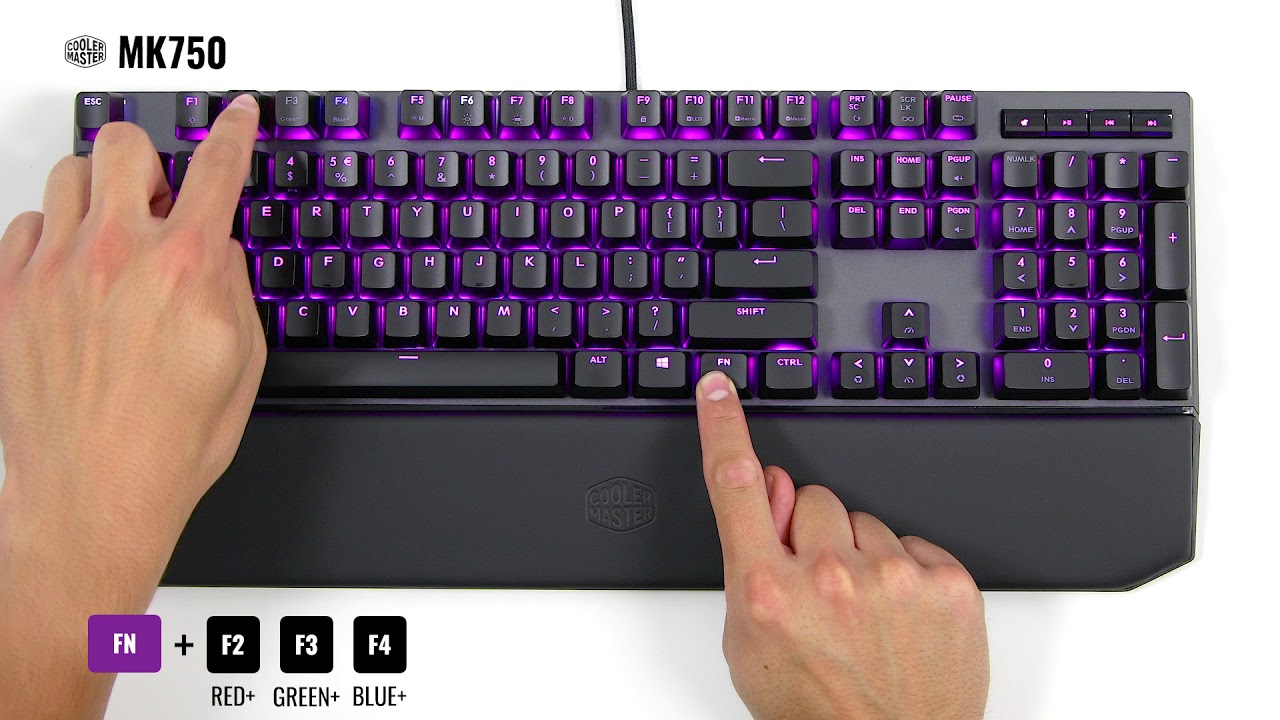
The most reliable way to control LED colors, modes, and brightness is through Fn key combinations, not software. On most Blackweb gaming keyboards, you'll use the Fn key together with keys like Insert, Home, or Delete to cycle through lighting effects.
For example, pressing Fn + Insert might cycle through 7 flash modes or color-changing effects, while Fn + Home or Fn + Delete adjusts brightness. Some models have dedicated lighting control keys near the F-keys, so check your manual for the exact combination. If the backlighting doesn't respond, press the LED control keys repeatedly to ensure you haven't accidentally turned it off.
Installing software for macros and advanced features (if available)
If you have the original CD-ROM that came with your keyboard, you can attempt to install the Blackweb gaming software for macro programming and custom key assignments. First, plug in the keyboard and let Windows detect it. Then insert the CD and run Setup.exe, following the on-screen instructions. After installation, reboot your PC, and look for a Blackweb icon in the taskbar to access the configuration menu.
If you don't have the CD, check the defunct Blackweb website (like blackweb.ca) for a model-specific download, but be prepared that it may no longer exist. Without the software, you'll lose access to macro recording and profile management, but the keyboard's core functions, typing, backlighting, and media keys, will still work perfectly.
Programming macro G-keys and M-keys
If you successfully installed the software, you can program the five G-keys (G1, G5) on the left side of the keyboard. Open the Macro Manager in the software, click the start-recording button, perform your keystrokes or command sequence, then click stop-recording. Assign that macro to a specific G-key, and optionally set delays between keystrokes for complex sequences.
The M1, M3 keys above the arrow keys switch between saved profiles. Each profile can hold different macro assignments, lighting effects, and key mappings, letting you adapt the keyboard to different games. For example, assign M1 to your FPS setup, M2 to your MMO layout, and M3 to everyday typing, then switch instantly during gameplay.
Attaching the wrist rest and customizing keycaps
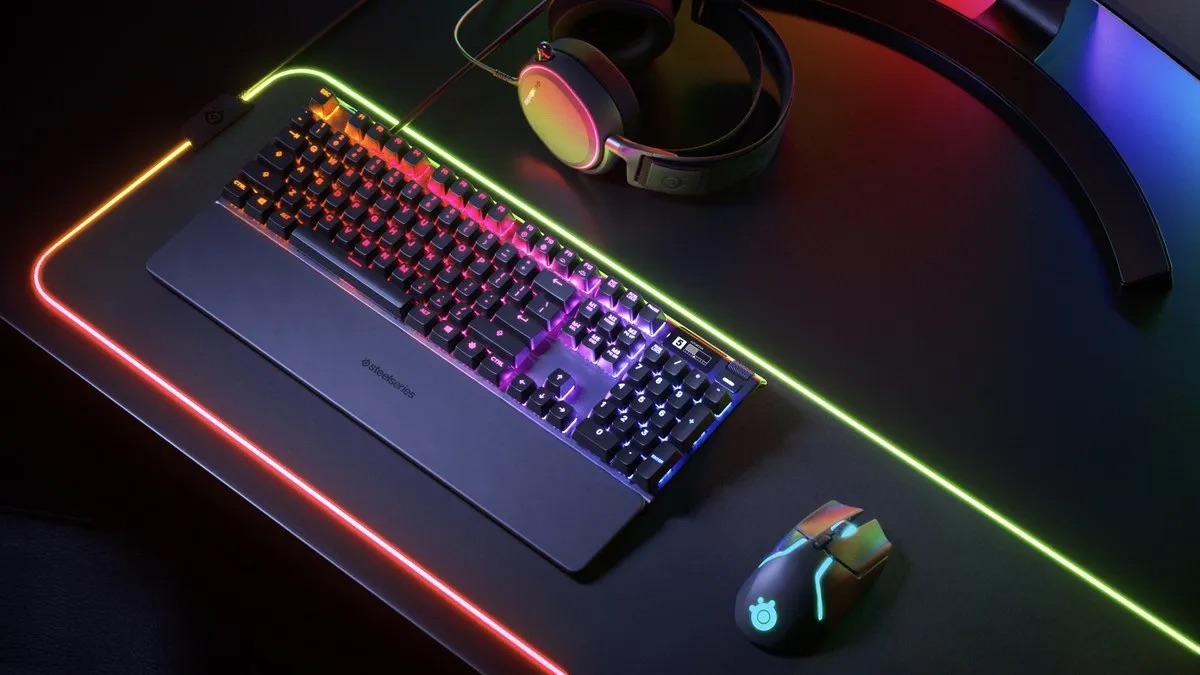
If your Blackweb keyboard includes a wrist rest, attach it to the designated area at the bottom front of the keyboard. It should snap or clip into place, providing ergonomic support during long gaming sessions. Make sure it's firmly seated before use.
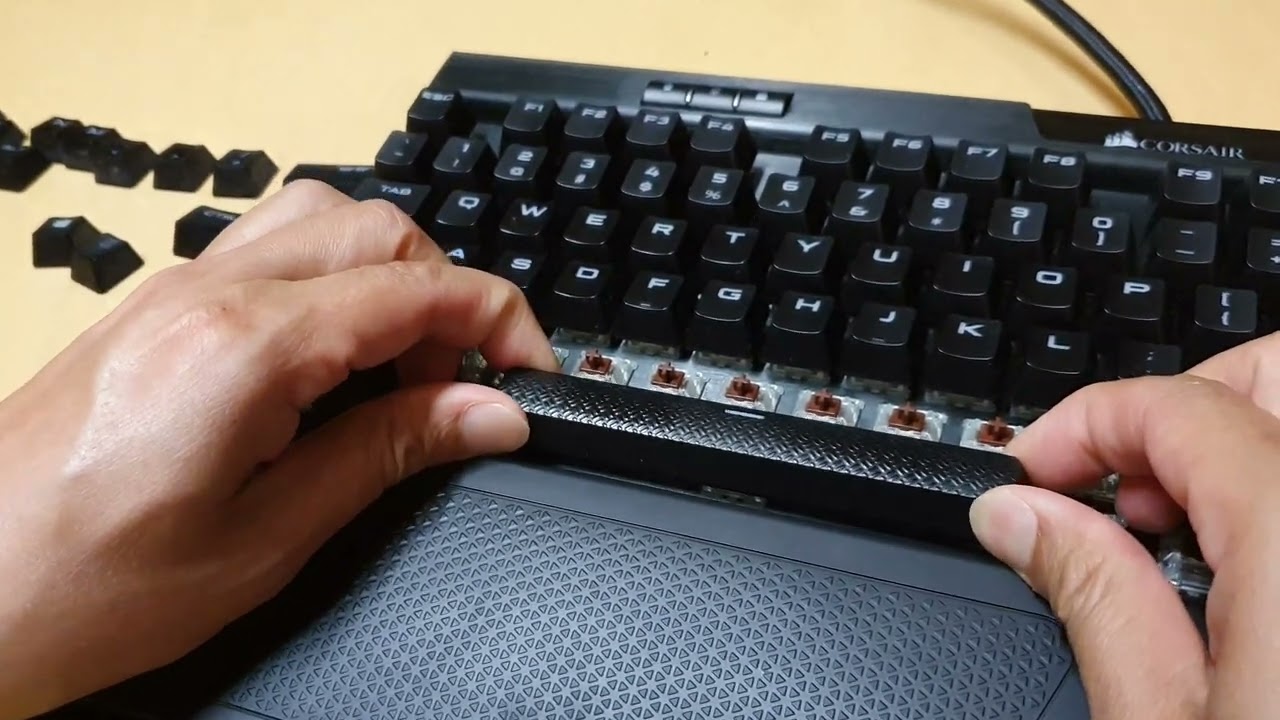
For keycap customization, use the included keycap puller (if provided) to gently remove the keycaps you want to replace. Swap in compatible aftermarket keycaps, pressing down until they click into place. This works on most Blackweb models with standard mechanical or membrane key stems, but avoid forcing caps onto non-compatible switches.
Troubleshooting common issues
Keyboard not responding: Reseat the USB cable securely into both the keyboard and the computer. Try a different USB port, preferably one directly on the motherboard rather than a hub. Restart your PC to force Windows to re-detect the device.
Backlighting not working: Check if you accidentally turned it off using the Fn key combinations. Cycle through all lighting modes and brightness levels. Ensure the keyboard is getting sufficient power, if you're using a USB hub, connect directly to the PC instead.
Missed keystrokes: Clean the keyboard to remove debris that might obstruct key presses. Avoid pressing more than 19 keys simultaneously, as the anti-ghosting limit may cause missed inputs. If the issue persists, try the keyboard on another computer to isolate the problem.
Erratic key inputs: If keys register multiple times or not at all, ensure no foreign objects are under the keycaps. For persistent issues, a full reset of the keyboard's settings (if your model supports it) may restore normal behavior, but this usually requires the software that may not be available.
\nRelated reading: How To Type '@' On A Gaming Keyboard and How To Fix The Spacebar On A Corsair Gaming Keyboard.