Introduction
Setting up the mouse pad on your Windows 7 laptop can significantly improve your user experience, allowing for smoother navigation, enhanced precision, and personalized settings tailored to your preferences. By customizing the mouse pad settings, you can optimize its sensitivity, enable or disable tap to click, and fine-tune other parameters to suit your individual needs.
In this comprehensive guide, you will learn how to access and adjust the mouse pad settings on your Windows 7 laptop. Whether you want to increase the pointer speed, disable tap to click, or customize other features, this step-by-step tutorial will walk you through the process, ensuring that you can optimize your mouse pad to enhance your overall computing experience.
By following these instructions, you can take full control of your mouse pad settings, empowering you to tailor its functionality to your specific requirements. Whether you are a casual user seeking more seamless navigation or a power user in need of precise control, this guide will equip you with the knowledge to customize your mouse pad settings effectively.
Now, let's delve into the step-by-step process of setting up your mouse pad on a Windows 7 laptop, allowing you to fine-tune its performance and responsiveness to better suit your computing needs.
Step 1: Accessing Mouse Settings
To begin customizing your mouse pad settings, you first need to access the mouse settings window on your Windows 7 laptop. This can be easily achieved by following these simple steps:
- Click on the Start Menu: Located at the bottom-left corner of your screen, the Start menu is the gateway to accessing various system settings and applications on your Windows 7 laptop.
- Select Control Panel: Within the Start menu, navigate to the Control Panel option. This will open a window containing a wide array of system settings that you can customize to suit your preferences.
- Choose the Hardware and Sound Option: Within the Control Panel window, locate and click on the “Hardware and Sound” category. This section contains settings related to devices and audio on your laptop.
- Access Mouse Settings: Within the “Hardware and Sound” category, you will find the “Mouse” option. Click on it to access the settings window dedicated to customizing your mouse and mouse pad functionality.
By following these steps, you can easily access the mouse settings window, providing you with the platform to customize and fine-tune various aspects of your mouse pad to better suit your needs and preferences. With the mouse settings window now accessible, you are ready to proceed to the next step of adjusting your mouse pad settings.
Step 2: Adjusting Mouse Pad Settings
Once you have accessed the mouse settings window on your Windows 7 laptop, you can proceed to adjust the settings specifically related to your mouse pad. This step involves customizing various parameters to optimize the functionality of your mouse pad. Here’s how you can adjust your mouse pad settings:
- Pointer Speed: Within the mouse settings window, navigate to the “Pointer Options” tab. Here, you can adjust the pointer speed to control how quickly the cursor moves across the screen in response to your mouse pad movements. Experiment with the slider to find the speed that best suits your preferences.
- Button Configuration: If your laptop’s mouse pad supports additional buttons or gestures, you can configure their functions within the mouse settings window. This allows you to assign specific actions or commands to different button inputs, enhancing your productivity and convenience.
- Scrolling Options: Under the “Wheel” tab within the mouse settings window, you can customize scrolling options to control the behavior of the scroll wheel on your mouse pad. Adjusting these settings can provide a smoother and more tailored scrolling experience based on your usage habits.
- Additional Settings: Depending on your laptop’s hardware and the drivers installed, you may have access to additional settings within the mouse settings window. Explore these options to further customize the behavior of your mouse pad and enhance your overall user experience.
By adjusting these settings, you can fine-tune the functionality of your mouse pad to better align with your preferences and usage habits. Whether you prefer a faster pointer speed, customized button configurations, or tailored scrolling options, these adjustments can significantly enhance your interaction with your Windows 7 laptop’s mouse pad.
Step 3: Customizing Mouse Pad Sensitivity
Customizing the sensitivity of your mouse pad is essential for optimizing its responsiveness and tailoring it to your specific usage requirements. Windows 7 provides options to adjust the sensitivity of your mouse pad, allowing you to fine-tune its behavior to suit your preferences. Follow these steps to customize the sensitivity of your mouse pad:
- Access Mouse Properties: Within the mouse settings window, navigate to the “Pointer Options” tab. Here, you will find the settings related to pointer speed and sensitivity.
- Adjust Pointer Speed: Use the slider under the “Motion” section to customize the pointer speed according to your preference. Moving the slider to the left decreases sensitivity, while moving it to the right increases sensitivity. Experiment with different settings to find the sensitivity that feels most comfortable for your usage.
- Enhance Precision: If you require precision in your mouse movements, you can fine-tune the sensitivity to achieve the level of control you need for tasks such as graphic design, precise selection of on-screen elements, or other detailed activities.
- Find Your Optimal Setting: It’s important to find the sensitivity setting that strikes the right balance between responsiveness and control. Take the time to test different sensitivity levels and determine the setting that best complements your workflow and usage patterns.
By customizing the sensitivity of your mouse pad, you can optimize its responsiveness and precision, ensuring that it aligns with your unique requirements. Whether you prefer a more sensitive setting for swift navigation or a lower sensitivity for precise control, these adjustments empower you to tailor your mouse pad’s behavior to enhance your overall computing experience.
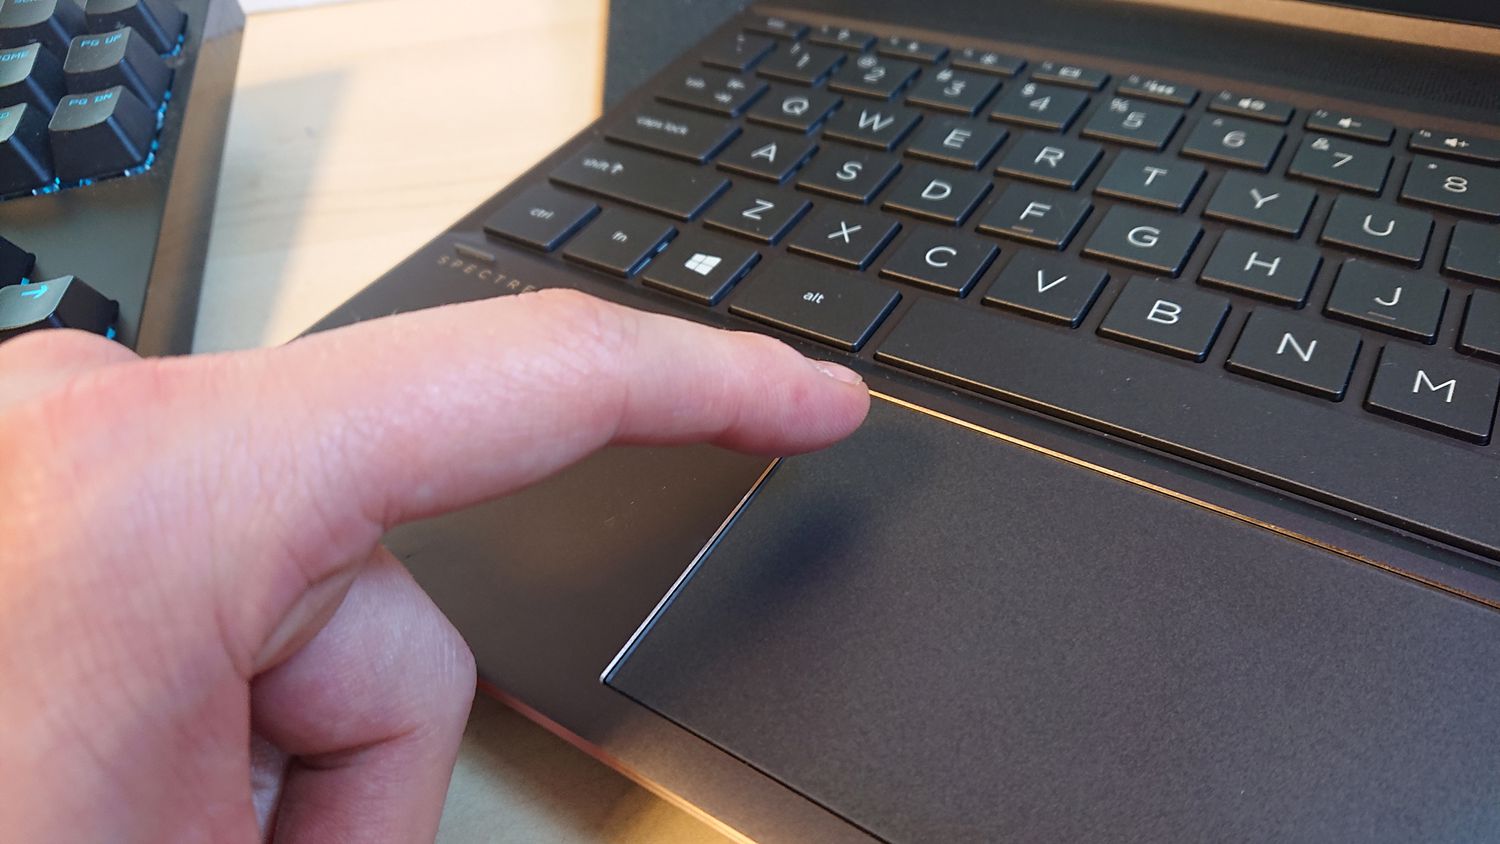
Step 4: Enabling or Disabling Tap to Click
Windows 7 offers the option to enable or disable tap to click functionality on your laptop’s mouse pad. This feature allows you to perform a left-click by tapping the surface of the mouse pad, providing a convenient alternative to physically pressing the touchpad button. Whether you prefer this functionality or find it disruptive, you can easily customize it using the following steps:
- Access Mouse Properties: Within the mouse settings window, navigate to the “Device Settings” tab. Here, you will find the settings related to your laptop’s touchpad functionality.
- Locate Tap to Click Option: Look for the option that enables or disables tap to click functionality. This setting may be labeled differently based on your laptop’s touchpad driver, but it typically includes the term “tap to click” or a similar description.
- Enable or Disable Tap to Click: Depending on your preference, check or uncheck the box associated with tap to click. Enabling this feature allows you to perform left-click actions by tapping the mouse pad, while disabling it requires you to use the physical touchpad button for left-click operations.
- Test the Setting: After making the desired changes, test the tap to click functionality to ensure that it aligns with your preferences. This allows you to verify whether the setting meets your usability requirements.
By enabling or disabling tap to click based on your preference, you can tailor your mouse pad’s behavior to enhance your interaction with your Windows 7 laptop. Whether you find tap to click convenient for quick actions or prefer a traditional touchpad button approach, customizing this setting allows you to optimize your user experience.
Step 5: Applying Changes and Testing Mouse Pad Settings
After customizing the various mouse pad settings on your Windows 7 laptop, it’s crucial to apply the changes and test the functionality to ensure that the adjustments align with your preferences. Following these steps will help you apply the changes and verify the performance of your mouse pad:
- Apply Settings: Once you have adjusted the pointer speed, button configurations, sensitivity, and tap to click settings, ensure to click the “Apply” or “OK” button within the mouse settings window. This action saves your customizations and implements the changes you’ve made.
- Test Mouse Pad Functionality: After applying the settings, test the functionality of your mouse pad to gauge the impact of the adjustments. Navigate through different applications, perform various tasks, and interact with on-screen elements to assess the responsiveness and behavior of your mouse pad.
- Refine Settings if Necessary: If you find that the customized settings do not fully align with your preferences, revisit the respective sections within the mouse settings window to make further adjustments. Fine-tuning the settings based on your real-world usage can lead to an optimal configuration that enhances your overall user experience.
- Confirm User Satisfaction: Ensure that the customized mouse pad settings meet your expectations in terms of responsiveness, precision, and convenience. Verifying user satisfaction with the adjusted settings is essential for achieving an optimal user experience.
By applying the changes and thoroughly testing the functionality of your mouse pad, you can ensure that the customized settings enhance your interaction with your Windows 7 laptop. This iterative approach empowers you to refine the settings based on your usage patterns, preferences, and workflow, ultimately leading to an optimized and personalized user experience.