Introduction
Welcome to the ultimate guide on how to replace gaming mouse feet! If you're an avid gamer, you know the importance of a smooth and precise mouse movement. Over time, the feet of your gaming mouse can wear out, leading to friction and hindering your gaming experience. Fear not, as this comprehensive tutorial will walk you through the process of replacing your mouse feet, ensuring that you can glide effortlessly across your mouse pad once again.
Whether you're a seasoned gamer or new to the world of gaming peripherals, understanding how to maintain and upgrade your equipment is crucial. By learning how to replace your gaming mouse feet, you can prolong the lifespan of your mouse and optimize its performance, giving you that competitive edge in every gaming session.
In this guide, we'll delve into the reasons why replacing your gaming mouse feet is essential, the tools and materials you'll need for the task, and a step-by-step walkthrough to execute the replacement process flawlessly. Additionally, we'll cover testing your newly installed mouse feet and adding those finishing touches to ensure everything is in perfect working order.
So, grab your mouse, gather your tools, and let's embark on this journey to revitalize your gaming experience by replacing your gaming mouse feet!
Why Replace Gaming Mouse Feet
As a dedicated gamer, you might wonder why it’s necessary to replace the feet of your gaming mouse. The answer lies in the impact that worn-out mouse feet can have on your gaming performance and overall user experience. Here are the key reasons why replacing gaming mouse feet is crucial:
- Enhanced Precision and Control: The smooth gliding of a gaming mouse is essential for precise aiming, quick reflexes, and seamless cursor movement. Worn-out mouse feet can introduce friction, leading to jerky or inconsistent mouse movements, ultimately affecting your accuracy and control in games.
- Extended Durability: By replacing the mouse feet, you can prevent further damage to the bottom surface of your mouse. Over time, worn-out feet can expose the underlying structure of the mouse to scratches and abrasions, potentially compromising its longevity and structural integrity.
- Optimized Sensor Performance: A well-maintained mouse with intact feet ensures that the sensor can function at its best. Smooth mouse movement allows the sensor to track accurately, translating your physical movements into precise on-screen actions without any hiccups.
- Improved Comfort: Gaming sessions can be lengthy, and the comfort of your gaming setup is paramount. Smooth mouse feet contribute to a more comfortable and enjoyable gaming experience, reducing strain on your wrist and enhancing overall ergonomics.
By understanding the significance of replacing gaming mouse feet, you can proactively maintain your gaming equipment and optimize your gaming performance. With these benefits in mind, let’s move on to the essential tools and materials needed for the replacement process.
Tools and Materials Needed
Before delving into the process of replacing your gaming mouse feet, it’s essential to gather the necessary tools and materials to ensure a smooth and efficient replacement. Here’s what you’ll need:
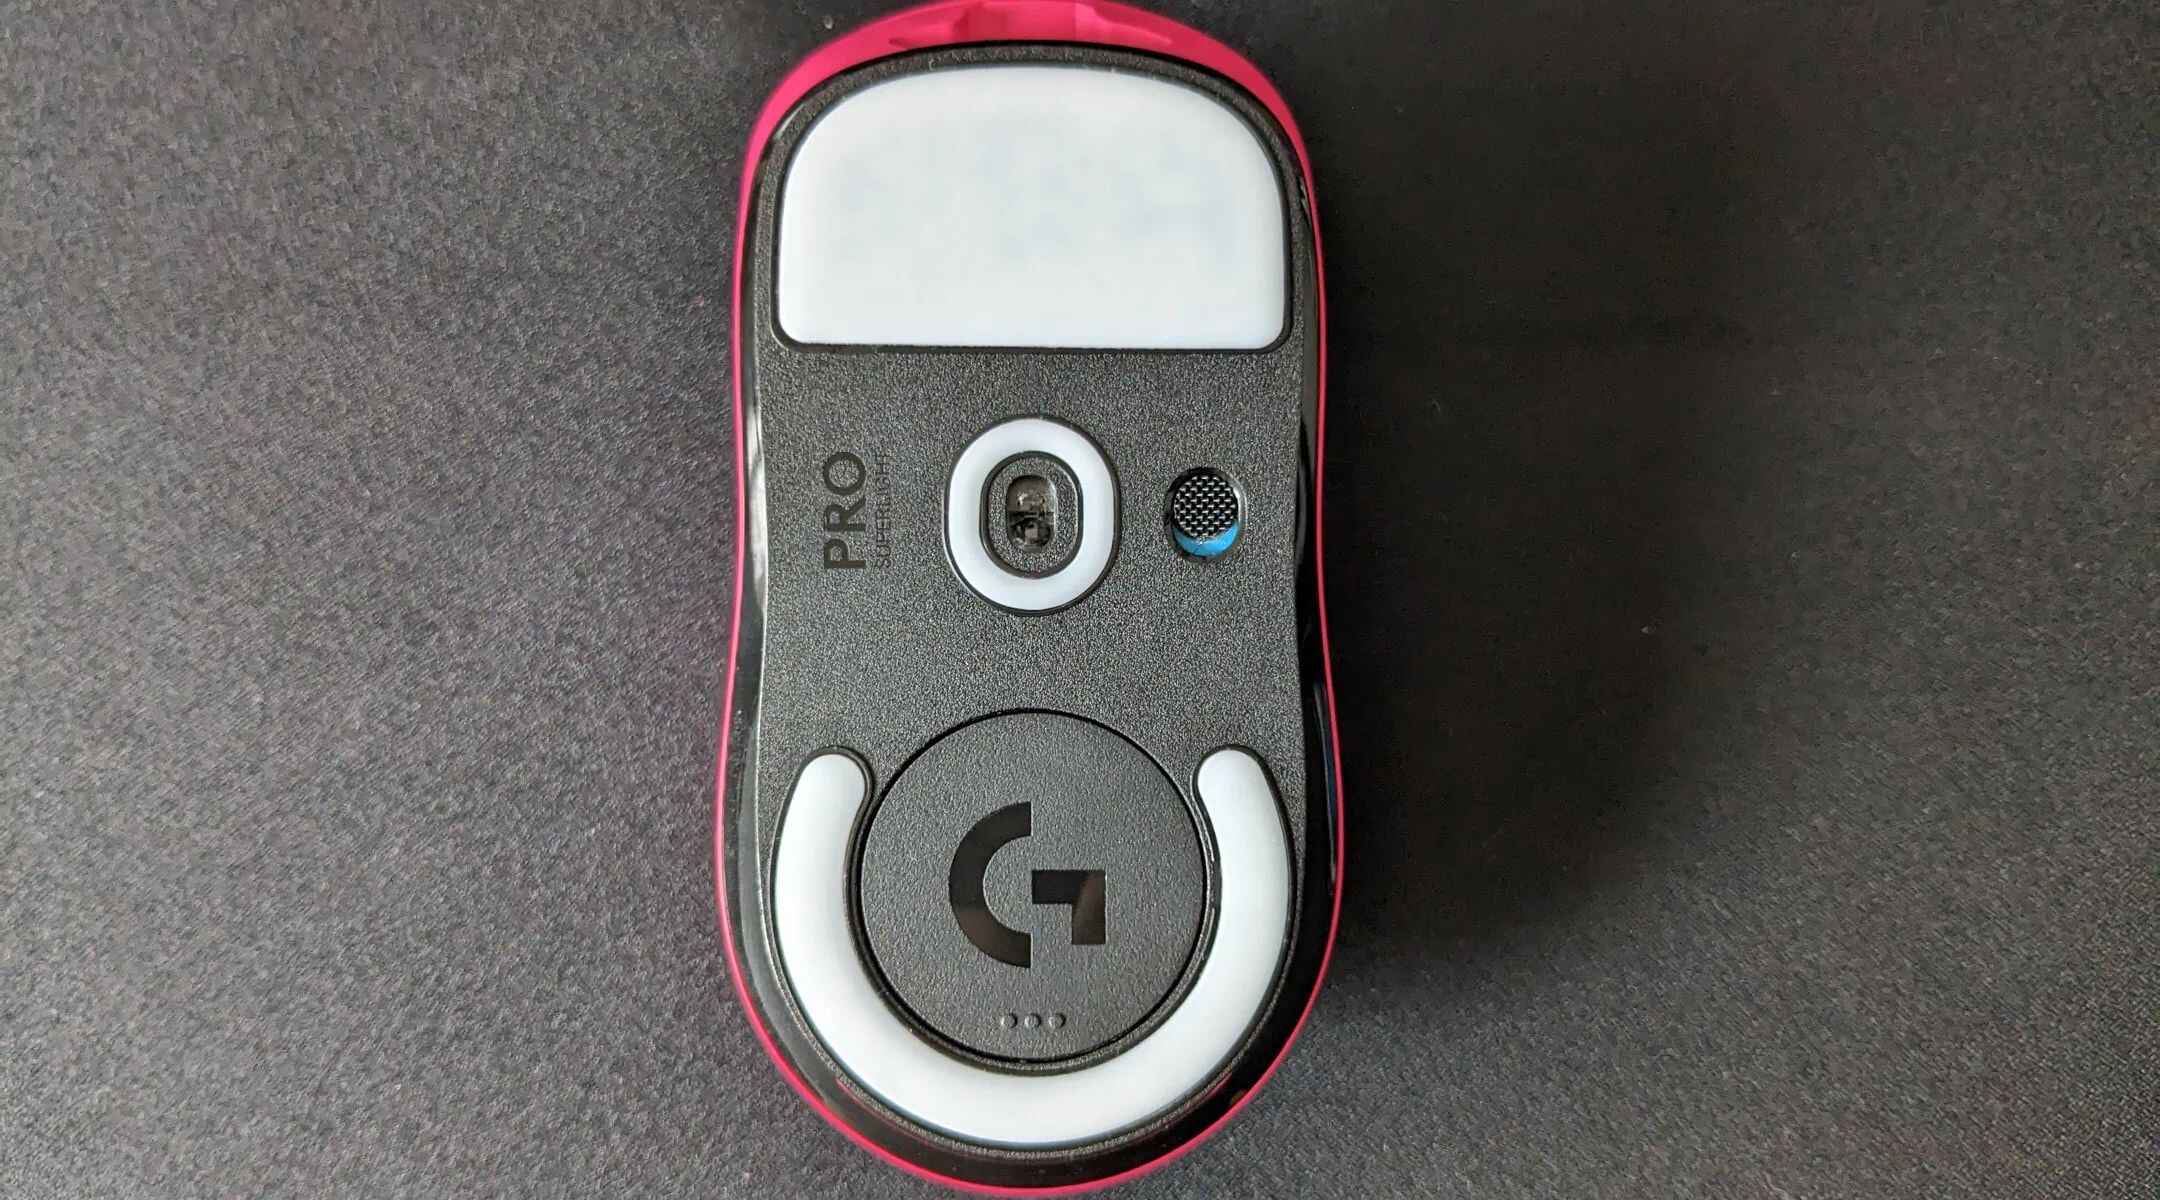
- Replacement Mouse Feet: Begin by identifying the specific type of mouse feet compatible with your gaming mouse model. Replacement feet are often made of PTFE (polytetrafluoroethylene) or a similar low-friction material to facilitate smooth gliding.
- Clean Cloth: Prepare a soft, lint-free cloth to wipe the bottom surface of your mouse, ensuring it’s free from dust, debris, and any adhesive residue from the old feet.
- Isopropyl Alcohol: This isopropyl alcohol solution is ideal for cleaning the mouse’s bottom surface, effectively removing any stubborn residue and ensuring a clean, adhesive-ready surface for the new feet.
- Plastic Opening Tools: These non-conductive tools are designed to safely pry off the old mouse feet without damaging the mouse’s surface. Plastic spudgers or opening picks are commonly used for this purpose.
- Adhesive Remover (Optional): In case the old mouse feet are secured with strong adhesive, an adhesive remover can aid in safely dissolving the adhesive for easier removal.
- Double-Sided Adhesive Tape: This tape is used to secure the new mouse feet in place. Opt for a high-quality, thin adhesive tape that adheres well to the mouse’s surface and provides a secure bond for the new feet.
- Tweezers: Precision tweezers are helpful for handling small components and accurately placing the new mouse feet onto the designated areas of the mouse’s bottom surface.
- Scissors: A pair of sharp scissors will be necessary to cut the double-sided adhesive tape to the appropriate size for the new mouse feet.
- Work Surface: Prepare a clean and stable work surface with ample lighting to comfortably carry out the replacement process.
By ensuring you have all the required tools and materials at your disposal, you can proceed with confidence through the step-by-step guide to replace your gaming mouse feet seamlessly.
Step-by-Step Guide to Replace Gaming Mouse Feet
Now that you have gathered the essential tools and materials, it’s time to embark on the step-by-step process of replacing your gaming mouse feet. Follow these detailed instructions to ensure a successful replacement:
- Prepare the Work Surface: Lay out your clean work surface and ensure proper lighting for clear visibility.
- Remove Old Mouse Feet: Use plastic opening tools to gently pry off the old mouse feet. Take care to avoid damaging the mouse’s bottom surface during this process.
- Clean the Mouse Bottom: Use a clean cloth and isopropyl alcohol to thoroughly clean the bottom surface of the mouse, removing any adhesive residue and ensuring a pristine surface for the new feet.
- Cut Adhesive Tape: Using scissors, cut the double-sided adhesive tape to match the size and shape of the replacement mouse feet. Precision is key to ensure a proper fit.
- Apply Adhesive Tape: Carefully place the cut adhesive tape onto the designated areas on the bottom of the mouse, aligning them with the positions where the new feet will be placed.
- Attach New Mouse Feet: Using tweezers, delicately position the new mouse feet onto the adhesive tape, ensuring they are aligned with the corresponding areas on the mouse’s bottom surface.
- Secure the New Feet: Gently press down on the new mouse feet to secure them in place, ensuring a strong bond with the adhesive tape.
- Final Inspection: Double-check the positioning and adherence of the new mouse feet, ensuring they are firmly attached and aligned correctly.
Following these steps meticulously will result in a successful replacement of your gaming mouse feet, restoring smooth and precise movement to your mouse. With the new feet securely in place, it’s time to move on to the crucial step of testing and adding those finishing touches.
Testing and Finishing Touches
With the new mouse feet securely installed, it’s essential to conduct thorough testing to ensure optimal performance and make any necessary finishing touches. Here’s how to proceed:
- Mouse Pad Test: Place your gaming mouse on a smooth mouse pad and test its movement. Pay attention to the smoothness, precision, and consistency of the mouse gliding across the surface. Any improvements should be immediately noticeable.
- In-Game Testing: Launch your favorite game and engage in gameplay that demands precise mouse movements. Evaluate your control, aiming accuracy, and overall comfort while using the mouse. The enhanced gliding should contribute to a more seamless gaming experience.
- Adjustment and Optimization: If you notice any issues or inconsistencies during testing, revisit the placement of the new mouse feet. Minor adjustments may be required to ensure that they are perfectly aligned and providing the desired smoothness of movement.
- Post-Installation Care: To maintain the longevity of the new mouse feet, periodically clean the bottom surface of your mouse with a soft, dry cloth to remove any dust or debris that may accumulate over time.
Once you have thoroughly tested the performance of your newly replaced gaming mouse feet and made any necessary adjustments, you can rest assured that your gaming mouse is ready to deliver a superior gaming experience. By taking the time to replace the mouse feet and conducting comprehensive testing, you have optimized the performance and durability of your gaming peripheral.
With these steps completed, you can now confidently return to your gaming sessions, knowing that your mouse is equipped with smooth and responsive feet, allowing you to maneuver effortlessly through virtual worlds and dominate your gaming endeavors.


