Introduction
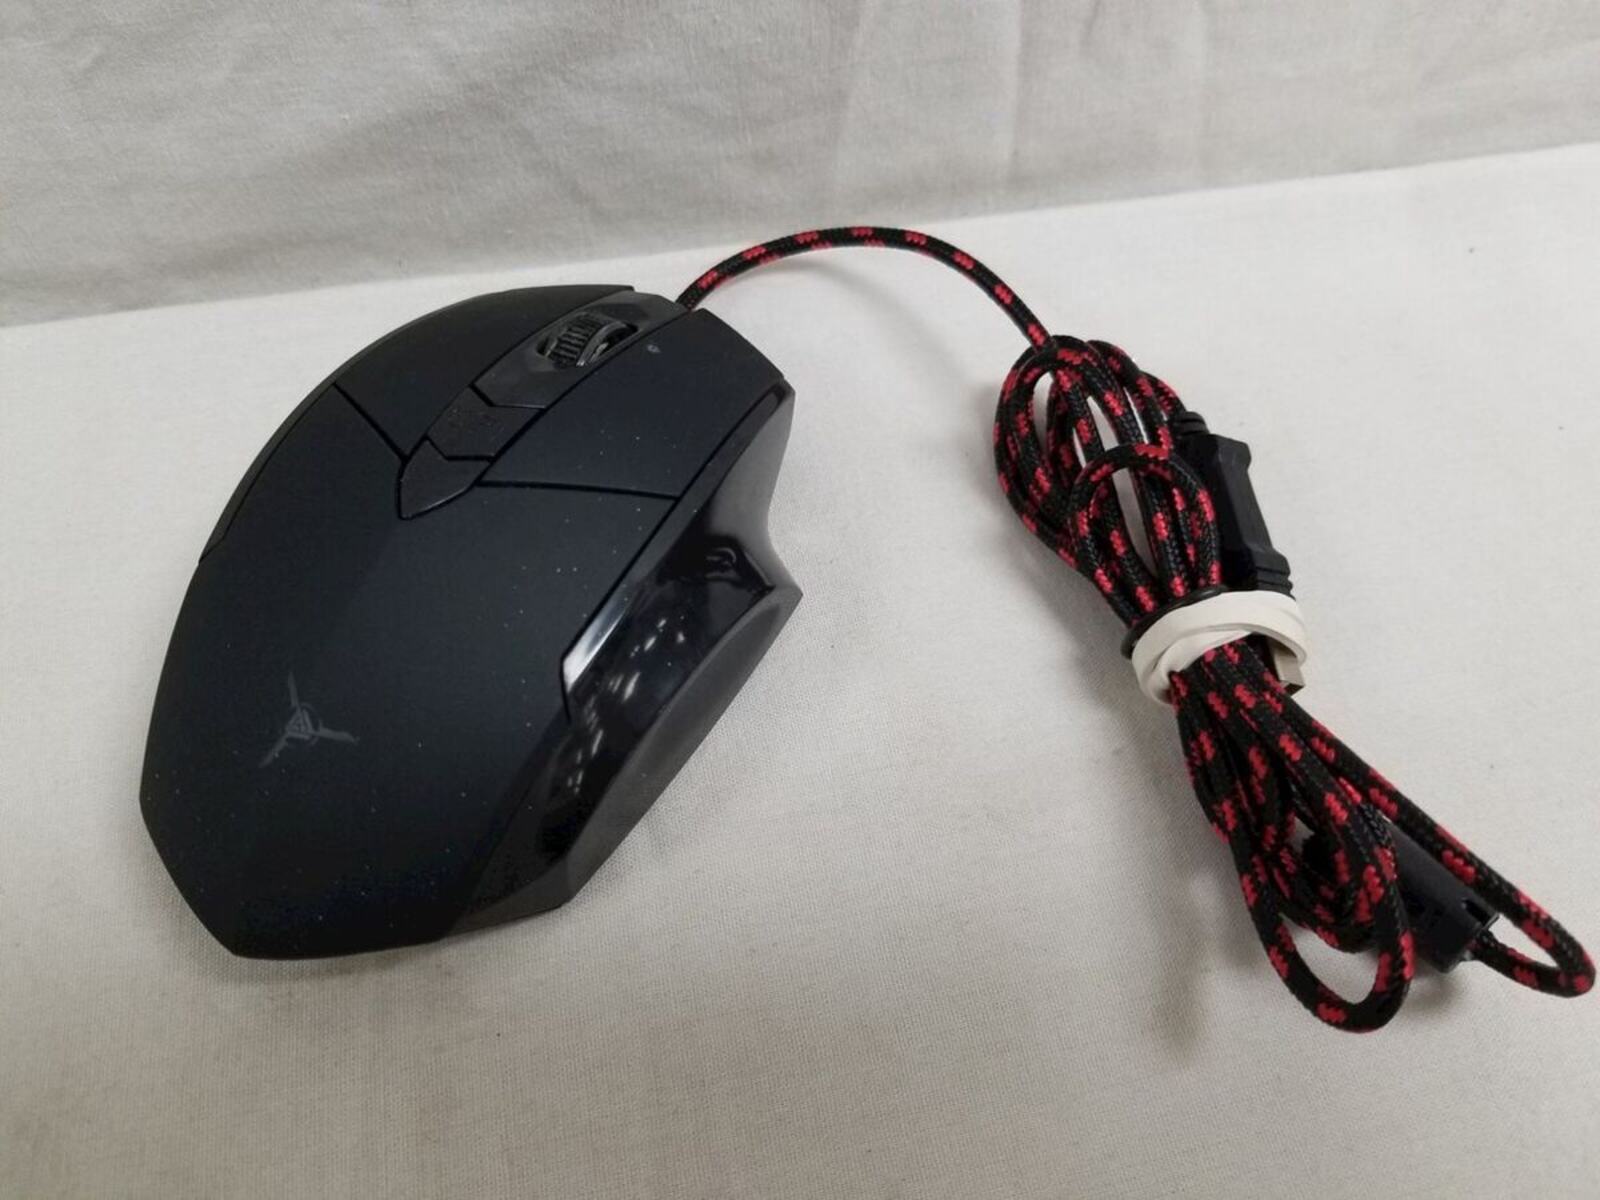
If you've recently purchased an Azio gaming mouse or are considering doing so, you may be curious about how to open it for maintenance, customization, or repair. Opening up your Azio gaming mouse can provide insights into its internal components and allow for modifications to enhance its performance or aesthetics. Whether you're a tech enthusiast, a gaming aficionado, or someone looking to troubleshoot issues with your mouse, understanding the process of opening an Azio gaming mouse can be invaluable.
In this guide, we'll walk you through the steps to open an Azio gaming mouse safely and effectively. From gathering the necessary tools to accessing the internal components, you'll gain a comprehensive understanding of the process. By following these steps, you'll be equipped to explore the inner workings of your Azio gaming mouse with confidence.
Opening up your Azio gaming mouse can be a rewarding experience, providing a deeper understanding of its construction and functionality. Whether you're aiming to clean the internal components, replace certain elements, or simply satisfy your curiosity, this guide will empower you to navigate the process seamlessly. Let's dive into the steps required to open an Azio gaming mouse and unveil the possibilities that lie within.
Step 1: Gather Your Tools
Before embarking on the journey of opening your Azio gaming mouse, it’s essential to gather the necessary tools to ensure a smooth and efficient process. Here are the tools you’ll need:
- Phillips Head Screwdriver: A small Phillips head screwdriver is crucial for removing the screws that secure the casing of the mouse. Ensure that the screwdriver fits the screws snugly to prevent stripping.
- Anti-Static Wrist Strap: To prevent electrostatic discharge (ESD) from damaging the sensitive electronic components inside the mouse, an anti-static wrist strap is highly recommended. This strap grounds you, minimizing the risk of static electricity harming the mouse’s internal circuitry.
- Clean, Flat Surface: Having a clean and flat surface to work on is important to prevent losing small components or causing damage to the mouse during the disassembly process. A smooth, well-lit workspace will facilitate a hassle-free disassembly and reassembly.
- Tweezers or Plastic Spudger: These tools can be handy for delicately manipulating small components inside the mouse, such as cables or connectors. Tweezers with fine tips or a plastic spudger can aid in carefully lifting and maneuvering parts without causing damage.
By ensuring that you have these tools at your disposal, you’ll be well-prepared to proceed with confidence and precision when opening your Azio gaming mouse. With the right tools in hand, the disassembly process can be both efficient and safe, allowing you to explore the inner workings of your mouse without unnecessary complications.
Step 2: Remove the Screws
Once you have gathered the necessary tools, the next step in opening your Azio gaming mouse is to remove the screws that secure the mouse’s casing. This step requires precision and care to avoid damaging the screws or the surrounding components. Here’s how to proceed:
- Turn Off the Mouse: Before beginning the disassembly process, ensure that the mouse is powered off and disconnected from your computer. This precautionary measure reduces the risk of accidental input or damage to the mouse during disassembly.
- Identify and Remove Screws: Examine the underside of the mouse to locate the screws holding the casing together. Using a small Phillips head screwdriver that fits the screws snugly, carefully remove each screw and place them in a secure location to prevent loss.
- Organize the Screws: As you remove the screws, consider using a small container or a labeled workspace to keep track of them. Some mice may have screws of varying lengths or types, so organizing them can simplify the reassembly process later.
- Exercise Caution: Apply gentle, consistent pressure when removing the screws to avoid stripping them or causing damage to the casing. If a screw feels resistant, reassess your approach to prevent potential harm to the mouse.
By methodically removing the screws while exercising caution, you’ll prepare the mouse for the subsequent steps in the disassembly process. This careful approach sets the stage for accessing the internal components of your Azio gaming mouse without encountering unnecessary complications or damage.
Step 3: Open the Casing
With the screws removed, the next pivotal step in opening your Azio gaming mouse involves separating the casing to access the internal components. This process demands finesse and attentiveness to prevent unintended damage to the mouse’s exterior. Here’s how to proceed:
- Identify Casing Seams: Carefully examine the seams and edges of the mouse to identify the points where the casing is joined. Some mice have hidden latches or clips that secure the casing, so a thorough inspection is crucial.
- Apply Even Pressure: Using your fingertips or a plastic spudger, apply gentle and even pressure along the seams of the mouse to gradually separate the casing. Avoid using excessive force, as this can lead to breakage or damage to the casing or internal components.
- Work Methodically: Start by prying open the casing at a point where it’s easiest to separate, then gradually move along the edges to release the remaining latches or clips. Take your time and exercise patience to prevent mishaps.
- Take Note of Cable Connections: As the casing begins to open, be mindful of any cables or connectors that may be attached to the casing or the internal components. Avoid abruptly pulling the casing apart to prevent damaging these connections.
By delicately opening the casing and paying close attention to its seams and attachment points, you’ll pave the way for accessing the inner workings of your Azio gaming mouse. This meticulous approach ensures that the casing can be opened without causing harm to the mouse’s exterior or its internal components, setting the stage for the next phase of the disassembly process.
Step 4: Access the Internal Components
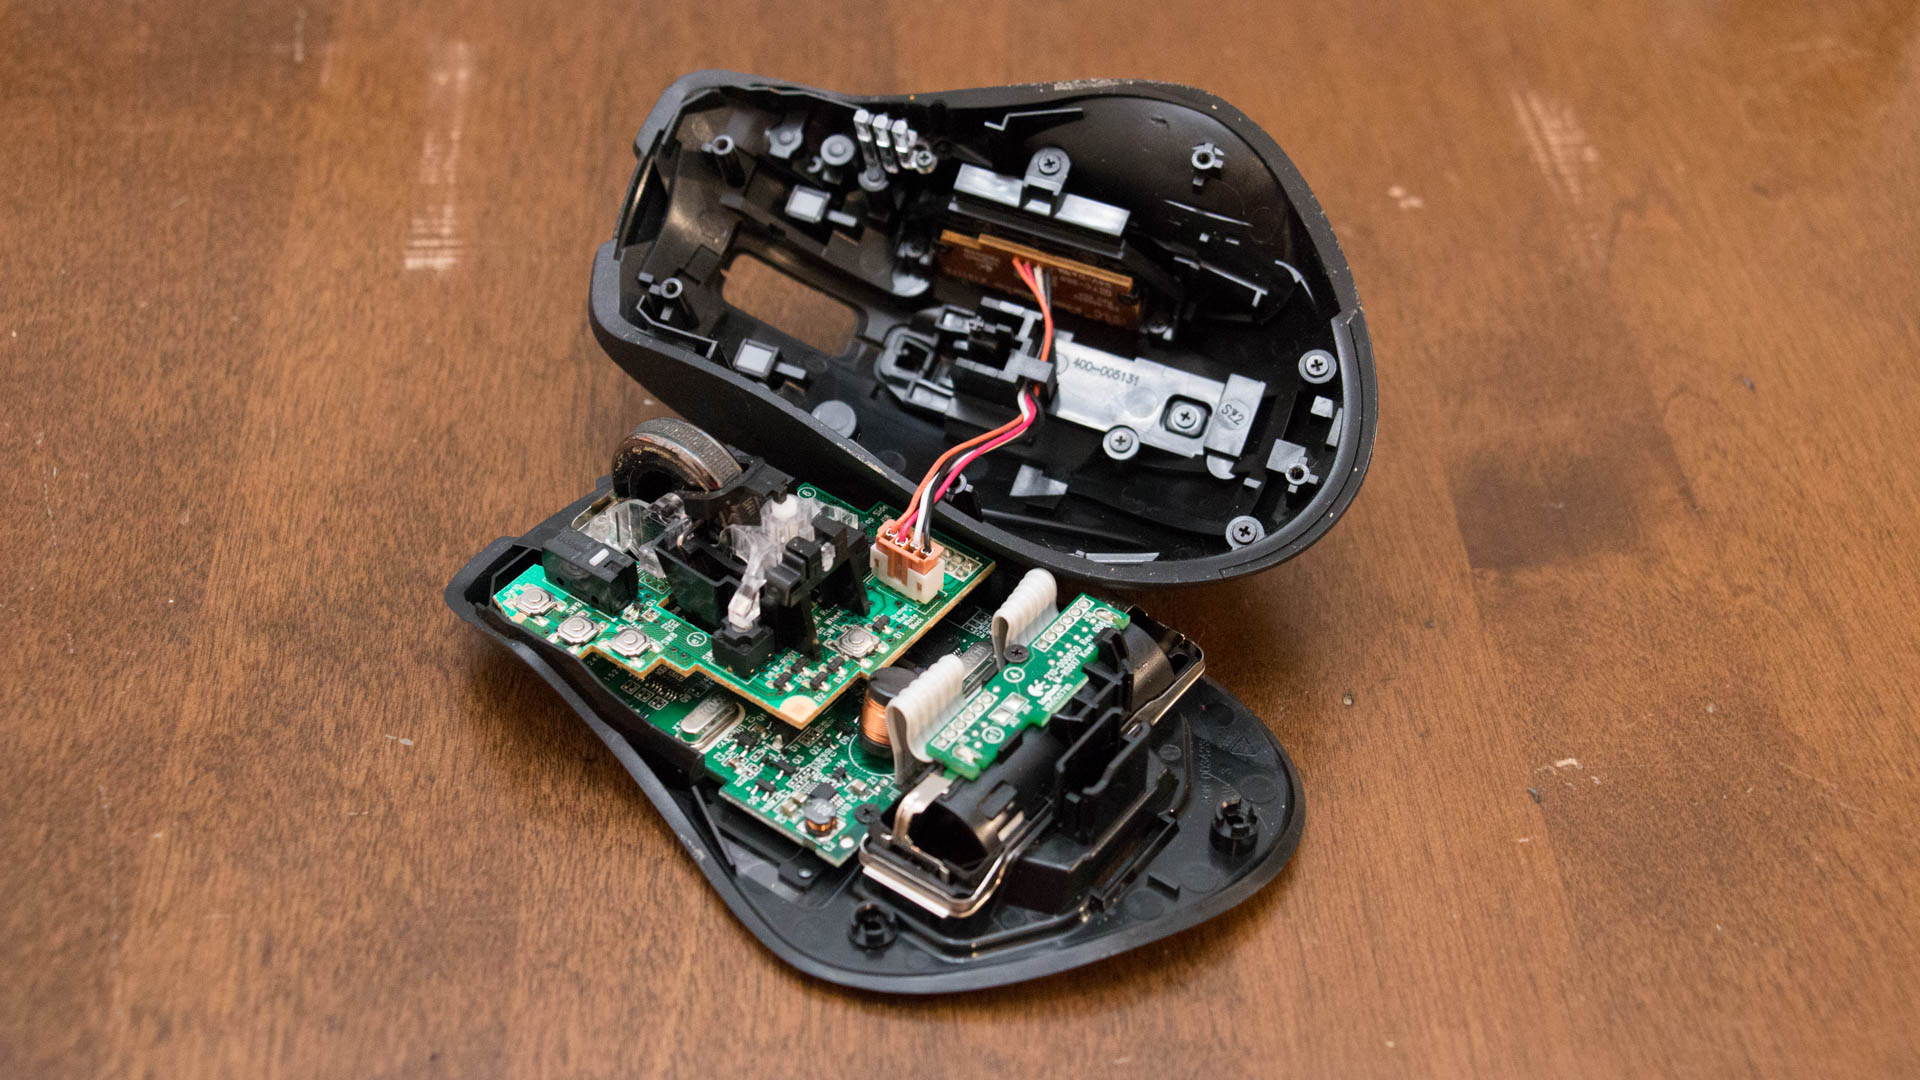
Once the casing of your Azio gaming mouse is successfully opened, you’ll gain access to its internal components, providing an opportunity to explore, clean, or modify various elements. This phase of the disassembly process requires attentiveness and caution to avoid damage to the sensitive internal parts. Here’s how to proceed:
- Observe the Internal Layout: Take a moment to observe the arrangement of components inside the mouse. Identify the circuit board, switches, scroll wheel, optical sensor, and any other elements that contribute to the mouse’s functionality.
- Handle Components Carefully: When touching or manipulating internal components, exercise care to avoid applying excessive force or causing damage. Delicate parts such as the circuit board and wiring require gentle handling to prevent harm.
- Inspect for Dust and Debris: Use this opportunity to inspect the internal components for accumulated dust, debris, or any signs of wear. A can of compressed air can be used to gently remove dust, while a soft brush can aid in cleaning hard-to-reach areas.
- Identify Modification Opportunities: If you’re exploring the internal components for customization or modification, take note of areas where enhancements can be made. Whether it’s upgrading switches, customizing lighting, or applying lubrication, this step sets the stage for potential improvements.
By approaching the internal components of your Azio gaming mouse with care and attentiveness, you’ll be able to gain valuable insights into its construction and functionality. Whether you’re aiming to clean the components, address any issues, or explore customization options, this phase of the disassembly process empowers you to engage with the inner workings of your mouse effectively and responsibly.
Step 5: Reassemble the Mouse
After exploring the internal components of your Azio gaming mouse, the final step involves reassembling the mouse to restore its functionality and structural integrity. This phase demands precision and attention to detail to ensure that the mouse is put back together correctly. Here’s how to proceed:
- Organize the Components: Lay out the internal components in an organized manner, ensuring that cables, screws, and small parts are accounted for and easily accessible. This preparation will streamline the reassembly process.
- Secure Cable Connections: If any cables or connectors were detached during the disassembly, carefully reattach them to their respective components, ensuring a secure and proper connection.
- Align and Secure the Casing: Place the mouse’s casing back in position, aligning it carefully to ensure that it fits snugly. Apply gentle pressure to secure the casing, ensuring that any latches or clips engage properly.
- Reinsert and Tighten Screws: Using a Phillips head screwdriver, reinsert and tighten the screws into their respective positions on the underside of the mouse. Exercise caution to avoid overtightening, which can lead to damage or stripping of the screw threads.
- Test the Mouse: Once the mouse is reassembled, connect it to your computer and test its functionality to ensure that all components are working as intended. Verify that buttons, the scroll wheel, and tracking are functioning properly.
By methodically reassembling your Azio gaming mouse and conducting thorough functionality tests, you’ll complete the disassembly and reassembly process with confidence. This meticulous approach ensures that the mouse is restored to its operational state, ready to deliver a seamless and reliable user experience.


