Introduction
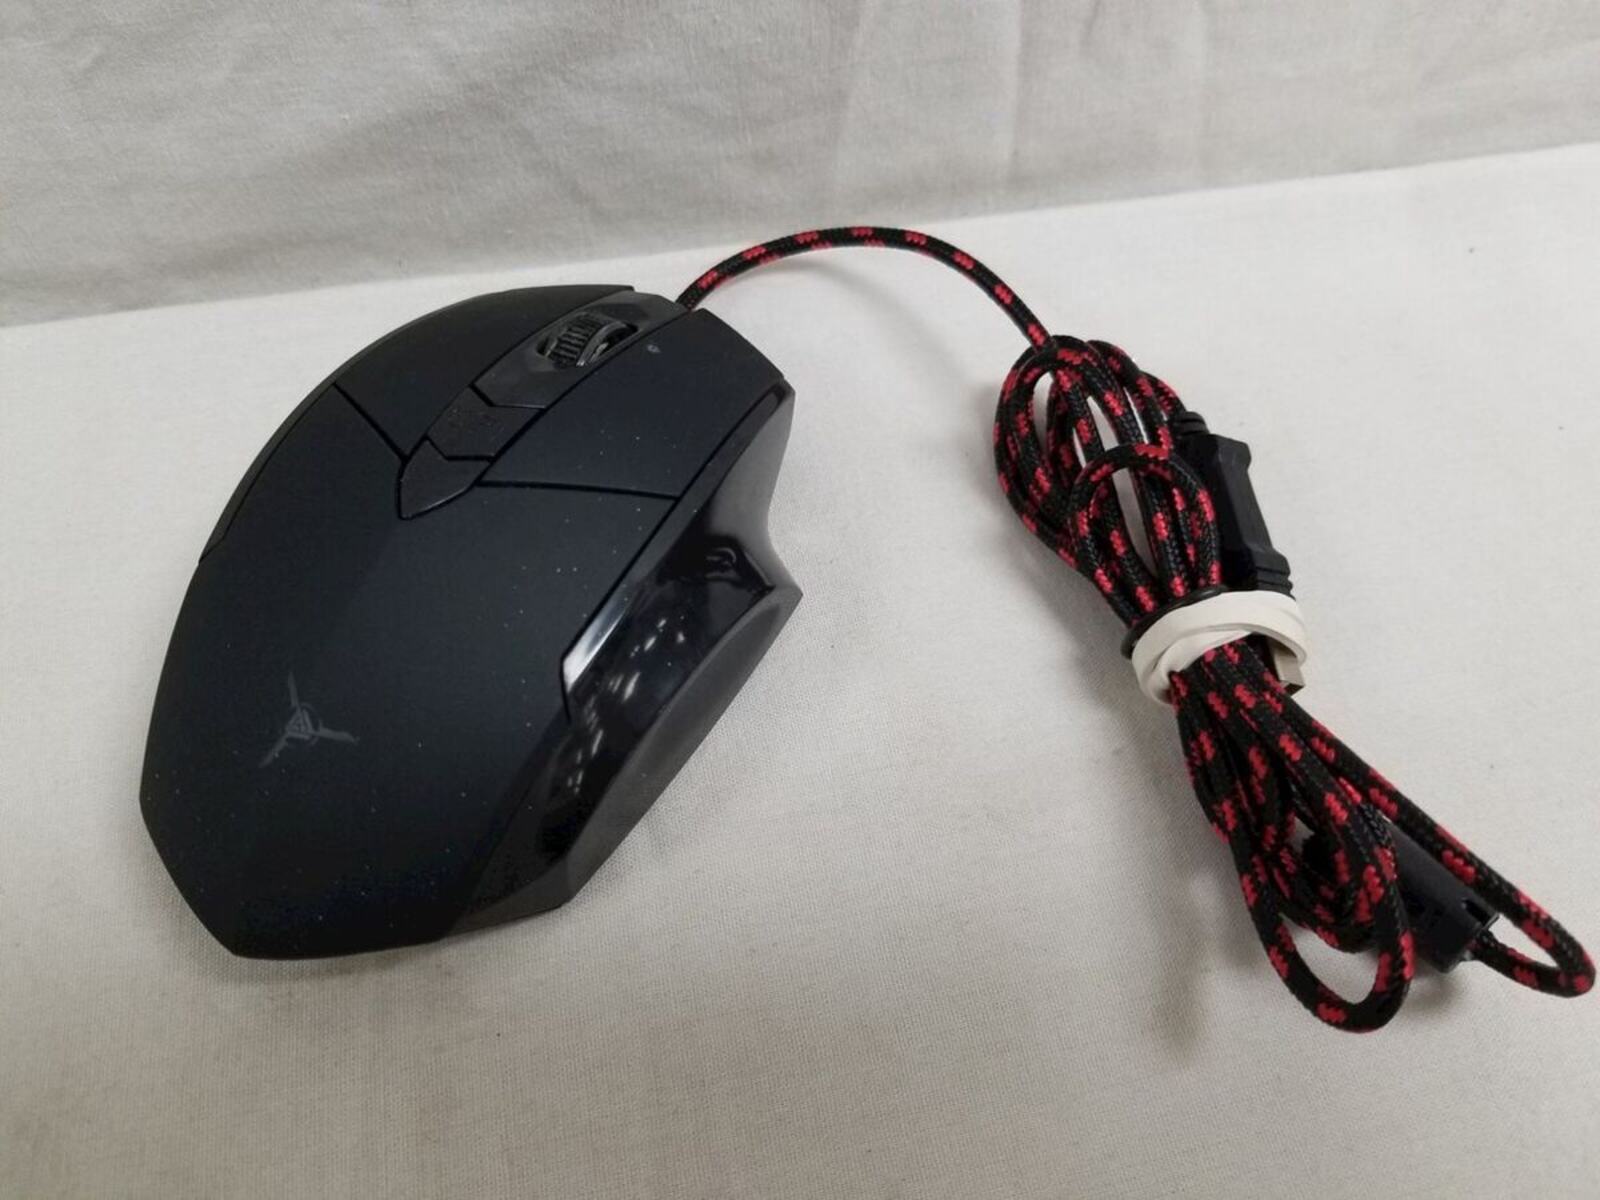
So, you've got a Skytech gaming mouse that's been acting up, and you're ready to roll up your sleeves and fix it yourself. Opening up a gaming mouse might seem daunting at first, but with the right tools and a little guidance, it can be a straightforward process. Whether you're looking to clean the internal components, replace a faulty switch, or simply satisfy your curiosity about what's inside, this guide will walk you through the steps to open up your Skytech gaming mouse safely and effectively.
Gaming mice are precision instruments designed to withstand the rigors of intense gameplay, but over time, dust, debris, and general wear and tear can take their toll. By learning how to open your Skytech gaming mouse, you can gain access to its internal components for maintenance, repair, or customization. This hands-on approach not only saves you time and money but also empowers you to take control of your gaming gear.
Before diving into the process of opening your Skytech gaming mouse, it's essential to gather the necessary tools and prepare a clean, well-lit workspace. With the right tools and a methodical approach, you can navigate the internals of your gaming mouse with confidence and precision. So, grab your tools and let's get started on this satisfying journey of exploration and maintenance.
Tools Needed
Before embarking on the process of opening your Skytech gaming mouse, it’s crucial to gather the essential tools that will facilitate a smooth disassembly and reassembly. Here’s a list of tools you’ll need:
- Precision Screwdriver Set: A set of precision screwdrivers with various head sizes is indispensable for removing the screws securing the mouse casing. The appropriate screwdriver size will depend on the specific screws used in your Skytech gaming mouse.
- Plastic Opening Tools: These non-conductive tools are designed to pry open electronic devices without causing damage. They are particularly useful for separating the mouse’s shell without scratching or marring its surface.
- Clean, Lint-Free Cloth: Having a lint-free cloth on hand is essential for wiping down the internal components and removing any accumulated dust or debris. This ensures that the internal surfaces remain clean during the disassembly process.
- Tweezers: Precision tweezers can aid in handling small components and cables inside the mouse, making it easier to maneuver and reposition them during the disassembly and reassembly process.
- Workspace and Lighting: A well-lit, clean workspace is crucial for working on delicate electronic devices. Make sure you have ample lighting and a clutter-free area to lay out the mouse and its components during the disassembly and reassembly process.
By ensuring that you have these tools at your disposal, you’ll be well-prepared to tackle the disassembly of your Skytech gaming mouse with confidence and precision. With the right tools in hand, you can proceed to the next steps of opening up your gaming mouse and gaining access to its internal components.
Removing the Screws
Once you have gathered the necessary tools, the first step in opening your Skytech gaming mouse is to locate and remove the screws that secure the outer casing. Most gaming mice have screws hidden beneath the mouse feet or beneath labels, so you may need to carefully peel back the adhesive mouse feet or remove any warranty stickers to access the screws.
Using the appropriate precision screwdriver from your set, carefully unscrew and set aside each screw, ensuring that they are kept in a safe place to prevent loss. It’s important to keep track of the screws and their respective locations, as they may vary in size and threading. Organizing the screws on a clean surface or using a small compartmentalized container can help prevent confusion during the reassembly process.
As you remove the screws, take note of any differences in size or threading, as this will be crucial when reassembling the mouse. Some screws may be longer or shorter, or have different threading, so keeping them organized and labeled will streamline the reassembly process later on.
Throughout this process, it’s important to handle the screws and the mouse components with care, as they are delicate and can be easily misplaced. By maintaining a methodical approach and exercising patience, you can successfully remove the screws without causing damage to the mouse’s exterior or the internal components.
With the screws removed and safely stored, you are now ready to proceed to the next step of opening the casing of your Skytech gaming mouse and gaining access to its internal components.
Opening the Mouse
With the screws removed, the next step in opening your Skytech gaming mouse is to carefully separate the outer casing. Depending on the design of the mouse, the casing may be secured with clips, adhesive, or a combination of both. Using plastic opening tools, gently pry open the mouse casing, starting from the seam where the top and bottom halves meet. Take care to apply even pressure and work your way around the perimeter of the mouse to gradually release the clips or adhesive.
It’s essential to exercise patience and precision during this step to avoid damaging the casing or the internal components. If you encounter resistance, reassess the area and adjust your approach to prevent forcing the casing open, which could lead to breakage or deformation. By proceeding methodically, you can safely separate the casing and gain access to the internal components of the mouse.
As you open the mouse, take note of any cables or ribbon connectors that may be attached to the internal components and the casing. These delicate connections should be handled with care to prevent damage. If necessary, use tweezers or your fingers to gently disconnect any ribbon cables or connectors, taking note of their orientation and position for reassembly.
Once the casing is successfully separated, place it in a secure location to prevent it from being accidentally damaged or contaminated. With the mouse now open, you are ready to access the internal components and proceed with any necessary maintenance, repairs, or customization.
By approaching the process of opening your Skytech gaming mouse with caution and precision, you can effectively gain access to its internal components without causing damage to the mouse or its delicate parts. With the casing removed, you are now prepared to explore and address the internal components of your gaming mouse.
Accessing the Inside Components
With the outer casing removed, you now have access to the internal components of your Skytech gaming mouse. This step provides an opportunity to inspect, clean, and potentially replace or customize various elements within the mouse to optimize its performance.
One of the primary components you’ll encounter upon opening the mouse is the printed circuit board (PCB), which houses the electronic components responsible for the mouse’s functionality. Take note of the positioning of the PCB and its various elements, including the switches, sensors, and any lighting components that may be present. Carefully inspect the PCB for any signs of dust, debris, or corrosion, and use a clean, lint-free cloth or compressed air to gently remove any contaminants.
If you are looking to replace specific components, such as switches or LEDs, this is the stage at which you can carefully desolder and remove the existing components from the PCB. Take care to note the orientation and positioning of the components to ensure correct placement of the replacements. Additionally, if you are customizing the mouse with aftermarket components, such as custom switches or lighting elements, this is the phase in which you can integrate these modifications into the mouse’s internal architecture.
Inspect the mouse’s buttons and scroll wheel for any debris or obstruction that may be affecting their performance. Cleaning these components with a lint-free cloth and compressed air can help restore their responsiveness and tactile feel. Additionally, if the mouse features a scroll wheel encoder, inspect it for debris and ensure that it operates smoothly to maintain accurate scrolling functionality.
While accessing the inside components, it’s crucial to handle the delicate electronic elements with care to prevent damage. Avoid applying excessive force or pressure to the components, and be mindful of static electricity, which can potentially damage sensitive electronic circuitry. By approaching the internal components with attentiveness and precision, you can effectively address maintenance and customization needs while preserving the integrity of the mouse’s internal architecture.
With the internal components accessible, you have the opportunity to perform maintenance, repairs, or customizations that align with your specific requirements and preferences. Whether it’s cleaning the PCB, replacing switches, or integrating custom components, this stage empowers you to optimize the performance and functionality of your Skytech gaming mouse according to your preferences.
Reassembling the Mouse
After inspecting, cleaning, and potentially customizing the internal components of your Skytech gaming mouse, the reassembly process is a critical phase that requires precision and attention to detail. Proper reassembly ensures that the mouse functions optimally and maintains its structural integrity. Here are the essential steps for reassembling your gaming mouse:
1. Positioning the Internal Components: Carefully place the PCB, switches, and other internal components back into their respective positions within the mouse casing. Take note of the orientation of the components and ensure that any ribbon cables or connectors are reattached securely and correctly. Avoid applying excessive pressure to the components during this phase to prevent damage.
2. Aligning the Casing: When reattaching the top and bottom halves of the mouse casing, ensure that the internal components are aligned properly and that no cables or components are pinched or obstructed. Apply gentle pressure to secure the casing, ensuring that any clips or adhesive mechanisms engage smoothly. Take care to avoid trapping any cables or causing misalignment during this process.
3. Reinserting and Securing Screws: Retrieve the screws that were previously removed and carefully reinsert them into their respective positions, taking note of any variations in size or threading. Use the appropriate precision screwdriver to tighten the screws, ensuring that they are snug but not over-tightened. Verify that all screws are in place and that the casing is securely fastened before proceeding to the next step.
4. Testing Functionality: Before applying the mouse feet or returning the mouse to regular use, perform a brief functionality test to ensure that the mouse’s buttons, scroll wheel, and tracking functionality are operational. This test allows you to verify that the internal components have been reassembled correctly and that the mouse is ready for use.
By following these steps with care and precision, you can effectively reassemble your Skytech gaming mouse and restore it to a fully functional state. The reassembly process is an opportunity to ensure that the mouse’s internal components are securely positioned and that its structural integrity is maintained, setting the stage for continued reliable performance during gaming and everyday use.