Introduction
Are you an avid gamer looking to enhance your gaming setup with a personalized touch? Crafting your own custom gaming mouse pad can be a fun and rewarding project that allows you to express your creativity while also optimizing your gaming experience. Whether you're a fan of vibrant designs, sleek minimalism, or a particular theme, making your own mouse pad enables you to tailor it to your unique preferences.
In this guide, we'll walk you through the step-by-step process of creating a custom mouse pad specifically designed for gaming. From selecting the ideal fabric and adding a comfortable foam base to adding personalized decorations, you'll learn all the essential techniques to craft a mouse pad that not only complements your gaming area but also provides a smooth and precise surface for your mouse movements.
By making your own gaming mouse pad, you can ensure that it perfectly fits your desk space and reflects your personal style. Plus, the satisfaction of using a mouse pad that you've crafted yourself adds an extra level of enjoyment to your gaming sessions. So, roll up your sleeves and get ready to embark on a creative and practical DIY project that will elevate your gaming setup to the next level.
Materials Needed
Before diving into the process of creating your own gaming mouse pad, it’s essential to gather all the necessary materials. Here’s a list of items you’ll need to get started:
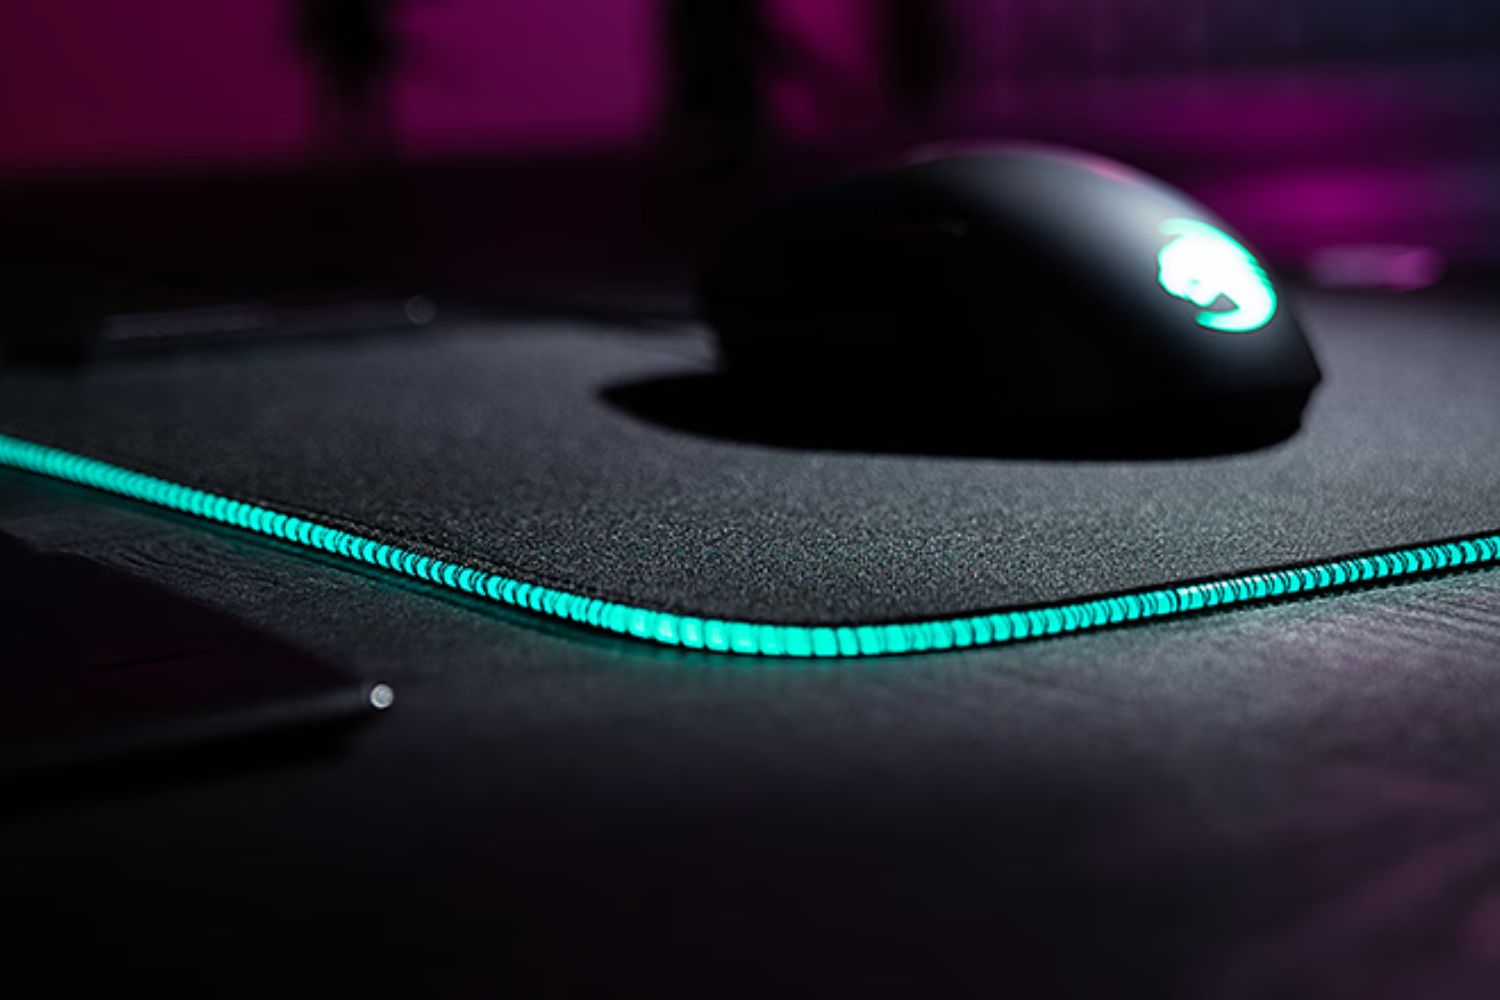
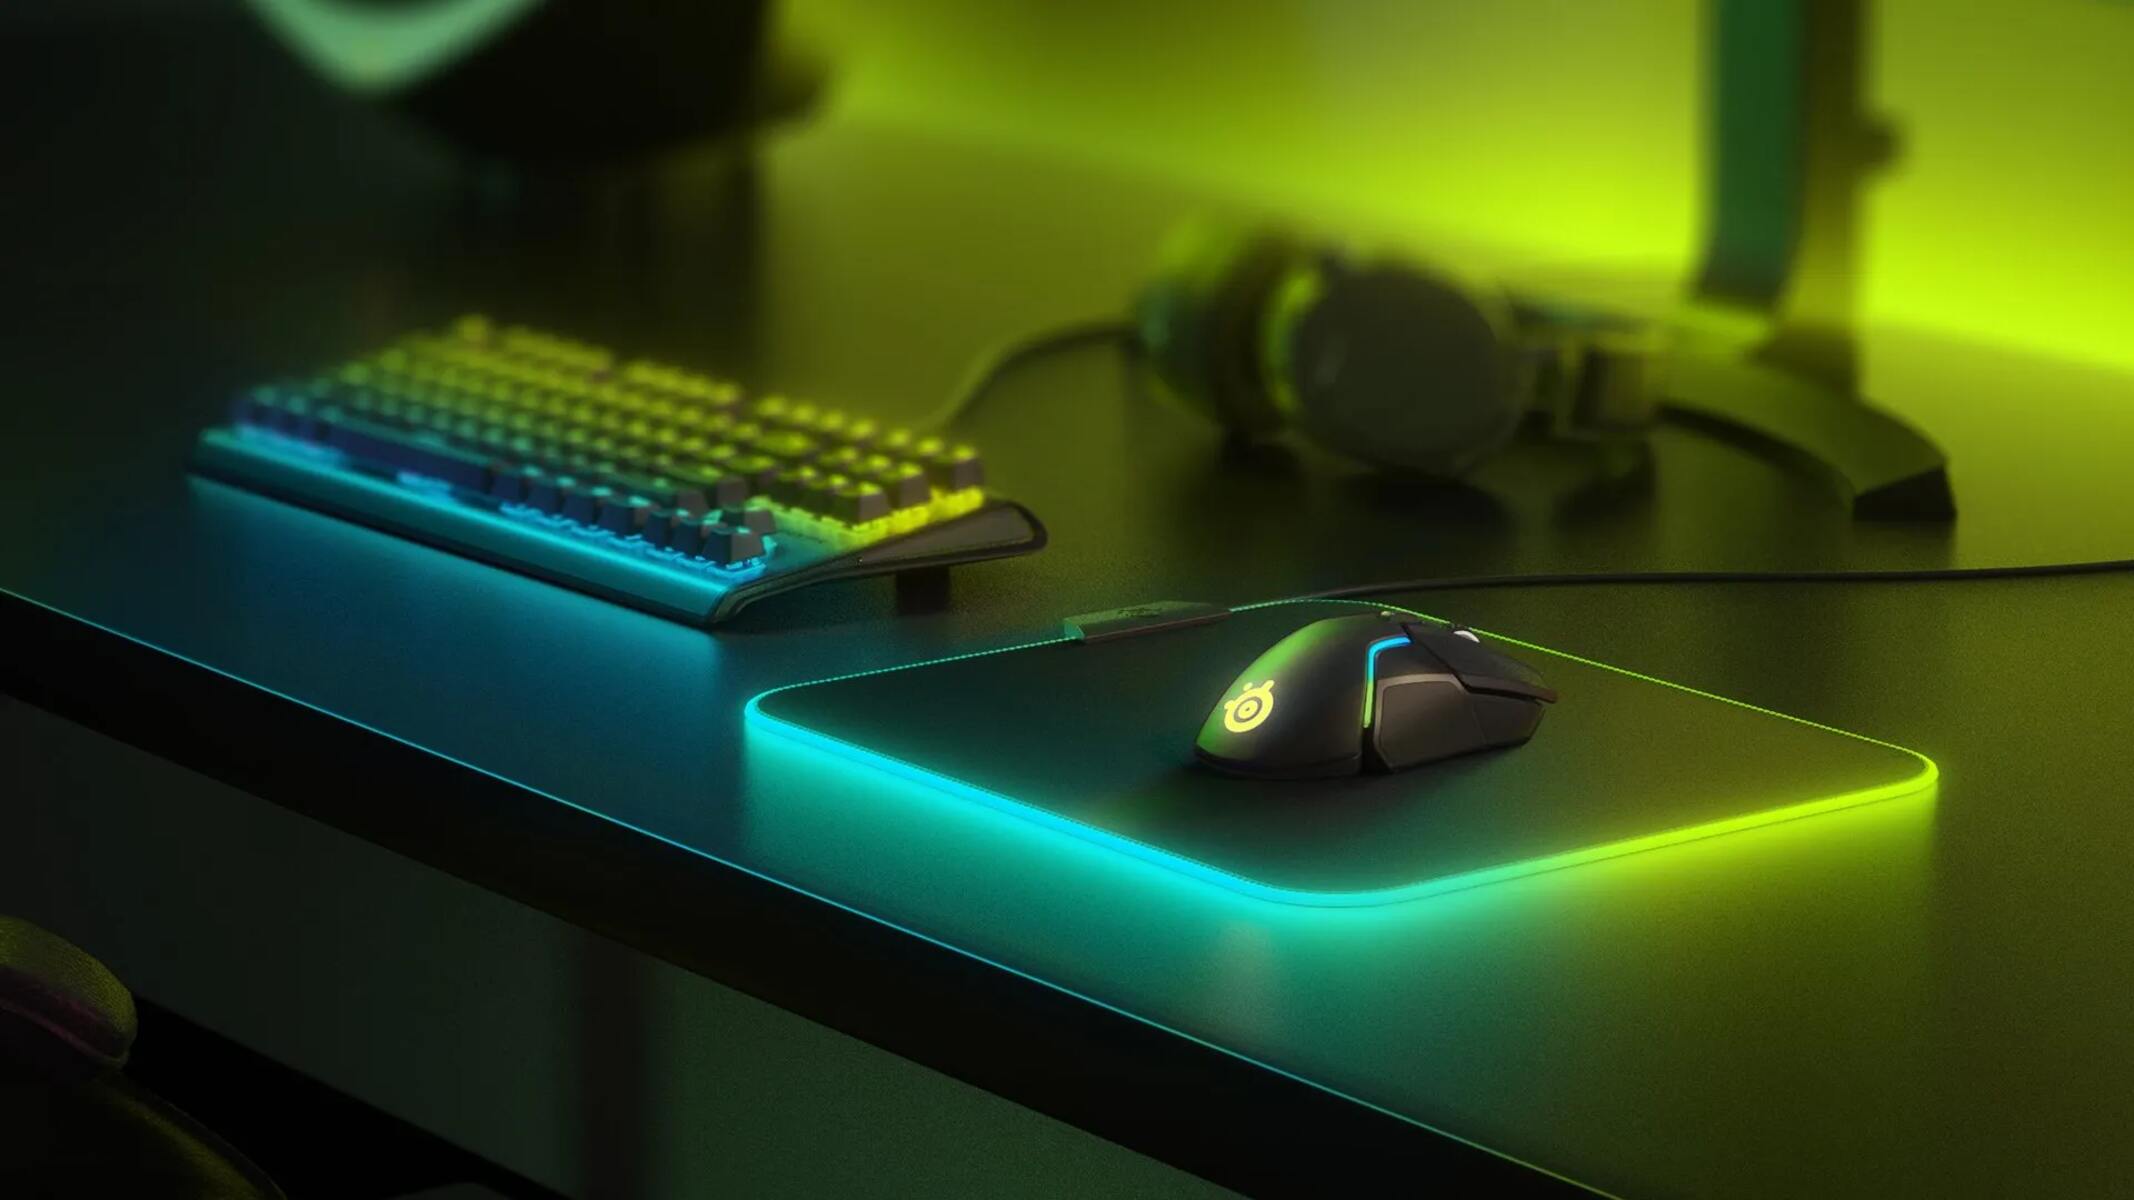
- Fabric of your choice: Opt for a durable and smooth fabric that allows your mouse to glide effortlessly. Consider factors such as texture, color, and design to align with your preferences.
- Foam sheet: A soft and supportive foam sheet will provide the necessary cushioning for your mouse pad, ensuring comfort during extended gaming sessions.
- Scissors: A pair of sharp scissors will be used to cut the fabric and foam to the desired size and shape.
- Fabric glue or adhesive: To securely attach the fabric to the foam base, you’ll need a reliable fabric glue or adhesive that dries clear and maintains a strong bond.
- Decorative elements (optional): If you wish to personalize your mouse pad further, gather decorative elements such as stickers, stencils, fabric markers, or any other embellishments that resonate with your gaming style.
- Protective covering (optional): Consider using a clear, waterproof covering to protect your custom mouse pad from spills, stains, and general wear and tear, extending its longevity.
- Measuring tape or ruler: Accurate measurements are crucial for ensuring that your mouse pad fits perfectly within your gaming setup, so have a measuring tape or ruler on hand.
- Flat work surface: Prepare a clean and spacious work area where you can comfortably lay out and assemble your materials without any obstructions.
With these materials at your disposal, you’ll be well-equipped to embark on the exciting journey of creating a personalized gaming mouse pad that reflects your style and enhances your gaming experience.
Step 1: Choosing the Right Fabric
When it comes to crafting a custom gaming mouse pad, selecting the appropriate fabric is a crucial first step. The fabric you choose will not only contribute to the visual appeal of your mouse pad but also determine the smoothness and responsiveness of your mouse movements. Here are some key considerations to keep in mind when choosing the fabric:
- Texture: Opt for a fabric with a smooth and consistent texture to facilitate seamless mouse gliding. Avoid rough or coarse fabrics that may hinder the fluidity of your mouse movements.
- Durability: Since gaming involves frequent and rapid mouse movements, it’s important to choose a durable fabric that can withstand continuous use without fraying or wearing out quickly.
- Color and Design: Consider your personal preferences and gaming setup aesthetics when selecting the color and design of the fabric. Whether you prefer bold patterns, vibrant colors, or a minimalist look, choose a fabric that complements your style.
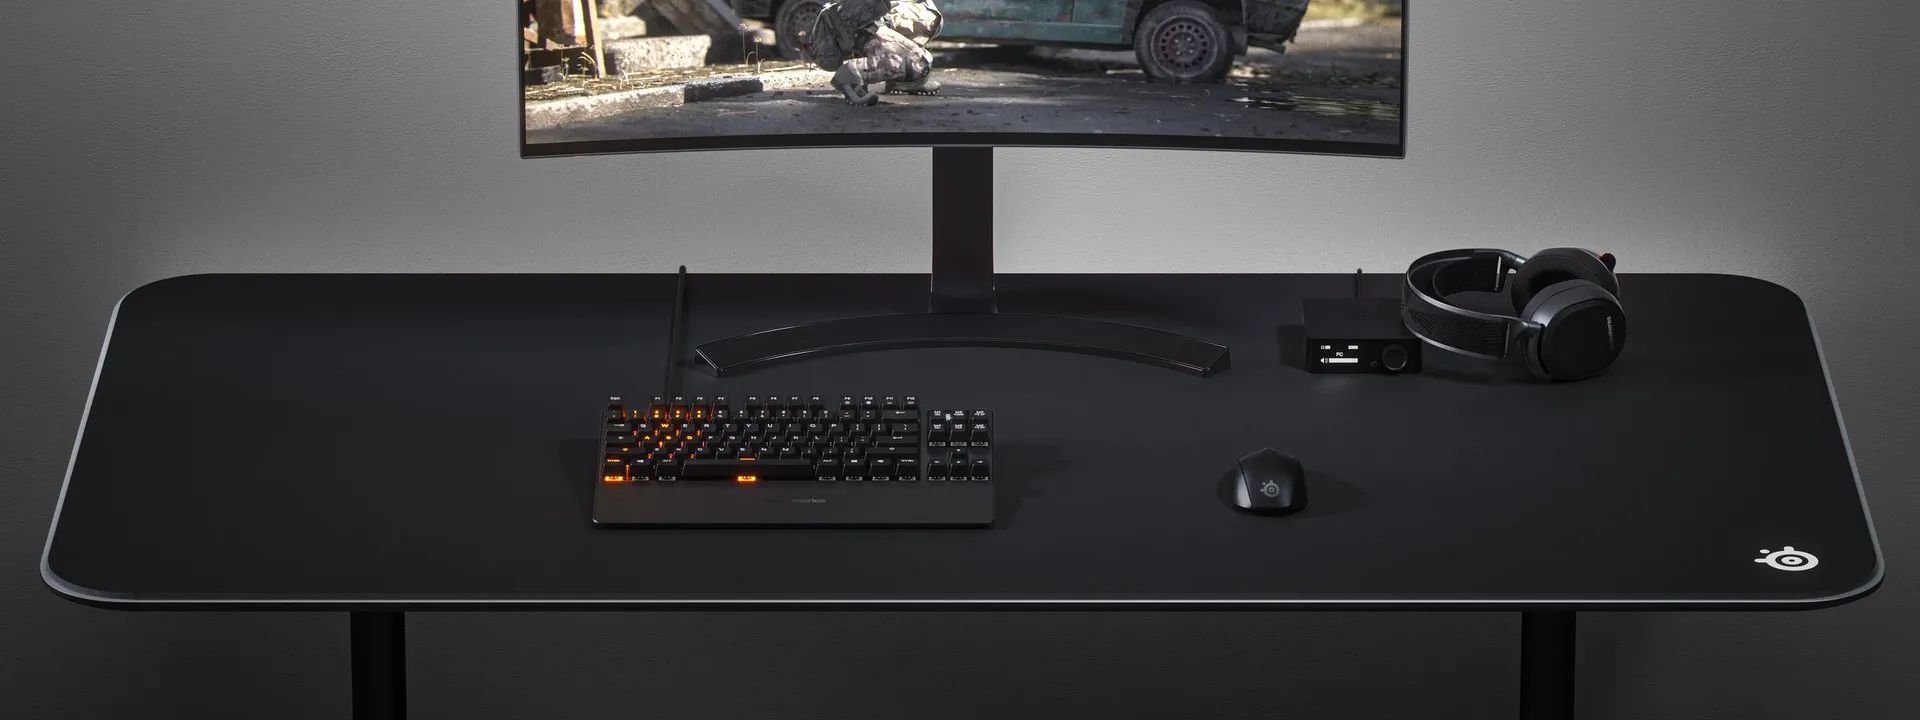
- Size: Ensure that the fabric is large enough to accommodate your desired mouse pad dimensions, allowing for a comfortable and spacious surface for your gaming needs.
Commonly used fabrics for gaming mouse pads include smooth polyester blends, microfiber fabrics, and synthetic materials designed specifically for optimal mouse tracking. These fabrics offer a balance of smoothness, durability, and visual appeal, making them ideal choices for crafting a high-performance gaming mouse pad.
Before making a final decision, it’s beneficial to feel the fabric samples and envision how they would fit into your gaming environment. By carefully considering these factors, you can select a fabric that not only enhances your gaming experience but also reflects your unique style and preferences.
Step 2: Cutting the Fabric to Size
Once you’ve chosen the ideal fabric for your gaming mouse pad, the next step is to precisely cut it to the desired size and shape. This process ensures that your mouse pad fits perfectly within your gaming setup and provides ample space for unrestricted mouse movements. Follow these steps to accurately cut the fabric:
- Measure and Mark: Using a measuring tape or ruler, determine the dimensions for your mouse pad. Mark the measurements on the back of the fabric using a fabric marker or a pencil. Ensure that the lines are straight and accurately represent the intended size.
- Double-Check: Before cutting, double-check the marked dimensions to avoid any errors. Precision is key to achieving a well-fitted mouse pad that aligns with your gaming requirements.
- Use Sharp Scissors: Carefully cut along the marked lines using a pair of sharp scissors. To maintain straight edges, move the fabric while keeping the scissors steady, ensuring a clean and even cut.
- Smooth Corners: If your mouse pad features rounded corners, use the scissors to carefully trim the fabric to create smooth and symmetrical curves. Take your time to achieve neat and uniform edges.
- Inspect the Cut: After cutting the fabric to size, inspect the edges to ensure that they are even and free from any jagged or uneven sections. Trim any excess fabric if necessary to achieve a polished and precise finish.
By meticulously following these steps, you can effectively tailor the fabric to fit your gaming mouse pad dimensions, resulting in a professional-looking and well-proportioned surface for your gaming endeavors. Accurate cutting is essential for achieving a visually appealing and functional mouse pad that seamlessly integrates into your gaming setup.
Step 3: Adding the Foam Base
With the fabric cut to the desired size, the next crucial step in creating your custom gaming mouse pad is to add a supportive and comfortable foam base. The foam provides the necessary cushioning for your wrist and ensures a smooth and consistent surface for precise mouse movements. Follow these steps to securely attach the foam base to your fabric:
- Place the Fabric Face Down: Lay the fabric on a clean and flat surface with the chosen side facing down. Smooth out any wrinkles or creases to create a flat and even surface for attaching the foam.
- Measure and Trim the Foam: Using the fabric as a guide, measure and trim the foam sheet to match the dimensions of the fabric. Ensure that the foam fits perfectly within the fabric borders, providing a snug and uniform foundation for your mouse pad.
- Apply Fabric Adhesive: Apply a thin and even layer of fabric glue or adhesive to the back of the foam sheet. Spread the adhesive using a brush or spatula, ensuring full coverage while avoiding excess glue that may seep through the fabric.
- Align and Press: Carefully place the fabric over the foam, aligning the edges to ensure a precise fit. Gently press down on the fabric to secure it to the foam, smoothing out any air bubbles or wrinkles in the process.
- Allow for Drying Time: Let the mouse pad sit undisturbed for the recommended drying time as per the instructions provided with the fabric adhesive. This allows the bond between the fabric and foam to strengthen, ensuring a secure and long-lasting attachment.
By following these steps, you can effectively affix the foam base to the fabric, creating a supportive and resilient foundation for your custom gaming mouse pad. The foam not only enhances the comfort and ergonomics of your gaming setup but also contributes to the overall durability and performance of your personalized mouse pad.
Step 4: Decorating the Mouse Pad
Once the fabric and foam base are securely assembled, it’s time to unleash your creativity and personalize your gaming mouse pad with decorative elements that reflect your unique style and gaming preferences. Whether you prefer a minimalist design, vibrant graphics, or themed embellishments, the decoration process allows you to infuse your personality into the mouse pad. Here are some creative ideas for decorating your custom mouse pad:
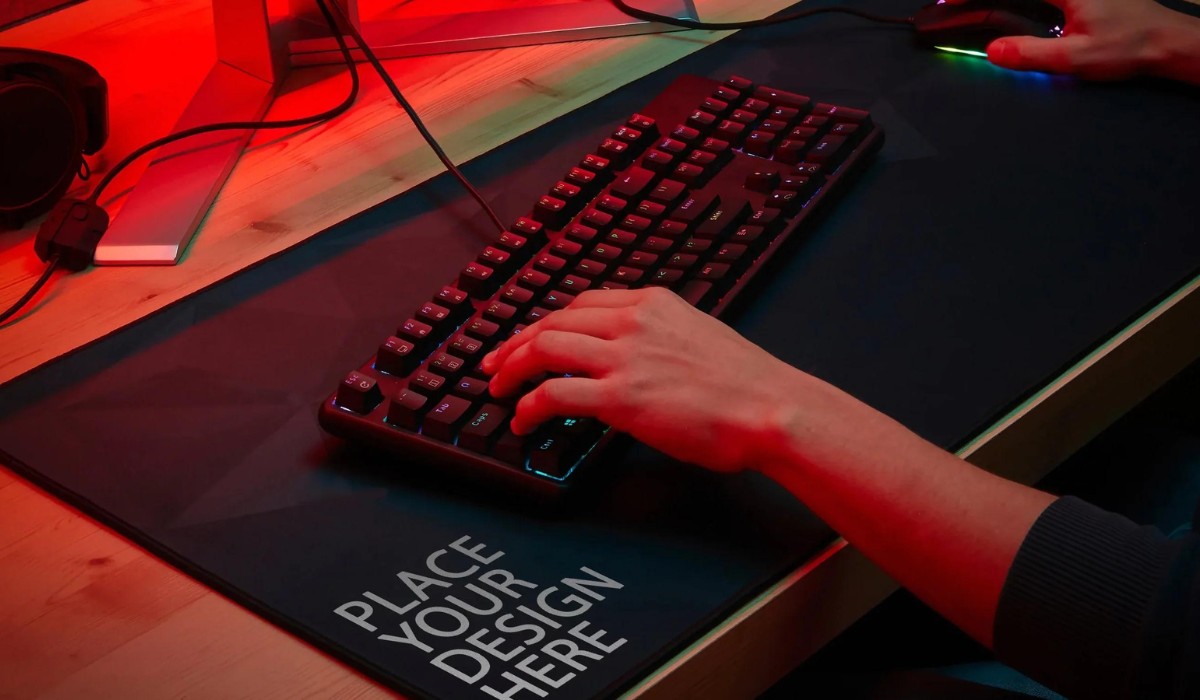
- Stickers and Decals: Add flair to your mouse pad by incorporating gaming-themed stickers, decals, or logos that resonate with your favorite games or characters. Position them strategically to enhance the visual appeal of the mouse pad.
- Fabric Markers and Paints: Unleash your artistic talents by using fabric markers or paints to create original designs, patterns, or illustrations directly on the fabric surface. This personalized touch adds a unique and handcrafted element to your mouse pad.
- Custom Stencils: If you have a specific design or motif in mind, consider using custom stencils to achieve precise and intricate patterns on the fabric. This technique allows for detailed and professional-looking decorations.
- Embroidery or Appliqué: For a tactile and textured embellishment, explore the art of embroidery or appliqué to add dimension and visual interest to your mouse pad. This method provides a sophisticated and enduring decorative touch.
- Personalized Monograms: Incorporate your initials, gamer tag, or a meaningful symbol using embroidery, fabric markers, or appliqué to personalize the mouse pad and make it uniquely yours.
As you embark on the decoration process, let your imagination run wild and experiment with different techniques to achieve a design that resonates with your gaming identity. Whether you aim for a sleek and professional appearance or a bold and expressive aesthetic, the decoration phase allows you to transform your custom mouse pad into a visually captivating and personalized accessory for your gaming setup.
Step 5: Letting It Dry
After completing the decoration process, it’s essential to allow your custom gaming mouse pad to thoroughly dry before incorporating it into your gaming setup. Proper drying ensures that the adhesive and any decorative elements have securely adhered to the fabric, resulting in a durable and long-lasting mouse pad. Follow these important steps to ensure the effective drying of your personalized creation:
- Optimal Drying Area: Choose a well-ventilated and dust-free area where you can lay the mouse pad flat to dry undisturbed. A clean and spacious surface allows for even drying and minimizes the risk of any decorative elements becoming smudged or displaced.
- Follow Adhesive Instructions: If fabric glue or adhesive was used during the assembly or decoration process, adhere to the recommended drying time specified on the product label. Different adhesives may require varying durations to achieve maximum strength and bonding.
- Patience is Key: Exercise patience and resist the temptation to handle or use the mouse pad prematurely. Allowing ample drying time ensures that the fabric, foam, and decorative elements have fully set and bonded, preventing any potential mishaps or compromises to the finished product.
- Visual Inspection: Once the mouse pad has completed the designated drying period, visually inspect the surface to ensure that all components are securely in place and that the fabric is free from any residual moisture or adhesive residue.
By allowing your custom gaming mouse pad to thoroughly dry, you are ensuring the integrity and longevity of your craftsmanship. Once the drying process is complete, your personalized mouse pad will be ready to take its place within your gaming setup, adding a touch of individuality and enhancing your gaming experience with a unique and functional accessory.
Conclusion
Congratulations on successfully crafting your very own custom gaming mouse pad! By following the step-by-step process outlined in this guide, you’ve embarked on a creative and practical journey that has allowed you to tailor a functional and visually appealing accessory to complement your gaming setup. From selecting the perfect fabric and adding a supportive foam base to infusing your personal style through creative decorations, you’ve demonstrated ingenuity and craftsmanship in bringing your custom mouse pad to life.
As you introduce your personalized mouse pad into your gaming environment, take pride in the fact that you’ve created a unique and purposeful accessory that reflects your individuality and enhances your gaming experience. The smooth and responsive surface, combined with the personalized design elements, adds a touch of personality to your gaming setup, making it truly your own.
Furthermore, the process of crafting your own gaming mouse pad has provided an opportunity for self-expression and creativity, allowing you to explore various decorative techniques and design elements that align with your gaming preferences. Whether you’ve opted for a sleek and professional look or a bold and expressive design, your custom mouse pad serves as a testament to your artistic flair and attention to detail.
By incorporating your custom mouse pad into your gaming setup, you’ve not only elevated the aesthetics of your environment but also optimized the functionality of your workspace. The smooth and consistent surface ensures precise mouse movements, while the personalized decorations add a touch of inspiration to your gaming sessions.
Embrace the satisfaction of using a mouse pad that you’ve crafted yourself, and take pride in the fact that your gaming setup now features a one-of-a-kind accessory that reflects your unique style and enhances your gaming endeavors. Your custom gaming mouse pad stands as a testament to your creativity and dedication to optimizing your gaming environment.