Introduction
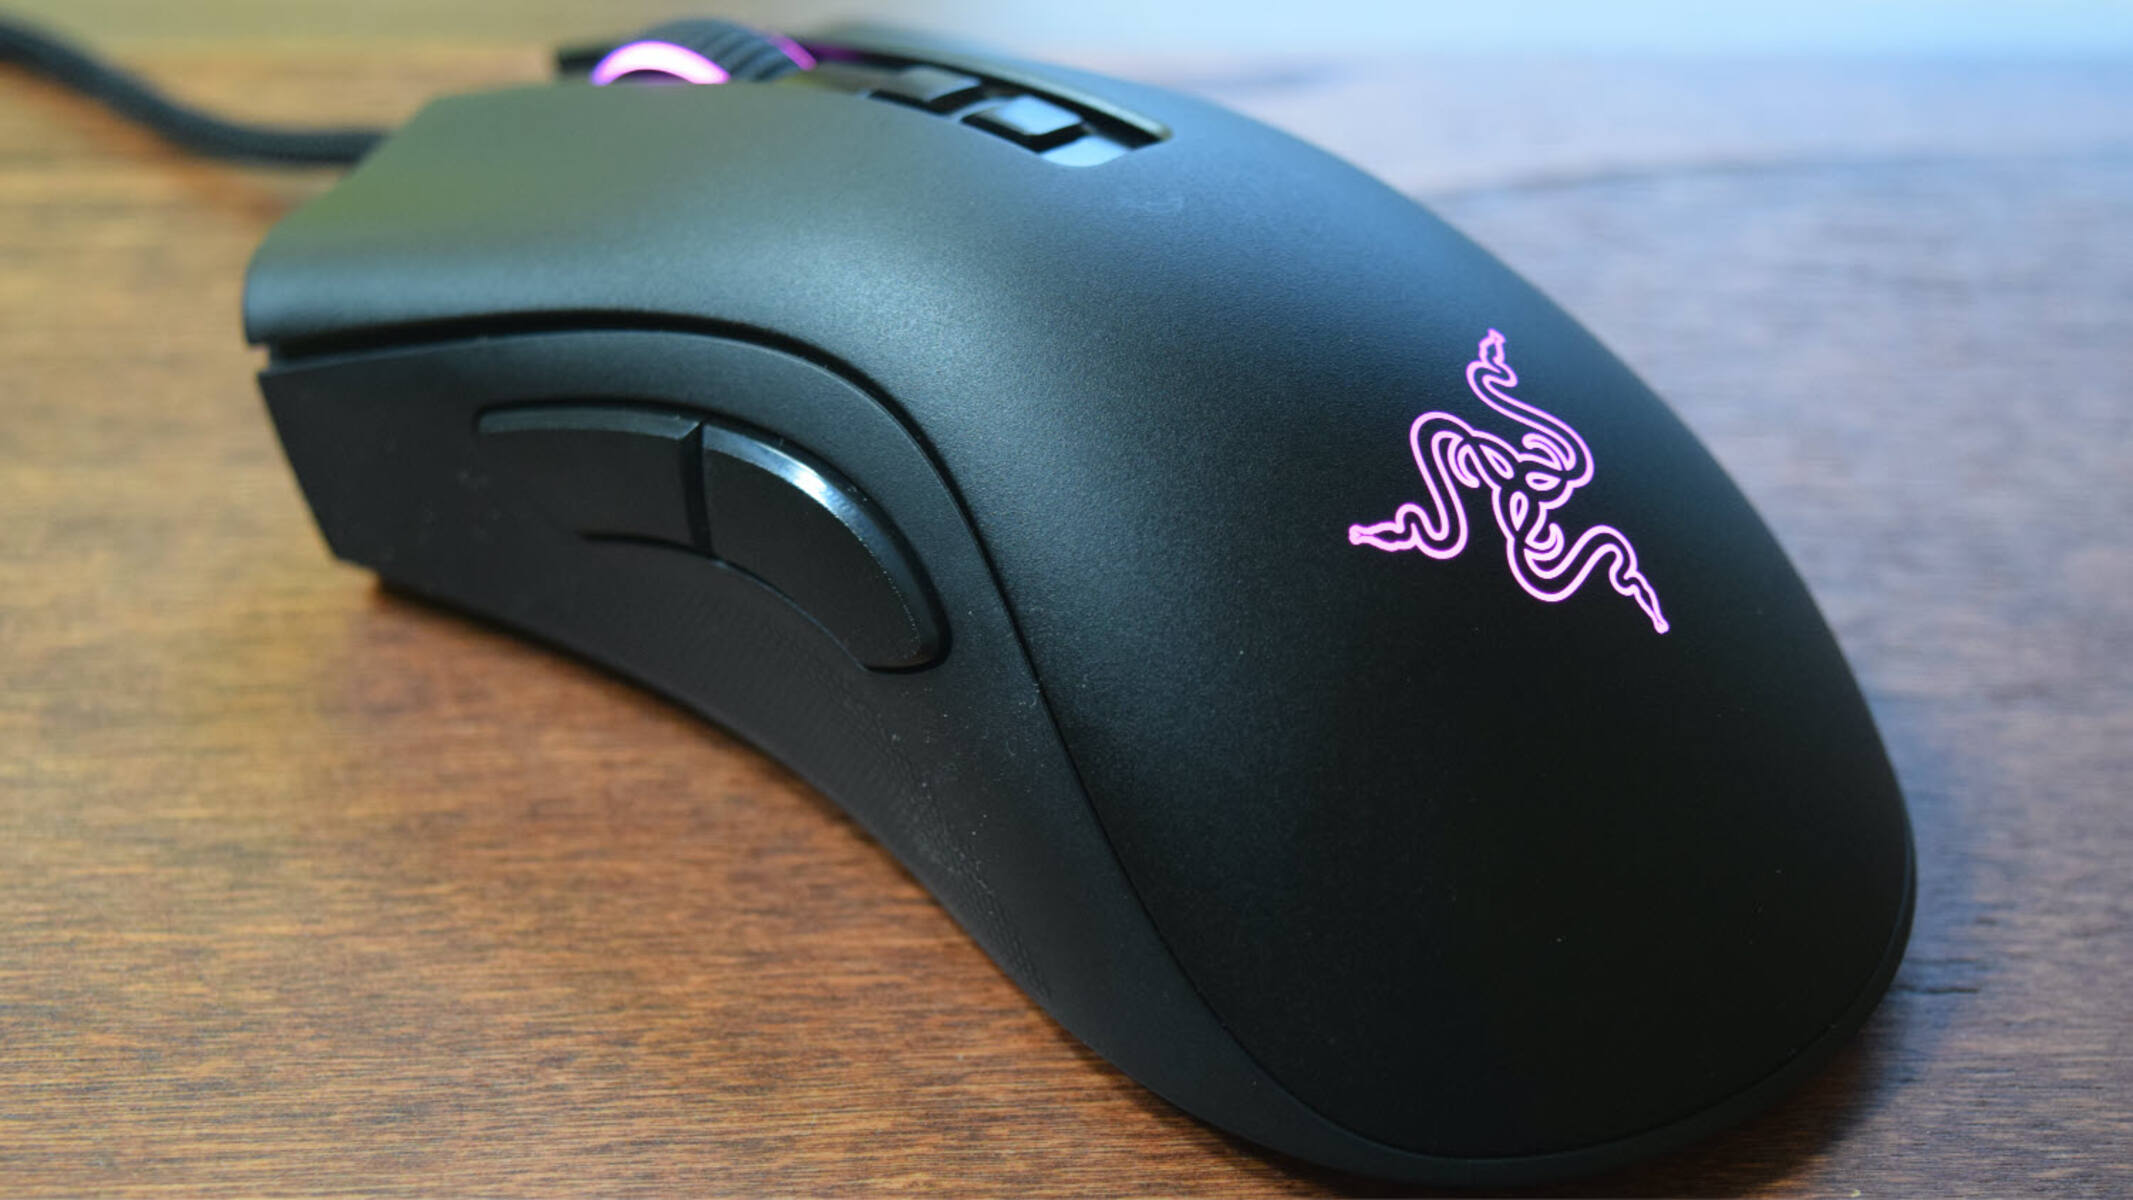
The Razer DeathAdder is a popular gaming mouse known for its precision, comfort, and durability. Over time, the mouse pad feet, also known as mouse skates, may wear out, affecting the smooth gliding of the mouse. When this occurs, it's essential to replace the mouse pad feet to restore the optimal performance of the Razer DeathAdder. This article will guide you through the process of removing the worn-out mouse pad feet, cleaning the surface, and reattaching new mouse pad feet to ensure your gaming mouse functions at its best.
Maintaining your gaming equipment is crucial for an uninterrupted and enjoyable gaming experience. By learning how to remove and replace the mouse pad feet on your Razer DeathAdder, you can extend the lifespan of your mouse and continue to enjoy precise movements and responsive gameplay. With the right tools and a few simple steps, you can easily restore your mouse to its original smooth-gliding state, allowing you to focus on your gaming performance without any distractions.
Whether you're a casual gamer or a competitive esports enthusiast, knowing how to maintain and care for your gaming peripherals is a valuable skill. This guide will walk you through the process, ensuring that you can keep your Razer DeathAdder in top condition for all your gaming adventures. Let's dive into the steps required to remove, clean, and reattach the mouse pad feet, so you can get back to dominating the virtual battlefield with confidence and precision.
Tools Needed
Before embarking on the process of removing and replacing the mouse pad feet on your Razer DeathAdder, it’s essential to gather the necessary tools to ensure a smooth and efficient procedure. Here are the tools you will need:
- Replacement Mouse Pad Feet: Ensure you have the appropriate replacement mouse pad feet specifically designed for the Razer DeathAdder. These are often available for purchase from the manufacturer’s website or authorized retailers.
- Flat-edged Tool: A flat-edged tool, such as a plastic opening tool or a flathead screwdriver, will be useful for gently prying off the old mouse pad feet without damaging the surface of the mouse.
- Cleaning Solution: Prepare a mild cleaning solution, such as a mixture of water and gentle dish soap, or isopropyl alcohol, to clean the surface of the mouse after removing the old feet.
- Clean Cloth: Have a clean, lint-free cloth or microfiber cloth on hand to wipe down the mouse surface after cleaning it with the solution.
- Tweezers: Tweezers can be helpful for handling and placing the new mouse pad feet accurately onto the surface of the mouse.
- Cotton Swabs: These can be used to apply the cleaning solution and to access hard-to-reach areas on the mouse surface.
- Patience and Care: While not a physical tool, exercising patience and care during the process is crucial to prevent any damage to the mouse and ensure that the new mouse pad feet are attached securely and accurately.
By gathering these tools before you begin, you can proceed with confidence, knowing that you have everything necessary to complete the task effectively and without any unnecessary interruptions. With these tools at your disposal, you’ll be ready to remove the worn-out mouse pad feet, clean the surface, and reattach the new mouse pad feet, restoring your Razer DeathAdder to its optimal performance.
Removing the Mouse Pad Feet
Before you begin the process of removing the mouse pad feet on your Razer DeathAdder, it’s important to work in a well-lit and clean environment to prevent any small components from getting lost. Here are the steps to remove the mouse pad feet:
- Prepare the Mouse: Power off your computer and unplug your Razer DeathAdder from the USB port. This ensures that the mouse is safely disconnected from the system during the process.
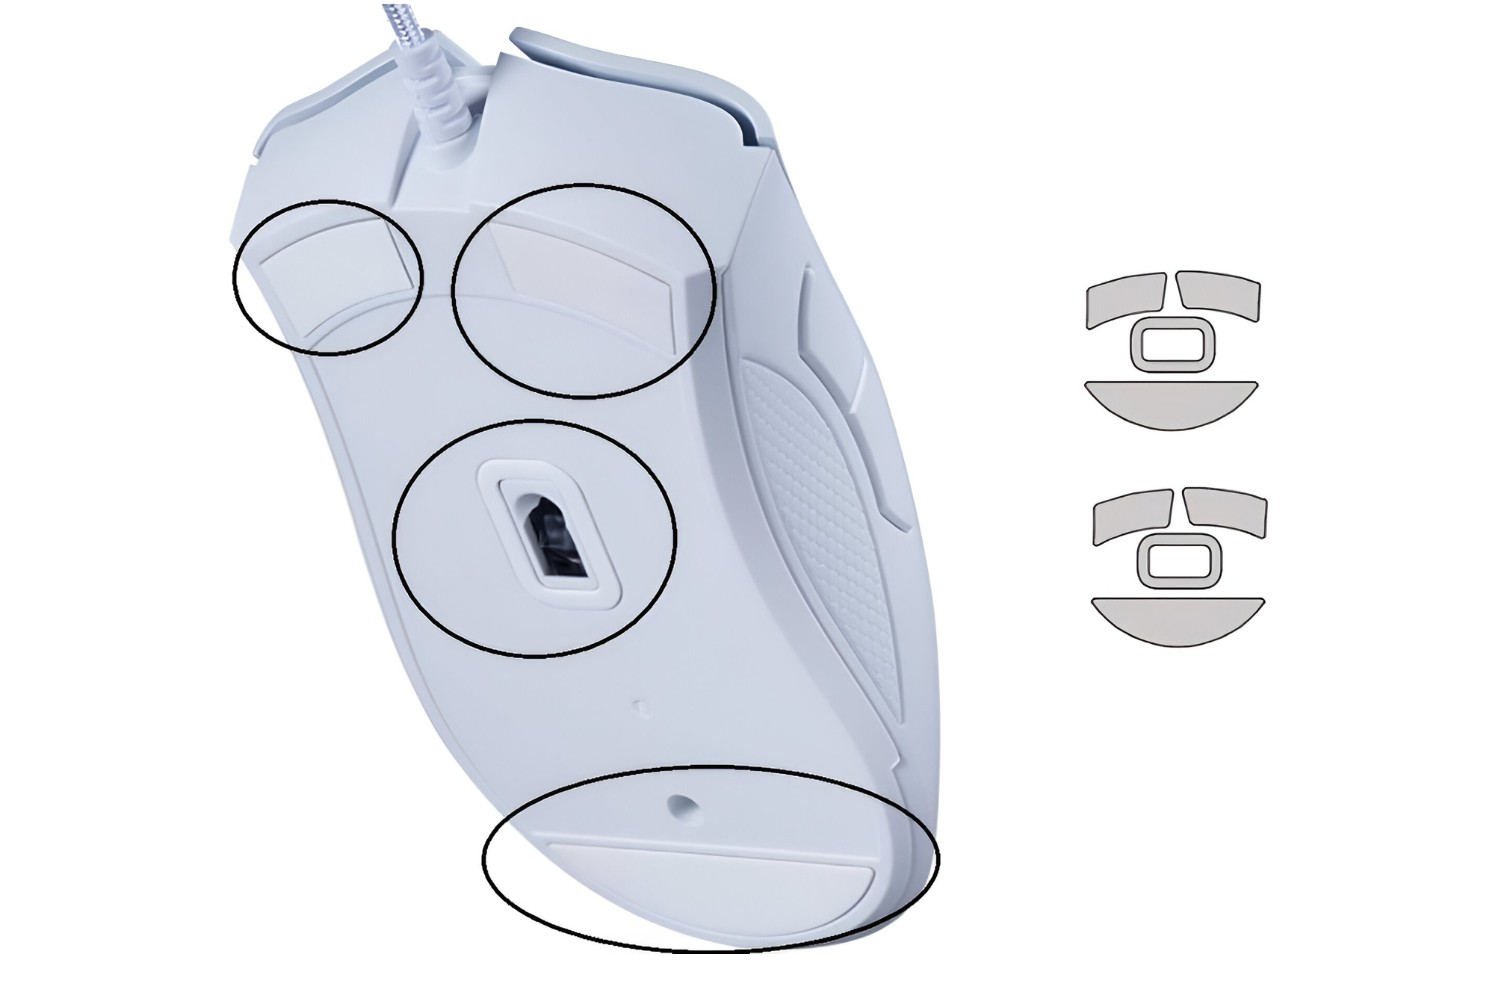
- Identify the Mouse Pad Feet: Examine the underside of the mouse to locate the four mouse pad feet. These are small, smooth pads usually placed near the corners of the mouse.
- Use the Flat-edged Tool: Take the flat-edged tool, such as a plastic opening tool or a flathead screwdriver, and gently insert it under the edge of one of the mouse pad feet. Apply gentle pressure to lift and pry off the foot from the surface of the mouse. Repeat this process for each of the four mouse pad feet.
- Handle with Care: Exercise caution and patience when removing the old mouse pad feet to avoid damaging the surface of the mouse. Take your time and ensure that each foot is removed without leaving any adhesive residue on the mouse.
- Inspect the Surface: After removing the old mouse pad feet, inspect the surface of the mouse to ensure that it is free from any adhesive or residue. Use a clean cloth and a mild cleaning solution to gently wipe the surface and remove any remaining adhesive or dirt.
By following these steps, you can safely and effectively remove the worn-out mouse pad feet from your Razer DeathAdder, preparing the surface for the next steps of cleaning and reattaching the new mouse pad feet. With the old feet removed and the surface clean, you’re ready to proceed with the next phase of the process.
Cleaning the Surface
Once the old mouse pad feet have been removed from your Razer DeathAdder, it’s essential to thoroughly clean the surface of the mouse to ensure optimal adhesion and smooth gliding for the new mouse pad feet. Here’s how to clean the surface:
- Prepare the Cleaning Solution: If using a mild cleaning solution, mix a small amount of gentle dish soap with water or prepare a solution of isopropyl alcohol and water. Dampen a clean cloth or a cotton swab with the cleaning solution.
- Gently Wipe the Surface: Carefully wipe the surface of the mouse with the dampened cloth or cotton swab, ensuring that any adhesive residue, dirt, or grime is removed. Pay close attention to the areas where the old mouse pad feet were previously attached.
- Dry the Surface: After cleaning, use a dry, lint-free cloth or a dry cotton swab to thoroughly dry the surface of the mouse. Ensure that no moisture remains on the surface before proceeding to the next step.
- Inspect for Residue: Take a moment to inspect the surface of the mouse, ensuring that it is free from any remaining adhesive or dirt. If necessary, repeat the cleaning process to achieve a completely clean and smooth surface.
By meticulously cleaning the surface of the mouse, you create an ideal foundation for attaching the new mouse pad feet, promoting secure adhesion and ensuring that your Razer DeathAdder glides smoothly across your mouse pad or gaming surface. With the surface clean and free from any debris, you’re now ready to proceed with the final phase of reattaching the new mouse pad feet.
Reattaching New Mouse Pad Feet
With the surface of your Razer DeathAdder thoroughly cleaned, it’s time to reattach the new mouse pad feet to restore smooth and precise gliding. Follow these steps to securely place the new mouse pad feet on your gaming mouse:
- Position the New Mouse Pad Feet: Take the replacement mouse pad feet designed for the Razer DeathAdder and position them accurately on the underside of the mouse. Align each foot with its corresponding location near the corners of the mouse.
- Apply Even Pressure: Once the new mouse pad feet are positioned, apply even and gentle pressure to firmly press them onto the surface of the mouse. Ensure that each foot adheres securely, promoting stability and smooth movement during use.
- Use Tweezers for Precision: If necessary, use tweezers to handle the new mouse pad feet, ensuring precise placement and minimizing the risk of accidentally touching the adhesive surface with your fingers.
- Verify Alignment: After attaching the new mouse pad feet, verify that they are aligned correctly and sit flush with the surface of the mouse. This ensures that the mouse will glide smoothly and consistently across your gaming surface.
By following these steps, you can effectively reattach the new mouse pad feet to your Razer DeathAdder, ensuring that your gaming mouse is restored to its optimal performance. The secure attachment of the new feet guarantees smooth and precise movement, allowing you to immerse yourself in your gaming experience without any disruptions or inconsistencies in mouse glide.
Conclusion
Mastering the process of removing and replacing the mouse pad feet on your Razer DeathAdder is a valuable skill for any gaming enthusiast. By following the steps outlined in this guide, you can maintain the optimal performance of your gaming mouse and ensure a seamless and enjoyable gaming experience. From gathering the necessary tools to meticulously cleaning the surface and reattaching the new mouse pad feet, each step plays a crucial role in preserving the functionality and precision of your Razer DeathAdder.
As you navigate through the process, remember to exercise patience and care, ensuring that each step is carried out with precision and attention to detail. By doing so, you can extend the lifespan of your Razer DeathAdder, allowing it to continue serving as a reliable tool for your gaming endeavors.
With the new mouse pad feet securely in place, take a moment to appreciate the smooth gliding and precise movements that your Razer DeathAdder now offers. Whether you’re engaging in intense gaming battles or navigating intricate design projects, the restored performance of your gaming mouse will undoubtedly enhance your overall experience.
By mastering the art of maintaining and caring for your gaming peripherals, you can ensure that your Razer DeathAdder remains a reliable and high-performing tool, empowering you to achieve your gaming goals with precision and confidence. Now, armed with the knowledge and skills to maintain your gaming mouse, you can immerse yourself in your favorite games with the assurance of optimal performance and responsiveness.