Introduction
Are you tired of the generic mouse pads available in the market? Do you want to add a personal touch to your gaming setup or workspace? Creating a custom gaming mouse pad is a fantastic way to express your creativity and enhance your gaming experience. With a few simple materials and a touch of imagination, you can design and assemble a custom mouse pad that reflects your unique style and personality.
A custom gaming mouse pad not only serves as a functional surface for your mouse but also as a canvas for your creativity. Whether you're a dedicated gamer, a digital artist, or someone who simply appreciates personalized accessories, designing your own mouse pad allows you to showcase your individuality in a practical and visually appealing manner.
In this guide, we will walk you through the step-by-step process of creating a custom gaming mouse pad. From gathering the necessary materials to designing and assembling your personalized pad, you'll learn how to bring your vision to life. So, roll up your sleeves, unleash your creativity, and get ready to craft a one-of-a-kind mouse pad that will elevate your gaming and working environment.
Materials Needed
Before embarking on the exciting journey of creating your custom gaming mouse pad, it’s essential to gather the necessary materials. Here’s what you’ll need to bring your vision to life:
- Mouse Pad Base: Start with a blank mouse pad as the foundation for your custom design. Opt for a high-quality, durable pad that provides a smooth surface for optimal mouse movement.
- Fabric: Select a fabric that will serve as the top layer of your mouse pad. Consider factors such as texture, color, and print quality to ensure that it complements your design and provides a comfortable mousing surface.
- Sublimation Paper: If you’re planning to use sublimation printing for your design, you’ll need sublimation paper to transfer the image onto the fabric. Ensure that the paper is compatible with your printer and sublimation ink.
- Sublimation Ink and Printer: Invest in sublimation ink and a compatible printer to accurately reproduce your design on the fabric. Sublimation printing offers vibrant, long-lasting results that are ideal for custom mouse pad designs.
- Scissors and Cutting Tools: Precision cutting is crucial for achieving clean edges and a professional finish. Have a pair of sharp scissors or cutting tools on hand to trim the fabric to the desired size and shape.
- Fabric Glue or Sewing Supplies: Depending on your preference and expertise, choose fabric glue or sewing supplies to secure the fabric to the mouse pad base. Fabric glue provides a quick and easy bonding solution, while sewing allows for a more tailored and durable attachment.
- Design Software and Graphics: If you’re creating a custom graphic or artwork for your mouse pad, you’ll need access to design software and high-resolution graphics. Whether you’re designing a logo, illustration, or pattern, these tools are essential for bringing your ideas to fruition.
By ensuring that you have these materials at your disposal, you’ll be well-equipped to proceed with the next steps of designing and assembling your custom gaming mouse pad.
Designing Your Custom Mouse Pad
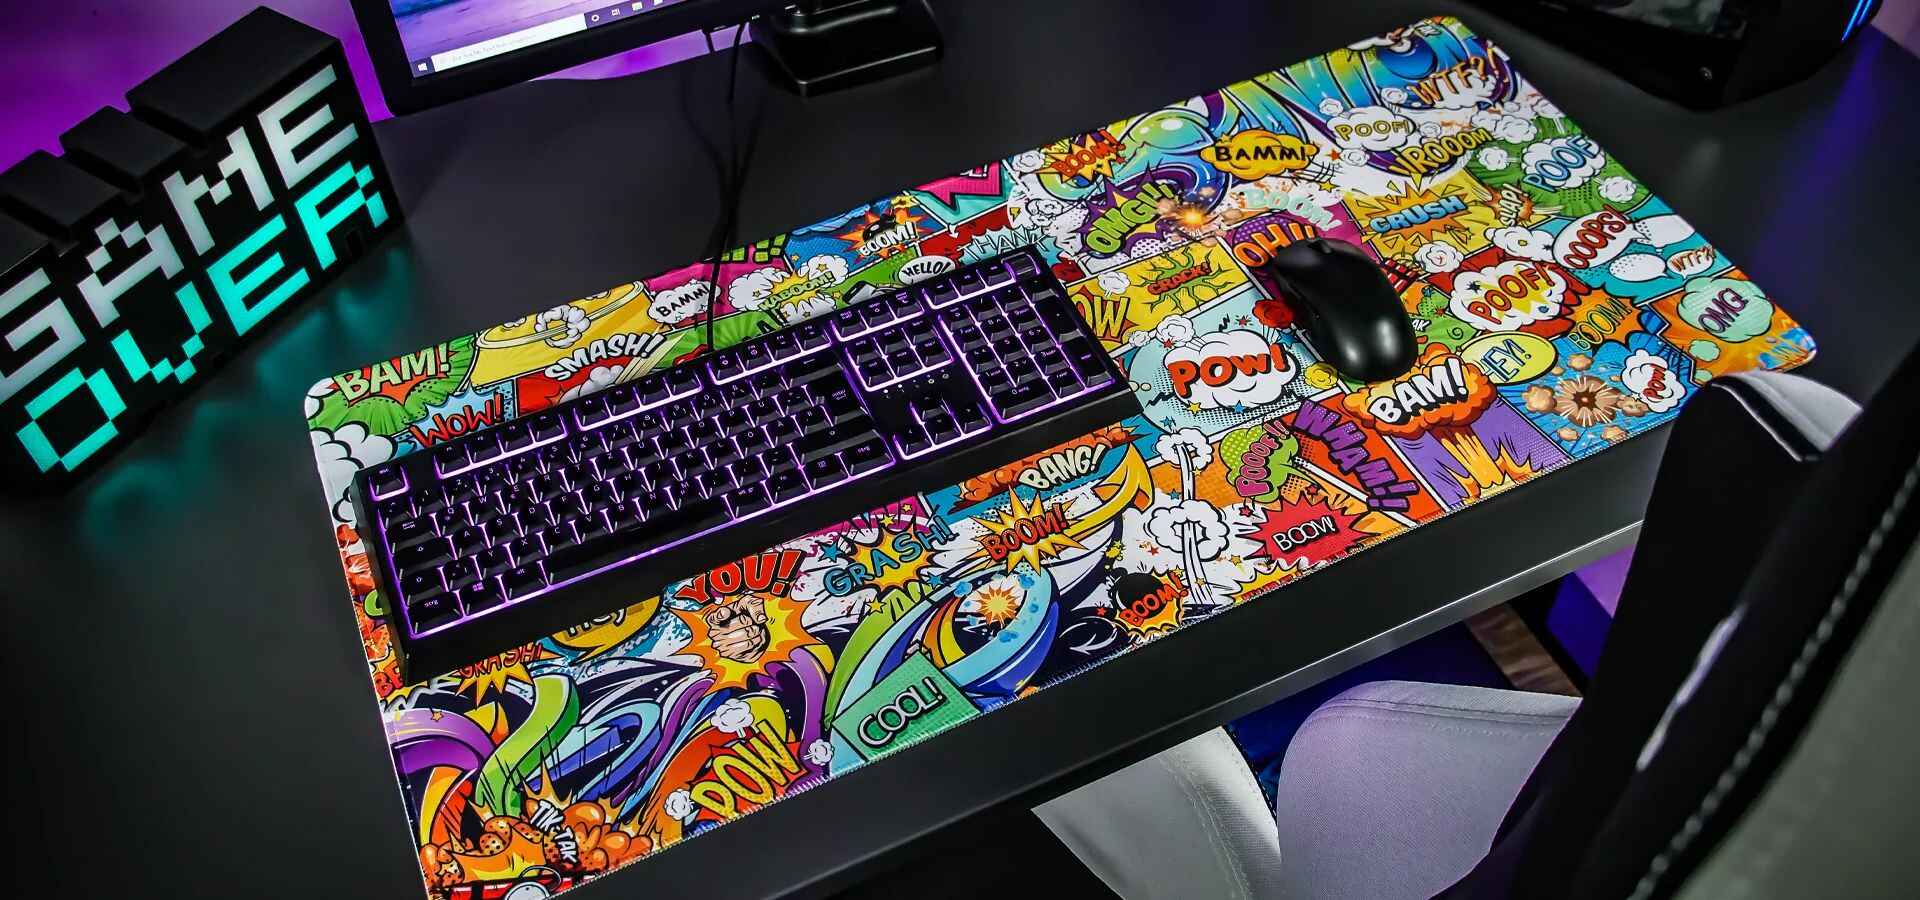
Now that you’ve gathered the essential materials, it’s time to unleash your creativity and design a custom mouse pad that truly represents your style and interests. Whether you’re a fan of vibrant graphics, minimalist patterns, or personalized artwork, the design phase offers endless possibilities to make your mouse pad uniquely yours.
Here’s a step-by-step guide to help you bring your custom mouse pad design to life:
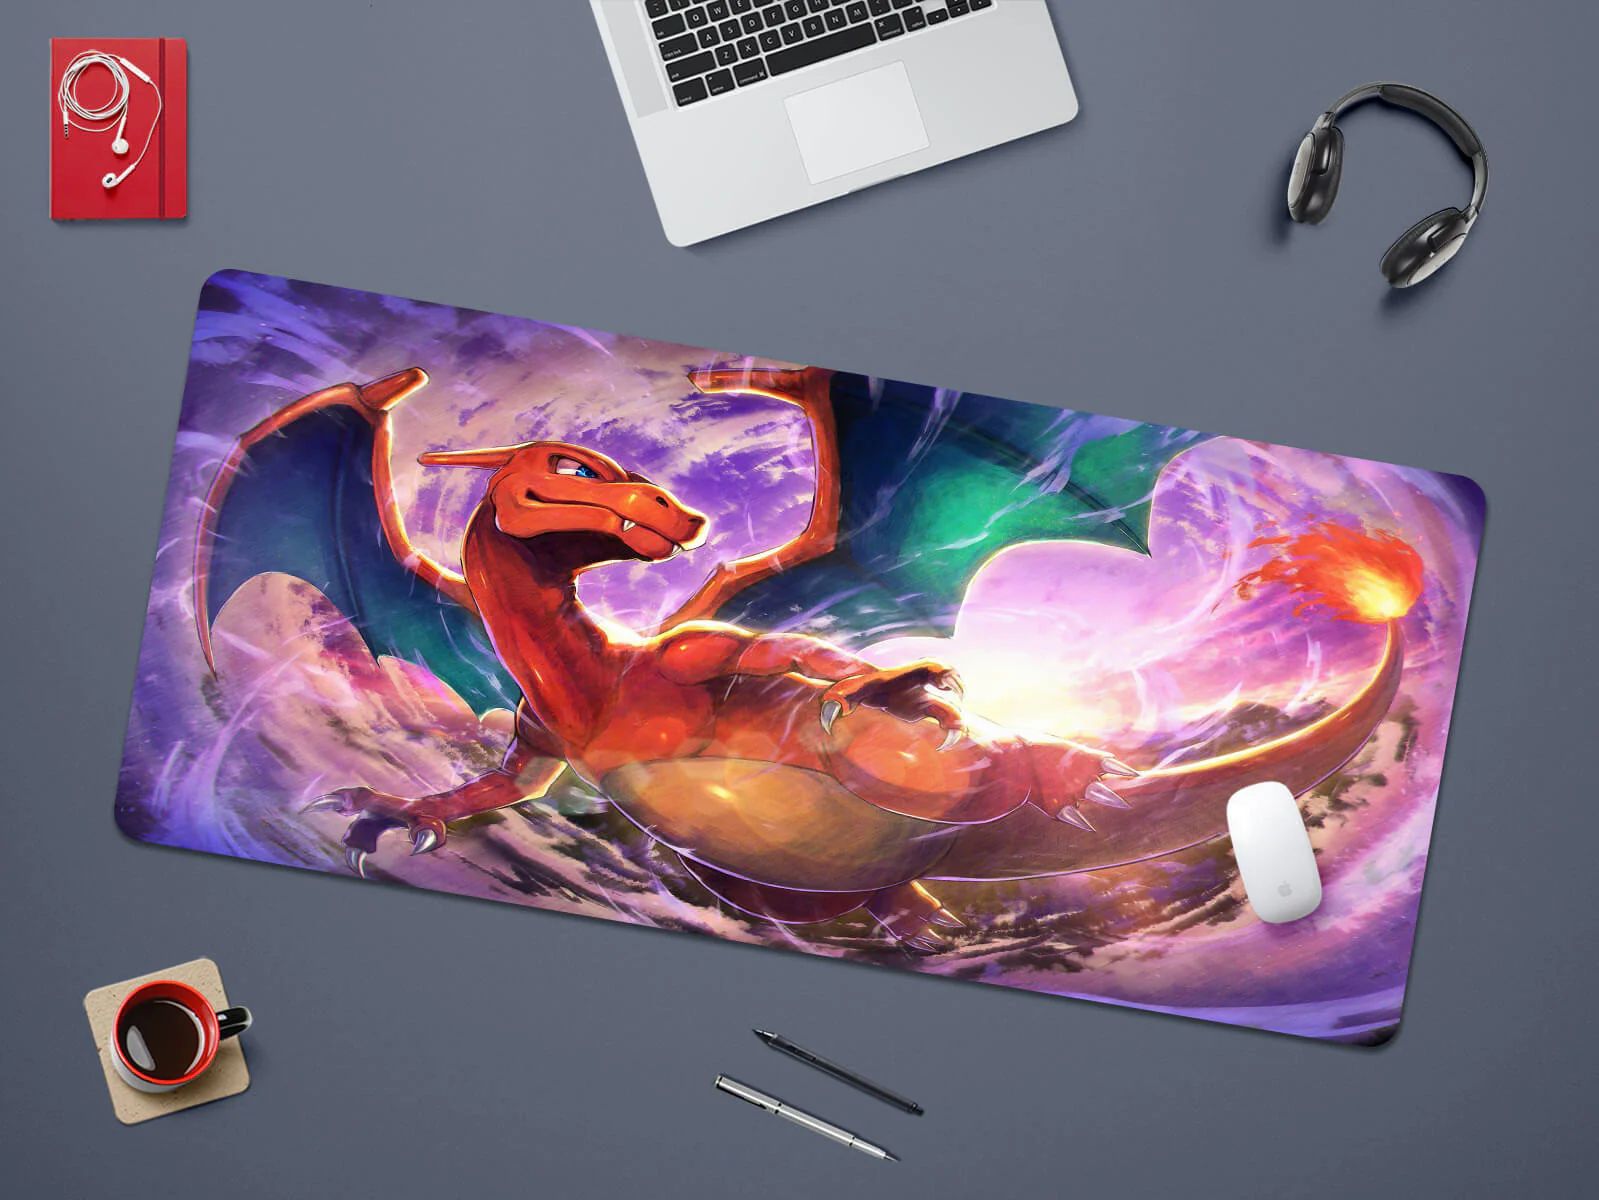
- Conceptualize Your Design: Consider the theme, color scheme, and visual elements that you want to incorporate into your mouse pad design. Whether it’s a custom logo, a favorite gaming character, or an abstract pattern, take the time to visualize how these elements will come together on the mouse pad’s surface.
- Create or Source Your Graphics: If you’re skilled in graphic design, use design software to create your custom artwork. Alternatively, you can source high-quality graphics, illustrations, or photographs that resonate with your design concept. Ensure that the graphics are of suitable resolution and size for the dimensions of your mouse pad.
- Adjust and Finalize the Design: Use design software to refine and adjust your graphics as needed. Pay attention to details such as scale, composition, and color accuracy to achieve the desired visual impact. If you’re incorporating text, choose fonts that complement your design and enhance its overall appeal.
- Consider Ergonomics and Functionality: While focusing on aesthetics, keep in mind the ergonomic and functional aspects of the mouse pad. Ensure that the design does not interfere with mouse tracking and that the surface remains comfortable for extended use.
- Review and Seek Feedback: Before proceeding to the printing phase, review your design and seek feedback from peers or fellow enthusiasts. Fresh perspectives can provide valuable insights and help refine your design before it’s transferred to the mouse pad.
By following these steps, you’ll be well-prepared to move on to the next stage of the process, which involves printing your carefully crafted design onto the fabric of your custom gaming mouse pad. This phase marks the transformation of your digital artwork into a tangible and functional accessory that reflects your creativity and individuality.
Printing Your Design
Once you’ve meticulously crafted and finalized your custom mouse pad design, the next crucial step is to bring it to life through the printing process. Whether you’ve chosen a striking graphic, a personalized illustration, or a captivating pattern, the printing phase is where your digital creation transitions into a tangible and functional piece of art.
Here’s a comprehensive guide to help you navigate the printing process for your custom gaming mouse pad:
- Prepare Your Sublimation Printer and Workspace: If you’re using sublimation printing, ensure that your printer is equipped with sublimation ink and that it’s set up in a well-ventilated workspace. Sublimation printing requires heat and pressure to transfer the design onto the fabric, so it’s essential to have a suitable printing environment.
- Adjust Printing Settings: Configure the printing settings on your computer to match the specifications of the sublimation paper and fabric. Pay attention to color management, resolution, and print quality to ensure that your design is accurately reproduced with vibrant colors and sharp details.
- Print a Test Sample: Before printing your design onto the actual fabric, consider creating a test sample on regular paper to assess color accuracy and overall print quality. This step allows you to make any necessary adjustments before proceeding with the final printing.
- Load the Sublimation Paper: Load the sublimation paper with your design into the printer, ensuring that it’s positioned correctly for accurate printing. Take care to avoid smudges or creases on the paper, as these can affect the quality of the transfer.
- Execute the Printing Process: Initiate the printing process and monitor the transfer of your design onto the sublimation paper. Ensure that the printer operates smoothly and that the colors and details are faithfully reproduced as per your original design.
- Allow for Proper Drying and Setting: Once the printing is complete, allow the sublimation ink to properly dry and set on the paper before proceeding to the next phase. Proper drying is essential for achieving vibrant and long-lasting results when transferring the design to the fabric.
By following these steps, you’ll be well-equipped to execute the printing process with precision and care, ensuring that your custom mouse pad design is accurately and beautifully transferred onto the fabric. The printing phase marks a significant milestone in the creation of your personalized mouse pad, bringing you one step closer to assembling your unique and functional gaming accessory.
Assembling Your Custom Mouse Pad
With your custom design expertly printed onto the fabric, it’s time to embark on the final phase of creating your personalized gaming mouse pad – the assembly process. This stage involves bringing together the printed fabric and the mouse pad base to create a cohesive and functional accessory that reflects your unique style and creativity.
Here’s a detailed guide to help you assemble your custom gaming mouse pad with precision and finesse:
- Trim the Fabric to Size: Carefully trim the printed fabric to match the dimensions of the mouse pad base. Use sharp scissors or cutting tools to achieve clean and precise edges, ensuring that the fabric fits seamlessly onto the base without any excess material.
- Position the Fabric on the Mouse Pad Base: Place the trimmed fabric over the mouse pad base, ensuring that it aligns perfectly and that the design is centered and visually appealing. Take your time to position the fabric accurately before proceeding to the attachment phase.
- Secure the Fabric to the Base: Depending on your preferred method, use fabric glue or sewing supplies to secure the fabric to the mouse pad base. Apply a thin, even layer of fabric glue to the base and carefully press the fabric onto it, smoothing out any wrinkles or air bubbles for a flawless finish. Alternatively, if you opt for sewing, use a needle and thread to carefully stitch the fabric to the base, ensuring a secure and tidy attachment.
- Allow for Proper Setting and Drying: If you’ve used fabric glue, allow the assembled mouse pad to dry thoroughly according to the manufacturer’s recommendations. Ensure that the fabric is firmly bonded to the base before proceeding to use the mouse pad.
- Inspect and Refine the Final Product: Once the fabric is securely attached to the base, inspect the assembled mouse pad for any imperfections or areas that may require refinement. Trim any stray threads or excess fabric to achieve a polished and professional appearance.
By following these steps, you’ll successfully assemble your custom gaming mouse pad, transforming your carefully designed and printed artwork into a functional and visually striking accessory. The assembly phase marks the culmination of your creative journey, providing you with a personalized mouse pad that enhances your gaming experience and adds a touch of individuality to your workspace.
Conclusion
Congratulations on completing the exhilarating process of creating your custom gaming mouse pad! From conceptualizing your design to bringing it to life through printing and assembly, you’ve embarked on a journey that combines creativity, practicality, and personal expression. As you admire your finished custom mouse pad, you can take pride in the fact that it’s a reflection of your unique style and a testament to your creative prowess.
Your custom gaming mouse pad is more than just a functional accessory – it’s a canvas for self-expression, a conversation starter, and a source of inspiration in your gaming and working environment. Every time you navigate your mouse across its surface, you’ll be reminded of the creativity and dedication that went into crafting this personalized piece.
Furthermore, the skills and knowledge you’ve gained throughout this process extend beyond the creation of a mouse pad. You’ve honed your design abilities, familiarized yourself with printing techniques, and mastered the art of assembling a functional accessory. These valuable skills can be applied to future creative projects, allowing you to continue expressing yourself through personalized and unique creations.
Whether you’ve designed a bold and vibrant mouse pad that energizes your gaming setup or opted for a subtle and sophisticated design that complements your workspace, your custom mouse pad is a testament to your individuality and creativity. Embrace it as a symbol of your unique identity and a tangible representation of your artistic vision.
As you enjoy the seamless mouse tracking and personalized flair of your custom gaming mouse pad, remember the journey you undertook to bring it to life. Your creation stands as a testament to the power of creativity and the joy of infusing your personal touch into everyday items. Let your custom mouse pad serve as a constant source of inspiration and a reminder of the limitless possibilities that await when you channel your creativity into practical and visually appealing creations.


