Introduction
Are you ready to take your Tera gaming experience to the next level by using a game controller? Connecting a game controller to Tera can significantly enhance your gameplay, providing a more immersive and enjoyable experience. Whether you prefer the tactile feedback of a controller or simply want to switch things up, integrating a game controller with Tera can offer a fresh perspective on the game.
In this guide, we'll walk you through the process of connecting your game controller to Tera, ensuring that you can seamlessly transition from keyboard and mouse to your preferred controller. By following these steps, you'll be able to navigate the world of Tera with ease and precision, all while enjoying the comfort and familiarity of a game controller.
So, if you're ready to elevate your Tera gaming experience, let's dive into the steps for connecting your game controller and configuring it for optimal gameplay. Whether you're a seasoned Tera player or a newcomer to the game, integrating a game controller can add a new dimension to your adventures in the world of Tera. Let's get started!
Step 1: Check Controller Compatibility
Before diving into the process of connecting your game controller to Tera, it’s crucial to ensure that your controller is compatible with the game. Tera supports a wide range of game controllers, including popular options from leading manufacturers. To determine whether your controller is compatible, you can refer to the official list of supported controllers provided by the game developers or consult the game’s documentation.
If you’re unsure about your controller’s compatibility, you can also explore community forums and discussions where players share their experiences with various controllers. Additionally, some controllers may require specific drivers or software to function optimally with Tera, so it’s essential to verify these requirements before proceeding.
For players using PC, it’s important to consider whether your controller connects via USB or wirelessly, as this can impact the setup process. Wireless controllers may require additional steps for pairing and configuration, while USB controllers typically offer plug-and-play functionality, simplifying the setup process.
By confirming your controller’s compatibility and understanding any additional requirements, you can proceed with confidence, knowing that your chosen controller is well-suited for use with Tera. Once you’ve determined that your controller is compatible, you’re ready to move on to the next step and begin the process of connecting it to your gaming platform.
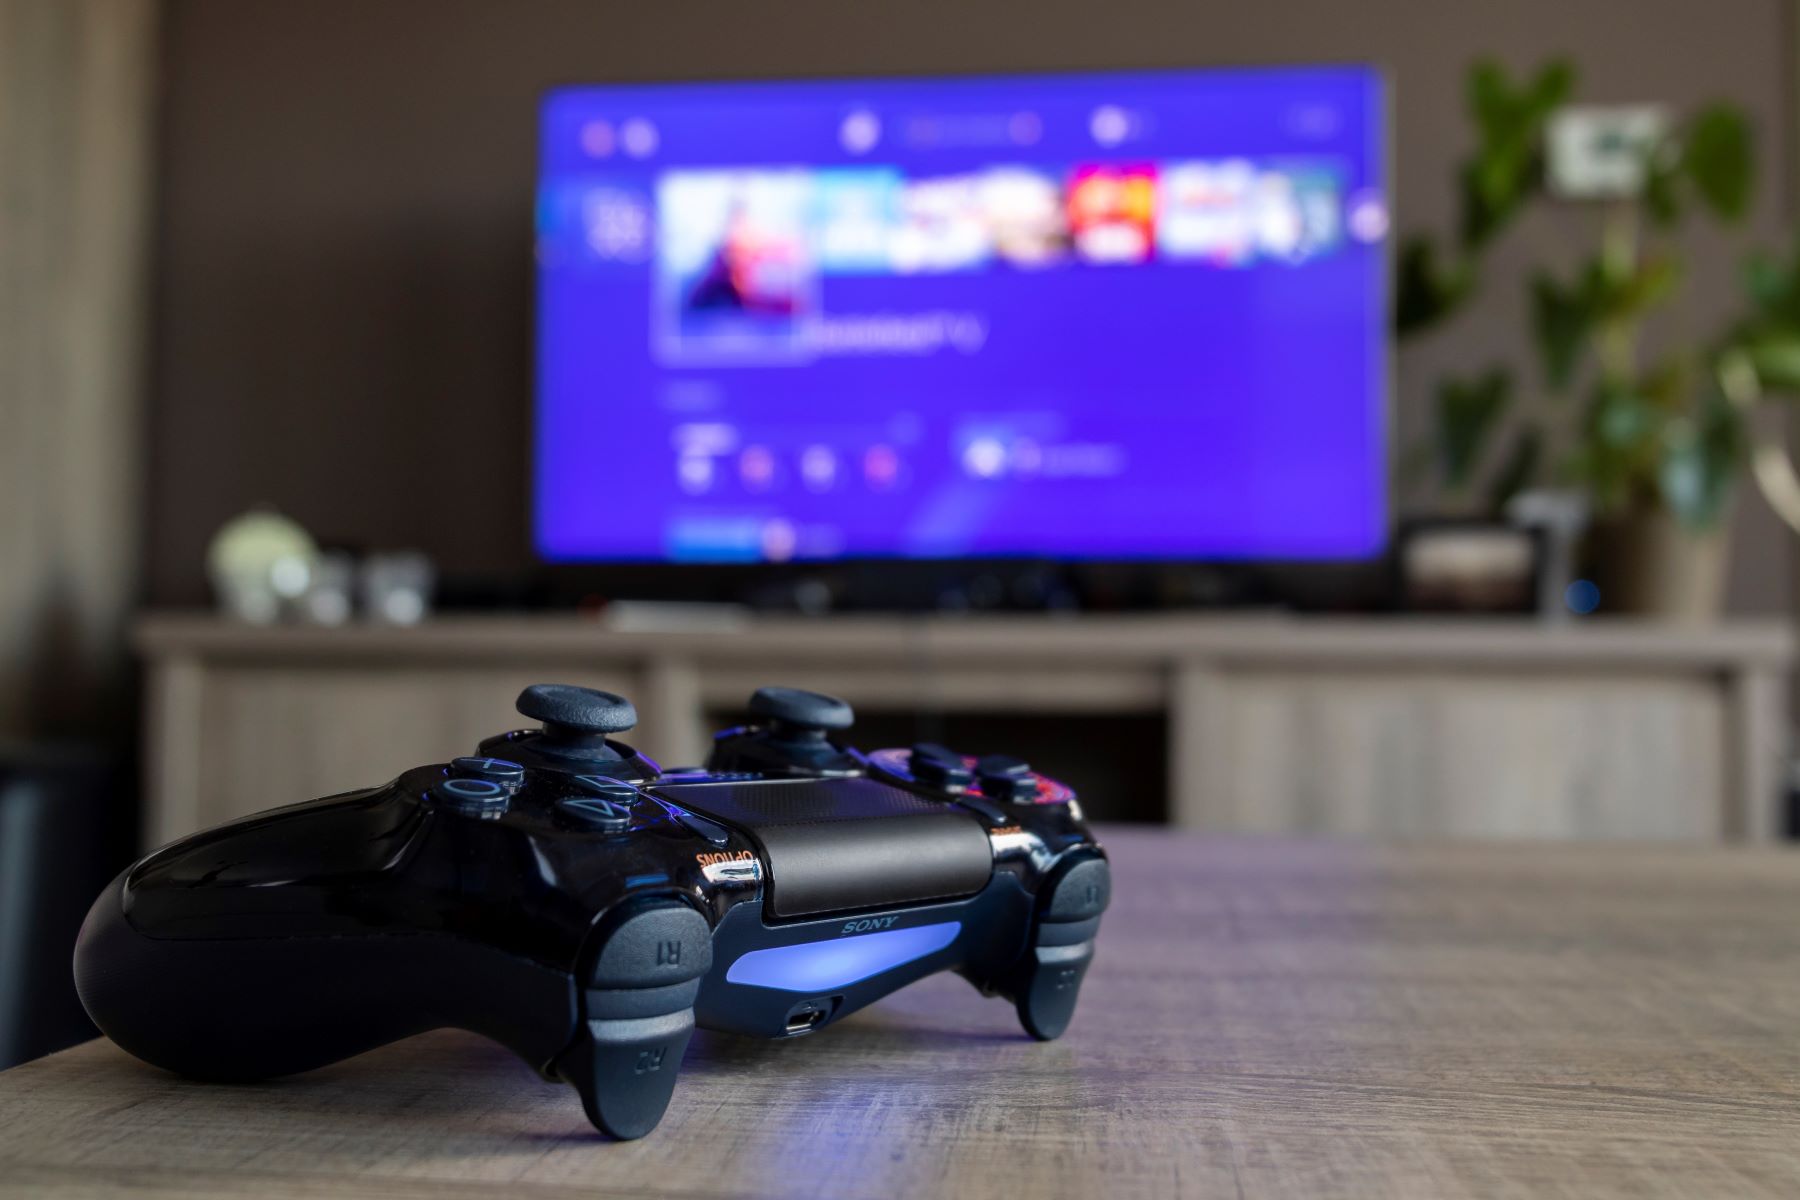
Step 2: Connect Controller to PC
Connecting your game controller to your PC is the next crucial step in preparing for an enhanced Tera gaming experience. If you’re using a wired controller, simply plug it into an available USB port on your computer. Most modern controllers are recognized automatically by Windows and require minimal setup, allowing you to proceed seamlessly to the next step.
For wireless controllers, the process may involve pairing the controller with your PC using Bluetooth or a proprietary wireless receiver. If your controller utilizes Bluetooth connectivity, ensure that your PC has Bluetooth capabilities and follow the manufacturer’s instructions for pairing the controller. Alternatively, wireless controllers often come with a dedicated USB receiver that plugs into your PC, enabling wireless communication with the controller.
Once your controller is connected and recognized by your PC, it’s advisable to verify its functionality by navigating to the “Devices and Printers” section in the Control Panel or the “Bluetooth & other devices” settings in Windows 10. Here, you can confirm that your controller is listed and recognized by your system, ensuring that it’s ready for use with Tera.
By successfully connecting your controller to your PC, you’ve completed a crucial step in the process of integrating it with Tera. With the physical connection established, you’re now ready to proceed to the next phase: configuring your controller within the Tera game settings to ensure smooth and responsive gameplay.
Step 3: Open Tera and Configure Controller Settings
With your game controller successfully connected to your PC, it’s time to launch Tera and configure the controller settings within the game. Start by opening the Tera game client and accessing the in-game settings menu. Look for the “Input” or “Controller Settings” section, where you can customize the controls to align with your preferred layout and playstyle.
Within the controller settings, you’ll typically find options to map the controller buttons to specific in-game actions, such as movement, combat abilities, and menu navigation. Tera often provides pre-configured controller layouts for popular controllers, simplifying the setup process for players. However, if you prefer a customized layout or need to adjust the default settings, the game usually offers the flexibility to remap buttons and fine-tune the controller configuration to your liking.
When configuring the controller settings, take the time to familiarize yourself with the available options and experiment with different configurations to find a setup that feels intuitive and responsive. Consider the unique gameplay mechanics of Tera, such as combat combos and movement abilities, and ensure that your controller layout accommodates these elements effectively.
Additionally, Tera may offer sensitivity settings and dead zone adjustments for analog sticks, providing further customization to optimize the controller’s responsiveness. These settings can significantly impact your gameplay experience, allowing you to fine-tune the controller’s behavior to match your preferences and playstyle.
By carefully configuring the controller settings within Tera, you can tailor the gameplay experience to suit your individual preferences, creating a seamless and intuitive interface between you and the game world. With the controller settings optimized, you’re now prepared to immerse yourself in the world of Tera using your preferred game controller.
Step 4: Test Controller in Tera
After configuring the controller settings in Tera, it’s essential to thoroughly test the functionality of your game controller within the game environment. Launch Tera and enter a gameplay session to evaluate how the controller responds to your inputs and commands. Begin by navigating your character through the game world, testing the movement controls to ensure smooth and precise locomotion.
As you explore the game world, take the opportunity to engage in combat encounters, casting spells, executing attacks, and utilizing abilities using the controller. Assess the responsiveness and accuracy of the controller inputs, ensuring that your actions are translated seamlessly within the game. Pay particular attention to the combat mechanics, as Tera’s dynamic action-oriented gameplay relies on precise control and swift reactions.
During your testing phase, consider experimenting with various in-game activities, such as questing, interacting with NPCs, and navigating the game menus. Verify that the controller provides a cohesive and intuitive experience across all aspects of gameplay, allowing you to engage with Tera’s content comfortably and efficiently.
If you encounter any issues or inconsistencies during the testing phase, revisit the controller settings within Tera to make adjustments and refinements. Fine-tune the button mappings, sensitivity settings, and any other configurable options to address any challenges and optimize the controller’s performance within the game.
By thoroughly testing the controller in Tera, you can ensure that it seamlessly integrates with the game’s mechanics, providing a fluid and immersive experience. As you become accustomed to using the controller in Tera, you’ll discover how it enhances your gameplay and contributes to a more enjoyable and engaging gaming experience.
Conclusion
Congratulations! By following the steps outlined in this guide, you’ve successfully connected and configured a game controller for use with Tera, unlocking a new dimension of gameplay and immersion. Integrating a game controller with Tera offers a more tactile and intuitive way to interact with the game world, enhancing your overall gaming experience.
Through the process of checking controller compatibility, connecting the controller to your PC, configuring the controller settings within Tera, and thoroughly testing its functionality, you’ve taken proactive steps to ensure a seamless transition to controller-based gameplay. This endeavor has not only expanded your gaming options but also provided a fresh perspective on navigating the rich and dynamic world of Tera.
As you continue to explore Tera with your newly integrated game controller, take the time to fine-tune the controller settings and experiment with different configurations to optimize your gameplay experience. Embrace the enhanced mobility and responsiveness that the controller offers, allowing you to engage with Tera’s captivating landscapes and thrilling combat encounters with newfound fluidity and precision.
Whether you’re embarking on epic quests, engaging in intense battles, or simply immersing yourself in the game’s rich lore, the game controller serves as a versatile tool that empowers you to interact with Tera in a manner that resonates with your gaming preferences. Embrace this newfound freedom and flexibility as you navigate the depths of Tera’s immersive world.
By seamlessly integrating a game controller with Tera, you’ve personalized your gaming experience, adding a layer of comfort and familiarity that complements the game’s captivating content. As you embark on your adventures in Tera with your game controller in hand, may your journeys be filled with excitement, discovery, and the joy of seamless, controller-enhanced gameplay.