Introduction
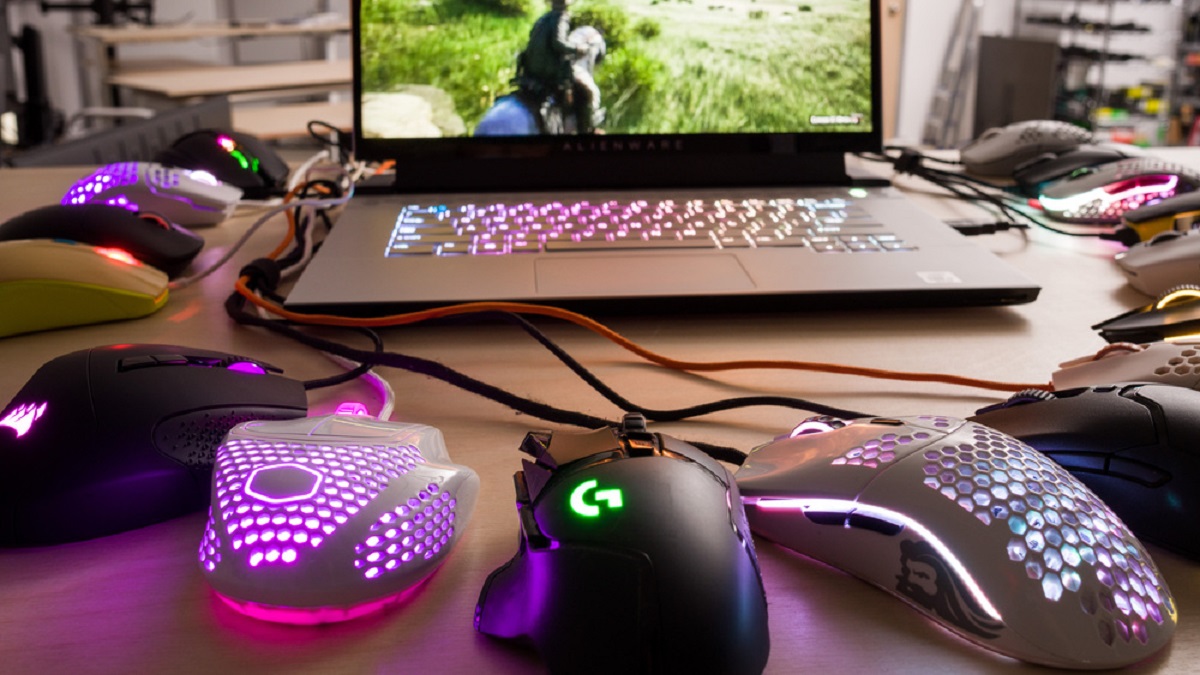
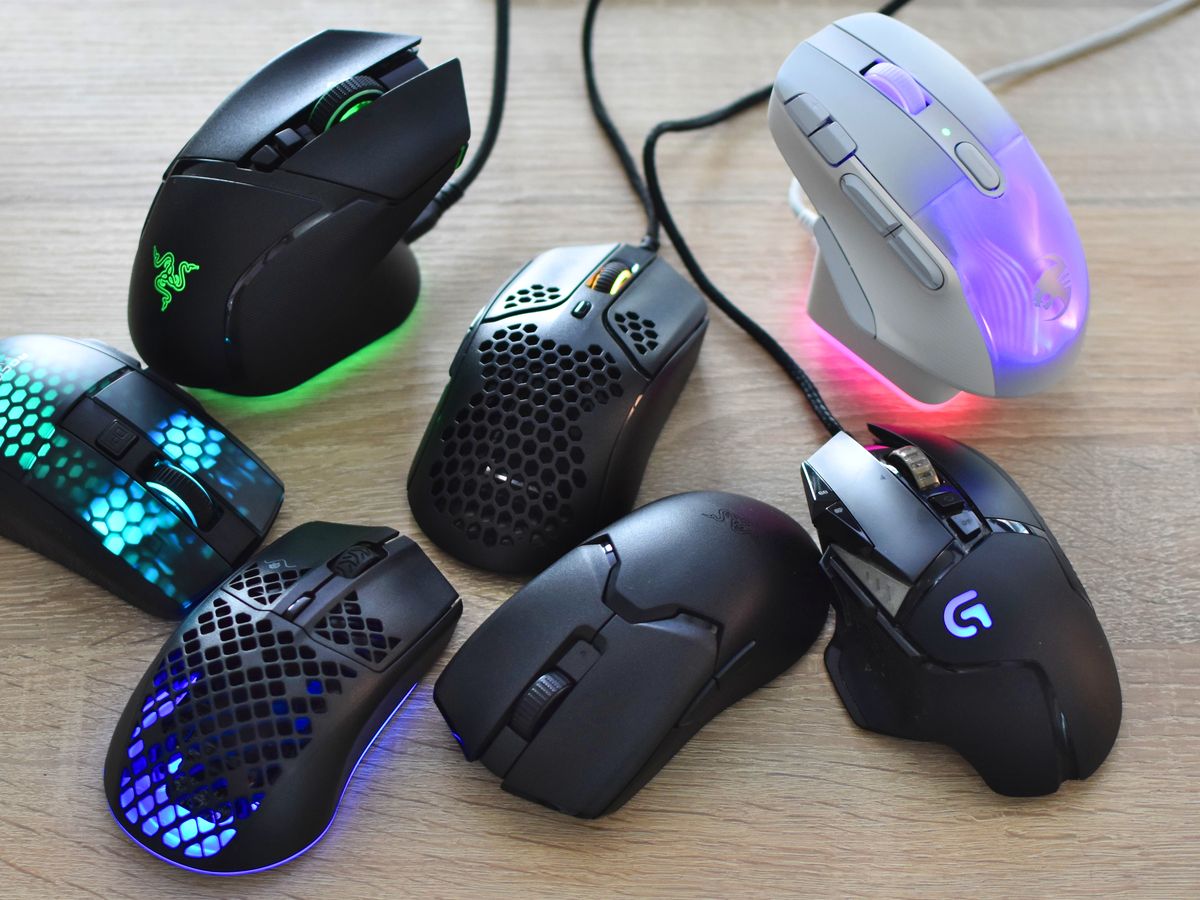
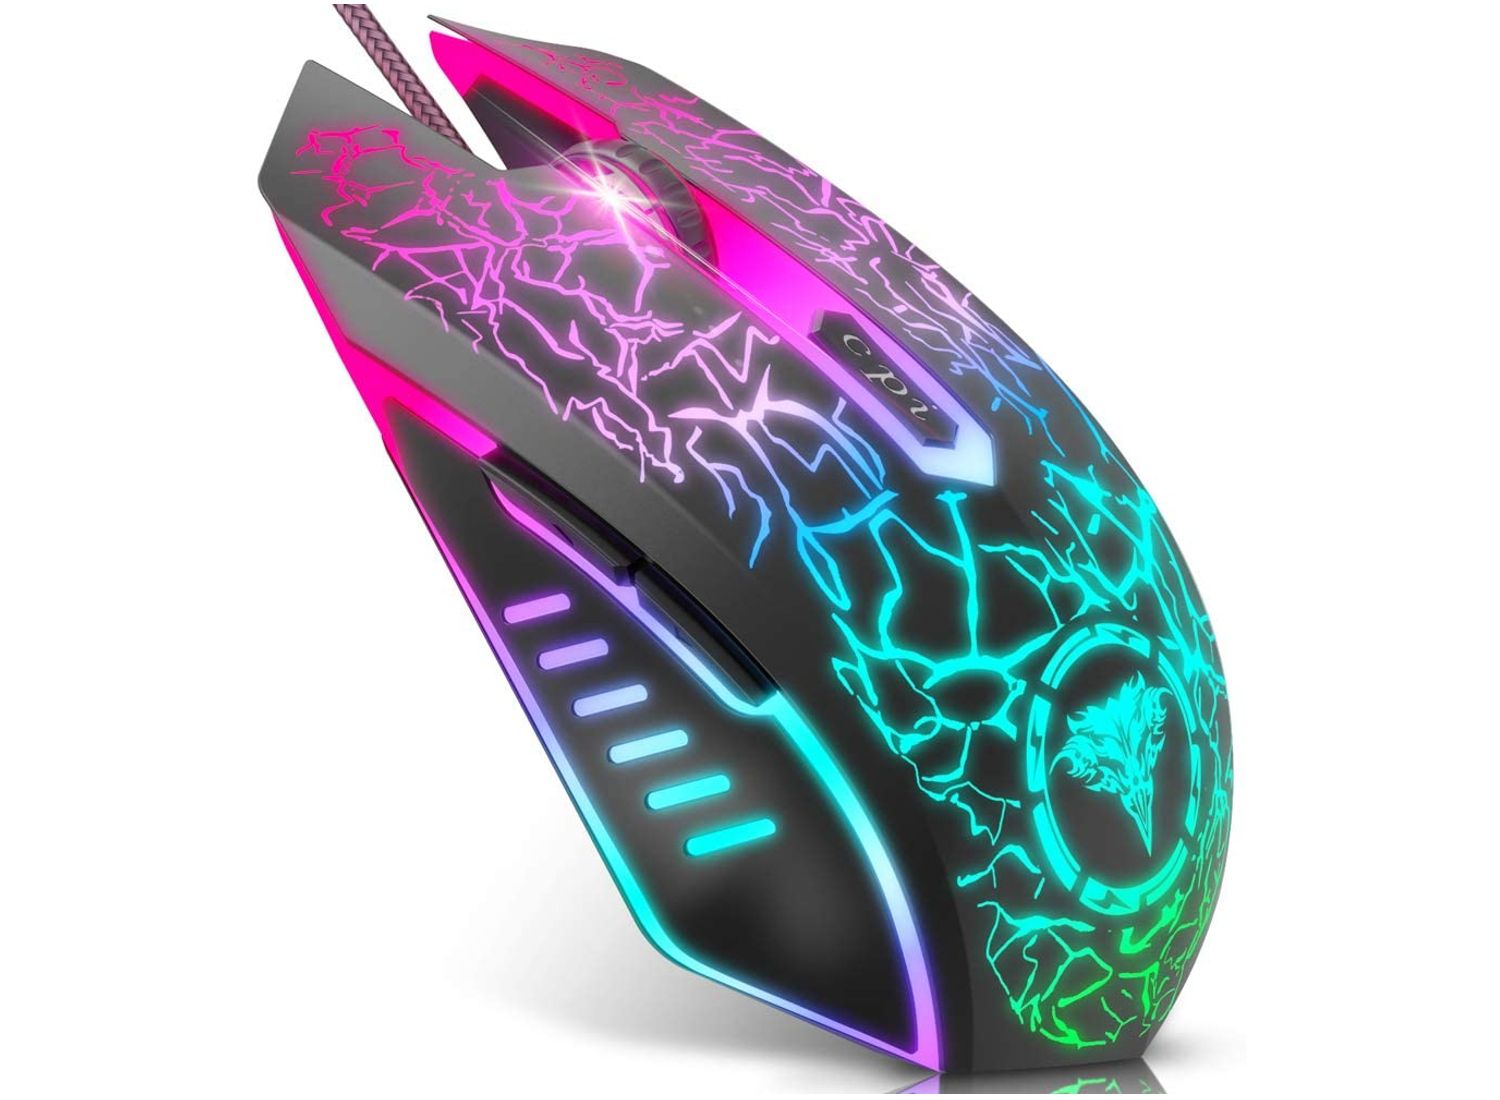
Are you ready to elevate your gaming experience with a personalized touch? The Uhuru Wireless Gaming Mouse offers an exciting feature that allows you to customize the color of its light, adding a vibrant and dynamic element to your gaming setup. Whether you prefer a calming blue, an energetic red, or a mystical purple, the ability to change the light color on your gaming mouse provides a unique opportunity for self-expression and customization.
In this comprehensive guide, you will learn how to effortlessly modify the color of the light on your Uhuru Wireless Gaming Mouse. With just a few simple steps, you can transform the visual aesthetic of your gaming environment to suit your mood, style, or game theme. By following this tutorial, you will gain a deeper understanding of how to harness the full potential of your gaming peripherals, enhancing both the functionality and visual appeal of your gaming setup.
Embark on this journey to unlock the full potential of your Uhuru Wireless Gaming Mouse, and let your creativity shine through the vibrant hues that will illuminate your gaming space. Get ready to immerse yourself in a world where customization and personalization are at your fingertips, and let the colors of your gaming mouse reflect your unique gaming identity.
Step 1: Gather the Necessary Tools
Before embarking on the exciting journey of customizing the light color of your Uhuru Wireless Gaming Mouse, it is essential to gather the necessary tools to ensure a seamless and efficient process. Here’s what you’ll need:
- Uhuru Wireless Gaming Mouse: Ensure that your gaming mouse is fully charged and ready for customization.
- Computer or Laptop: Have your computer or laptop powered on and ready to access the customization software.
- Customization Software: Download and install the Uhuru gaming mouse customization software from the official website or the provided installation disc.
- Comfortable Workspace: Set up your gaming area with ample lighting and a comfortable seating arrangement to facilitate an enjoyable customization experience.
By gathering these essential tools, you will be fully prepared to delve into the exciting process of personalizing the light color of your gaming mouse. With everything in place, you can proceed to the next step with confidence, knowing that you have everything you need to create a visually captivating gaming environment that reflects your unique style and preferences.
Step 2: Access the Software
Once you have gathered the necessary tools, the next step in customizing the light color of your Uhuru Wireless Gaming Mouse is to access the dedicated customization software. Follow these simple steps to get started:
- Launch the Software: Locate the Uhuru gaming mouse customization software on your computer and launch the application. If you have recently installed the software, ensure that it is up to date to access the latest features and enhancements.
- Connect the Gaming Mouse: Using the provided USB cable or the wireless connection, ensure that your Uhuru Wireless Gaming Mouse is connected to your computer, allowing the software to detect and communicate with the device seamlessly.
- Explore the Interface: Familiarize yourself with the user-friendly interface of the customization software. Take a moment to navigate through the various options and settings to gain a comprehensive understanding of the customization capabilities available for your gaming mouse.
- Access the Lighting Section: Locate the section within the software that pertains to customizing the light color of your gaming mouse. This may be labeled as “Lighting,” “LED Control,” or a similar term, depending on the specific features of the software.
By accessing the dedicated customization software, you are one step closer to infusing your gaming environment with a burst of vibrant color. The software serves as the gateway to unleashing your creativity and personalizing the visual aesthetic of your gaming mouse, allowing you to tailor it to your unique preferences and gaming style.
Step 3: Select the Desired Color
With the customization software at your fingertips, it’s time to delve into the exciting process of selecting the desired color for your Uhuru Wireless Gaming Mouse. Follow these straightforward steps to infuse your gaming setup with the perfect hue:
- Color Selection Interface: Within the customization software, navigate to the section specifically dedicated to selecting the light color for your gaming mouse. You may encounter a color wheel, a palette of preset colors, or a spectrum of hues to choose from.
- Explore the Options: Take a moment to explore the full range of color options available to you. Whether you prefer a bold, attention-grabbing color or a subtle and calming hue, the customization software offers a diverse selection to cater to your preferences.
- Customization Features: Some software may provide advanced customization features, such as the ability to create custom color profiles, apply dynamic lighting effects, or synchronize the color with in-game events for an immersive gaming experience.
- Preview the Changes: Utilize the software’s preview feature to visualize how your selected color will illuminate your gaming mouse. This allows you to experiment with different colors and effects before making a final decision.
- Finalize Your Selection: Once you have identified the perfect color that resonates with your gaming style and ambiance, proceed to select and confirm your choice within the software interface.
By carefully selecting the desired color for your Uhuru Wireless Gaming Mouse, you are infusing your gaming environment with a personalized touch that reflects your unique preferences and style. The ability to choose from a diverse array of colors empowers you to create a visually captivating gaming setup that resonates with your individuality.
Step 4: Save and Apply the Changes
As you near the culmination of the customization process, it’s time to save and apply the changes to ensure that the selected color illuminates your Uhuru Wireless Gaming Mouse exactly as desired. Follow these essential steps to finalize the customization:
- Save Your Profile: If the customization software offers the option to create and save custom profiles, consider saving your color selection as a personalized profile. This allows you to easily switch between different color schemes in the future without the need to reconfigure the settings.
- Apply the Changes: Once you are satisfied with your color selection, apply the changes within the customization software. This action ensures that the chosen color is transmitted to your gaming mouse, illuminating it with the desired hue.
- Disconnect and Reconnect (If Applicable): In some cases, you may need to disconnect and reconnect your Uhuru Wireless Gaming Mouse to activate the newly applied color settings. Follow the manufacturer’s guidelines to ensure a seamless transition.
- Test the Illumination: Verify that the selected color is illuminating your gaming mouse as intended. Take a moment to appreciate the visual impact of the customized lighting and make any necessary adjustments within the software if needed.
- Enjoy Your Personalized Gaming Mouse: With the changes successfully applied, relish in the personalized aesthetic of your Uhuru Wireless Gaming Mouse as it adds a vibrant and dynamic element to your gaming environment.
By saving and applying the changes, you have successfully transformed your gaming mouse into a visually captivating and personalized accessory that aligns with your gaming style and preferences. The process of customizing the light color culminates in a rewarding visual experience that enhances your overall gaming setup.
Conclusion
Congratulations on successfully customizing the light color of your Uhuru Wireless Gaming Mouse! By embarking on this journey, you have unlocked the potential to infuse your gaming environment with a burst of vibrant and personalized illumination, reflecting your unique style and preferences. The process of modifying the light color has not only enhanced the visual appeal of your gaming setup but has also allowed you to express your individuality within your gaming space.
As you revel in the captivating hues emanating from your gaming mouse, take a moment to appreciate the seamless and user-friendly nature of the customization process. The ability to select, apply, and enjoy your chosen color demonstrates the seamless integration of technology and personalization, empowering you to create a gaming environment that resonates with your gaming identity.
Furthermore, the customization of the light color on your gaming mouse serves as a testament to the ever-evolving landscape of gaming peripherals, where personalization and customization are at the forefront of enhancing the gaming experience. Your Uhuru Wireless Gaming Mouse now stands as a visual representation of your gaming persona, setting the stage for immersive and personalized gaming sessions.
As you continue to explore the boundless possibilities of customization within the gaming realm, remember the impact of infusing your gaming setup with your unique touch. The personalized illumination of your gaming mouse is a testament to the seamless fusion of technology and self-expression, creating an environment where your gaming journey is not just experienced but embodied.
Embrace the vibrant colors, revel in the personalized ambiance, and let your gaming space reflect the essence of your gaming identity. The journey of customization does not end here – it is a continuous exploration of self-expression and immersion within the gaming realm.