Introduction
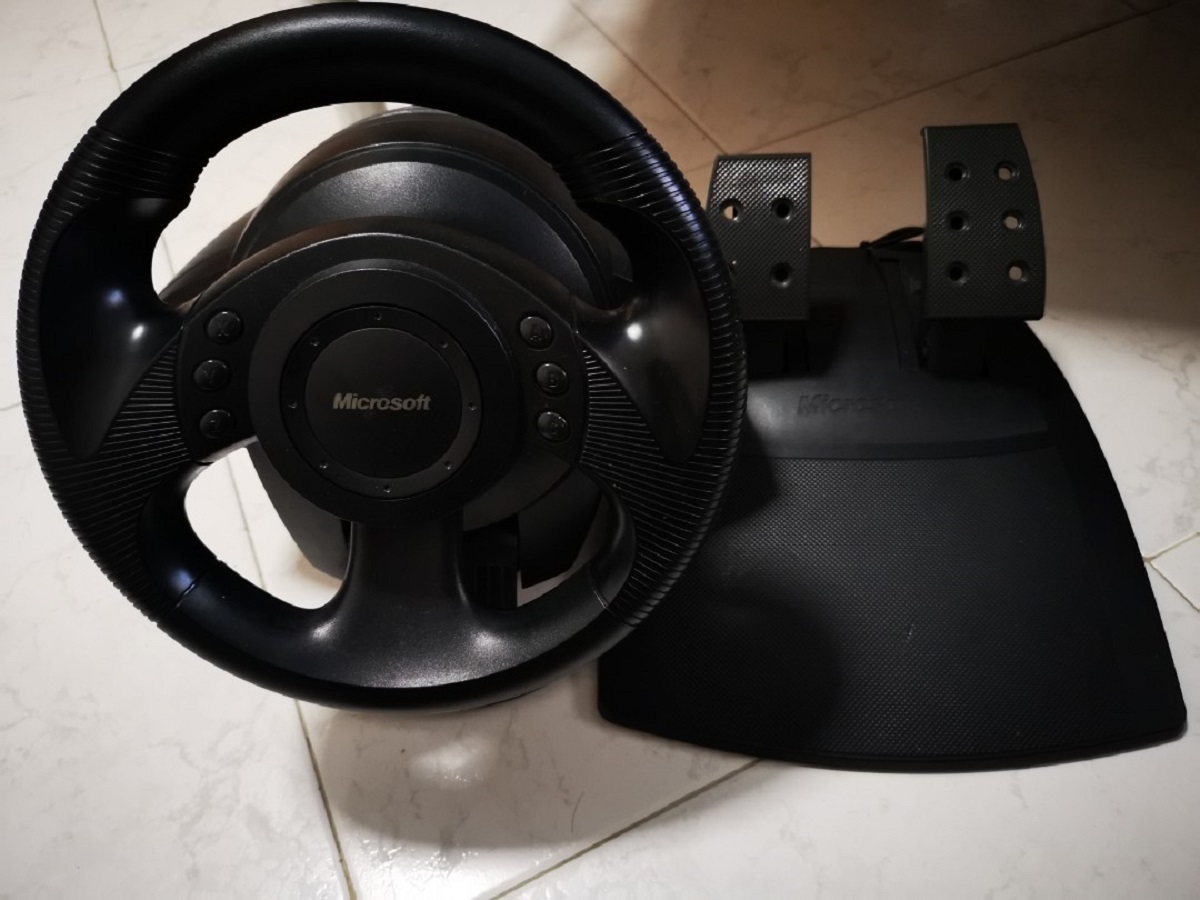
Welcome to the world of virtual racing! If you're a proud owner of the Microsoft Sidewinder Precision Racing Wheel, you're in for an exhilarating experience. This high-performance racing wheel is designed to take your gaming adventures to the next level, offering precision control and an immersive driving sensation that will leave you craving for more. In this guide, we'll walk you through the essential steps to calibrate your Microsoft Sidewinder Precision Racing Wheel, ensuring that you get the most out of this impressive gaming accessory.
Whether you're a seasoned racing enthusiast or a newcomer to the virtual track, calibrating your racing wheel is crucial for optimal performance. By fine-tuning the settings and ensuring that the wheel responds accurately to your commands, you'll enjoy a more realistic and responsive driving experience in your favorite racing games.
So, buckle up and get ready to dive into the world of virtual racing as we take you through the process of installing the necessary software, connecting your racing wheel to your computer, and calibrating it to perfection. Once you've completed these steps, you'll be all set to test your newly calibrated wheel and hit the virtual track with confidence.
Now, let's get started and unleash the full potential of your Microsoft Sidewinder Precision Racing Wheel!
Installing the Software
Before you can begin calibrating your Microsoft Sidewinder Precision Racing Wheel, it’s essential to install the necessary software to ensure seamless compatibility with your computer. The software provided with the racing wheel contains drivers and utilities that enable your computer to recognize and communicate with the device effectively. Follow these steps to install the software:
- Locate the Installation Disc: The Microsoft Sidewinder Precision Racing Wheel typically comes with an installation disc containing the required software. If you purchased a used or standalone wheel without the disc, you can often find the software available for download on the manufacturer’s official website.
- Insert the Installation Disc: Insert the installation disc into your computer’s optical drive. If your computer doesn’t have an optical drive, you can use an external USB drive or download the software from the official website and run the setup file.
- Run the Setup Wizard: Once the disc is inserted, the setup wizard should launch automatically. Follow the on-screen instructions to proceed with the installation. If the wizard doesn’t start automatically, navigate to the disc drive in File Explorer and run the setup file manually.
- Complete the Installation: During the installation process, you may be prompted to agree to the software’s end-user license agreement (EULA) and select the installation location. Follow the prompts to complete the installation, ensuring that the software is installed in the appropriate directory on your computer.
- Restart Your Computer: After the software is successfully installed, it’s advisable to restart your computer to ensure that the changes take effect. Once your computer has restarted, the necessary drivers and utilities for the Microsoft Sidewinder Precision Racing Wheel should be ready for use.
By following these simple steps, you’ll have the essential software installed and ready to facilitate the calibration process for your racing wheel. With the software in place, you’re one step closer to unlocking the full potential of your Microsoft Sidewinder Precision Racing Wheel.
Connecting the Wheel to Your Computer
Now that you have installed the necessary software for your Microsoft Sidewinder Precision Racing Wheel, the next step is to connect the wheel to your computer. Properly establishing the connection ensures that your computer can communicate with the racing wheel, allowing you to proceed with the calibration process. Follow these steps to connect the wheel to your computer:
- Locate an Available USB Port: The Microsoft Sidewinder Precision Racing Wheel typically connects to your computer via a USB interface. Identify an available USB port on your computer where you can connect the racing wheel. Ensure that the port is easily accessible and not obstructed by other devices.
- Connect the Wheel: Take the USB cable attached to the racing wheel and plug it into the USB port on your computer. The cable is designed to provide both power and data connectivity, allowing the wheel to function seamlessly with your system.
- Secure the Connection: Once the USB cable is plugged in, ensure that the connection is secure. A stable connection is essential for reliable communication between the racing wheel and your computer. Avoid placing strain on the cable and connector to prevent any potential disconnection during use.
- Driver Installation (If Needed): In some cases, connecting the racing wheel may prompt your computer to install additional drivers or software components. If prompted, follow the on-screen instructions to complete the installation of any required drivers. This step ensures that your computer recognizes the racing wheel correctly.
- Confirmation of Connection: After connecting the wheel, your computer should detect the device and, if the installation is successful, notify you of the new hardware. Once the connection is established, your racing wheel is ready to be calibrated for an optimal gaming experience.
By following these steps, you’ll have successfully connected your Microsoft Sidewinder Precision Racing Wheel to your computer, setting the stage for the upcoming calibration process. With the connection established, you’re poised to fine-tune the wheel’s settings and elevate your virtual racing adventures to new heights.
Calibrating the Wheel
Now that your Microsoft Sidewinder Precision Racing Wheel is connected to your computer, it’s time to calibrate the device to ensure precise and responsive performance during your virtual racing experiences. Calibration allows you to adjust the wheel’s sensitivity, dead zones, and overall responsiveness, tailoring it to your preferences and gaming environment. Follow these essential steps to calibrate your racing wheel:
- Access the Calibration Software: Launch the calibration software that was installed with the racing wheel. This software provides the tools and settings necessary to fine-tune the performance of the wheel. If you’re unsure where to find the calibration software, refer to the documentation that accompanied the racing wheel or check the manufacturer’s website for guidance.
- Initiate Calibration Mode: Within the calibration software, look for the option to initiate the calibration process. This may be labeled as “Calibrate,” “Setup,” or a similar term. Click on the appropriate option to enter the calibration mode, where you can begin adjusting the wheel’s settings.
- Adjust Sensitivity: The calibration software typically allows you to adjust the sensitivity of the racing wheel. This setting determines how the wheel responds to your inputs, such as steering and acceleration. Fine-tune the sensitivity to your liking, ensuring that the wheel’s movements align with your driving style and gaming preferences.
- Eliminate Dead Zones: Dead zones refer to areas of minimal or no response when you move the wheel. Use the calibration software to identify and eliminate any dead zones, ensuring that the wheel provides consistent and immediate feedback to your commands. A smooth and precise response is essential for an immersive racing experience.
- Test the Settings: After making adjustments, test the wheel within the calibration software to gauge the impact of your changes. Verify that the wheel’s movements align with your inputs and that the adjustments result in a more natural and accurate driving experience. Fine-tune the settings as needed until you achieve the desired responsiveness.
By following these steps, you’ll have successfully calibrated your Microsoft Sidewinder Precision Racing Wheel, customizing its performance to suit your gaming preferences. The calibration process ensures that the wheel responds accurately to your commands, allowing you to enjoy a heightened level of control and immersion during virtual races.
Testing the Wheel
With your Microsoft Sidewinder Precision Racing Wheel successfully calibrated, it’s time to put it to the test and ensure that the adjustments you’ve made result in a seamless and immersive gaming experience. Testing the wheel allows you to confirm that the calibration settings align with your driving style and provide the level of responsiveness you desire. Follow these steps to effectively test your racing wheel:
- Launch a Racing Game: Start by launching your favorite racing game that supports the use of a racing wheel. Whether it’s a realistic simulation or an action-packed arcade racer, choose a game that allows you to fully experience the capabilities of the Microsoft Sidewinder Precision Racing Wheel.
- Enter a Practice Session: Within the game, select a practice mode or free race option that enables you to navigate the track without the pressure of competition. This allows you to focus on testing the wheel’s performance and getting accustomed to the calibrated settings without the distractions of a full race.
- Assess Responsiveness: As you navigate the virtual track, pay close attention to the responsiveness of the racing wheel. Test its ability to accurately translate your steering inputs, respond to sudden maneuvers, and convey the nuances of the road surface. Evaluate whether the adjustments made during calibration result in a more intuitive and lifelike driving experience.
- Fine-Tune if Necessary: During the testing phase, take note of any areas where the wheel’s performance may not align with your expectations. If certain aspects require further refinement, such as sensitivity, force feedback, or overall control, consider returning to the calibration software to make additional adjustments based on your testing experience.
- Enjoy the Experience: Once you’re satisfied with the wheel’s performance and responsiveness, immerse yourself in the gaming experience. Feel the thrill of precision control as you navigate hairpin turns, accelerate down straightaways, and experience the dynamic feedback provided by the Microsoft Sidewinder Precision Racing Wheel.
By thoroughly testing the racing wheel in a gaming environment, you can ensure that the calibration settings align with your expectations and enhance your overall enjoyment of virtual racing. The testing phase allows you to fine-tune the wheel’s performance and make any necessary adjustments to achieve an optimal gaming experience.
Conclusion
Congratulations! You’ve successfully navigated the process of calibrating and testing your Microsoft Sidewinder Precision Racing Wheel, unlocking its full potential and enhancing your virtual racing adventures. By following the steps outlined in this guide, you’ve gained the knowledge and skills needed to optimize the performance of your racing wheel, resulting in a more immersive and responsive gaming experience.
Through the installation of the necessary software, seamless connection to your computer, precise calibration, and thorough testing, you’ve ensured that the Microsoft Sidewinder Precision Racing Wheel aligns with your gaming preferences and provides the level of control and feedback you desire. The attention to detail and fine-tuning of settings have culminated in a gaming accessory that enhances your virtual racing escapades, allowing you to feel the thrill of the track with unparalleled precision.
As you continue to explore the world of virtual racing, remember that the calibration process is not static. As your skills evolve and your gaming preferences shift, revisiting the calibration settings may become necessary to maintain an optimal experience. Whether it’s adjusting sensitivity for a new racing title or refining the wheel’s response to match your evolving driving style, the ability to calibrate your racing wheel puts you in the driver’s seat, both figuratively and literally.
With your Microsoft Sidewinder Precision Racing Wheel finely tuned and ready for action, it’s time to hit the virtual track with confidence, knowing that your gaming experience has been elevated to a new level of precision and excitement. Embrace the exhilaration of virtual racing, and may your calibrated racing wheel be the key to countless victories and unforgettable moments on the digital circuit.