Introduction
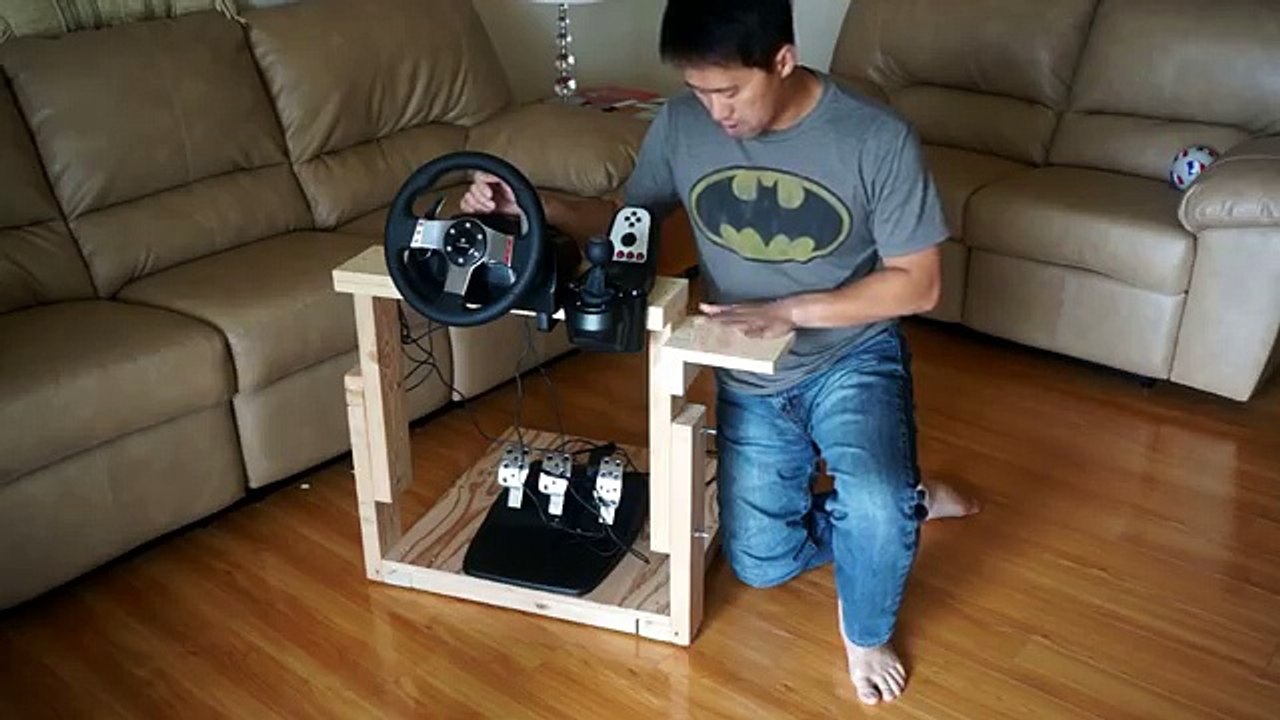
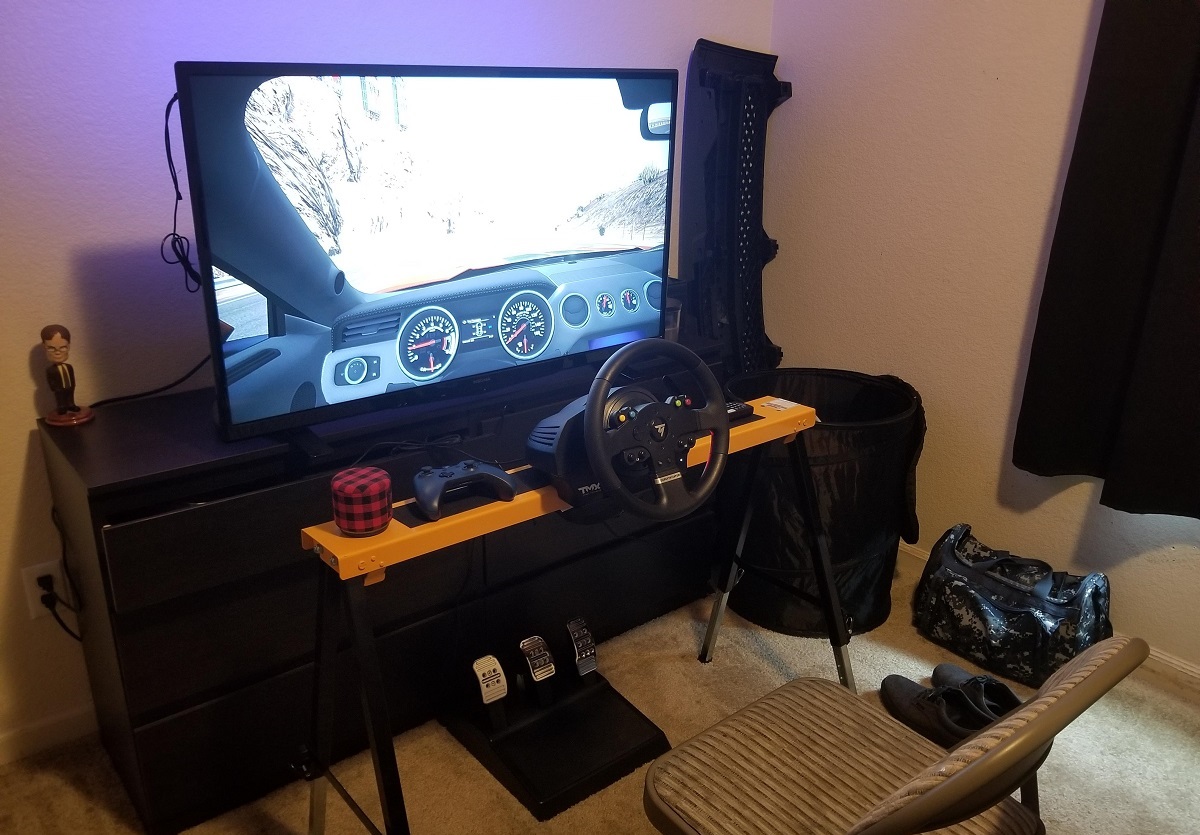
So, you've got a passion for racing games and want to take your experience to the next level? Building your own racing wheel stand can be an exciting and rewarding project that enhances your gaming setup while providing a comfortable and immersive racing experience. Whether you're a seasoned DIY enthusiast or a novice looking for a fun project, creating a custom racing wheel stand allows you to tailor the design to your specific needs and preferences.
By constructing a racing wheel stand from scratch, you have the freedom to customize its dimensions, adjustability, and stability to suit your gaming space and personal comfort. Additionally, building your own stand can be a cost-effective alternative to purchasing a pre-made one, offering the satisfaction of creating something unique and tailored to your exact requirements.
In this comprehensive guide, we will walk you through the step-by-step process of building a sturdy and adjustable racing wheel stand using readily available materials and basic tools. From cutting and preparing the wood to assembling the base, attaching the wheel and pedal mounts, and adding stability and adjustability, we will cover each stage in detail. Furthermore, we'll explore finishing touches and optional add-ons to elevate the functionality and aesthetics of your custom racing wheel stand.
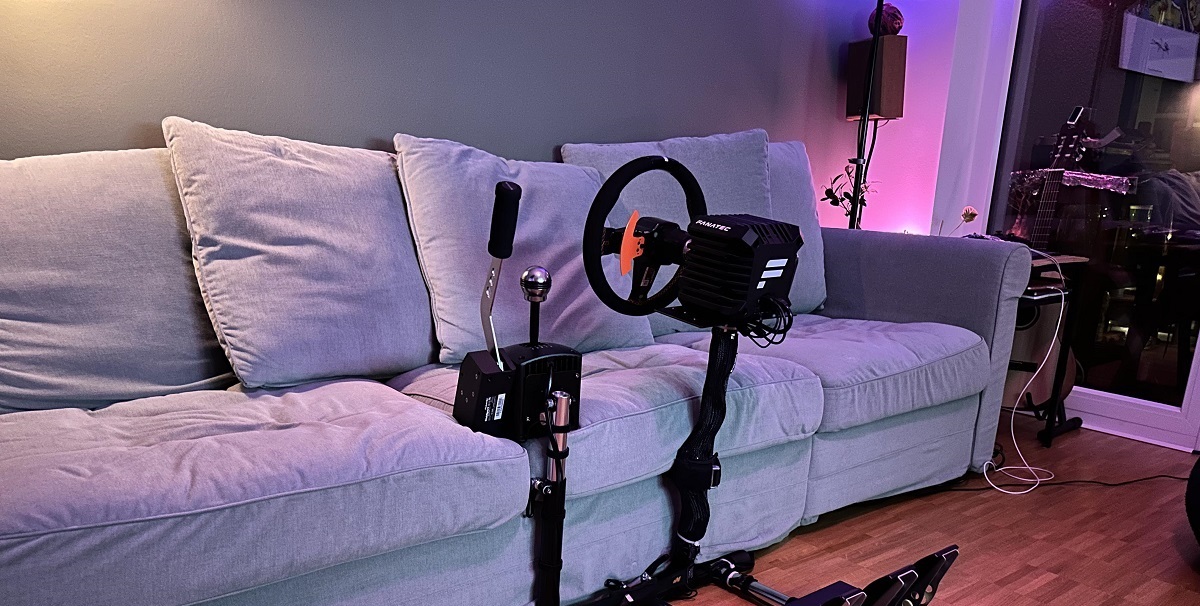
Whether you're aiming for a compact and portable design or a more elaborate setup with additional features such as gear shifter mounts and cable management, this guide will equip you with the knowledge and inspiration to bring your vision to life. So, roll up your sleeves, gather your materials, and let's dive into the exciting world of DIY racing wheel stands!
Materials and Tools Needed
Before embarking on your racing wheel stand project, it's essential to gather the necessary materials and tools to ensure a smooth and efficient construction process. Here's a comprehensive list of items you'll need to bring your custom racing wheel stand to life:
Materials:
- 3/4-inch thick plywood sheets
- Wood screws
- Wood glue
- Angle brackets
- Threaded inserts and bolts
- Anti-slip matting
- Velcro straps
- Paint or wood stain (optional for finishing)
Tools:
- Measuring tape
- Pencil
- Circular saw or jigsaw
- Drill with drill bits
- Countersink bit
- Screwdriver
- Wrench
- Sandpaper
- Paintbrushes (if finishing with paint or stain)
These materials and tools will serve as the building blocks for your racing wheel stand, allowing you to construct a durable and functional setup that meets your specific gaming needs. It's important to ensure that you have all the items on hand before diving into the construction process, as this will streamline the assembly and minimize interruptions.
With these materials and tools at your disposal, you're ready to move on to the exciting phase of cutting and preparing the wood for your custom racing wheel stand. Let's roll up our sleeves and begin crafting a personalized gaming experience that will take your racing adventures to new heights!
Step 1: Cutting and Preparing the Wood
Before diving into the construction of your racing wheel stand, the initial step involves cutting and preparing the wood to create the essential components of the stand. Here’s a detailed breakdown of the process:
1.1 Measurement and Marking: Begin by measuring and marking the plywood sheets according to the dimensions specified in your design plan. Use a measuring tape and pencil to ensure precise markings, as accuracy at this stage is crucial for the structural integrity and functionality of the stand.
1.2 Cutting the Components: Once the plywood sheets are marked, carefully cut them using a circular saw or jigsaw, following the designated measurements. This step will yield the pieces required for the base, wheel mount, pedal mount, and additional support elements, depending on the complexity of your design.
1.3 Smoothing and Deburring: After cutting the wood, use sandpaper to smooth the edges and surfaces of the components, ensuring that they are free from splinters and rough patches. This step not only enhances the aesthetics of the stand but also minimizes the risk of accidental injuries during assembly and use.
1.4 Pre-drilling Holes: To facilitate the subsequent assembly process, pre-drill holes in the designated locations for attaching the components. Use a drill with the appropriate drill bit size to create clean and precise holes, taking care to align them accurately for seamless assembly.
By meticulously executing these steps, you will lay the groundwork for assembling a robust and well-crafted racing wheel stand. With the wood cut, smoothed, and prepped for assembly, you’re ready to progress to the next phase: assembling the base of the stand. This pivotal stage will bring the structural elements together, setting the stage for the mounting of the wheel and pedals to complete your personalized gaming setup.
Step 2: Assembling the Base
With the wood components prepared, the next crucial step in constructing your racing wheel stand is assembling the base, which serves as the foundation for the entire structure. Follow these detailed steps to ensure a sturdy and stable base:
2.1 Base Structure Assembly: Begin by arranging the cut plywood pieces according to the design plan, aligning them to form the base structure. Use wood glue and wood screws to securely attach the components, creating a solid foundation for the stand. Employing angle brackets at the joints can further reinforce the structure and enhance its stability.
2.2 Mounting Support Brackets: Depending on your design, mounting additional support brackets to the base may be necessary to accommodate the weight and force exerted during intense gaming sessions. These brackets contribute to the overall rigidity of the stand, ensuring that it can withstand the dynamic movements associated with racing simulations.
2.3 Cable Management Integration: Consider incorporating cable management features into the base assembly to keep wires and cables organized and out of the way. Strategically positioned channels or clips can prevent tangled cables and enhance the visual tidiness of your gaming setup.
2.4 Testing and Adjustments: Once the base structure is assembled, perform a thorough inspection to ensure its stability and levelness. Make any necessary adjustments or reinforcements to address any potential wobbling or unevenness, as a stable base is essential for the overall functionality and safety of the racing wheel stand.
By meticulously assembling the base of your racing wheel stand, you’re laying the groundwork for a durable and reliable gaming setup. The attention to detail and precision in this phase will contribute to the overall performance and longevity of the stand. With the base securely assembled, you’re now ready to progress to the next stage: attaching the wheel and pedal mounts, bringing you closer to the completion of your custom racing wheel stand.
Step 3: Attaching the Wheel and Pedal Mounts
As you move forward with the construction of your custom racing wheel stand, the next pivotal step involves attaching the wheel and pedal mounts to the base structure. This phase requires precision and attention to detail to ensure the seamless integration of these essential components:
3.1 Wheel Mount Attachment: Position the wheel mount on the base according to your design specifications, ensuring that it is securely anchored to withstand the forces exerted during intense gaming maneuvers. Utilize threaded inserts and bolts to affix the wheel mount to the base, providing a stable and reliable connection.
3.2 Pedal Mount Integration: Similarly, secure the pedal mount to the base, aligning it ergonomically to accommodate your preferred foot positioning during gaming sessions. Implementing anti-slip matting on the pedal mount surface enhances grip and stability, preventing slippage during gameplay.
3.3 Adjustability and Ergonomics: Consider incorporating adjustable features into the wheel and pedal mounts to cater to individual preferences and ergonomic requirements. This may include adjustable angles and heights to optimize comfort and control, ensuring an immersive and personalized racing experience.
3.4 Rigidity and Stability Testing: Upon attaching the wheel and pedal mounts, conduct thorough testing to evaluate the rigidity and stability of the entire assembly. Simulate racing movements and maneuvers to assess the structural integrity and make any necessary adjustments to enhance the overall stability and performance of the stand.
By methodically attaching the wheel and pedal mounts to the base, you’re advancing toward the completion of a fully functional and customized racing wheel stand. The seamless integration of these components is essential for creating a reliable and immersive gaming setup that caters to your specific gaming preferences. With the wheel and pedal mounts securely in place, you’re ready to proceed to the next phase: adding stability and adjustability to further enhance the functionality and comfort of your custom racing wheel stand.
Step 4: Adding Stability and Adjustability
As you approach the final stages of constructing your custom racing wheel stand, it’s crucial to focus on enhancing its stability and adjustability to ensure optimal performance and comfort during gaming sessions. Follow these steps to fortify the stand and tailor it to your individual preferences:
4.1 Reinforcement Bracing: Integrate additional bracing or support elements into the stand’s structure to bolster its stability and resistance to torsional forces. Strategic placement of reinforcement components can significantly enhance the stand’s overall rigidity, minimizing any potential wobbling or flexing during intense gameplay.
4.2 Height and Angle Adjustments: Incorporate mechanisms for adjusting the height and angle of the wheel and pedal mounts to accommodate varying seating positions and ergonomic preferences. This adaptability ensures that the stand can be tailored to individual comfort requirements, allowing for extended gaming sessions without compromising posture or control.
4.3 Anti-Vibration and Anti-Skid Features: Implement anti-vibration pads or materials at key contact points to dampen any vibrations transmitted to the stand during gameplay, enhancing stability and reducing noise. Additionally, integrating anti-skid elements further secures the stand in place, preventing unintended movement or slippage on smooth surfaces.
4.4 Fine-Tuning and Testing: After incorporating stability and adjustability features, perform comprehensive testing to assess the effectiveness of these enhancements. Make any necessary adjustments to optimize the stand’s stability and ergonomics, ensuring that it meets your performance and comfort expectations.
By prioritizing stability and adjustability, you’re elevating the functionality and user experience of your custom racing wheel stand. These enhancements not only contribute to the stand’s overall durability and reliability but also facilitate a more immersive and comfortable gaming environment. With stability and adjustability features integrated, you’re ready to proceed to the final phase: adding finishing touches and optional add-ons to personalize and refine your gaming setup.
Step 5: Finishing Touches and Optional Add-ons
As you near the completion of your custom racing wheel stand, the final step involves adding finishing touches and optional add-ons to elevate its aesthetics, functionality, and overall appeal. Consider the following enhancements to personalize and refine your gaming setup:
5.1 Surface Finish: Apply a coat of paint or wood stain to the stand’s surfaces to enhance its visual appeal and protect the wood from wear and tear. Choose a finish that complements your gaming space and reflects your personal style, adding a touch of customization to the stand.
5.2 Cable Management Solutions: Integrate cable management features, such as clips, channels, or Velcro straps, to organize and conceal wiring, creating a tidy and streamlined appearance. Effective cable management not only enhances the stand’s aesthetics but also minimizes clutter and potential tripping hazards.
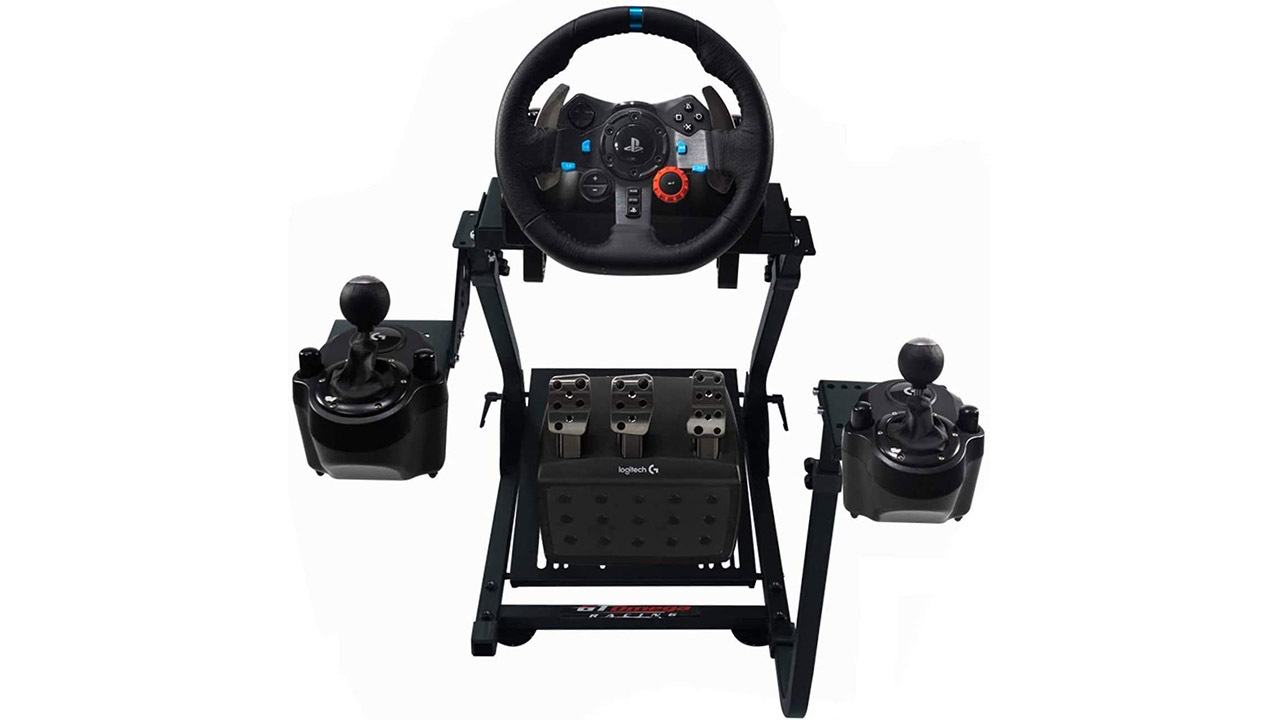
5.3 Gear Shifter Mount: If you use a manual gear shifter in your racing setup, consider incorporating a dedicated mount for seamless integration. This optional add-on enhances the realism of your gaming experience and provides a designated space for the gear shifter within easy reach.
5.4 Wheel Stand Extensions: Explore the option of adding extensions or adjustable arms to the wheel stand to accommodate additional peripherals, such as a keyboard tray or a mouse pad. This customization allows for a more comprehensive and ergonomic gaming station tailored to your specific needs.
5.5 Personalization and Branding: Consider adding personalized touches, such as decals, custom graphics, or branding elements, to imbue the stand with a unique identity that resonates with your gaming persona. These embellishments can infuse character and individuality into your gaming setup.
By incorporating finishing touches and optional add-ons, you’re putting the final stamp on your custom racing wheel stand, transforming it into a personalized and functional centerpiece of your gaming environment. These enhancements not only enrich the stand’s visual appeal but also contribute to its adaptability and versatility, catering to your specific gaming preferences and requirements.


