Introduction
Introduction
Are you a gaming enthusiast looking to take your passion to the next level? Building your own video game controller can be a thrilling and rewarding endeavor. Not only does it allow you to customize your gaming experience, but it also provides a hands-on opportunity to delve into the world of hardware and programming.
Creating a personalized video game controller offers a unique chance to tailor the device to your specific needs and preferences. Whether you're seeking enhanced functionality, ergonomic design, or simply a one-of-a-kind gaming accessory, embarking on this DIY project can be an exciting adventure.
In this guide, we will walk you through the step-by-step process of building your own video game controller. From selecting the right components to assembling, wiring, and programming, we'll cover each stage in detail. By the end of this journey, you'll not only have a fully functional custom controller but also a deeper understanding of the intricate workings of gaming peripherals.
So, roll up your sleeves, gather your tools, and get ready to embark on a hands-on journey into the realm of DIY gaming hardware. Let's dive into the world of building your very own video game controller!
Choosing the Right Components
When embarking on the creation of your custom video game controller, the first crucial step is selecting the right components. The components you choose will determine the functionality, comfort, and overall gaming experience offered by your controller.
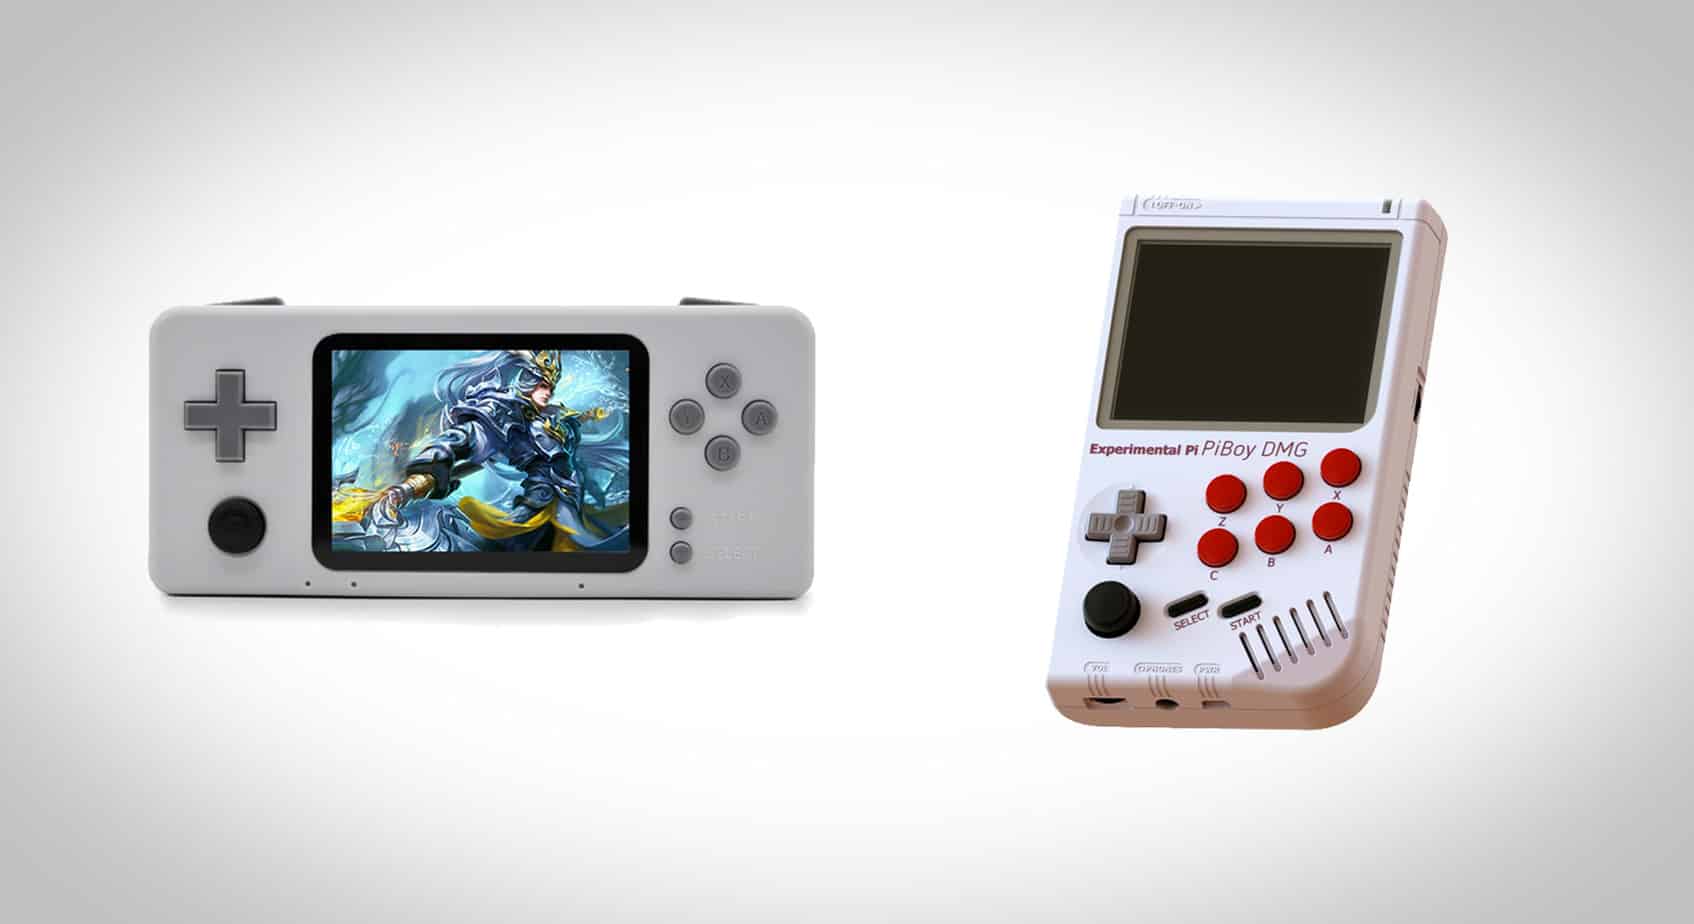
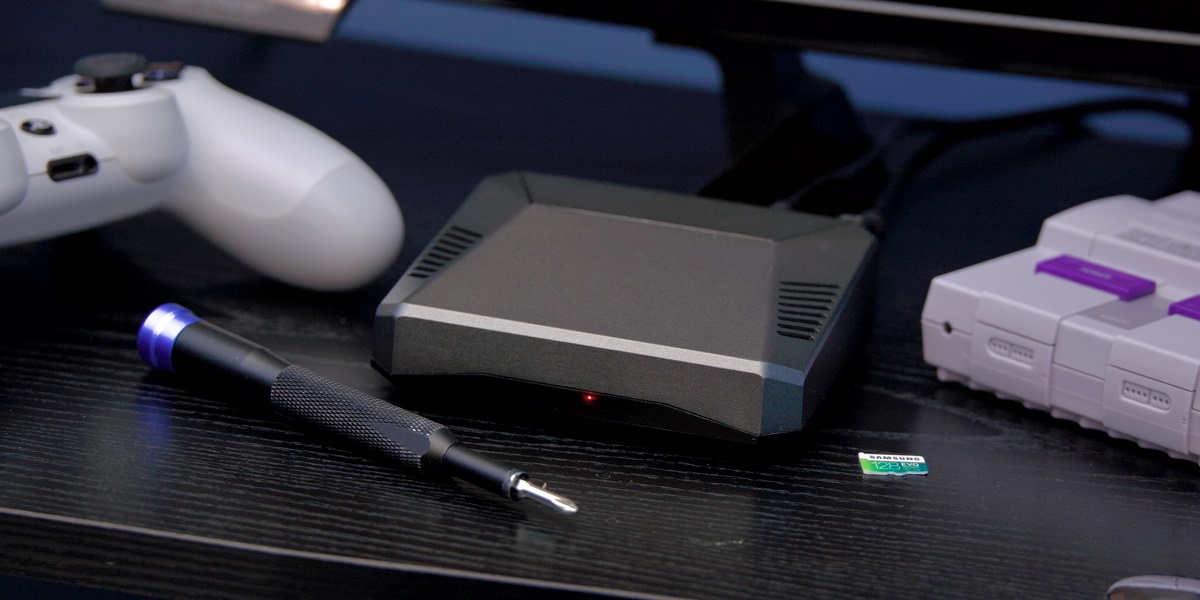
1. Microcontroller: The heart of your custom controller, the microcontroller serves as the processing unit. Consider factors such as compatibility with your chosen platform, input/output capabilities, and programming ease. Popular options include Arduino and Raspberry Pi.
2. Input Devices: These include buttons, joysticks, touchpads, and other input mechanisms. Choose high-quality, responsive components that align with your gaming preferences. Consider the number and placement of buttons to ensure optimal usability.
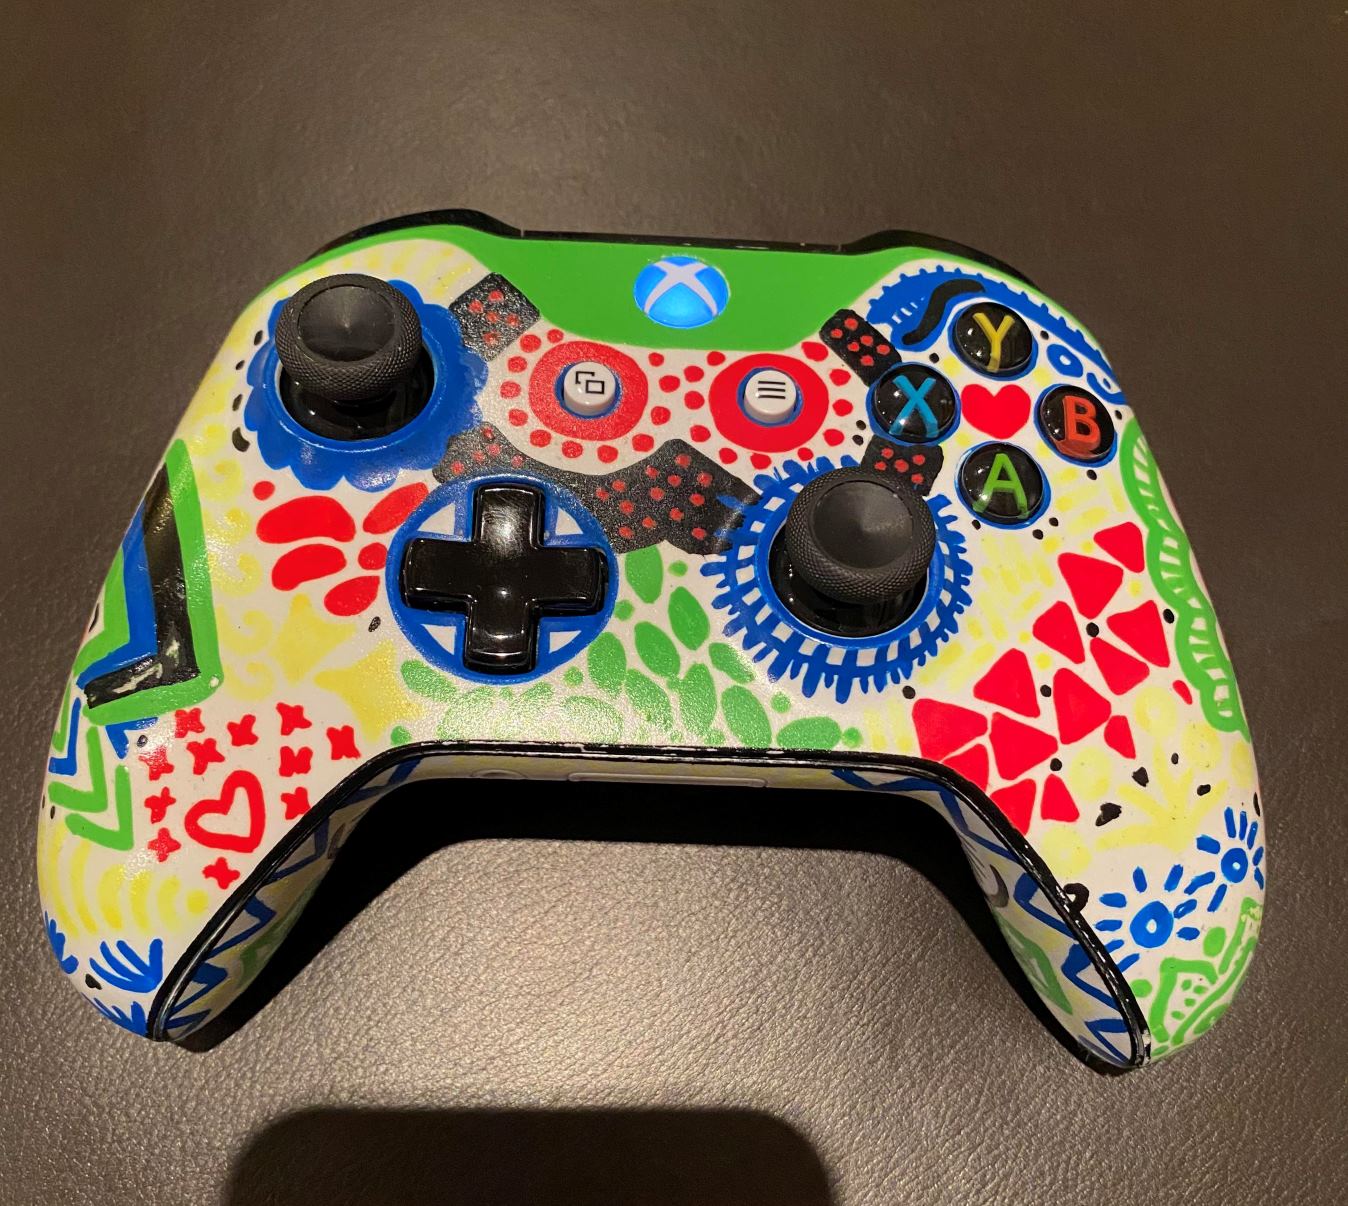
3. Enclosure: The enclosure houses all the components and provides the physical interface between the controller and the user. It should be durable, ergonomic, and visually appealing. 3D printing or repurposing existing controller shells are common approaches.
4. Connectivity: Determine the method of connectivity to your gaming platform, such as USB, Bluetooth, or wireless adapters. Ensure compatibility and reliability for seamless gaming sessions.
5. Power Source: Depending on the chosen components, you may need to integrate a power source, such as batteries or rechargeable packs, into your controller design.
6. Additional Features: Consider any additional features you’d like to incorporate, such as LED lighting, vibration motors, or custom decals to personalize the aesthetics of your controller.
By carefully selecting each component, you can tailor your controller to meet your specific gaming needs and preferences. Whether you prioritize responsiveness, comfort, or aesthetics, the right components form the foundation of a truly exceptional custom video game controller.
Assembling the Controller
With the components in hand, it’s time to bring your custom video game controller to life through the assembly process. This phase involves physically integrating the selected parts into a cohesive and functional unit. Let’s delve into the essential steps of assembling your personalized gaming peripheral:
1. Prepare the Enclosure: If you’re using a 3D-printed or repurposed enclosure, ensure that it is appropriately finished and prepped for component installation. Smooth any rough edges and test fit the components to guarantee a precise fit.
2. Mounting the Components: Carefully position and secure the microcontroller, input devices, and any additional features within the enclosure. Pay close attention to the placement of buttons, joysticks, and other controls to ensure ergonomic usability.
3. Wiring: Establish the necessary connections between the components and the microcontroller. This step demands meticulous attention to detail to ensure proper functionality and responsiveness. Organize and secure the wiring to prevent tangling and interference.
4. Securing the Enclosure: Once all components and wiring are in place, seal the enclosure securely. This step is crucial for safeguarding the internal components and ensuring the durability of your custom controller.
5. Finishing Touches: If desired, add any aesthetic enhancements or personalization, such as custom decals, paint, or LED accents. These details can elevate the visual appeal of your controller and make it truly unique.
Throughout the assembly process, precision and attention to detail are paramount. Taking the time to ensure secure mounting, tidy wiring, and a polished finish will result in a professional-looking and reliable custom controller that reflects your gaming style and personality.
Wiring and Programming
Once the physical assembly of your custom video game controller is complete, the next critical steps involve wiring the components and programming the microcontroller to interpret input signals and communicate with your gaming platform. Let’s explore the essential aspects of wiring and programming your personalized gaming peripheral:
1. Wiring the Components: Establish the necessary electrical connections between the input devices, such as buttons and joysticks, and the microcontroller. Follow the wiring diagram specific to your chosen components to ensure accurate connections and optimal functionality.
2. Microcontroller Programming: Utilize the appropriate programming environment and language, such as Arduino IDE for Arduino-based controllers, to write the code that interprets input signals and translates them into commands recognizable by your gaming platform.
3. Input Mapping: Define the mapping of input signals to specific actions within your games. This step allows you to customize the functionality of each button, joystick, or other input device according to your gaming preferences.
4. Testing and Refinement: After programming the initial functionality, thoroughly test each input and ensure that the controller behaves as intended. Refine the code as needed to address any issues or to enhance the user experience.
5. Integration with Gaming Platform: Verify that the programmed controller effectively communicates with your chosen gaming platform, whether it’s a PC, console, or mobile device. Ensure seamless integration and responsiveness during gaming sessions.
Wiring and programming are pivotal stages that transform a collection of components into a fully functional and personalized gaming controller. Attention to detail, thorough testing, and a creative approach to input mapping will result in a controller that not only meets your gaming needs but also reflects your unique gaming style and preferences.
Testing and Troubleshooting
As you near the completion of your custom video game controller, thorough testing and troubleshooting are essential to ensure its seamless functionality and reliability during gaming sessions. Let’s delve into the crucial aspects of testing and troubleshooting your personalized gaming peripheral:
1. Functionality Testing: Begin by systematically testing each button, joystick, and additional feature to verify its responsiveness and accuracy. Ensure that every input functions as intended and that there are no inconsistencies or delays.
2. Ergonomic Evaluation: Assess the ergonomic design of the controller by engaging in extended gaming sessions. Pay attention to comfort, button placement, and overall usability. Make adjustments as necessary to optimize the user experience.
3. Compatibility Testing: Test the custom controller across a variety of games and gaming platforms to ensure universal compatibility and reliable performance. Verify that the controller seamlessly integrates with different genres and gaming experiences.
4. Battery Life and Power Management: If your controller incorporates a power source, such as batteries or rechargeable packs, evaluate the battery life and implement power management solutions to maximize gaming sessions between charges.
5. Troubleshooting: In the event of any functional or performance issues, systematically troubleshoot the controller to identify and address the root cause. This may involve revisiting the wiring, programming, or component integration to rectify any discrepancies.
6. User Feedback and Iteration: Gather feedback from fellow gamers or beta testers to gain insights into the controller’s performance and identify areas for improvement. Use this feedback to iterate on the design and functionality, refining the controller to meet the needs of its users.
Thorough testing and diligent troubleshooting ensure that your custom video game controller delivers a seamless and immersive gaming experience. By addressing functional, ergonomic, and compatibility aspects, you can create a personalized gaming peripheral that enhances your gameplay and reflects your unique gaming style.
Conclusion
Congratulations on successfully navigating the intricate process of building your very own video game controller. Through careful component selection, meticulous assembly, precise wiring, and creative programming, you’ve crafted a personalized gaming peripheral that reflects your unique gaming style and preferences.
By embarking on this DIY journey, you’ve not only created a custom controller but also gained valuable insights into hardware integration, programming, and user experience design. The skills and knowledge acquired during this endeavor can serve as a springboard for future hardware projects and innovations.
As you integrate your custom controller into your gaming repertoire, take pride in the fact that you’ve ventured beyond the realm of off-the-shelf peripherals and ventured into the realm of tailored gaming experiences. Your custom controller is a testament to your creativity, technical prowess, and passion for gaming.
As you engage in gaming sessions with your personalized controller, relish the seamless integration, ergonomic design, and enhanced functionality it provides. Whether you’re navigating virtual worlds, competing in intense battles, or embarking on epic quests, your custom controller stands as a testament to your ingenuity and dedication to the gaming craft.
As you continue to explore the world of DIY gaming hardware, remember that the journey doesn’t end here. Your custom controller represents a stepping stone toward further innovation and personalization within the gaming sphere. Embrace the endless possibilities and continue to push the boundaries of gaming hardware customization.
With your custom video game controller in hand, you’re not just a gamer – you’re a creator, an innovator, and a pioneer in the realm of personalized gaming experiences. Let your custom controller be a symbol of your passion for gaming and your unwavering commitment to crafting unique and immersive gameplay encounters.


