Introduction
Welcome to the world of Cash App, a popular mobile payment service that allows users to send, receive, and manage their money effortlessly. Whether you need to transfer funds to a friend, pay your bills, or simply send money to yourself, Cash App provides a convenient and user-friendly platform to meet your financial needs. In this guide, we will explore how to send money to yourself on Cash App, enabling you to access your funds quickly and conveniently.
With the rise of online banking and digital payment services, it has become increasingly common for individuals to transfer money to themselves. This can serve various purposes, such as moving money between accounts or accessing funds in specific situations. Cash App offers several methods through which you can send money to yourself, each with its own advantages and processes.
Setting up an account on Cash App is the first step to unlocking its full potential. Once you have successfully created your account, you can start adding funds and sending money to yourself effortlessly. In the following sections, we will delve into the step-by-step process of sending money to yourself on Cash App, covering various methods and highlighting important considerations along the way.
Before we dive into the details, it’s important to note that ensuring the security of your financial information and transactions is paramount. Cash App employs robust security measures to protect your data, including encryption and multi-factor authentication. However, it is always prudent to exercise caution when conducting financial transactions online. Be sure to only use secure and trusted networks and keep your Cash App account credentials confidential.
Now that you have a basic understanding of what to expect, let’s get started by setting up your Cash App account and exploring the different ways you can send money to yourself. Whether you prefer to transfer funds to your bank account, use the direct deposit feature, or leverage the convenience of the Cash Card, Cash App has you covered. Read on to discover the best method that suits your needs and start enjoying the simplicity and convenience of sending money to yourself on Cash App.
Setting Up an Account on Cash App
Before you can begin sending money to yourself on Cash App, you’ll need to set up an account. The process is quick and straightforward, ensuring that you’ll be up and running in no time. Here’s a step-by-step guide to get started:
- Download the Cash App: Start by downloading the Cash App on your mobile device. It is available for both iOS and Android platforms and can be found in the App Store or Google Play Store. Once downloaded, open the app.
- Create an Account: To create your account, you’ll need to enter your mobile phone number or email address. Choose a username and password that you can easily remember. Cash App will send a verification code to your phone number or email for authentication.
- Verify your Account: Enter the verification code sent to you by Cash App to confirm your account. This step ensures the security and authenticity of your identity.
- Link your Bank Account or Debit Card: To fully utilize the features of Cash App, you’ll need to link your bank account or debit card. This will allow you to add funds, withdraw money, and send payments seamlessly. To link your bank account, enter your account and routing numbers. For a debit card, enter the card details as prompted.
- Secure your Account: Cash App provides additional security features, such as the option to enable a PIN or Touch ID/Face ID for authentication. These measures add an extra layer of protection to your account, ensuring that only authorized users can access it.
- Personalize Your Account: Customize your account by adding a profile picture or a unique display name to enhance your personalization on Cash App.
Once you have completed these steps, congratulations! You now have a fully functional Cash App account. You can proceed to the next steps of adding funds and sending money to yourself on Cash App. Remember to keep your account information secure and update your preferences as needed for a seamless and secure experience with Cash App.
Adding Funds to Your Cash App Account
Now that you’ve set up your Cash App account, it’s time to add funds so that you can start sending money to yourself. Cash App offers several methods for adding money to your account, ensuring convenience and flexibility. Here’s how to add funds to your Cash App account:
- Link your Bank Account or Debit Card: As mentioned earlier, linking your bank account or debit card is essential for adding funds to Cash App. Once your account is linked, you can easily transfer money from your bank account or use your linked debit card to fund your Cash App account. Simply follow the prompts and enter the necessary information to complete the process.
- Direct Deposit: Cash App also provides the option to set up direct deposit, allowing you to have your paychecks, tax refunds, or government benefits deposited directly into your Cash App account. This makes it convenient to add funds without the need for manual transfers.
- Cash App Balance: Another way to add funds to your Cash App account is by receiving payments from others. When someone sends you money through Cash App, it will be added to your Cash App balance. You can then use these funds for future transactions, including sending money to yourself.
- Cash App Cash Card: If you have a Cash App Cash Card, you can also add funds to your account by depositing cash at participating retailers. Simply visit a supported store, present your Cash Card, and load cash onto it. The funds will be instantly added to your Cash App account balance.
- P2P Transfers: Cash App also supports peer-to-peer transfers, allowing you to receive money from friends, family, or other Cash App users. If someone you know is using Cash App, they can easily send money to your Cash App account, instantly increasing your available funds.
Adding funds to your Cash App account is quick and hassle-free, thanks to the multiple options available. Once you have successfully added money, you can start sending it to yourself for various purposes, such as transferring funds between accounts or accessing money when needed. Remember to monitor your account balance regularly and add funds as necessary to ensure a seamless experience with Cash App.
Sending Money to Yourself on Cash App
With your Cash App account set up and funds added, you can now explore the various methods available for sending money to yourself. Cash App offers a straightforward process, allowing you to quickly access your funds whenever you need them. Here’s how to send money to yourself on Cash App:
- Open the Cash App: Launch the Cash App on your mobile device and log in to your account using your credentials.
- Select “Cash & BTC”: On the home screen, you will see different options. Tap on “Cash & BTC” to proceed.
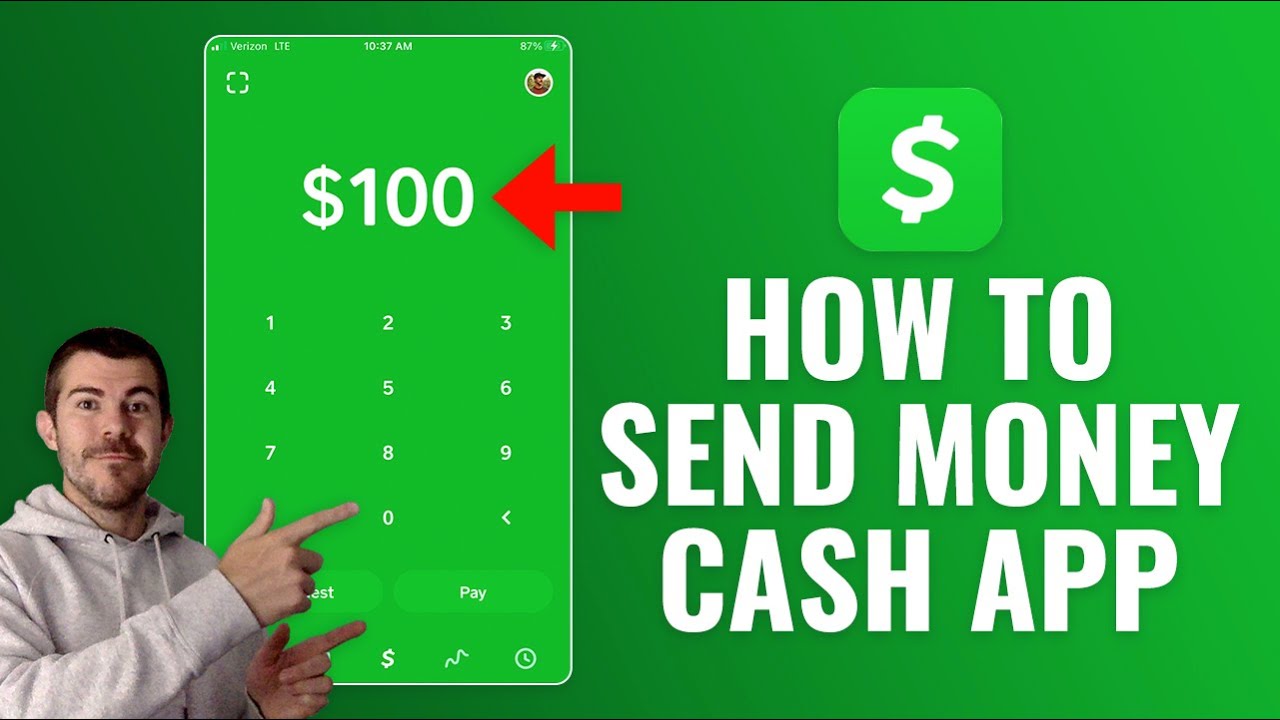
- Enter the Amount: Specify the amount you want to send to yourself. You can choose to send the entire available balance or a specific amount.
- Enter your Cash App PIN or Touch ID/Face ID: Cash App employs an added layer of security by requiring authentication for every transaction. Enter your PIN or use your registered biometric authentication method to confirm the transaction.
- Select Your Recipient: Since you are sending money to yourself, you will be the recipient. Choose your own name or username as the recipient for the transaction.
- Confirm the Transaction: Double-check the details of the transaction, including the recipient and amount, to ensure accuracy. Once you are satisfied, tap on the “Confirm” button to proceed.
- Transaction Complete: After a few moments, you will receive a notification confirming that the transaction has been successfully completed. The money will now be available in your Cash App balance.
By following these simple steps, you can easily send money to yourself on Cash App. Whether you’re transferring funds between accounts, accessing cash when you need it, or simply managing your finances, Cash App provides a streamlined and convenient process. Take advantage of this feature to have full control over your funds and enjoy the flexibility of managing your money on your own terms.
Receiving Money on Cash App
One of the key features of Cash App is the ability to receive money from others quickly and easily. Whether you’re expecting a payment from a friend, family member, or client, Cash App provides a seamless process to receive funds directly into your account. Here’s how to receive money on Cash App:
- Open the Cash App: Launch the Cash App on your mobile device and log in to your account using your credentials.
- Go to the Home Screen: On the home screen, you will see various options. Tap on the “Request” tab located at the bottom center of the screen.
- Enter the Amount: Specify the amount of money you wish to receive from the other party. You can adjust the amount by tapping on the number pad or use the option to enter a specific amount manually.
- Add a Note: If you want to provide additional context or instructions, you can add a note to the request. This can be useful when receiving payments for specific purposes or projects.
- Choose the Recipient: Select the person or contact from whom you are expecting to receive the payment. This can be someone in your contact list or a Cash App user whom you can search by their username or mobile number.
- Send the Request: Once you have entered the details and verified everything, tap on the “Request” button to send the request to the chosen recipient.
- Confirmation and Notifications: Cash App will send a notification to both you and the payer, confirming the request. You will receive a notification when the payment is initiated and when the funds are successfully deposited into your Cash App account.
Receiving money on Cash App is a straightforward process that ensures quick and hassle-free transactions. Whether you’re receiving payments for goods and services, splitting bills with friends, or accepting donations, Cash App simplifies the process and provides seamless integration with your account. By following these steps, you can easily receive funds and have them instantly available for use within your Cash App balance.
Withdrawing Funds from Cash App to Your Bank Account
One of the great advantages of Cash App is that it allows you to easily transfer funds from your Cash App account to your linked bank account. This provides you with the flexibility to access your money in a traditional banking setting. Here’s how you can withdraw funds from Cash App to your bank account:
- Open the Cash App: Launch the Cash App on your mobile device and log in to your account using your credentials.
- Tap on the Balance: On the home screen, you will see your Cash App balance displayed. Tap on this balance to proceed.
- Select “Cash Out”: Choose the “Cash Out” option to initiate the withdrawal process.
- Specify the Amount: Enter the amount you want to withdraw from your Cash App account. You can either choose a preset amount or enter a specific amount manually.
- Select “Standard” or “Instant”: Cash App provides two withdrawal options: “Standard” and “Instant.” The “Standard” option is free and takes 1-3 business days for the funds to appear in your bank account, while the “Instant” option allows for immediate withdrawal for a small fee.
- Select your Bank Account: Choose the linked bank account to which you want to withdraw the funds. If you haven’t linked a bank account yet, you will be prompted to do so by providing your bank account and routing numbers.
- Confirm the Withdrawal: Double-check the details, including the amount and the bank account, to ensure accuracy. Once you are satisfied, confirm the withdrawal by tapping on the “Cash Out” button.
- Confirmation and Notifications: Cash App will provide you with a confirmation screen indicating the successful withdrawal. You will also receive notifications regarding the transaction, informing you of the progress and when the funds will be available in your bank account.
By following these steps, you can easily transfer funds from your Cash App account to your linked bank account. This provides you with the flexibility to manage your money through both the digital realm of Cash App and the conventional banking system. Keep in mind that while “Standard” withdrawals are free, “Instant” withdrawals carry a small fee. Choose the option that best suits your needs and enjoy the convenience of accessing your funds within your bank account.
Using Cash App’s Direct Deposit Feature to Send Money to Yourself
One of the convenient features offered by Cash App is the ability to set up direct deposit, allowing you to have funds sent directly to your Cash App account. This feature is particularly beneficial when you want to send money to yourself on a regular basis, such as receiving your paycheck or government benefits. Here’s how you can utilize Cash App’s direct deposit feature to send money to yourself:
- Open the Cash App: Launch the Cash App on your mobile device and log in to your account using your credentials.
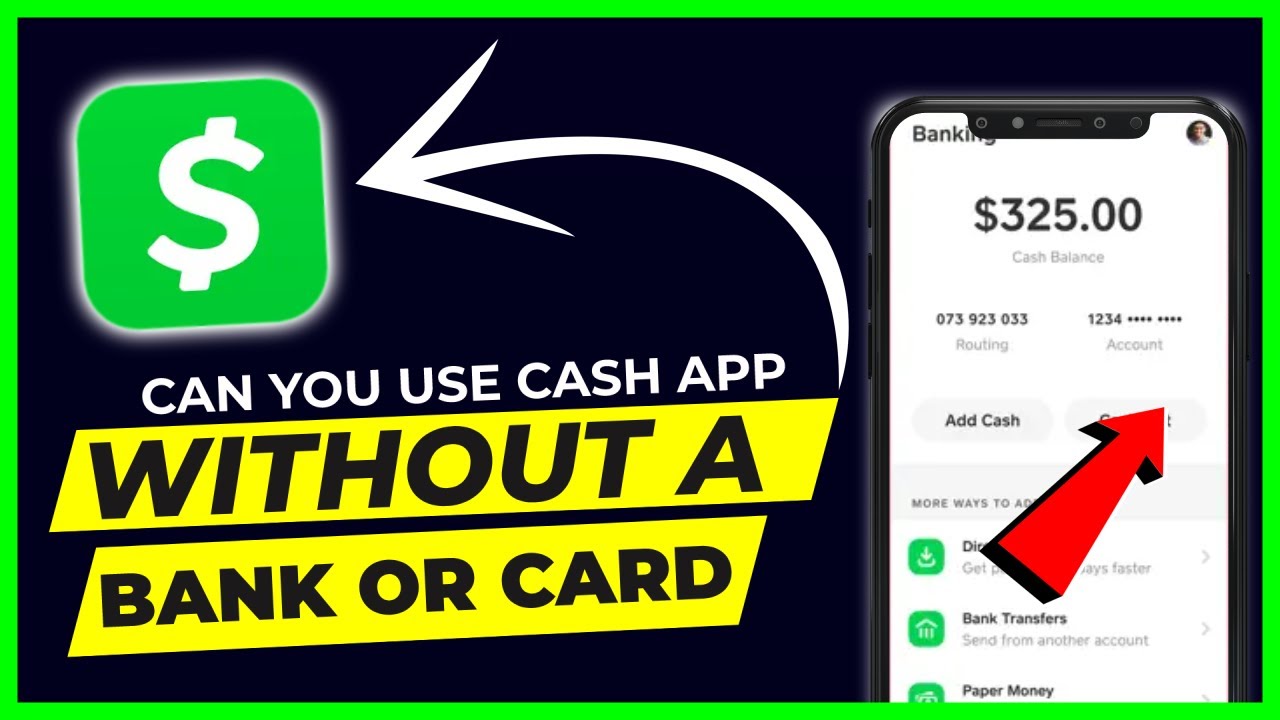
- Tap on the “Banking” tab: Located at the bottom right corner of the screen, the “Banking” tab will allow you to access the direct deposit feature on Cash App.
- Select “Direct Deposit”: Choose the “Direct Deposit” option to initiate the setup process.
- Follow the Instructions: Cash App will provide you with detailed instructions on how to set up direct deposit. This will include providing your employer or benefits provider with your Cash App routing and account numbers. You may also need to fill out any necessary forms given by your employer or benefits provider.
- Verify the Direct Deposit: Once the setup is complete, Cash App will need to verify your direct deposit information. This process may take a few business days, and Cash App will notify you when it is successfully verified.
- Receive Money on Direct Deposit: Once your direct deposit is set up and verified, you can start receiving money directly into your Cash App account. This allows you to send money to yourself conveniently and have it available for use instantly.
By utilizing Cash App’s direct deposit feature, you can streamline the process of sending money to yourself. Whether you receive regular paychecks, government benefits, or other recurring deposits, direct deposit provides a convenient and hassle-free method to ensure that your money goes directly to your Cash App account. Take advantage of this feature to have your funds readily available and easily accessible whenever you need them.
Sending Money to Yourself with Cash App’s Cash Card
Cash App’s Cash Card is a physical debit card that is linked to your Cash App account, providing you with the convenience of accessing your funds both digitally and in-person. With the Cash Card, you can easily send money to yourself and make purchases wherever Visa is accepted. Here’s how to send money to yourself with Cash App’s Cash Card:
- Order and Activate your Cash Card: To get started, you’ll need to order a Cash Card. Open the Cash App, tap on the “Cash Card” tab, and follow the instructions to request and activate your card. Once your card is activated, it will be linked to your Cash App account.
- Load Funds onto your Cash Card: Before you can send money to yourself, you’ll need to ensure that your Cash Card has sufficient funds. There are several ways to load funds onto your Cash Card, including receiving payments, transferring funds from your Cash App account, or depositing cash at participating retailers.
- Make Purchases or Cash Withdrawals: Now that your Cash Card is loaded with funds, you can use it to make purchases or withdraw cash. Simply swipe or insert your Cash Card at any merchant or ATM that accepts Visa. You can use it to pay bills, shop online, or withdraw money from ATMs.
- Send Money to Your Cash App Account: To send money to yourself, you can transfer funds from your Cash Card to your Cash App account. Open the Cash App, tap on the “Cash & BTC” tab, and select the “Add Cash” option. Enter the amount you want to transfer and confirm the transaction.
- Accessing Your Funds: Once the funds from your Cash Card are transferred to your Cash App account, you can easily send money to yourself using the steps outlined earlier in this guide. This provides you with the flexibility to access your funds digitally or through your Cash Card as per your convenience.
With Cash App’s Cash Card, you have the best of both worlds – a digital account and a physical card that gives you easy access to your funds. By following these steps, you can easily send money to yourself using the Cash Card. Whether you need to make purchases on-the-go or want to transfer funds from your Cash Card to your Cash App account, the Cash Card provides a convenient and versatile way to manage your money.
Conclusion
Cash App offers a range of features and functionalities that make sending money to yourself a seamless and convenient process. Whether you need to transfer funds between accounts, access cash when needed, or automate recurring deposits, Cash App provides a user-friendly platform for managing your finances.
Setting up an account on Cash App is the first step, followed by adding funds through various methods such as linking your bank account, receiving payments, or using the Cash Card. Once your account is funded, you can easily send money to yourself by following the simple steps outlined for each method.
Additionally, Cash App provides features like direct deposit and the Cash Card, further enhancing your ability to send money to yourself. With direct deposit, you can conveniently receive regular payments directly into your Cash App account. The Cash Card, on the other hand, combines the benefits of a physical debit card with the flexibility of a digital wallet, allowing you to use your funds wherever Visa is accepted.
As with any financial platform, it is important to prioritize the security of your account and personal information. Cash App has implemented strong security measures, but it is still essential to exercise caution when conducting transactions online. Be mindful of your account credentials, use secure networks, and keep an eye on your account activity to ensure a safe and secure experience.
In conclusion, Cash App offers a comprehensive solution for sending money to yourself, making it easy to access your funds and manage your finances. By utilizing the various features and methods available, you can streamline your financial transactions and enjoy the convenience and flexibility that Cash App provides.