Introduction
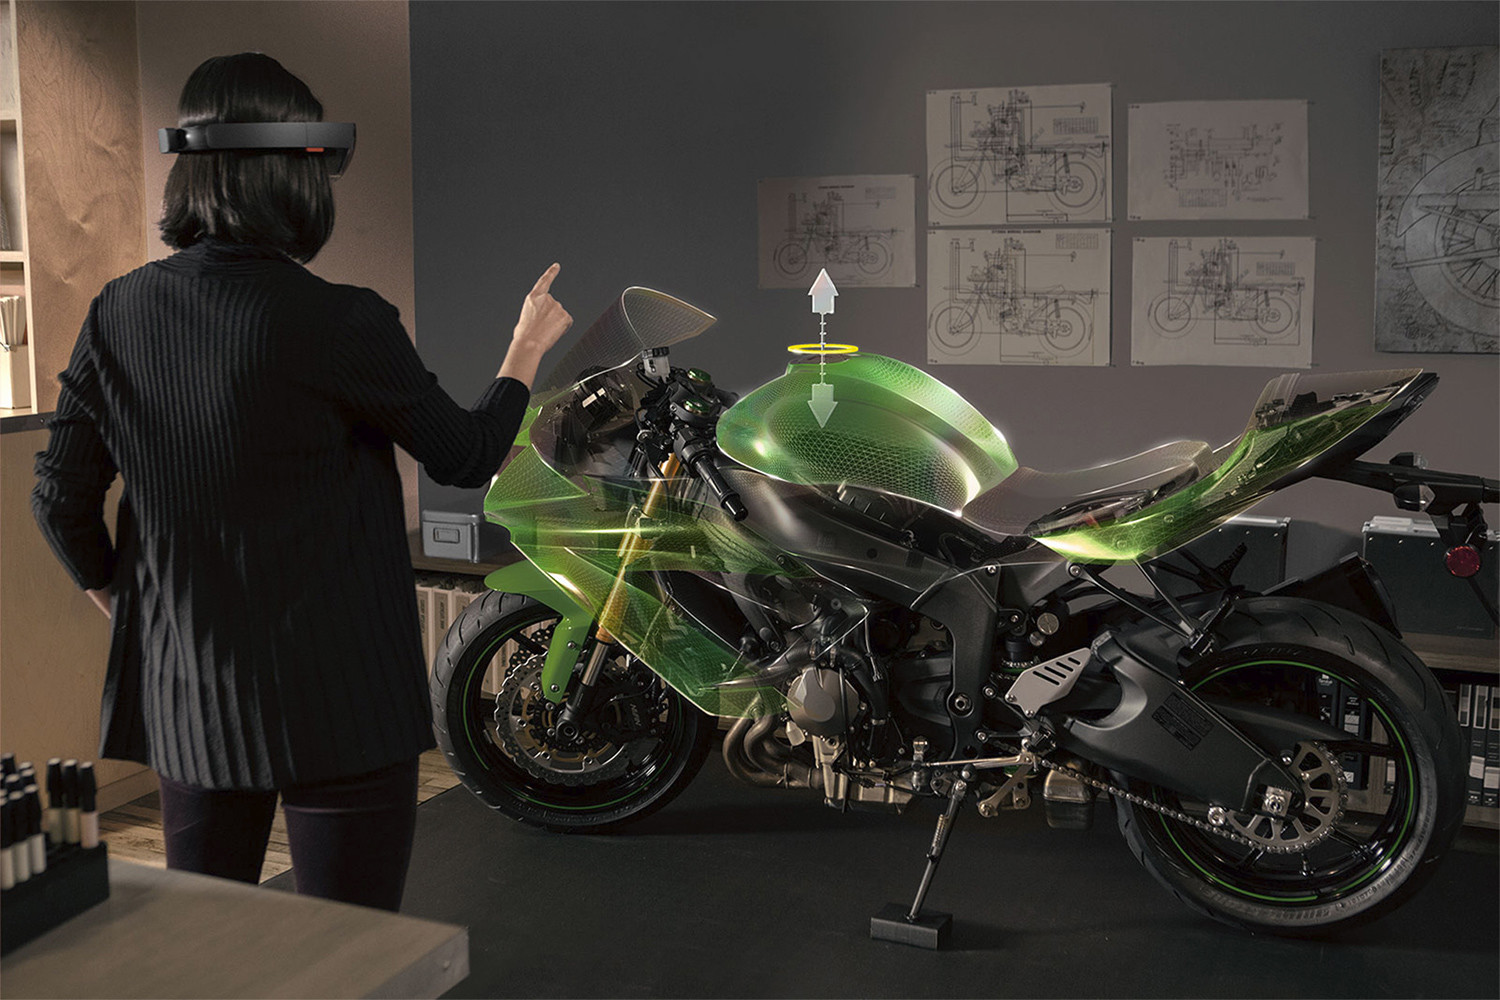
The HoloLens Emulator is a powerful tool that allows developers to test and run their HoloLens applications without needing the physical device. This emulator, when coupled with Visual Studios, provides a seamless development environment for creating mixed reality experiences. Whether you are a beginner or an experienced developer, setting up and running the HoloLens Emulator on Visual Studios can be a valuable skill to have.
In this article, we will walk you through the step-by-step process of setting up the HoloLens Emulator on Visual Studios. We will start by guiding you through the installation of Visual Studios if you haven’t done so already. Then, we will delve into creating a HoloLens project and configuring the emulator. Finally, we will show you how to run the emulator and troubleshoot common issues you may encounter along the way.
By the end of this article, you will have a solid understanding of how to run the HoloLens Emulator on Visual Studios and be ready to embark on your journey of developing captivating mixed reality applications.
Setting up the HoloLens Emulator
Before you can start using the HoloLens Emulator, you need to install the necessary components. Here’s a step-by-step guide to help you set up the emulator on your machine.
- First, ensure that your machine meets the system requirements for running the HoloLens Emulator. Check Microsoft’s documentation for the specific requirements based on your operating system.
- Once you have confirmed that your machine meets the requirements, download and install the Windows Software Development Kit (SDK) which includes the HoloLens Emulator. Make sure to select the appropriate version for your operating system.
- During the installation process, you will have the option to choose which components to install. Select the “Emulator” component to install the HoloLens Emulator.
- After the installation completes, launch the emulator to set it up. You may need to sign in with your Microsoft account or create a new one if you don’t have an account already.
- Follow the on-screen instructions to configure the emulator settings. This includes selecting the language, region, and consent options.
- Once the configuration is complete, the emulator will be ready to use. You can access it from the “Start” menu or the emulator folder in the Windows SDK installation directory.
Setting up the HoloLens Emulator is a straightforward process, but it is essential to ensure that you have the necessary system requirements and the Windows SDK installed. By following these steps, you will have the emulator up and running on your machine, ready to test and deploy your HoloLens applications.
Installing Visual Studios
Visual Studios is the integrated development environment (IDE) that you will need to create and build your HoloLens applications. Here’s a step-by-step guide to help you install Visual Studios on your machine.
- Visit the official Microsoft Visual Studios website and navigate to the downloads page.
- Choose the version of Visual Studios that best suits your needs and click on the download button.
- Once the download is complete, run the installer and select the desired components to install. For HoloLens development, make sure to select the Universal Windows Platform development workload. You may also want to include other optional components such as Unity or Xamarin if you plan on using them.
- Follow the on-screen instructions to complete the installation process. You may be prompted to sign in with your Microsoft account or create a new one if you don’t have an account already.
- After the installation is finished, launch Visual Studios to verify that it is installed correctly.
- Before you start developing HoloLens applications in Visual Studios, ensure that you have the necessary licenses activated. Depending on the specific version of Visual Studios you installed, you may need to activate a free HoloLens development license or acquire a commercial license.
By installing Visual Studios, you will have access to a powerful development environment tailored for creating HoloLens applications. Make sure to select the appropriate components during the installation process, and remember to activate the necessary licenses to unleash the full potential of Visual Studios for HoloLens development.
Creating a HoloLens Project
Once you have set up the HoloLens Emulator and installed Visual Studios, it’s time to create your first HoloLens project. Follow these steps to get started:
- Launch Visual Studios and choose “Create a new project” from the startup page or the “File” menu.
- In the “Create a new project” window, select the “Visual C#” category on the left-hand side and choose the “Blank App (Universal Windows)” template.
- Enter a name for your project and choose a suitable location on your machine to save it.
- Click “OK” to create the project. Visual Studios will generate the necessary files and folders for your HoloLens application.
- Next, you need to configure the project settings. In the Solution Explorer window, right-click on your project name and select “Properties”.
- In the project properties window, navigate to the “Debug” tab. Here, make sure that the “Start Action” is set to “Remote Machine” and choose the desired architecture for the HoloLens emulator (x86 or x64).
- Click “Apply” and then “OK” to save the changes to the project properties.
Congratulations! You have successfully created a HoloLens project in Visual Studios. Now you can start building your HoloLens application by adding scripts, assets, and other necessary components. Take advantage of the powerful features and tools provided by Visual Studios to bring your mixed reality vision to life.
Configuring the Emulator
Before you can start running your HoloLens application in the emulator, you need to configure it properly. Follow these steps to ensure that your emulator is set up correctly:
- Open the HoloLens Emulator from the “Start” menu or the emulator folder in the Windows SDK installation directory.
- Once the emulator is running, click on the “Settings” button on the toolbar. This will open the emulator settings panel.
- In the settings panel, you can configure various aspects of the emulator, such as display resolution, input gestures, network connectivity, and more.
- Adjust the display resolution to match the desired HoloLens display size. This will help you simulate the real-world experience more accurately.
- Enable or disable specific input gestures to mimic the user interactions you want to test in your application.
- Configure the network settings if your application requires network connectivity or data access.
- Once you have made the necessary changes, click on the “Save Settings” button to apply the configuration.
By properly configuring the HoloLens Emulator, you can create a more realistic testing environment for your HoloLens application. Adjusting the display resolution, input gestures, and network settings will allow you to simulate user interactions and experiences accurately. Take the time to explore the various configuration options and optimize the emulator settings based on your specific application requirements.
Running the Emulator
Now that you have your HoloLens project set up and the emulator configured, it’s time to run your application and see it in action. Follow these steps to run your application in the HoloLens Emulator:
- In Visual Studios, make sure that your HoloLens project is selected as the active project.
- Choose the desired target architecture (x86 or x64) from the toolbar.
- Click on the “Start Debugging” button or press F5 to deploy and run your application in the HoloLens Emulator.
- The emulator will launch, and your application will start running within the simulated HoloLens environment.
- Interact with the emulator using your mouse and keyboard or the configured input gestures to navigate through your application.
- Monitor the emulator screen and the Visual Studios console to debug any issues or errors that may occur.
- Make changes to your code, assets, or settings as needed and re-run the application to see the updated results in the emulator.
Running your application in the HoloLens Emulator allows you to test and fine-tune your project before deploying it to a physical device. It provides a convenient way to visualize and interact with your mixed reality application without the need for a HoloLens device. Take advantage of the debugging tools and features in Visual Studios to ensure that your application is functioning as expected in the emulator environment.
Troubleshooting Common Issues
While setting up and running the HoloLens Emulator on Visual Studios, you may encounter some common issues. Here are a few troubleshooting tips to help you resolve these problems:
- Emulator Not Launching: If the emulator fails to launch, ensure that your machine meets the system requirements and that the Windows SDK is installed correctly. You can also try restarting your machine and launching the emulator again.
- Performance Issues: If you experience lag or performance issues while running the emulator, close any unnecessary applications running in the background. You can also try adjusting the emulator settings, such as reducing the display resolution or disabling resource-intensive features.
- Connecting to the Emulator: If Visual Studios is unable to connect to the emulator, double-check that the emulator is running, and the project properties are configured correctly. You can also try restarting the emulator and Visual Studios.
- Error Messages: If you encounter error messages during the emulator setup or application deployment, carefully read and understand the error message. Search for the error online or consult Microsoft’s documentation for troubleshooting tips specific to the error you’re facing.
- Debugging Issues: If you are having trouble debugging your application in the emulator, ensure that the debugger is attached correctly. Double-check that the breakpoints are set, and the correct build configuration is selected.
Remember, troubleshooting is a normal part of the development process. If you encounter an issue, don’t hesitate to search for solutions online, consult community forums, or seek assistance from the Microsoft support team. With patience and perseverance, you will be able to overcome any challenges and continue building your HoloLens application.
Conclusion
In this article, we have explored the process of setting up and running the HoloLens Emulator on Visual Studios. By following the steps outlined in this guide, you should now have a solid foundation for developing and testing your HoloLens applications in a simulated environment.
We started by setting up the HoloLens Emulator, ensuring that our machine met the necessary requirements and installing the Windows SDK. Then, we moved on to installing Visual Studios, the essential development environment for HoloLens applications. With Visual Studios up and running, we learned how to create a new HoloLens project and configure the emulator settings to match our desired specifications. Finally, we discussed the process of running the emulator and provided some troubleshooting tips for common issues that may arise.
Remember, the HoloLens Emulator and Visual Studios offer a powerful combination for creating immersive mixed reality experiences. Take advantage of the debugging tools, features, and resources available to enhance your development process. Additionally, don’t hesitate to explore further and experiment with different settings, gestures, and interactions to push the boundaries of your HoloLens applications.
Now that you have the knowledge and tools to develop on the HoloLens Emulator, it’s time to unleash your creativity and bring your ideas to life. Whether you are diving into HoloLens development for the first time or expanding your skillset, the HoloLens Emulator and Visual Studios provide a robust platform to explore the exciting world of mixed reality. Happy coding!


