Introduction
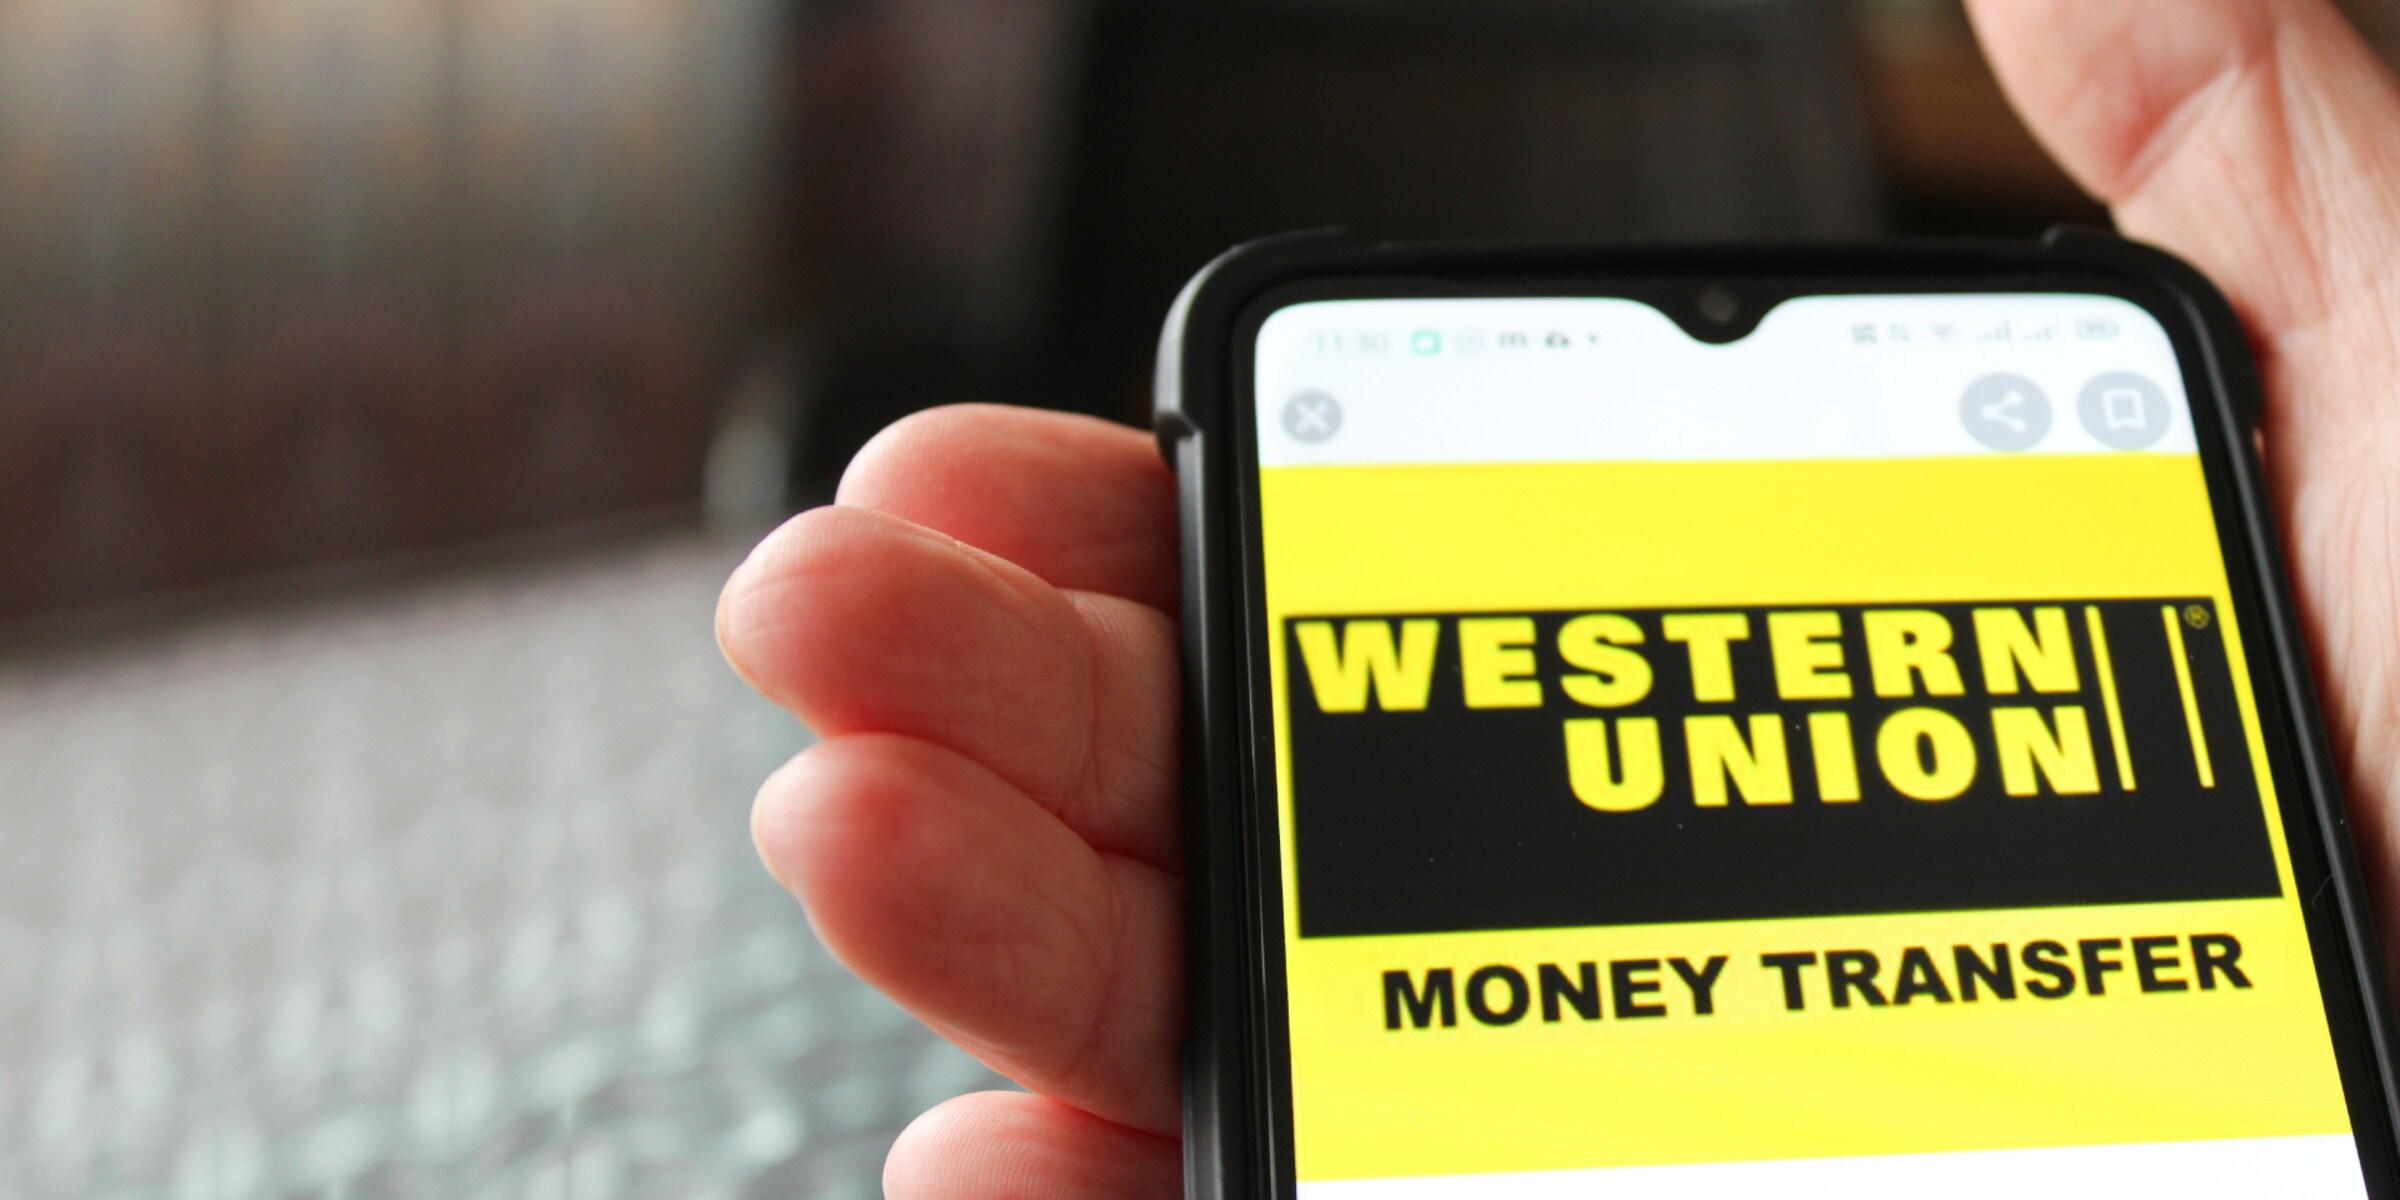
When it comes to receiving money from abroad, Western Union is one of the most reliable and convenient options available in India. With a widespread network of agents and easily accessible locations, Western Union provides a secure and fast way to receive funds from family, friends, or business associates who are overseas.
Whether you need to receive money for personal reasons, such as covering living expenses or educational fees, or for business purposes, like receiving payments from international clients, Western Union offers a simple process that ensures your funds reach you in a timely manner.
In this article, we will guide you through the step-by-step process of receiving money through Western Union in India. By following these easy steps, you can quickly and efficiently collect your funds and put them to good use.
Please note that the information provided in this article pertains to the general process of receiving Western Union transfers in India. Requirements and procedures may vary slightly depending on the specific location and policies of the Western Union agent you visit. It’s always a good idea to double-check with your local agent for any additional requirements or specific instructions.
Now, let’s get started on the process of receiving a Western Union money transfer in India.
Step 1: Verify your identity and address
Before you can receive money through Western Union in India, you will need to verify your identity and address. This step is necessary to comply with legal and regulatory requirements and ensure the safety and security of the transaction.
To verify your identity, you will generally need to provide a government-issued identification document. Accepted forms of identification may include your passport, driver’s license, or Aadhaar card. Make sure to carry the original document with you, as a photocopy may not be accepted.
In addition to verifying your identity, Western Union may also require you to provide proof of your address. This can be done by presenting utility bills, bank statements, or any other official document that displays your name and current residential address.
It’s important to note that the specific documents required may vary depending on the Western Union agent you visit. To avoid any inconvenience, it’s a good idea to call ahead or check the agent’s website for a list of acceptable identification and address proof documents.
Once you have gathered the necessary documents, make your way to a nearby Western Union location. The agent will assist you in the verification process by reviewing your identification and address proof. Once your identity and address have been successfully verified, you can proceed to the next step of receiving your money.
Ensuring that you have the correct identification and address proof documents ready beforehand will help streamline the verification process and make your experience smoother when receiving money through Western Union in India. So, be prepared and have your documents in order when visiting a Western Union agent.
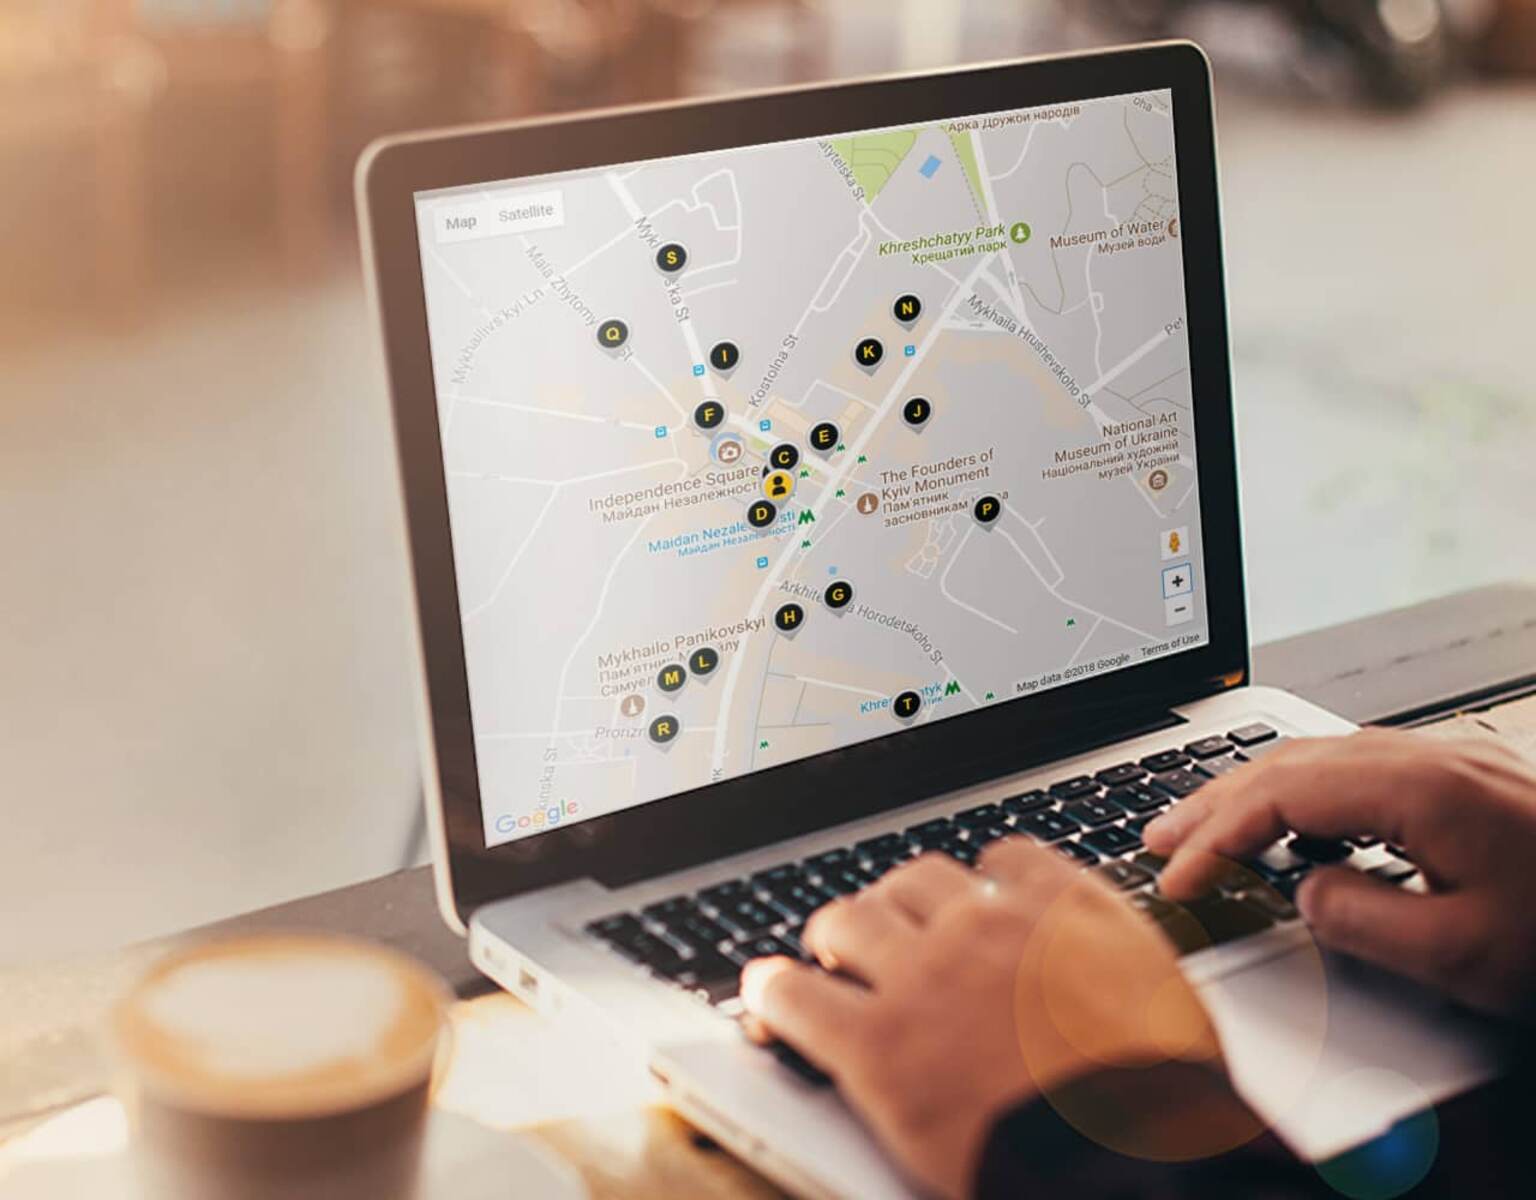
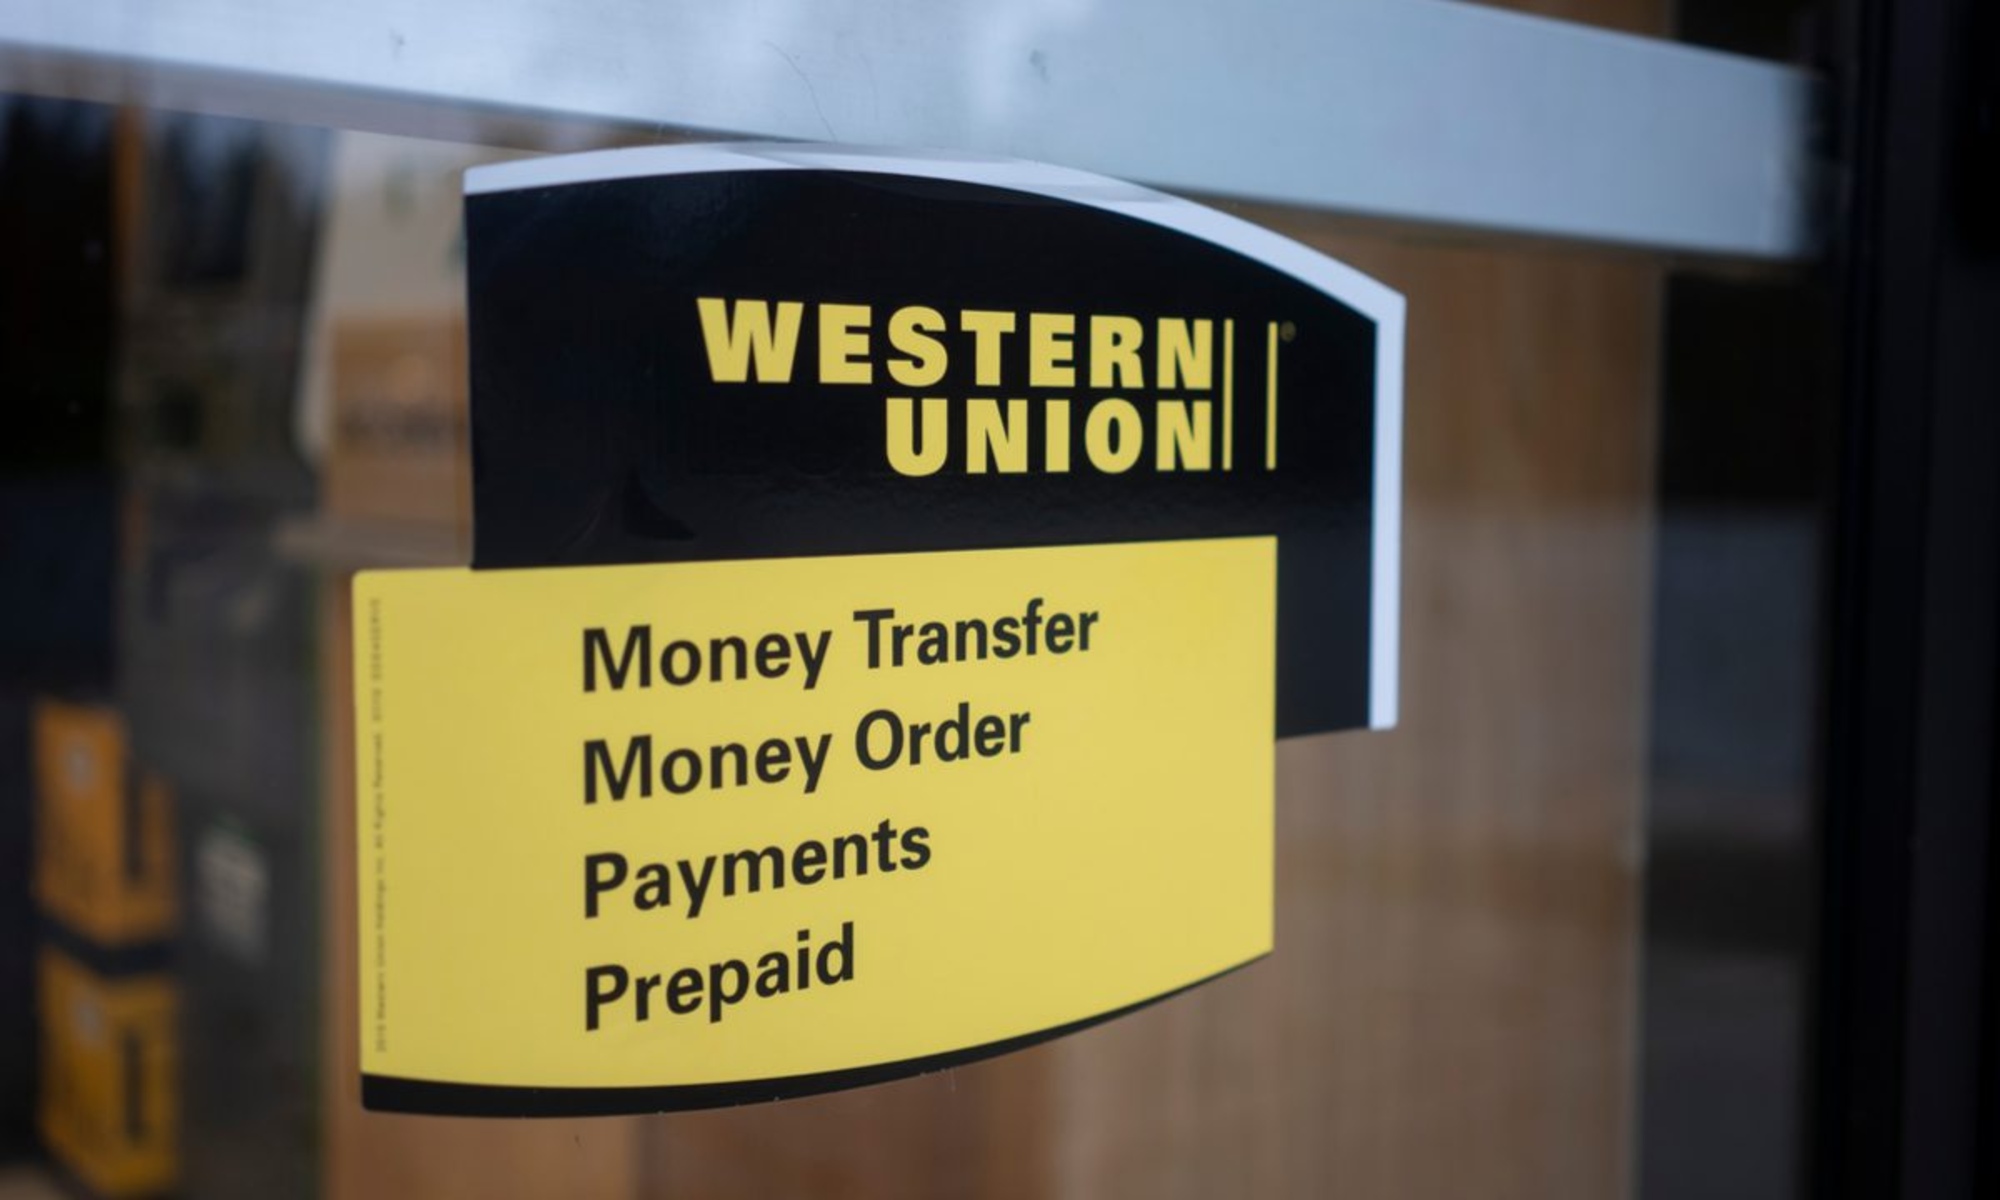
Step 2: Find a Western Union location near you
Once you have verified your identity and address, the next step is to find a Western Union location near you in India. Western Union has a vast network of agents spread across the country, making it convenient for you to find an agent close to your location.
To locate a Western Union agent, you have a few options:
- Visit the Western Union website: Western Union has an online agent locator tool on their website. Simply enter your city or postal code, and the tool will display a list of nearby authorized agents. You can also specify any additional filters, such as 24-hour service or accessibility options, to narrow down your search.
- Use the Western Union mobile app: Western Union also offers a mobile app that makes it even easier to find nearby agents. Download the app on your smartphone, enable location services, and it will automatically show you the agents closest to your current location.
- Contact Western Union customer service: If you prefer to speak to a representative directly, you can call Western Union customer service and provide them with your location details. They will be able to assist you in finding the nearest agent.
Once you have identified the closest Western Union agent, make a note of their address and contact information. It’s a good idea to save this information on your phone or in a safe place for future reference.
Keep in mind that Western Union agents may have varying operating hours and services available. Some agents may offer 24-hour services, while others may have specific working hours. Therefore, it’s always a good idea to check their operating hours and service availability before visiting. You can find this information on the Western Union website or by contacting the agent directly.
By finding a convenient Western Union location near you, you can save time and effort when receiving money transfers in India. So, take the time to locate the closest agent and make note of their details before proceeding with the next steps.
Step 3: Fill out the Receive Money form
Once you have located a Western Union agent near you, the next step is to fill out the Receive Money form. This form is a crucial part of the process as it ensures that the funds are directed to the correct recipient.
When you arrive at the Western Union agent’s office, approach the counter and request the Receive Money form. The agent will provide you with the necessary paperwork or direct you to a self-service kiosk where you can fill out the form electronically.
The Receive Money form will typically require the following information:
- Your full name: Enter your complete legal name as it appears on your identification documents. Make sure to provide your name exactly as it is spelled.
- Sender’s full name: Fill in the name of the person who is sending you the money. Ensure that you have the correct spelling of their name to avoid any issues with the transaction.
- Tracking number (MTCN): This is a unique 10-digit number provided by the sender. It acts as a reference number for the transfer and is required for the agent to process your transaction. Make sure you have the MTCN handy.
- Amount expected: Enter the amount of money you are expecting to receive. This should match the amount specified by the sender.
- Country of origin: Specify the country from where the money is being sent.
- Test question and answer (if applicable): In some cases, the sender may have set up a test question and answer for added security. If this applies to your transaction, provide the correct answer to the question.
Ensure that all the information you provide on the Receive Money form is accurate and matches the details provided by the sender. Any discrepancies could result in delays or difficulties in receiving your funds.
Take your time to review the completed form before submitting it to the Western Union agent. Double-check all the details to make sure they are correct and legible. Once you are satisfied with the information, hand over the completed form to the agent, along with your identification documents.
By carefully filling out the Receive Money form, you can ensure a smooth and efficient process when receiving money through Western Union in India.
Step 4: Provide required identification documents
After filling out the Receive Money form, the next step in receiving money through Western Union in India is to provide the necessary identification documents. These documents are crucial for verifying your identity and ensuring the security of the transaction.
When submitting your identification documents, it is essential to have the original copies with you. Photocopies may not be accepted in most cases. The specific identification documents required may vary depending on the Western Union agent or the amount of money being received, but typically include:
- Government-issued photo ID: This can be your passport, driver’s license, or Aadhaar card. Make sure the ID is valid and not expired. The agent will verify the information on the ID with the details provided in the Receive Money form.
- Proof of address: Along with your photo ID, you will need to provide proof of your current address. This can be in the form of utility bills, bank statements, or any official document that displays your name and residential address. Ensure that the proof of address document is recent and matches the information provided in the form.
It is important to note that additional documents or requirements may be requested by the Western Union agent. For large transactions or certain special cases, they may ask for additional proof of income or the purpose of the transaction. It is advisable to check with the specific agent beforehand to ensure you have all the necessary documents in order.
When submitting your identification documents, hand them over to the Western Union agent. They will carefully examine the documents to ensure they are valid and match the information provided in the Receive Money form. The agent may also photocopy or scan the documents for their records.
Remember to maintain a professional and cooperative attitude while interacting with the agent. Cooperation and patience will make the entire process smoother and more efficient.
By providing the required identification documents accurately and in a timely manner, you can comply with the necessary regulations and successfully receive your Western Union money transfer in India.
Step 5: Collect your money and sign the receipt
After completing the verification process and providing the necessary identification documents, the final step in receiving money through Western Union in India is to collect your funds and sign the receipt.
Once the Western Union agent has verified your identification and confirmed the details of the money transfer, they will proceed to release the funds to you. The agent will count the cash or process a transfer to your bank account, depending on the method of payment chosen by the sender.
Before accepting the money, carefully inspect the amount to ensure it matches the expected value specified on the Receive Money form. If there is any discrepancy, immediately bring it to the attention of the agent, who can help resolve the issue.
Once you have received the money, the agent will provide you with a receipt. This receipt serves as proof that you have collected the funds and completed the transaction successfully. Take a moment to review the receipt and ensure that all the details are accurate, including the amount received, the sender’s name, and the reference number (MTCN).
After verifying the receipt, carefully sign it as required by the agent. This serves as confirmation that you have received the funds and completed the transaction.
Keep the receipt in a safe place for future reference. In case of any issues or inquiries regarding the money transfer, the receipt can be used as evidence of the transaction.
Remember to thank the Western Union agent for their assistance and professionalism. A polite and appreciative attitude goes a long way in maintaining a good relationship and ensuring a smooth experience in any future transactions.
With the completion of this step, you have successfully received your money through Western Union in India. Make sure to securely store and manage your funds according to your personal financial needs.
Tips and precautions for receiving Western Union money transfers in India
While receiving money through Western Union in India is a convenient and secure option, it is important to keep some tips and precautions in mind to ensure a smooth and safe transaction. Here are some guidelines to consider:
- Double-check the sender’s details: Before proceeding with the transaction, verify the sender’s name, contact information, and the exact spelling of their name. This will help avoid any confusion or delays in receiving the money.
- Protect your MTCN: The MTCN (Money Transfer Control Number) is a unique reference number provided by the sender. Keep this number confidential and only share it with the authorized recipient. Do not disclose this information to anyone who is not directly involved in the money transfer.
- Be cautious of scams: Be vigilant and aware of potential scams related to receiving money transfers. Avoid sharing personal or financial information with unknown individuals or entities claiming to be from Western Union. Western Union will never contact you to ask for your personal details over the phone or via email.
- Keep your identification documents safe: Your identification documents are crucial for verifying your identity when receiving money. Keep them secure and avoid sharing them with unauthorized individuals. Do not leave your identification documents unattended during the transaction process.
- Confirm the transaction details: Before signing the receipt, carefully review all the details, including the amount received and the sender’s information. Any discrepancies should be immediately brought to the attention of the Western Union agent for resolution.
- Save transaction receipts and details: Keep a record of your transaction receipts and relevant details, including the MTCN, for future reference. These documents can be useful in case of any discrepancies or inquiries related to the money transfer.
- Follow the rules and regulations: Comply with all the rules and regulations set by Western Union and the local authorities. Ensure that all the required identification documents are valid and meet the necessary criteria.
- Choose a reputable agent: Select an authorized Western Union agent that is widely recognized and has a good reputation. This will help ensure a reliable and secure transaction. Check the agent’s credentials and verify their authenticity before proceeding with the money transfer.
By keeping these tips and precautions in mind, you can safeguard your money and have a positive experience when receiving Western Union money transfers in India. Remember to exercise caution, stay informed, and follow the necessary procedures to ensure a smooth and secure transaction.
Conclusion
Receiving money through Western Union in India provides a convenient and efficient way to access funds from abroad. By following the step-by-step process outlined in this article, you can successfully receive your money and put it to use for your personal or business needs.
From verifying your identity and finding a nearby Western Union agent to filling out the Receive Money form, providing the required identification documents, and finally collecting your funds, each step is crucial to ensure a smooth and secure transaction.
Remember to double-check the sender’s details, protect your MTCN, and be cautious of potential scams. Keep your identification documents safe, review the transaction details before signing the receipt, and save all relevant documentation for future reference.
By adhering to the necessary rules and regulations, choosing a reputable agent, and following the tips and precautions provided, you can confidently receive Western Union money transfers in India with peace of mind.
Always stay informed and aware, keeping up-to-date with any changes in policies or procedures. Additionally, if you have any specific questions or concerns, it is advisable to reach out to Western Union customer service or your local agent for clarification and assistance.
Receiving money through Western Union can be a straightforward and secure process when you are well-prepared and informed. Utilize the resources available to you, such as the Western Union website, mobile app, and helpful customer service representatives, to ensure a smooth and successful experience.
Now that you have learned the essential steps involved in receiving Western Union money transfers in India, you are ready to confidently navigate the process and access your funds conveniently. So, go ahead and take advantage of this reliable service for all your financial needs.