Introduction
Welcome to this beginner’s guide on how to generate a menu that follows the view on HoloLens! With the rise of augmented reality (AR) technology, devices like the HoloLens have opened up a whole new world of possibilities. HoloLens allows users to interact with virtual objects seamlessly integrated into their real-world environment.
One essential component of creating immersive AR experiences is designing intuitive and accessible menus. Traditional menu systems often require users to navigate a separate interface, taking them out of the AR immersion. However, by implementing a menu that follows the user’s view, we can ensure that the menu is always within sight and easily accessible.
In this guide, we will walk you through the process of designing and implementing a menu that follows the view on HoloLens. We will cover the necessary steps from conceptualizing the menu design, creating the menu object, positioning it within the view, implementing menu interactions, and finally testing and iterating the menu for optimal user experience.
Whether you are a developer, designer, or simply a curious individual interested in the world of augmented reality, this guide will provide you with the knowledge and tools to generate a menu that enhances your AR experiences on HoloLens.
So, let’s dive in and start creating an innovative menu system that seamlessly integrates with the HoloLens view!
What is HoloLens?
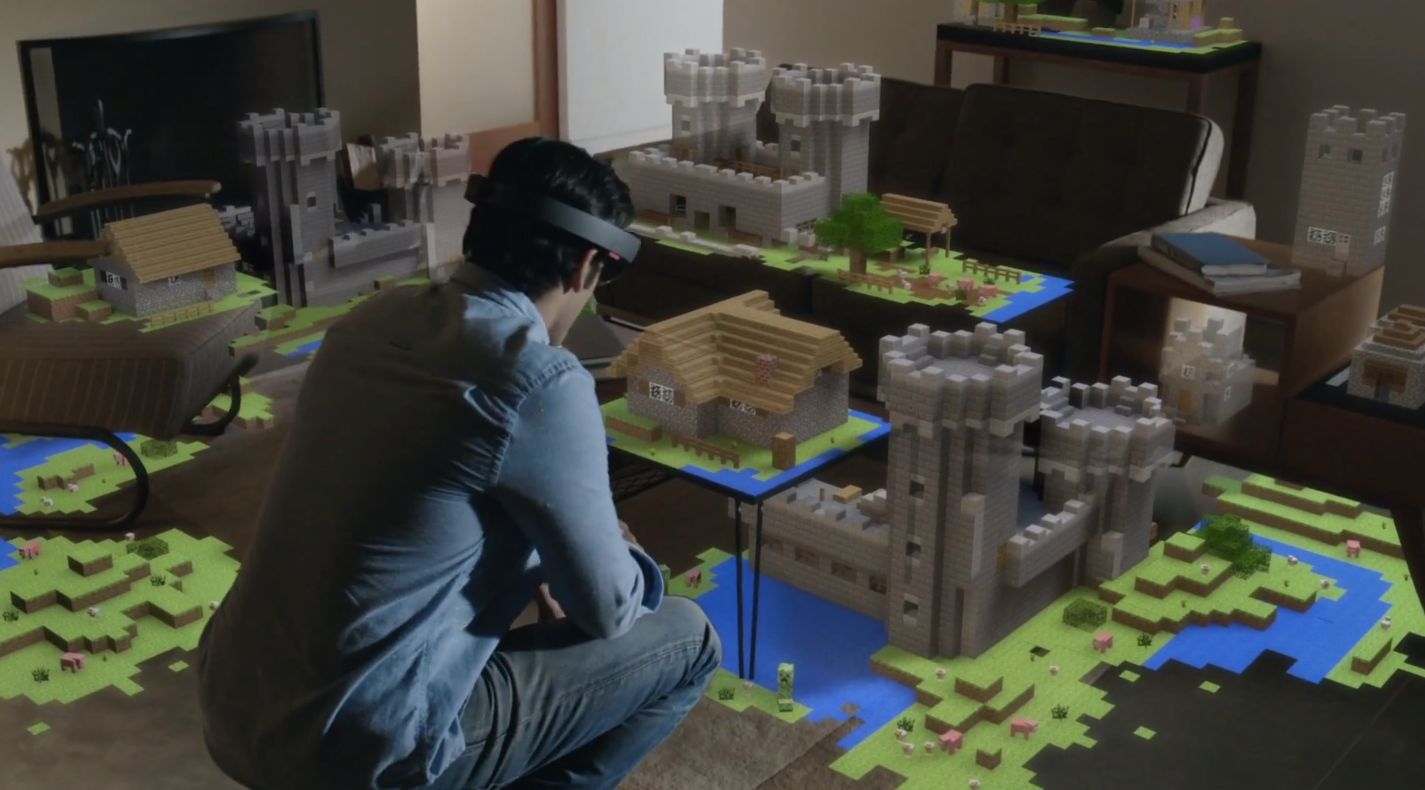
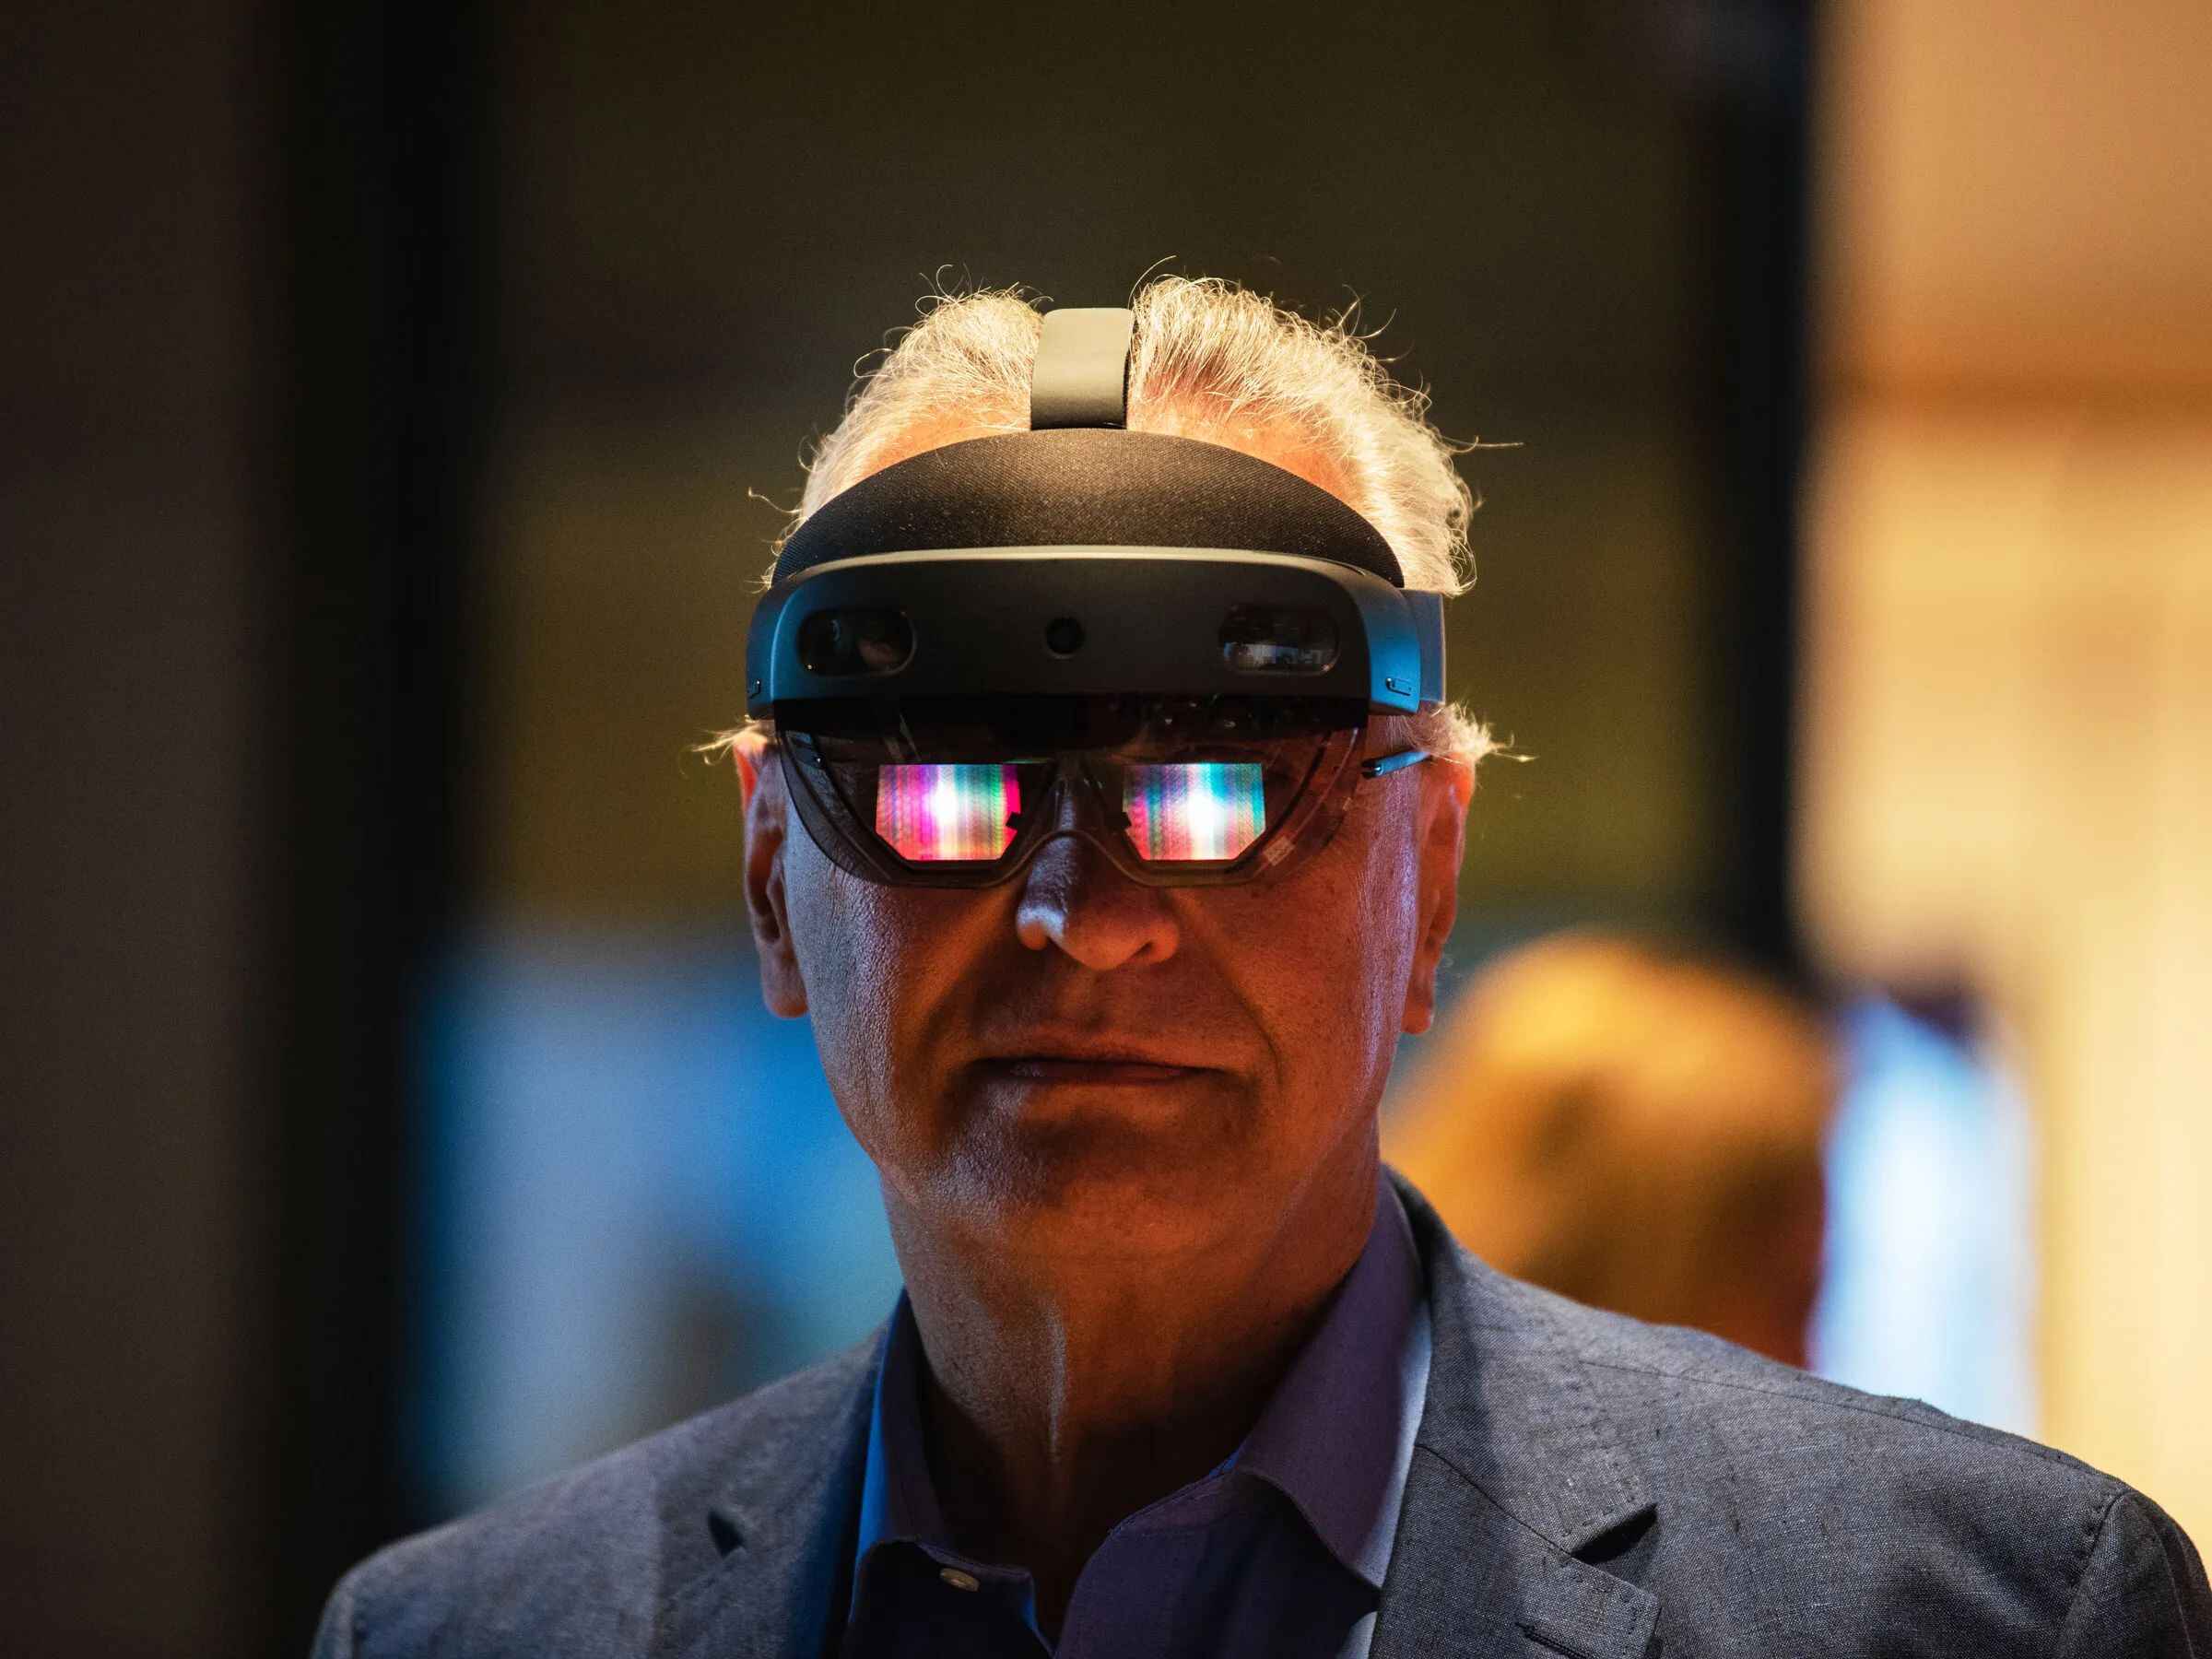
HoloLens is a groundbreaking augmented reality (AR) device developed and manufactured by Microsoft. It is worn like a pair of glasses and provides users with an immersive mixed reality experience by overlaying virtual objects onto the real world environment.
The HoloLens device consists of a head-mounted display (HMD) equipped with sensors and cameras, allowing it to track the user’s movements and spatially map the surroundings. It also features built-in speakers, microphones, and gesture recognition capabilities, enabling users to interact with the virtual objects using voice commands and hand gestures.
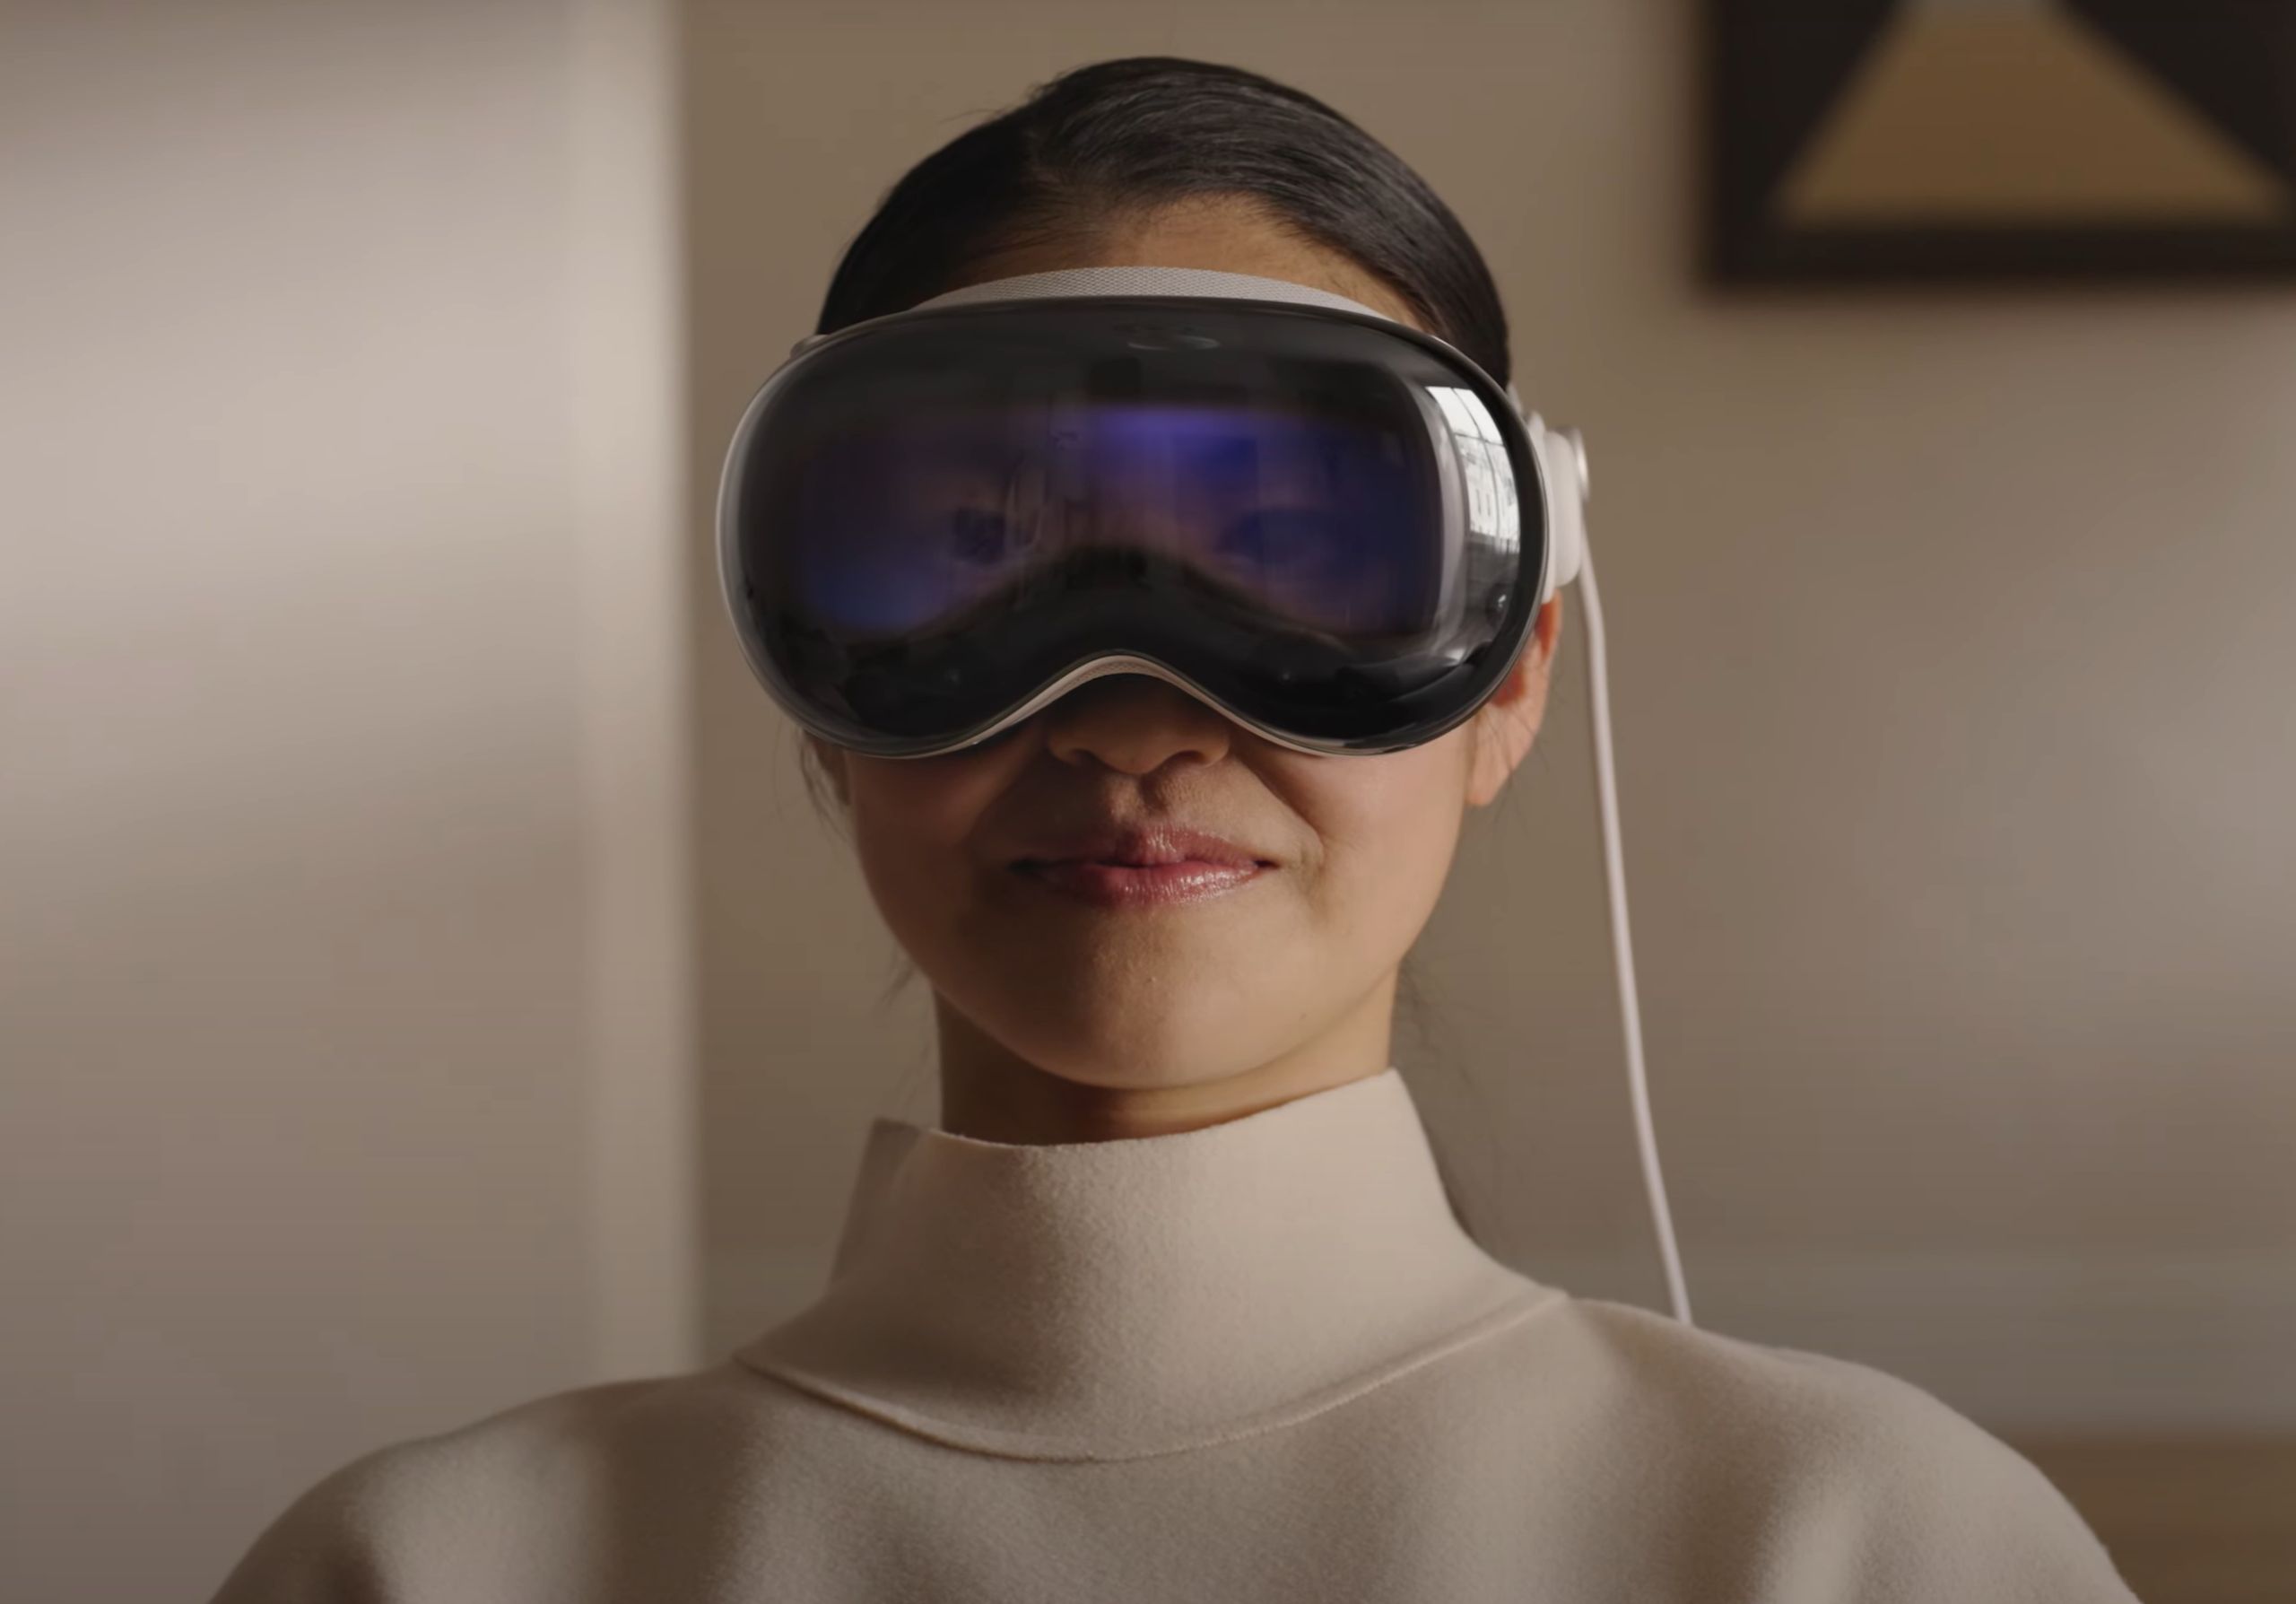
Unlike virtual reality (VR) devices that create an entirely digital environment, HoloLens blends the physical and virtual worlds to deliver a more realistic and immersive experience. Users can see and interact with holograms that appear as if they are part of their real environment.
HoloLens has gained significant attention and popularity across various industries, including gaming, architecture, education, healthcare, and engineering. Its applications range from entertainment and gaming experiences to practical uses such as remote collaboration, product visualization, and training simulations.
Developers can create applications for HoloLens using the Windows Mixed Reality platform, which provides a set of tools and APIs for building immersive AR experiences. This allows developers to leverage the device’s capabilities and create innovative applications tailored to specific industry needs.
With its advanced tracking technology, comfortable design, and powerful computing capabilities, HoloLens has revolutionized the way we interact with digital content in the real world. Whether it’s exploring virtual worlds, visualizing complex data, or collaborating with colleagues remotely, HoloLens opens up a multitude of possibilities for businesses and individuals alike.
Now that we have a better understanding of what HoloLens is, let’s delve into the concept of “View on HoloLens” and why it is important when creating a menu system that follows the user’s perspective.
Understanding the View on HoloLens
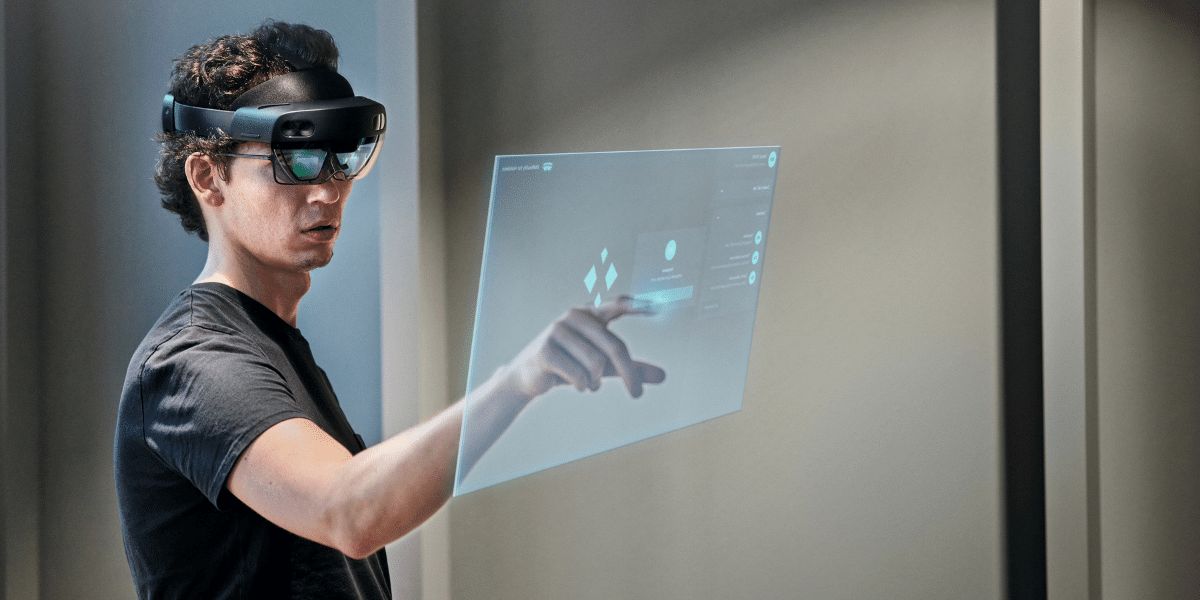
When using the HoloLens device, the “View” refers to the user’s perspective or point of view within the augmented reality space. It represents what the user sees through the holographic lenses of the device, overlaying digital content onto their real-world environment.
The HoloLens employs various technologies, such as spatial mapping and gesture recognition, to understand the user’s physical surroundings and accurately position holographic content in relation to the real-world objects. This allows for seamless integration of virtual objects into the user’s view, creating a truly immersive mixed reality experience.
Understanding the view on HoloLens is crucial when designing a menu system that follows the user’s perspective. By aligning the menu with the user’s field of vision, it becomes more convenient and intuitive to interact with the menu while keeping their attention focused on the holographic content.
Unlike traditional menu systems, which may require the user to look away or navigate through separate interfaces, a menu that follows the view ensures that important menu options are always within sight. This not only saves time and effort but also enhances the overall user experience by seamlessly integrating the menu into the augmented reality environment.
Considering the user’s viewpoint is essential for menu visibility and accessibility. Placing the menu in a fixed location within the user’s view without accounting for their movements can result in the menu obstructing important content or becoming difficult to interact with.
By designing a menu that dynamically adjusts its position as the user moves, we can ensure that it remains visible and easily reachable regardless of their orientation or location. This adaptability leads to a more user-friendly and intuitive menu system, minimizing distractions and maximizing the user’s engagement with the augmented reality experience.
In the following sections, we will explore the step-by-step process of designing and implementing a menu that follows the view on HoloLens. From conceptualization to testing, we will provide you with the necessary tools and insights needed to create an effective and seamless menu system that enhances your AR experiences.
Now that we have a clear understanding of the view on HoloLens, let’s delve into why a menu that follows the view is essential for an optimal user experience.
Why use a menu that follows the view?
Implementing a menu that follows the user’s view on HoloLens offers several benefits for both developers and users. Let’s explore the reasons why this approach is essential for creating an intuitive and user-friendly augmented reality experience.
1. Convenience and Accessibility: By placing the menu within the user’s field of view, it becomes easily accessible and eliminates the need for users to look away or navigate through separate interfaces. This saves time and effort, allowing users to quickly access menu options without interrupting their immersion in the augmented reality environment.
2. Seamless Integration: A menu that follows the view seamlessly integrates with the holographic content, creating a cohesive and immersive user experience. The menu becomes an integral part of the augmented reality environment, eliminating any disconnection between the virtual and real-world elements.
3. Enhanced User Engagement: With a menu that follows the view, users can effortlessly interact with menu options while keeping their attention focused on the holograms and virtual objects. This not only improves user engagement with the content but also prevents potential distractions that might arise when using traditional menu systems.
4. Adaptability and Flexibility: As users move and change their orientation within the augmented reality space, a menu that follows the view dynamically adjusts its position to ensure visibility and accessibility. This adaptability makes the menu more flexible, accommodating users’ movements and providing a consistent and seamless menu experience regardless of their location.
5. Reduced Cognitive Load: By keeping the menu within the user’s field of view, a menu that follows the view reduces cognitive load. Users do not need to rely on memory or spatial awareness to locate the menu, as it remains consistently visible. This simplifies the user interface and makes it easier for users to navigate through menu options and perform desired actions.
6. Improved User Satisfaction: A menu that follows the view enhances the overall user satisfaction by providing a more intuitive and user-friendly interaction. Users appreciate the convenience and simplicity of accessing menu options without disrupting their immersion, leading to a more enjoyable and fulfilling augmented reality experience.
By understanding the benefits of a menu that follows the view on HoloLens, we can design and implement a menu system that optimizes user interaction and enhances the overall AR experience. In the next sections, we will explore the step-by-step process of creating a menu that seamlessly integrates with the user’s view on HoloLens.
Step 1: Designing the menu
The first step in creating a menu that follows the view on HoloLens is to carefully design the menu’s appearance and functionality. A well-designed menu should be visually appealing, intuitive to use, and seamlessly integrate with the augmented reality environment. Follow these guidelines to ensure an optimal menu design:
1. Visual Elements: Consider the visual style and layout of the menu. Use appropriate colors, fonts, and graphical elements that align with the overall design of the augmented reality experience. Ensure that the menu elements are easily distinguishable and readable against different backgrounds and lighting conditions.
2. Menu Hierarchy: Organize the menu options in a hierarchical structure to ensure easy navigation. Place important and commonly used options towards the front of the menu, allowing users to quickly access them. Consider using submenus or scrollable menus for organizing a large number of options, ensuring a clutter-free interface.
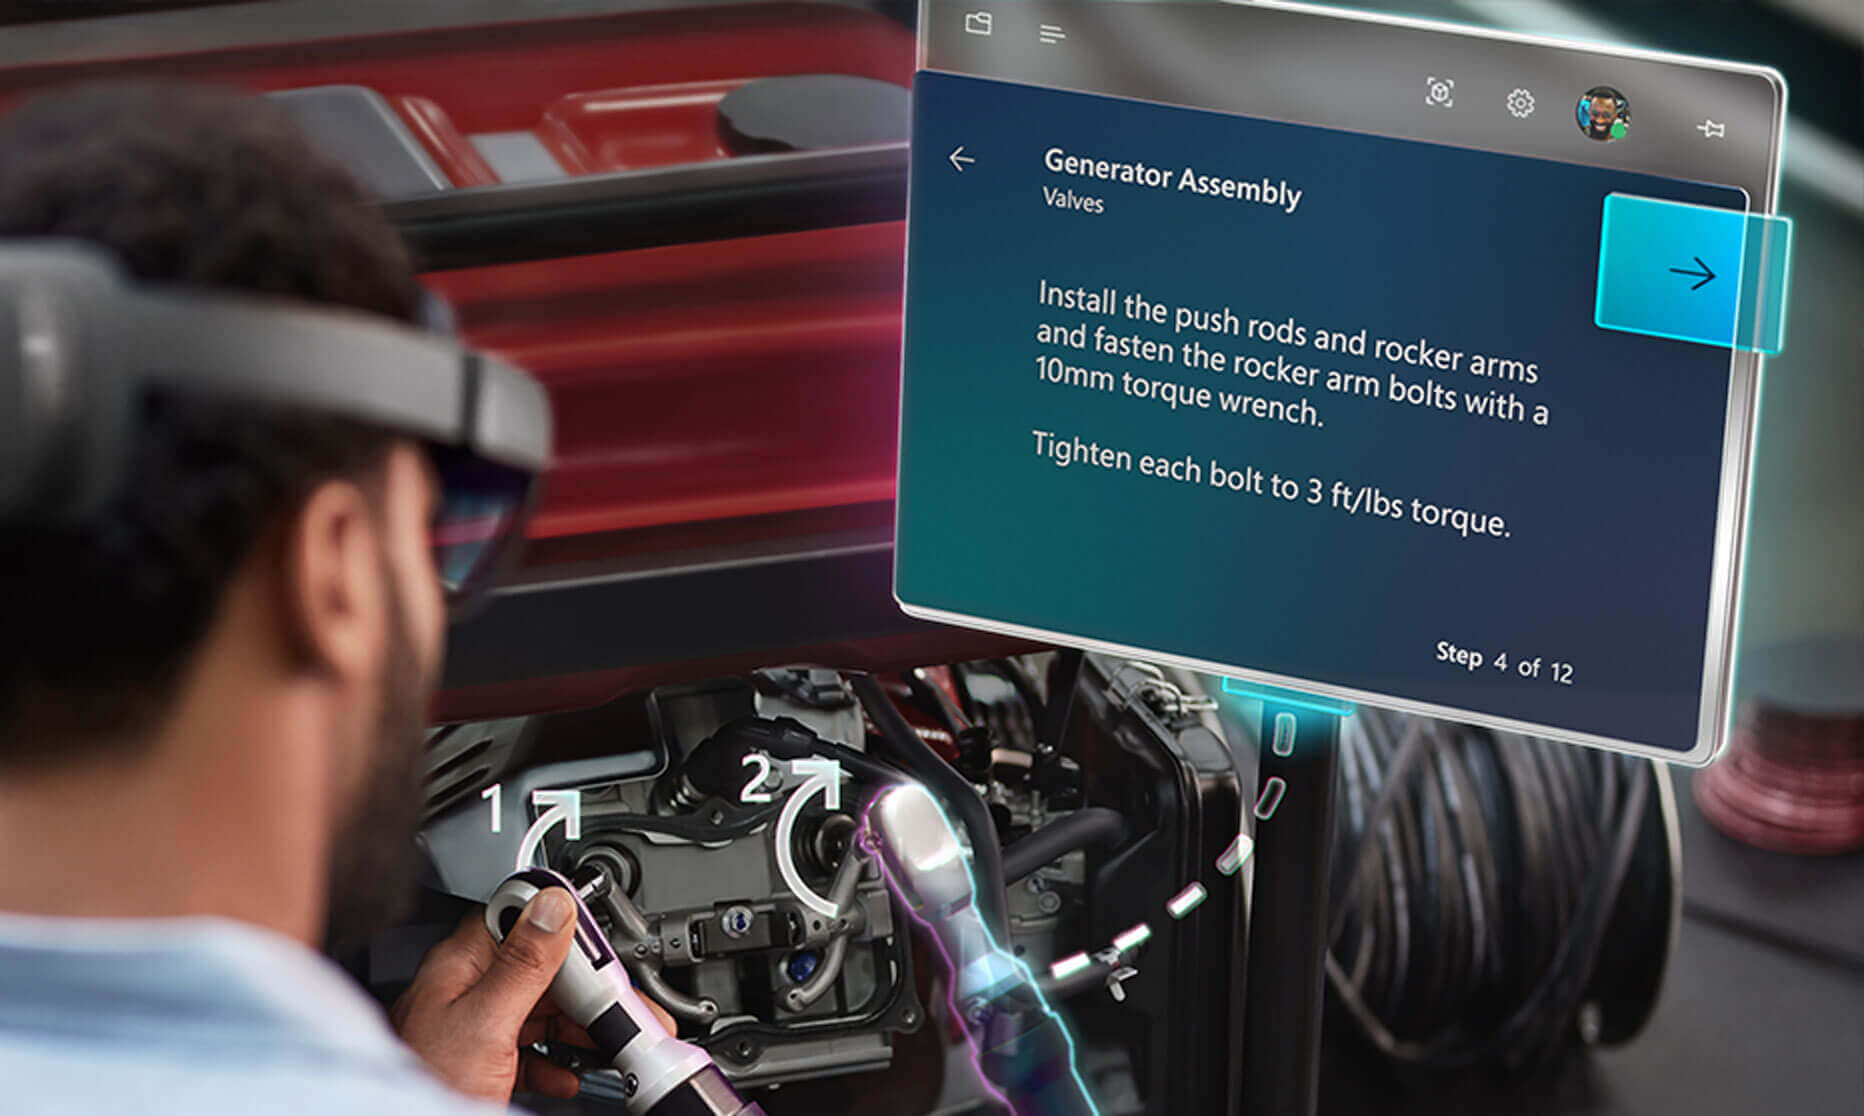
3. Iconography and Labels: Combine visual cues, icons, and text labels to make each menu option easily understandable. Icons can provide a quick recognition of the function, while labels provide clarity. Keep the icons and labels concise and avoid using ambiguous symbols that might confuse the user.
4. User Interaction: Determine the interaction methods for selecting menu options. HoloLens supports various interaction techniques, including hand gestures, voice commands, and gaze-based selection. Choose an interaction method that aligns with the user’s experience and ensures a seamless and intuitive menu interaction.
5. Spatial Anchoring: Consider how the menu will be anchored within the user’s view. Determine whether the menu will be fixed in a specific location or follow the user’s gaze and adjust its position accordingly. Spatial anchoring ensures that the menu stays within the user’s field of view, maximizing accessibility and convenience.
6. User Feedback: Incorporate visual or auditory feedback to indicate when a menu option is selected or activated. This feedback assures users that their input has been recognized and provides a more responsive and engaging menu interaction.
During the design phase, consider gathering feedback from potential users or conducting usability tests to ensure that the menu design meets their expectations and enhances the overall augmented reality experience.
By carefully designing the menu, you set the foundation for a seamless and intuitive menu system that seamlessly integrates with the user’s view on HoloLens. Once the menu design is finalized, it’s time to move on to the next step: creating the menu object.
Step 2: Creating a menu object
After designing the menu’s appearance and functionality, the next step is to create the menu object that will be displayed within the augmented reality environment on HoloLens. Follow these steps to create the menu object:
1. Define Menu Structure: Use the design specifications from Step 1 to define the structure of the menu object. Determine the number of options, their hierarchy, and the visual representation of each menu item. This could be as simple as a list of buttons or more complex with submenus and interactive elements.
2. Code Implementation: Implement the menu object using the appropriate programming language and framework. If you are developing for HoloLens, you can utilize the Windows Mixed Reality platform and the Unity game engine. Use HTML and CSS to define the visual presentation of the menu, ensuring it aligns with your design specifications.
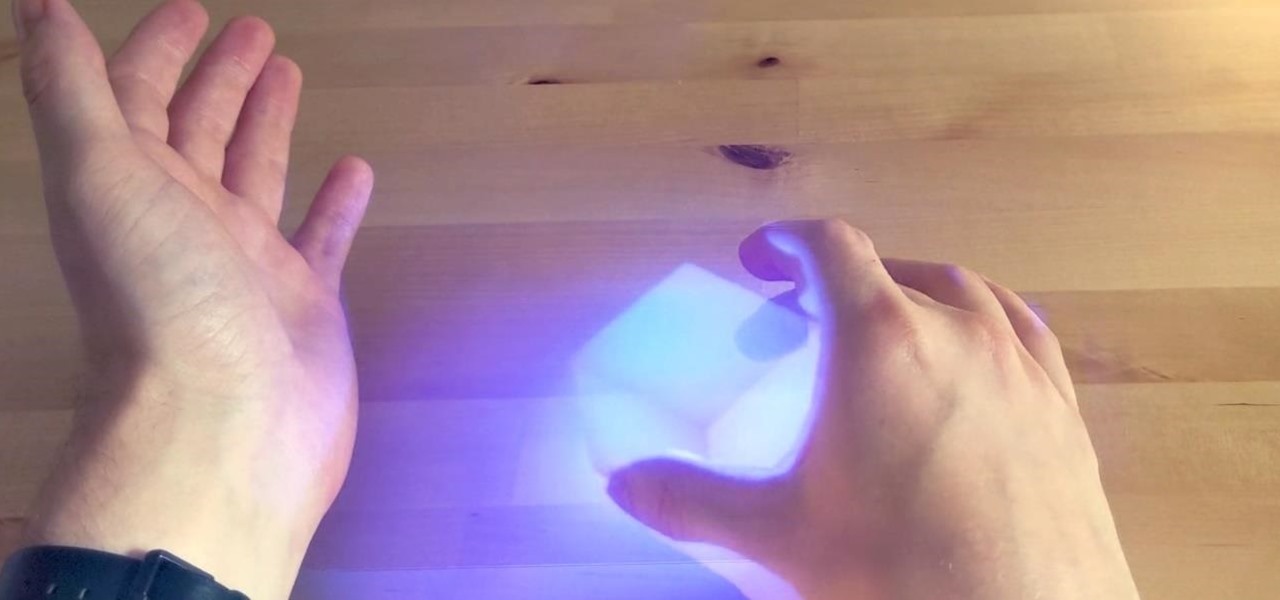
3. Interaction Events: Implement the necessary interaction events to allow users to select menu options. If you are using hand gestures, utilize the hand tracking capabilities of HoloLens to detect gestures such as tapping or swiping. If voice commands are used, integrate speech recognition to interpret spoken commands. Ensure that the interaction events are responsive and provide immediate feedback to the user.
4. Integration with HoloLens Spatial Mapping: Utilize HoloLens spatial mapping capabilities to ensure that the menu object is positioned and rendered correctly within the user’s view. Align the menu object with the real-world objects and surfaces, ensuring it responds to the user’s movements and maintains its position as the user navigates the environment.
5. Testing and Refinement: Test the menu object extensively to ensure its functionality and usability. Gather feedback from users and iterate on the design and implementation as necessary. Consider factors such as menu visibility, ease of selection, and responsiveness during the testing phase.
It is important to note that creating a menu object for HoloLens involves understanding the capabilities of the device and the development frameworks being used. Consult the official documentation and resources provided by Microsoft for detailed guidance on creating menu objects for HoloLens.
Once the menu object is created, the next step is to position it within the user’s view. By following these steps, you are one step closer to creating a menu system that seamlessly integrates with the user’s perspective on HoloLens.
Step 3: Positioning the menu in the view
Positioning the menu within the user’s view is a crucial step to ensure its visibility and accessibility in the augmented reality environment on HoloLens. Follow these guidelines to properly position the menu:
1. Field of View: Consider the user’s field of view and ensure that the menu is positioned within the comfortable viewing range. Placing the menu too far or too close to the user’s eyes can cause discomfort and hinder usability. Aim for a position that is easily readable without requiring the user to strain or adjust their gaze significantly.
2. Anchoring Techniques: HoloLens offers several anchoring techniques for positioning holographic content. You can anchor the menu to a specific location in the environment, such as a table or wall, using spatial mapping. Alternatively, you can anchor the menu to the user’s gaze so it follows their field of view as they move around. Determine the anchoring technique that best suits your menu design and user interaction requirements.
3. Alignment with Real World: Ensure that the menu aligns with the real-world objects and surfaces within the AR environment. This provides a sense of consistency and realism, making the menu feel seamlessly integrated into the user’s surroundings. Use spatial mapping and environment understanding capabilities of HoloLens to align the menu object with the surfaces and objects around the user.
4. Dynamic Positioning: Consider implementing dynamic positioning for the menu based on the user’s movements or gestures. This allows the menu to adapt and adjust its position within the user’s view, improving its visibility and accessibility regardless of the user’s orientation or location. Dynamic positioning enhances the menu’s seamless integration with the AR environment.
5. User Preference: Permit user customization options for menu positioning, such as allowing users to adjust the distance or height of the menu based on their preference. This empowers the user to personalize their experience and ensures optimal comfort and usability for each individual.
During the positioning phase, it is important to test the menu in various scenarios and gather feedback from users. Consider factors such as legibility, ease of access, and alignment with the environment during the testing phase. Iterate on the positioning based on user feedback to improve the menu’s effectiveness and user experience.
With the menu now properly positioned within the user’s view, you are ready to move on to the next step: implementing menu interactions.
Step 4: Implementing menu interactions
Implementing menu interactions is a crucial step in creating a menu system that is both intuitive and user-friendly on HoloLens. Follow these guidelines to effectively implement menu interactions:
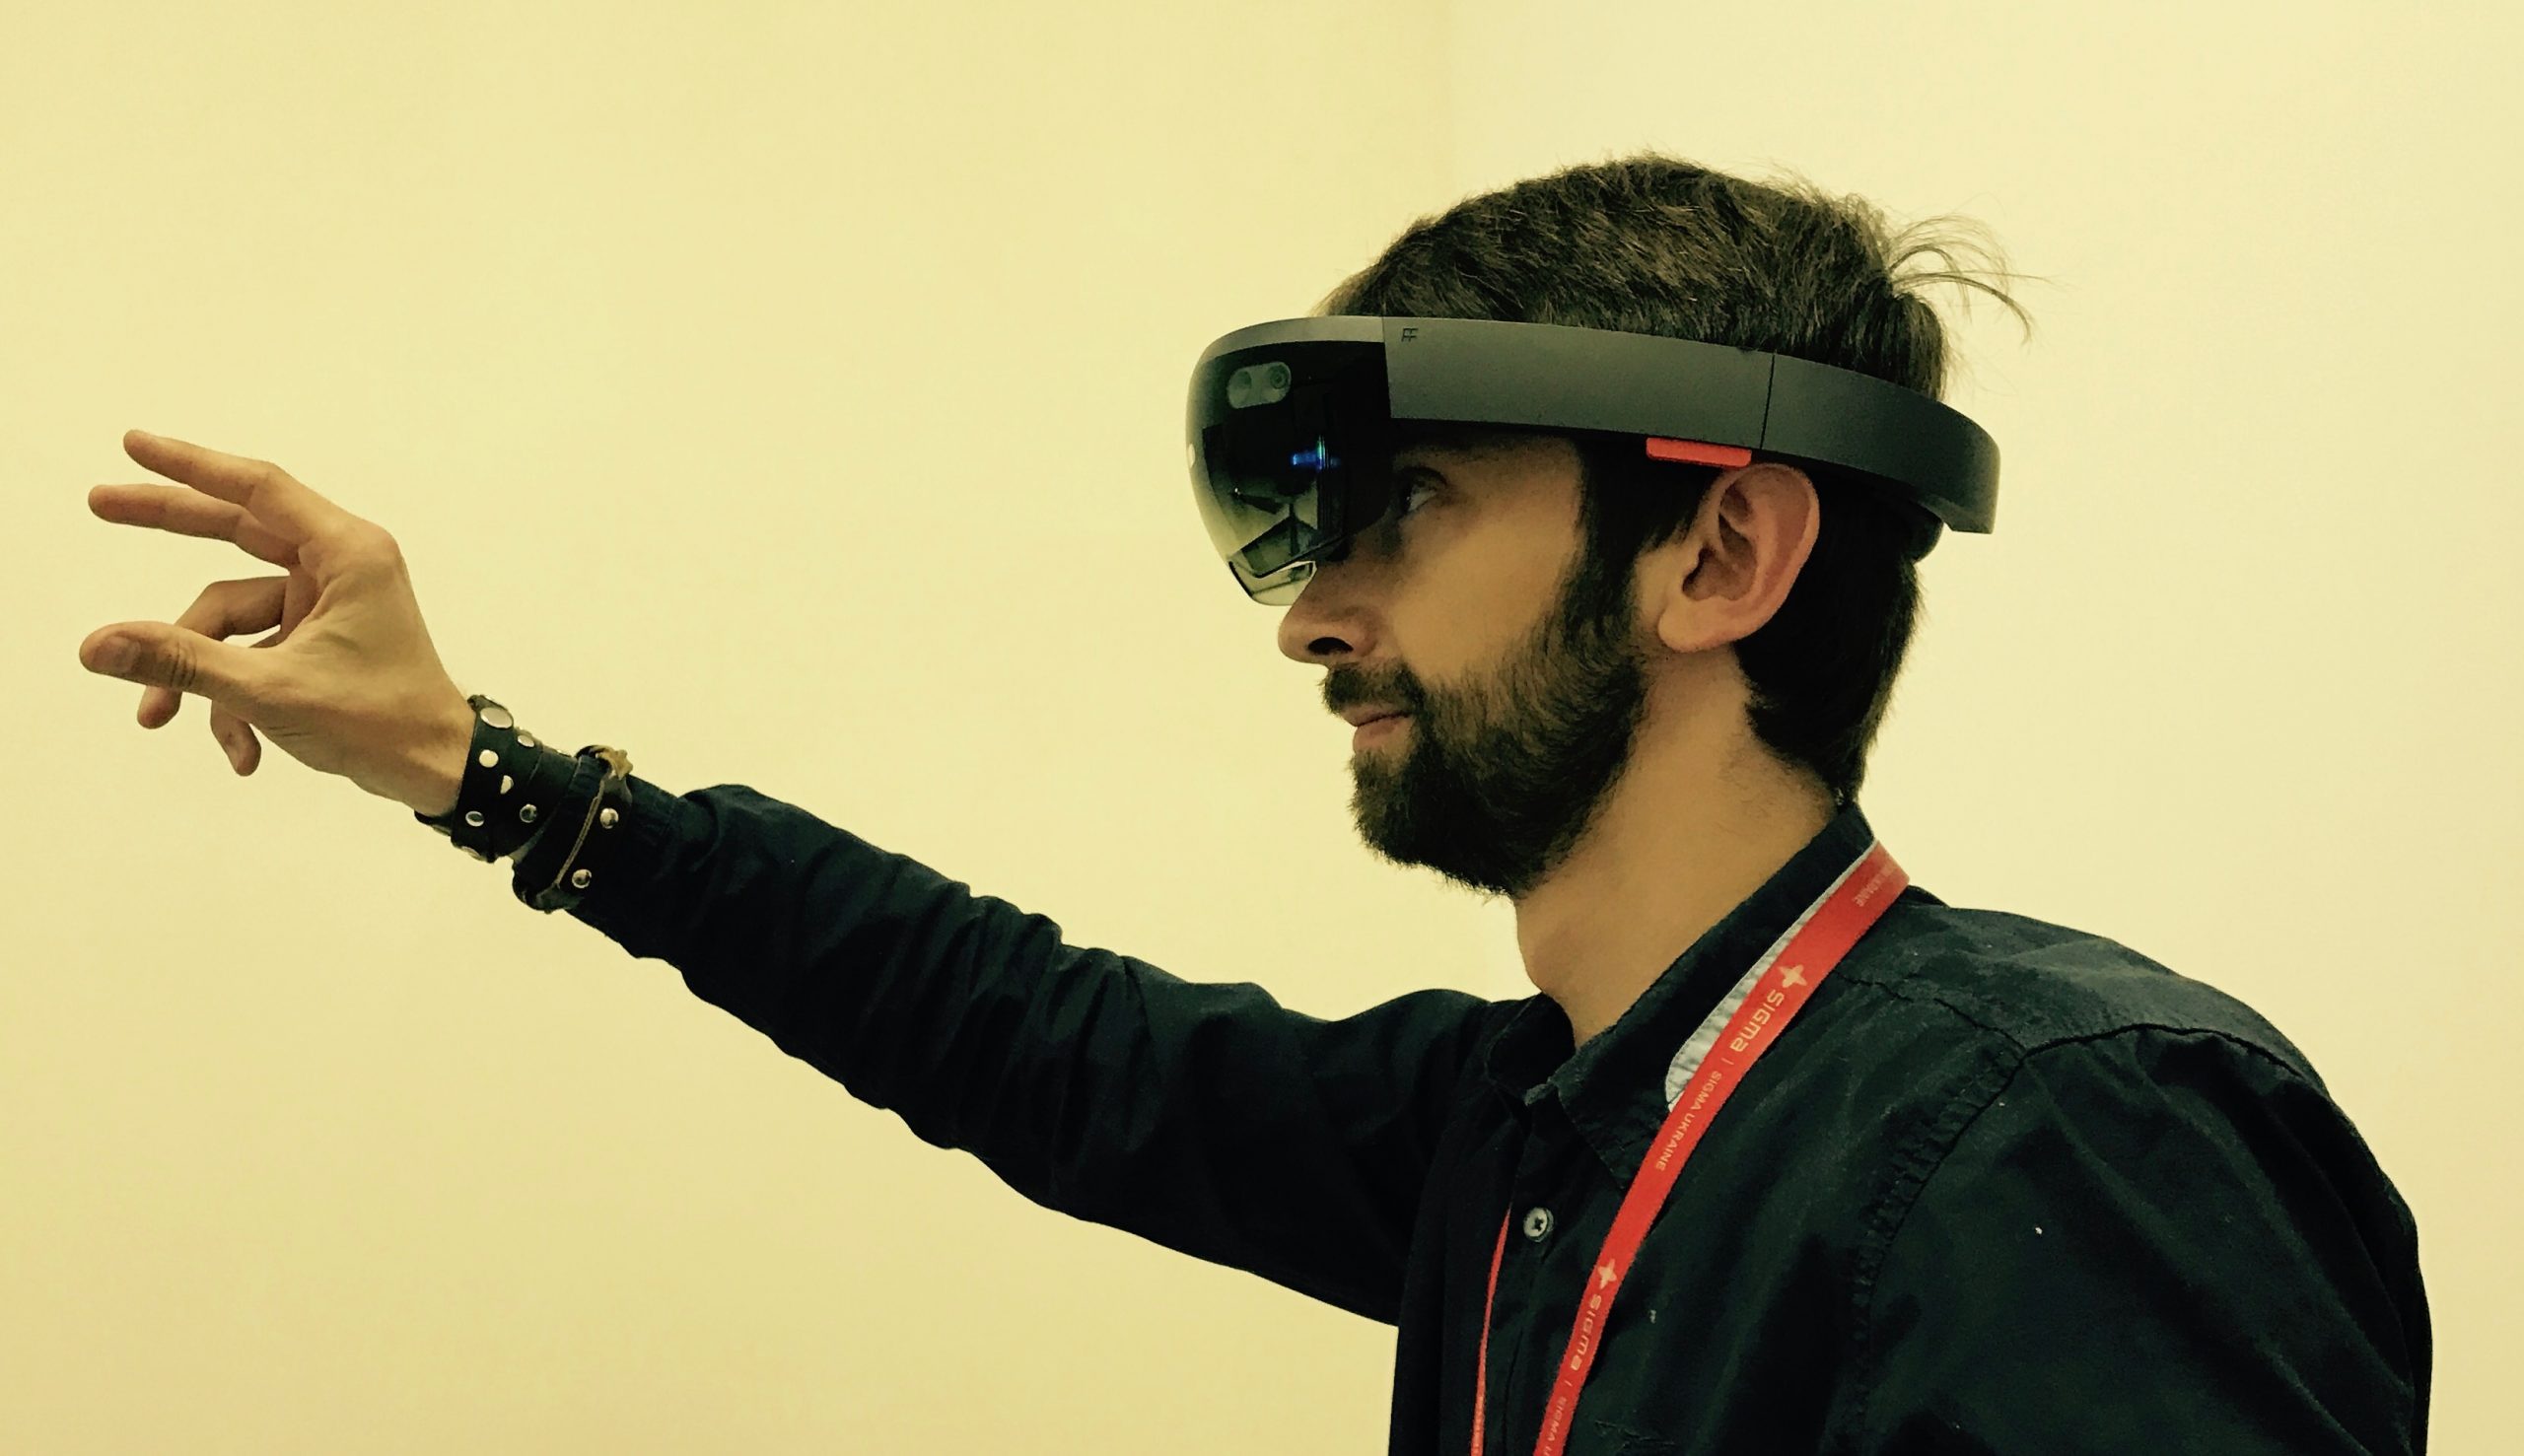
1. Gesture-based Interactions: Utilize the hand tracking capabilities of HoloLens to enable gesture-based menu interactions. Recognize gestures such as tapping, swiping, or pinching to allow users to select menu options or navigate through submenus. Ensure that the gesture recognition is accurate and responsive, providing a seamless and natural interaction experience.
2. Voice Commands: Integrate speech recognition capabilities to allow users to interact with the menu using voice commands. Define a set of voice commands that correlate to specific menu options or actions. Ensure that the voice recognition is robust and can accurately understand and interpret spoken commands under various environmental conditions.
3. Gaze-based Selection: Implement gaze-based selection for menu options that automatically activate when the user’s gaze is fixed on them for a certain duration. This allows for a hands-free interaction and simplifies the menu navigation process. Ensure that the feedback is provided to the user, indicating when a menu option has been selected through the gaze interaction.
4. Visual Feedback: Provide visual feedback when a menu interaction occurs to indicate to the user that their input has been recognized. This can be in the form of highlighting the selected option, animating the menu item, or displaying a confirmation message. The visual feedback enhances the user’s understanding and engagement with the menu system.
5. Contextual Interactions: Implement contextual interactions based on the menu options and the user’s current activity within the augmented reality environment. For example, if a user is interacting with a virtual object, the menu could provide options specifically related to that object or task. This dynamic adaptation of the menu based on the context enhances its relevance and usability.
6. Usability Testing: Test the menu interactions thoroughly with users to ensure their effectiveness and usability. Gather feedback on the intuitiveness, responsiveness, and overall user experience of the menu interactions. Iterate on the implementation based on user feedback to improve the menu’s functionality and user satisfaction.
It is important to consider the user’s preferences and abilities when implementing menu interactions. Provide options for customizing the interaction methods, such as allowing users to choose between gesture-based or voice-based interactions. This enables a more personalized and comfortable menu interaction experience.
With a well-implemented menu interaction system in place, you are ready to move on to the final step: testing and iterating the menu system for optimal functionality and user experience.
Step 5: Testing and iterating
Testing and iterating the menu system is a crucial step to ensure its optimal functionality and user experience on HoloLens. Follow these guidelines to effectively test and iterate the menu system:
1. Usability Testing: Conduct usability testing sessions with a diverse group of users to gather feedback on the menu system. Observe how users interact with the menu, identify any usability issues or challenges, and note their feedback on the overall experience. Analyze the results and iterate on the menu design and implementation based on the observed user behavior and feedback.
2. Performance Testing: Test the performance of the menu system to ensure it operates smoothly and efficiently on HoloLens. Evaluate the menu’s responsiveness, loading times, and any potential lag or glitches. Optimize the code and functionality to enhance the menu’s performance and create a seamless user experience.
3. Compatibility Testing: Verify the compatibility of the menu system with different versions of HoloLens devices and firmware. Ensure that the menu functions correctly across various HoloLens models and software updates. Test the menu system in different environments and lighting conditions to ensure it remains functional and readable in all scenarios.
4. Accessibility Testing: Consider accessibility features for users with disabilities or special needs. Test the menu system with users who have different abilities to ensure it is accessible and usable by all individuals. Incorporate any necessary accessibility improvements or adjustments to accommodate diverse user requirements.
5. Iteration and Feedback: Iterate on the menu system based on the insights and feedback gathered during the testing phase. Continuously refine and improve the menu’s design, functionality, and interaction based on the input from users and the observed usage patterns. Strive to create a menu system that is intuitive, user-friendly, and enhances the overall augmented reality experience.
6. Continuous Improvement: Keep track of emerging technologies, user expectations, and industry trends in augmented reality. Regularly update and enhance the menu system to stay current and provide the best possible user experience. Consider implementing new features, incorporating user feedback, and adapting to evolving user needs to ensure the menu system remains relevant and effective.
By conducting thorough testing and iterative improvements, you can create a menu system that is robust, user-friendly, and provides an optimal experience for users on HoloLens. Once the menu system has been refined through testing and iteration, it is ready to deliver a seamless and immersive augmented reality experience to users.
Conclusion
Creating a menu that follows the user’s view on HoloLens is essential for designing an intuitive and immersive augmented reality experience. By carefully designing the menu, creating the menu object, positioning it within the user’s view, implementing menu interactions, and conducting thorough testing and iteration, you can create a menu system that seamlessly integrates with the HoloLens view and enhances user engagement.
A menu that follows the view on HoloLens offers convenience, accessibility, and seamless integration with the holographic content. By placing the menu within the user’s field of view, it becomes easily accessible without interrupting the AR immersion. The menu system enhances user engagement, reduces cognitive load, and improves overall user satisfaction.
When designing the menu, consider visual elements, menu hierarchy, iconography, labels, and user interaction methods. Implement the menu object using the appropriate programming language and framework, ensuring it aligns with the design specifications. Position the menu within the user’s view, taking into account their field of view, anchoring techniques, alignment with the real world, and dynamic positioning.
Implement gesture-based interactions, voice commands, gaze-based selection, and provide visual feedback to enhance menu usability. Test the menu system extensively, gathering feedback from users and iterating on the design and implementation to improve functionality and user experience. Continuously improve and update the menu system to meet evolving user expectations and industry trends.
By following these steps and considering user needs and preferences, you can create a menu that seamlessly integrates with the user’s view on HoloLens, enhancing the overall augmented reality experience. Whether you are a developer, designer, or simply an enthusiast interested in creating immersive AR experiences, this guide provides you with the knowledge and tools to generate an innovative menu system for HoloLens.
Now it’s time to start implementing these steps and unleash the full potential of augmented reality on HoloLens by creating a menu that follows the user’s view!