Introduction
Welcome to Splitwise, the popular expense-sharing app that helps you track and manage group expenses effortlessly. Whether you’re planning a trip with friends, sharing bills with roommates, or organizing a group project, Splitwise simplifies the process of splitting expenses and keeping everyone on the same page.
Adding someone to a group in Splitwise is a straightforward process that allows you to invite individuals to join specific expense-sharing groups. This functionality ensures seamless collaboration within a group and enables everyone involved to view and contribute to shared expenses. In this article, we will guide you step-by-step on how to add someone to a group in Splitwise.
With Splitwise, you have the flexibility to create various groups for different purposes. Whether it’s a household group for shared bills, a vacation group for travel expenses, or a project group for work-related expenses, adding individuals to these groups ensures accurate tracking of shared expenses and promotes transparent communication within the group.
By the end of this article, you’ll have a clear understanding of how to add someone to a group in Splitwise, enabling you to effortlessly bring together all the necessary contributors and streamline the expense-sharing process. So let’s dive right in and get started!
Step 1: Log in to your Splitwise account
The first step in adding someone to a group in Splitwise is to log in to your Splitwise account. You can do this by visiting the Splitwise website or opening the Splitwise app on your mobile device.
If you’re using the website, enter your registered email address and password in the provided fields on the login page. Then, click on the “Log in” button to access your Splitwise account.
If you’re using the mobile app, open the app and enter your login credentials in the designated fields. Once you’ve entered your information, tap on the “Log in” button to proceed.
It’s important to ensure that you have the correct login credentials to access your Splitwise account. If you’ve forgotten your password, you can click on the “Forgot password” link on the login page to initiate the password reset process. Splitwise will send you an email with instructions on how to reset your password.
Once you’ve successfully logged in to your Splitwise account, you’ll have access to all the features and functionalities, including the ability to add someone to a group. Let’s move on to the next step to learn how to access the group page.
Step 2: Access the group page
After logging in to your Splitwise account, the next step is to navigate to the group page where you want to add someone. The group page is where you can manage all the shared expenses and invite new members to join.
To access the group page, locate the menu or navigation bar, typically located at the top or left-hand side of the screen. Click on the “Groups” or “My groups” option to view all the groups you are a part of.
If you’re using the mobile app, you may find the “Groups” option in the main menu, represented by a menu icon (usually three horizontal lines) located in the top-left or top-right corner of the screen. Tap on the menu icon and select the “Groups” option from the menu.
From the list of groups displayed, choose the specific group to which you want to add someone. Click or tap on the group name to proceed to the group page.
Alternatively, if you know the name of the group you want to access, you can use the search functionality, usually denoted by a magnifying glass icon or the word “Search,” to quickly find and select the desired group.
Once you’ve selected the group, you will be redirected to the group page where you can view all the existing members, shared expenses, and settings related to that particular group.
Now that you’ve accessed the group page, let’s move on to the next step to learn how to add someone to the group.
Step 3: Click on the “Add people” button
Once you’re on the group page in Splitwise, the next step is to locate and click on the “Add people” button. This button enables you to invite new members to join the group and participate in the shared expenses.
Look for the “Add people” button on the group page. It is usually displayed prominently and labeled as “Add people,” “Invite members,” or something similar. The exact placement and style may vary depending on whether you’re using the website or the mobile app.
If you’re using the website, the “Add people” button is often located near the top or bottom of the group page, usually in a noticeable color or with an inviting icon. Clicking on this button will open the invite member section.
If you’re using the mobile app, the “Add people” button may be represented by a “+” or “Invite” icon and can be found at the top or bottom of the group page. Tap on this button to proceed.
By clicking or tapping on the “Add people” button, you are now ready to invite individuals to join the group in Splitwise. The next step will guide you through the process of entering the person’s email or phone number.
Step 4: Enter the person’s email or phone number
After clicking on the “Add people” button on the group page in Splitwise, you will be prompted to enter the email or phone number of the person you want to add to the group. This step allows you to send an invitation to the individual and invite them to join the shared expenses.
In the designated input field, type in the person’s email address or phone number. Make sure to enter the correct contact information to ensure the invitation reaches the intended recipient.
If you’re adding someone using their email address, double-check for any typos or spelling errors. A small mistake can result in the invitation not reaching the correct person.
If you’re adding someone using their phone number, ensure that you include the correct country code and format the number without any spaces or special characters.
Splitwise offers the flexibility to invite individuals through either their email address or phone number, depending on their preferred method of communication. This feature allows for a seamless invitation process regardless of the recipient’s contact preference.
Once you’ve entered the person’s email or phone number, double-check the information to ensure its accuracy. This will help prevent any potential issues in the invitation process. After verifying the details, move on to the next step to select the person from the suggested list or add a new person manually.
Step 5: Select the person from the suggested list or add a new person
After entering the person’s email or phone number in Splitwise, you will be presented with a suggested list of individuals that match the information provided. This step allows you to select the correct person from the suggested list or add a new person manually if they are not listed.
Take a moment to review the suggested list. Splitwise uses the information you entered to search its database and find potential matches. These suggestions are based on existing Splitwise users who may have the same email address or phone number.
If you see the person you want to add in the suggested list, click or tap on their name to select them. This will add them to the group and send them an invitation to join. Splitwise will handle the invitation process and notify you once the person has accepted the invitation.
If the person you want to add is not in the suggested list, don’t worry. Splitwise allows you to manually add new people to the group by entering their name and email address. Look for the option to “Add a new person” or “Invite new member” and click on it.
In the provided fields, enter the person’s name and email address. Make sure to input their details accurately to ensure proper identification and communication. Once you’ve entered the information, click or tap on the “Add” or “Invite” button to add the new person to the group.
By either selecting the person from the suggested list or manually adding them, you have successfully specified the individual you want to invite to the group. The next step will guide you through selecting the appropriate settings for the person within the group.
Step 6: Choose the appropriate settings for the person
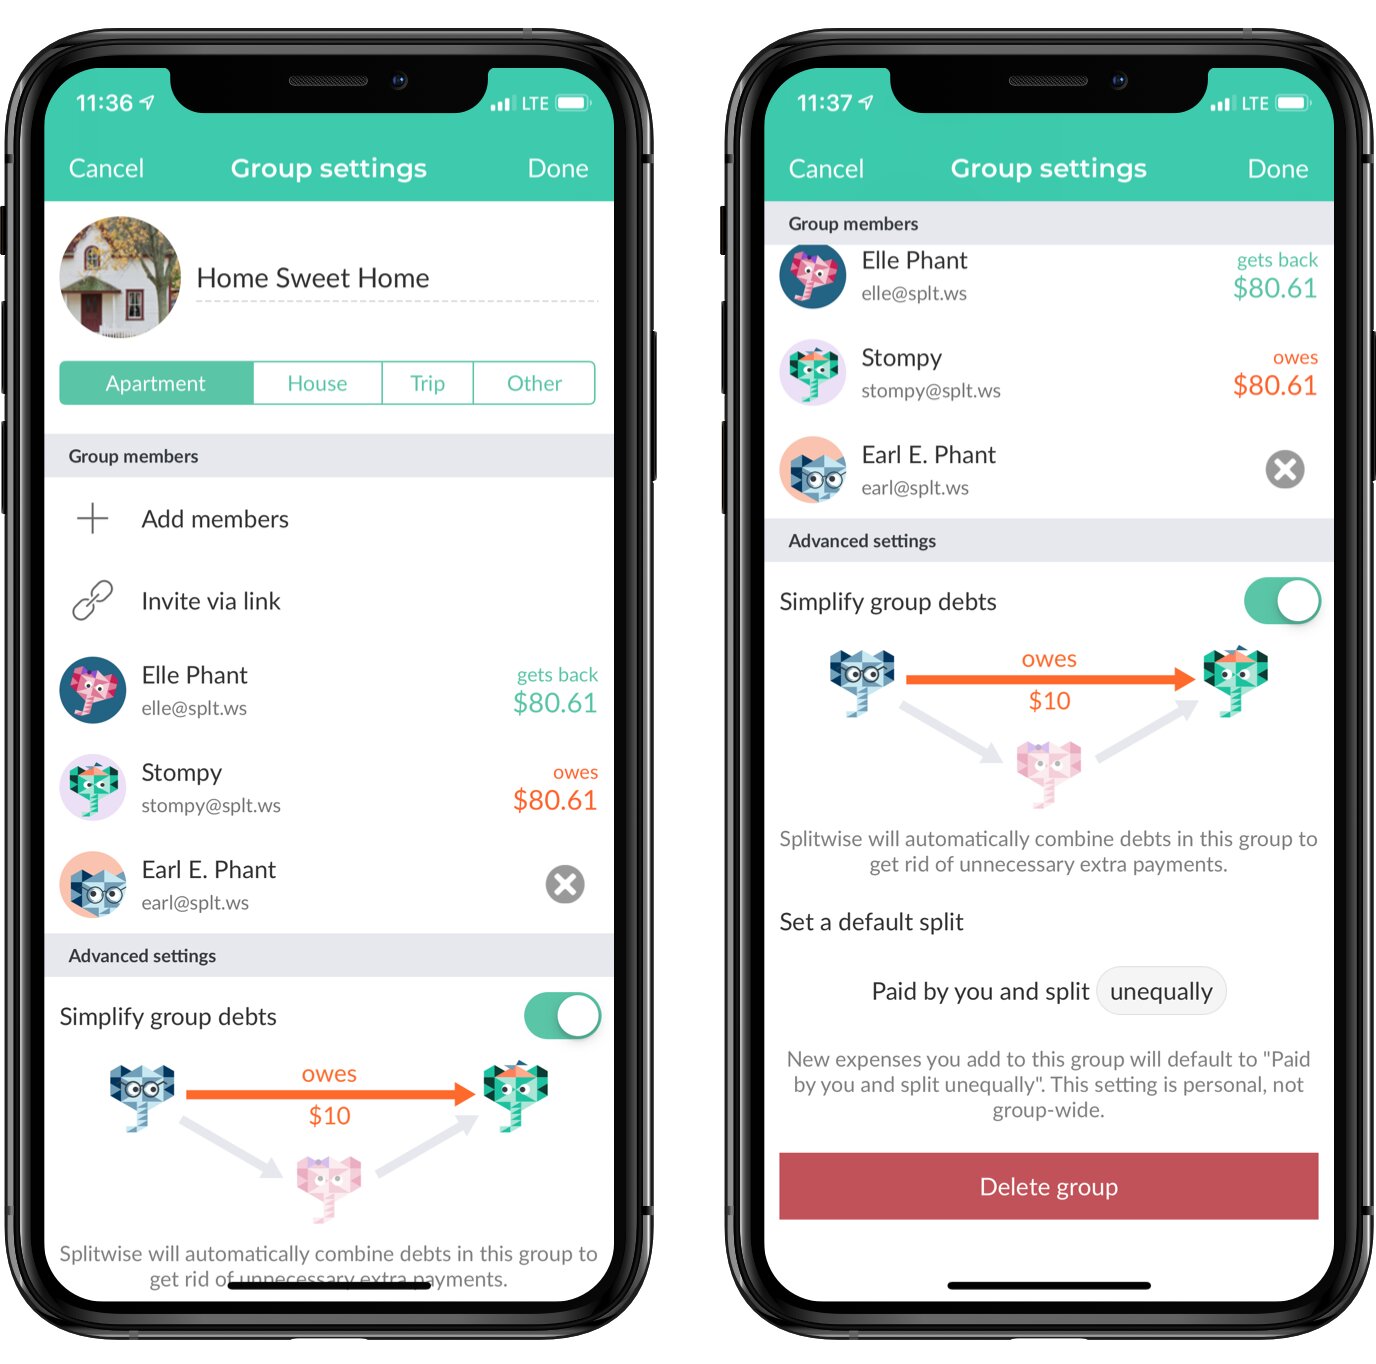
Once you’ve selected or added the person you want to add to the Splitwise group, the next step is to choose the appropriate settings for them within the group. This step allows you to define the level of access and visibility the person will have in relation to the shared expenses.
Splitwise offers different settings that you can customize for each individual in the group. These settings include:
- Full access: The person has complete access to view and edit all shared expenses within the group.
- View-only access: The person can view all shared expenses but cannot make any changes or additions.
- Limited access: You can specify certain expenses or categories that the person can or cannot view or modify.
Consider the role and involvement of the person within the group to determine the appropriate setting. If they are actively participating in the expense-sharing process or have shared responsibilities, granting them full access will ensure smooth collaboration. On the other hand, if they have a more passive role or limited involvement, view-only access may be sufficient.
To choose the appropriate settings for the person, look for the options presented on the add member page. Usually, there are radio buttons, checkboxes, or dropdown menus that allow you to select the desired access level. Click or tap on the appropriate option to apply the setting.
Remember, you can always adjust the settings later if needed. Splitwise provides the flexibility to modify individual settings within the group to ensure the appropriate access and visibility for each member.
After selecting the appropriate settings, move on to the next step to finalize the addition of the person to the group.
Step 7: Click on the “Add to group” button
After choosing the appropriate settings for the person you want to add to the Splitwise group, the next step is to click on the “Add to group” button. This final step confirms the addition of the person to the group and triggers the invitation process.
Look for the “Add to group” button on the add member page. It is usually displayed prominently, often in a contrasting color or with an inviting icon. Clicking or tapping on this button will initiate the process of adding the person to the group.
By clicking on the “Add to group” button, Splitwise will send an invitation to the person you added with a link to join the group. The individual will receive a notification via email or text message, depending on the contact information provided, containing the invitation details and instructions on how to accept the invitation.
It’s important to note that the person you added to the group will only become an active member once they accept the invitation. Until then, their status will be “pending,” and they will not have access to the shared expenses or group settings.
Once the person accepts the invitation, their status will change to “active,” and they will be able to view, contribute, and collaborate on the shared expenses within the group.
Congratulations! You have successfully clicked on the “Add to group” button, confirming the addition of the person to the Splitwise group. The next step will guide you through confirming the addition and reviewing the updated group members list.
Step 8: Confirm the addition of the person to the group
After clicking on the “Add to group” button in Splitwise, the next step is to confirm the addition of the person you invited to join the group. This step ensures that the person is successfully added and becomes an active member of the group.
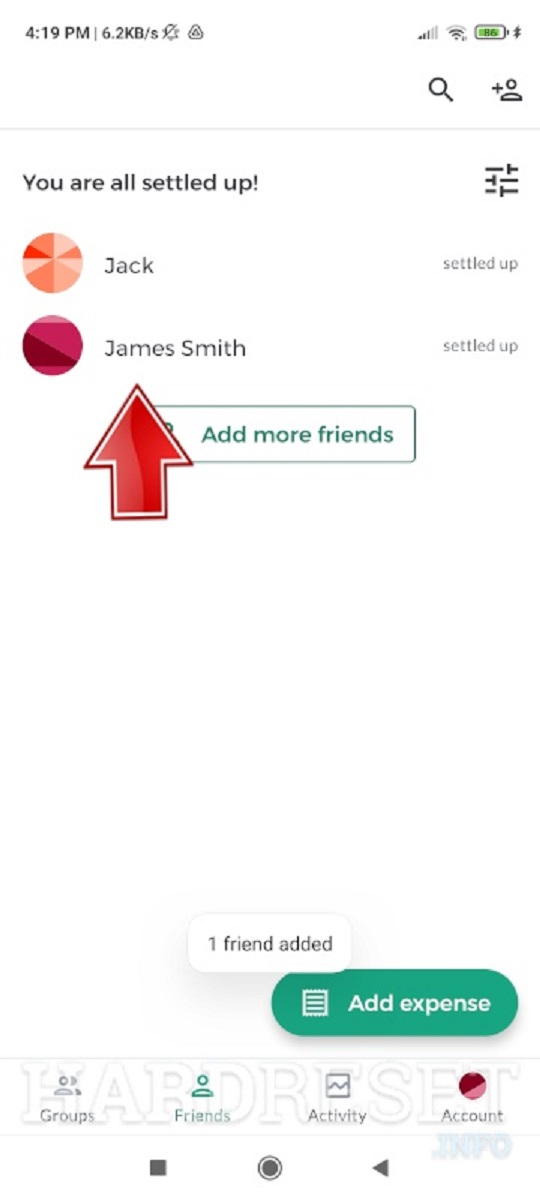
Upon clicking the “Add to group” button, Splitwise will process the invitation and add the person to the group. You will typically receive a confirmation message or notification indicating that the addition was successful. The exact feedback and confirmation may vary depending on whether you’re using the website or the mobile app.
If you’re using the website, you may see a pop-up message confirming the addition of the person to the group. It may say something like, “Member added successfully” or “Invitation sent.” This message assures you that the person has been added, and they will receive an invitation to join the group.
If you’re using the mobile app, you may receive a notification or see a confirmation message on the screen indicating that the person’s addition to the group was successful. Keep an eye out for any notifications from Splitwise, as they may contain important updates on the status of the invitation.
It’s important to note that the person you invited will need to accept the invitation to become an active member of the group. Until they accept the invitation, their status within the group will remain as “pending.” Once they accept, their status will change to “active,” and they will have full access to view and contribute to the shared expenses.
Congratulations on confirming the addition of the person to the group! The final step is to review the updated group members list to ensure that the person’s name appears among the active members.
Step 9: Review the updated group members list
After confirming the addition of the person to the Splitwise group, the final step is to review the updated group members list. This step allows you to ensure that the person’s name appears among the active members, indicating that they have successfully joined the group.
Navigate back to the group page in Splitwise, where you initially accessed the “Add people” functionality. Look for the list of group members, which is typically displayed prominently on the page. This list shows the names of all the individuals who are part of the group.
Scan through the list of group members to locate the person you just added. Their name should appear among the active members, signifying that they have accepted the invitation and are now an integral part of the group.
If you see the person’s name in the group members list, congratulations! They have successfully joined the group, and you can now collaborate on shared expenses and manage the group collectively.
In the event that the person’s name does not appear in the group members list, double-check the invitation status. If their status is still “pending,” it means they have not accepted the invitation yet. You may want to follow up with them to ensure they received the invitation and address any potential issues preventing them from joining.
It’s important to ensure that the group members list is accurate and up to date. If you encounter any discrepancies or need to make adjustments to the group membership, Splitwise provides options to remove or modify individual members as needed.
By reviewing the updated group members list, you can confirm that the person you added is now an active member of the Splitwise group, ready to participate in the shared expenses and collaborate with other group members.
Conclusion
Congratulations! You have successfully learned how to add someone to a group in Splitwise. The process involves a series of straightforward steps that allow you to invite individuals to join specific expense-sharing groups.
We started by logging in to your Splitwise account, ensuring that you have the necessary credentials to access your account. Then, we accessed the group page where you wanted to add someone, giving you the ability to manage shared expenses effectively.
By clicking on the “Add people” button, you were able to enter the person’s email or phone number, providing the necessary contact information to invite them. You then selected the person from the suggested list or added a new person, ensuring that the correct individual is being added to the group.
Choosing the appropriate settings for the person within the group allowed you to define their level of access and visibility, depending on their role and involvement. Finally, by clicking on the “Add to group” button, you confirmed the addition and initiated the invitation process.
After confirming the addition, it was crucial to review the updated group members list to ensure that the person’s name appeared among the active members, indicating their successful acceptance of the invitation.
Adding someone to a group in Splitwise streamlines the expense-sharing process, promotes transparent communication, and enables accurate tracking of shared expenses. Whether you’re managing bills with roommates, organizing a group project, or planning a trip with friends, Splitwise offers an efficient and user-friendly platform to collaborate on expenses.
Now that you have mastered how to add someone to a group in Splitwise, you can confidently invite individuals and enjoy the benefits of seamless expense-sharing. Remember to regularly review and manage the group members list as the dynamics of your group may change.
Get started and invite the necessary contributors to your Splitwise groups, ensuring a hassle-free and organized approach to managing shared expenses!


