Introduction
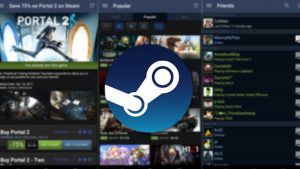
With the rise of digital currencies, many platforms have started accepting them as a form of payment. Steam, the popular gaming platform, has also joined the trend by allowing users to add digital currency to their accounts. This opens up a world of possibilities for gamers who want to make purchases without the need for traditional payment methods.
In this article, we will guide you through the process of adding digital currency to your Steam account. Whether you already have digital currency or want to explore this new payment method, we’ll show you the step-by-step process to get started.
By adding digital currency to your Steam account, you can seamlessly purchase games, downloadable content (DLC), and other items from the Steam store. This eliminates the need for credit cards or PayPal, giving you more flexibility and security in your transactions.
Ready to dive into the world of digital currency on Steam? Let’s get started with setting up your Steam account and adding your preferred payment method!
Step 1: Set Up a Steam Account
Before you can start adding digital currency to your Steam account, you’ll need to have a Steam account. If you already have one, you can skip to the next step.
To create a Steam account, follow these simple steps:
- Go to the Steam website at https://store.steampowered.com/.
- Click on the “Join Steam” button located in the upper right corner of the homepage.
- You will be directed to the account creation page. Fill in the required information, including your email address, a secure password, and your date of birth.
- Read and accept the Steam Subscriber Agreement and Privacy Policy.
- Click on the “Create My Account” button.
Once your account is created, you’ll need to verify your email address by clicking on the verification link sent to the email you provided. This step ensures the security of your account and confirms your identity.
Congratulations! You now have a Steam account. You can proceed to the next step, where we’ll guide you through adding a payment method to your account.
Step 2: Add a Payment Method to Your Steam Account
Once you’ve set up your Steam account, the next step is to add a payment method. This will enable you to make purchases and add digital currency to your account.
Follow these steps to add a payment method to your Steam account:
- Log in to your Steam account using your credentials.
- Click on your username located on the top right corner of the Steam homepage, then select “Account Details” from the dropdown menu.
- In the Account Details page, navigate to the “Store & Purchase History” section, and click on “Add Funds to your Steam Wallet” to manage your payment methods.
- On the next page, click on the “Add a payment method” button.
- You’ll then be presented with various payment method options, including credit/debit cards, PayPal, and digital wallets. Choose the method that suits you best.
- Enter the required information for your chosen payment method, such as card details or PayPal account information.
- Review and confirm the information you provided, then click on the “Add” button to link your payment method to your Steam account.
Once you’ve successfully added a payment method, you’ll be able to make purchases on the Steam platform using your preferred payment option. This will also serve as a groundwork for adding digital currency to your Steam wallet in the following steps.
Now that you’ve added a payment method to your Steam account, let’s move on to choosing a digital currency provider in the next step.
Step 3: Choose a Digital Currency Provider
Now that you have a Steam account and a payment method linked to it, the next step is to choose a digital currency provider. These providers facilitate the purchase of digital currencies that you can subsequently add to your Steam account.
There are numerous digital currency providers available, each with its own advantages and features. It’s important to choose a reputable provider that supports the currency you want to use for your Steam purchases.
When selecting a digital currency provider, consider the following factors:
- Supported Currencies: Ensure that the provider supports the digital currency you want to use on Steam.
- Security Measures: Look for providers with strong security measures, such as multi-factor authentication and encryption, to protect your digital currency.
- Exchange Rates and Fees: Compare exchange rates and transaction fees offered by different providers to find the most competitive option.
- User Reviews and Reputation: Read reviews and feedback from other users to gauge the provider’s reliability and customer satisfaction.
- Customer Support: Check if the provider offers responsive customer support to assist you in case of any issues or queries.
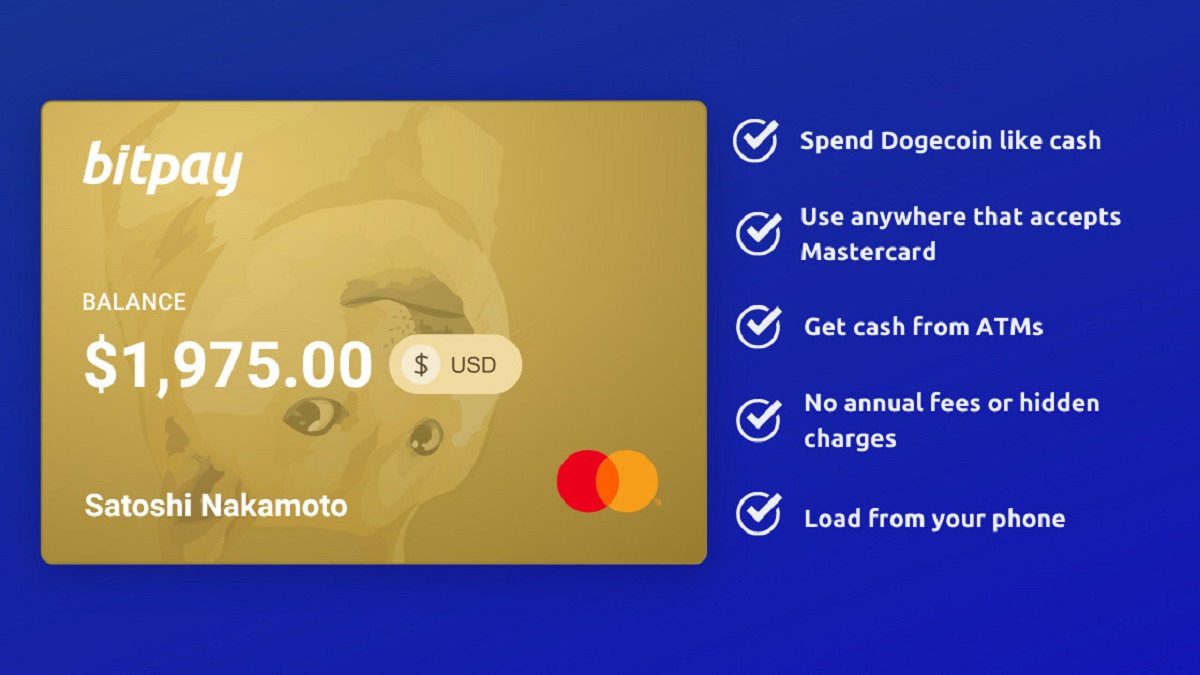
Some popular digital currency providers include Coinbase, Binance, and Bitpay. Research each provider, compare their features, and choose the one that aligns with your requirements.
Remember that adding digital currency to your Steam account involves exchanging traditional currency for digital units. This step ensures that you have sufficient digital currency in your wallet to make purchases on the Steam platform.
With a digital currency provider chosen, you’re ready to move on to the next step: creating an account with your selected provider.
Step 4: Create an Account with the Digital Currency Provider
Once you have decided on a digital currency provider, the next step is to create an account with them. This account will allow you to purchase and manage digital currency that can be added to your Steam account.
Follow these steps to create an account with your chosen digital currency provider:
- Visit the website of the digital currency provider you have selected.
- Look for a “Sign Up” or “Create Account” button and click on it.
- Fill in the required information, such as your name, email address, and a secure password. Some providers may require additional verification steps, such as phone number verification.
- Read and agree to the terms and conditions of the digital currency provider.
- Complete any additional security measures, such as two-factor authentication, to enhance the security of your account.
- Once you have created your account, you may need to complete the verification process by providing additional identification documents, depending on the provider’s requirements. This step is necessary to comply with regulatory standards and ensure the safety of your account.
Creating an account with a digital currency provider establishes the foundation for managing and acquiring digital currency to add to your Steam wallet. It’s important to choose a reliable provider with a user-friendly interface to make the process smoother.
Now that you have created an account with the digital currency provider, you can proceed to the next step: purchasing digital currency to add to your Steam wallet.
Step 5: Buy Digital Currency
With your account set up with the digital currency provider, you’re now ready to buy digital currency to add to your Steam wallet. This step involves exchanging traditional currency for digital units that can be used for purchases on Steam.
Follow these steps to buy digital currency:
- Login to your account on the digital currency provider’s website.
- Click on the option to “Buy” or “Purchase” digital currency.
- Select the type of currency you want to purchase (such as Bitcoin or Ethereum).
- Enter the amount of traditional currency you wish to spend, or the amount of digital currency you want to acquire.
- Choose your preferred payment method from the options provided by the digital currency provider.
- Review the transaction details, including any fees or conversion rates
- Confirm the purchase and proceed with the payment.
Once the transaction is completed, you will receive the digital currency in your account with the digital currency provider. It may take a short while for the transaction to be processed and for the digital currency to be available for use.
It’s important to keep track of the exchange rates and transaction fees associated with the purchase of digital currency. This will help you make informed decisions and ensure that you are getting the best value for your money.
Now that you have successfully purchased digital currency from your chosen provider, let’s move on to the next step: linking your digital currency account to your Steam account.
Step 6: Link Your Digital Currency Account to Steam
Now that you have acquired digital currency, it is time to link your digital currency account to your Steam account. This step will enable you to transfer the purchased digital currency to your Steam wallet for seamless and secure transactions.
Follow these steps to link your digital currency account to Steam:
- Log in to your Steam account on the Steam website.
- Once logged in, click on your username located on the top right corner of the page.
- Select “Account Details” from the dropdown menu.
- In the Account Details page, navigate to the “Store & Purchase History” section and click on “Add Funds to your Steam Wallet”.
- On the next page, click on the “Link a digital currency provider” button.
- Choose your digital currency provider from the list of supported providers.
- You will then be prompted to log in to your digital currency account. Enter your login credentials to proceed.
- Confirm the linking process and authorize the connection between your digital currency account and Steam.
Once the linking process is completed, your digital currency account will be connected to your Steam account. This will allow you to transfer the purchased digital currency to your Steam wallet for future purchases.
It is essential to ensure that you have sufficient digital currency in your linked account to facilitate transactions on Steam. This will prevent any interruptions or delays when making purchases.
With your digital currency account successfully linked to Steam, you’re now ready to add digital currency to your Steam wallet, as we will explore in the next step.
Step 7: Add Digital Currency to Your Steam Wallet
Now that your digital currency account is linked to your Steam account, you can proceed to add the purchased digital currency to your Steam wallet. This will allow you to use the digital currency for purchases on the Steam platform.
Follow these steps to add digital currency to your Steam wallet:
- Login to your Steam account on the Steam website.
- Click on your username located on the top right corner of the page.
- Select “Account Details” from the dropdown menu.
- In the Account Details page, navigate to the “Store & Purchase History” section and click on “Add Funds to your Steam Wallet”.
- On the next page, enter the amount of digital currency you want to add to your Steam wallet.
- Review the exchange rate and any fees associated with the transaction.
- Follow the on-screen instructions to complete the transaction and add the digital currency to your Steam wallet.
- Once the transaction is completed, the digital currency will be added to your Steam wallet, and you’ll be ready to make purchases on the Steam platform.
It’s important to note that the value of the digital currency added to your Steam wallet will be based on the current exchange rate at the time of the transaction. The exact amount of digital currency added may vary slightly due to fluctuations in exchange rates
Now that you have successfully added digital currency to your Steam wallet, you can start exploring the wide range of games, downloadable content, and other items available for purchase on the Steam platform.
With your Steam wallet loaded with digital currency, you’re all set to make hassle-free and secure transactions on Steam.
Step 8: Start Purchasing Games with Digital Currency on Steam
Having added digital currency to your Steam wallet, you can now begin using it to purchase games, downloadable content (DLC), and other items available on the Steam platform. This final step allows you to enjoy the flexibility and convenience of using digital currency for your gaming needs.
Follow these steps to purchase games with digital currency on Steam:
- Login to your Steam account on the Steam website.
- Browse the Steam store and find the game or item you want to purchase.
- Click on the game’s thumbnail or product page to view more details.
- On the game’s product page, click on the “Add to Cart” or “Purchase” button.
- Review the price in digital currency displayed on the checkout page.
- Click on the “Confirm Purchase” button to complete the transaction.
- Once the purchase is confirmed, the cost of the game will be deducted from your Steam wallet balance in digital currency.
- After the transaction is successful, you can start downloading and enjoying the game on your Steam account.
With digital currency as your payment method, you can make seamless purchases without the need for traditional payment methods, such as credit cards or PayPal. This provides a convenient and secure way to enhance your gaming experience on Steam.
Remember to keep an eye on your Steam wallet balance and top it up with digital currency whenever needed. This will ensure that you always have sufficient funds to purchase the games and items you desire.
Now that you’ve mastered the process of purchasing games with digital currency on Steam, you can explore the vast library of games and incredible gaming experiences available at your fingertips.
Enjoy gaming with the convenience and flexibility of using digital currency on Steam!
Conclusion
Adding digital currency to your Steam account opens up a whole new world of convenience and flexibility in making purchases on the platform. By following the step-by-step process outlined in this guide, you can seamlessly integrate digital currency into your gaming experience.
We started by setting up a Steam account and adding a payment method to facilitate transactions. Then, we moved on to choosing a reliable digital currency provider and creating an account with them. After purchasing digital currency, we linked our digital currency account to Steam and added the funds to our Steam wallet. Finally, we learned how to use digital currency to purchase games on the Steam platform.
By using digital currency, you eliminate the need for traditional payment methods, gain enhanced security, and enjoy the convenience of quick and hassle-free transactions. It also allows you to explore the growing popularity of digital currencies and stay up to date with the latest trends in online payments.
Remember to monitor your digital currency balance, keep an eye on exchange rates, and choose a reputable provider for your transactions. With these considerations in mind, you can fully leverage the benefits of using digital currency on Steam.
So why wait? Start adding digital currency to your Steam account and embark on a gaming journey that is both exciting and efficient. Enjoy the world of gaming with the convenience of digital currency!