Introduction
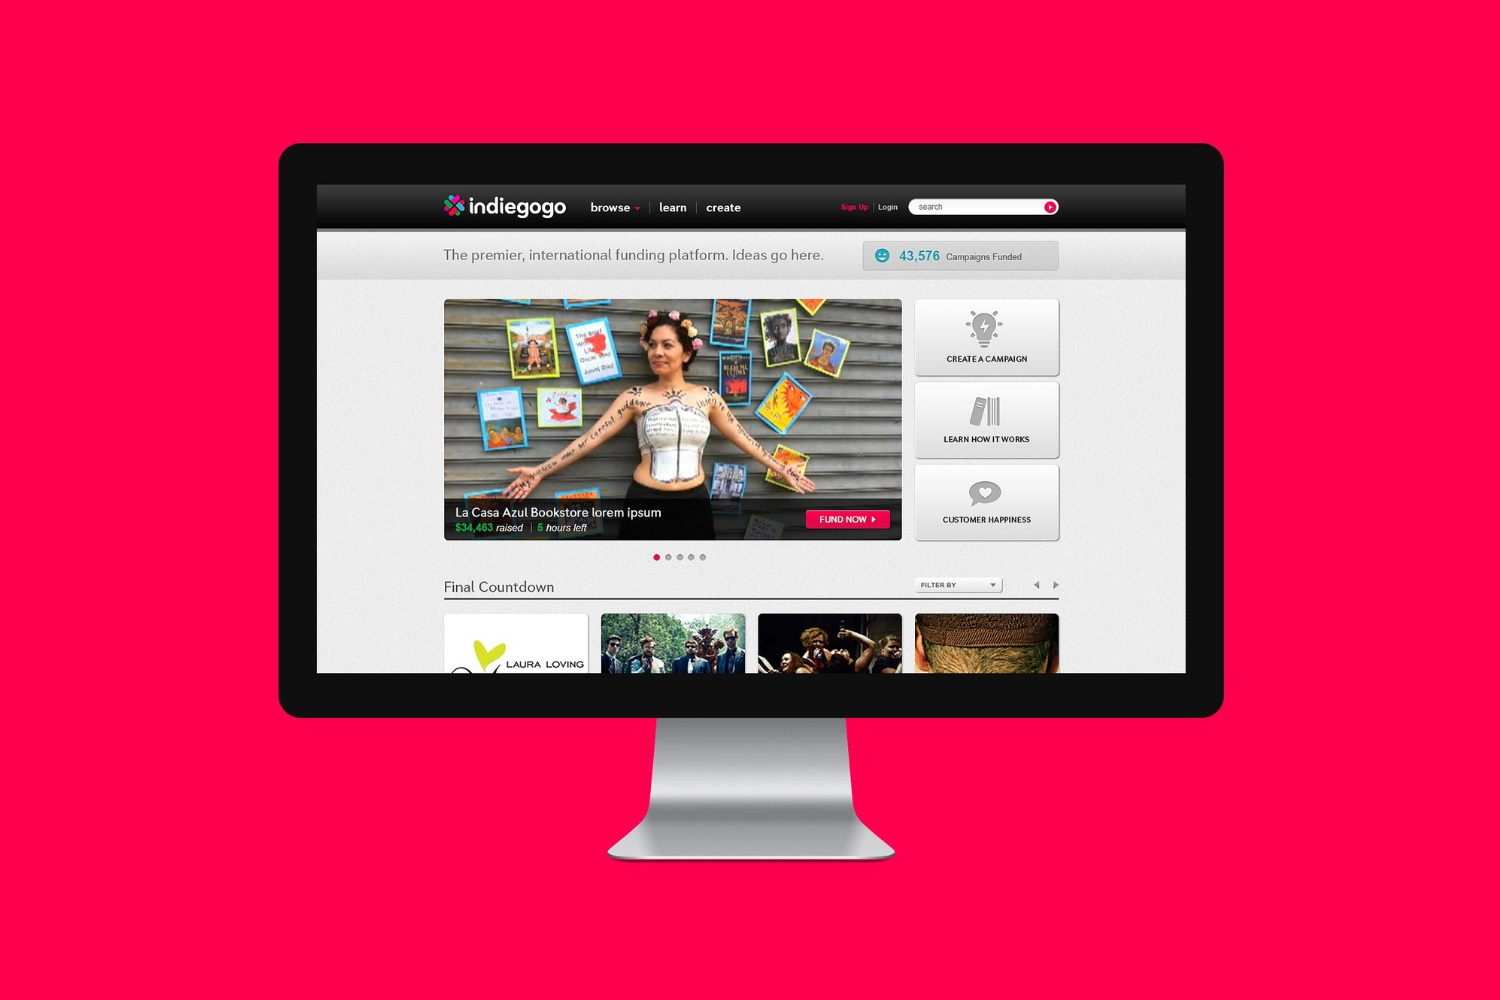
Welcome to the world of crowdfunding! If you’re an entrepreneur looking to launch your project or product on Indiegogo, you’re probably eager to maximize your campaign’s reach and success. One powerful tool that can help you achieve this is the Facebook Pixel.
Now, you might be wondering, what exactly is a Facebook Pixel? And why is it important for your Indiegogo campaign? In this article, we’ll answer these questions and provide you with a step-by-step guide on how to add a Facebook Pixel to your Indiegogo campaign.
A Facebook Pixel is a snippet of code provided by Facebook that you place on your website. It serves as a tracking tool, allowing you to collect data on the actions and behaviors of visitors who interact with your website or landing page. This data can be extremely valuable in helping you optimize your marketing efforts and make more informed decisions.
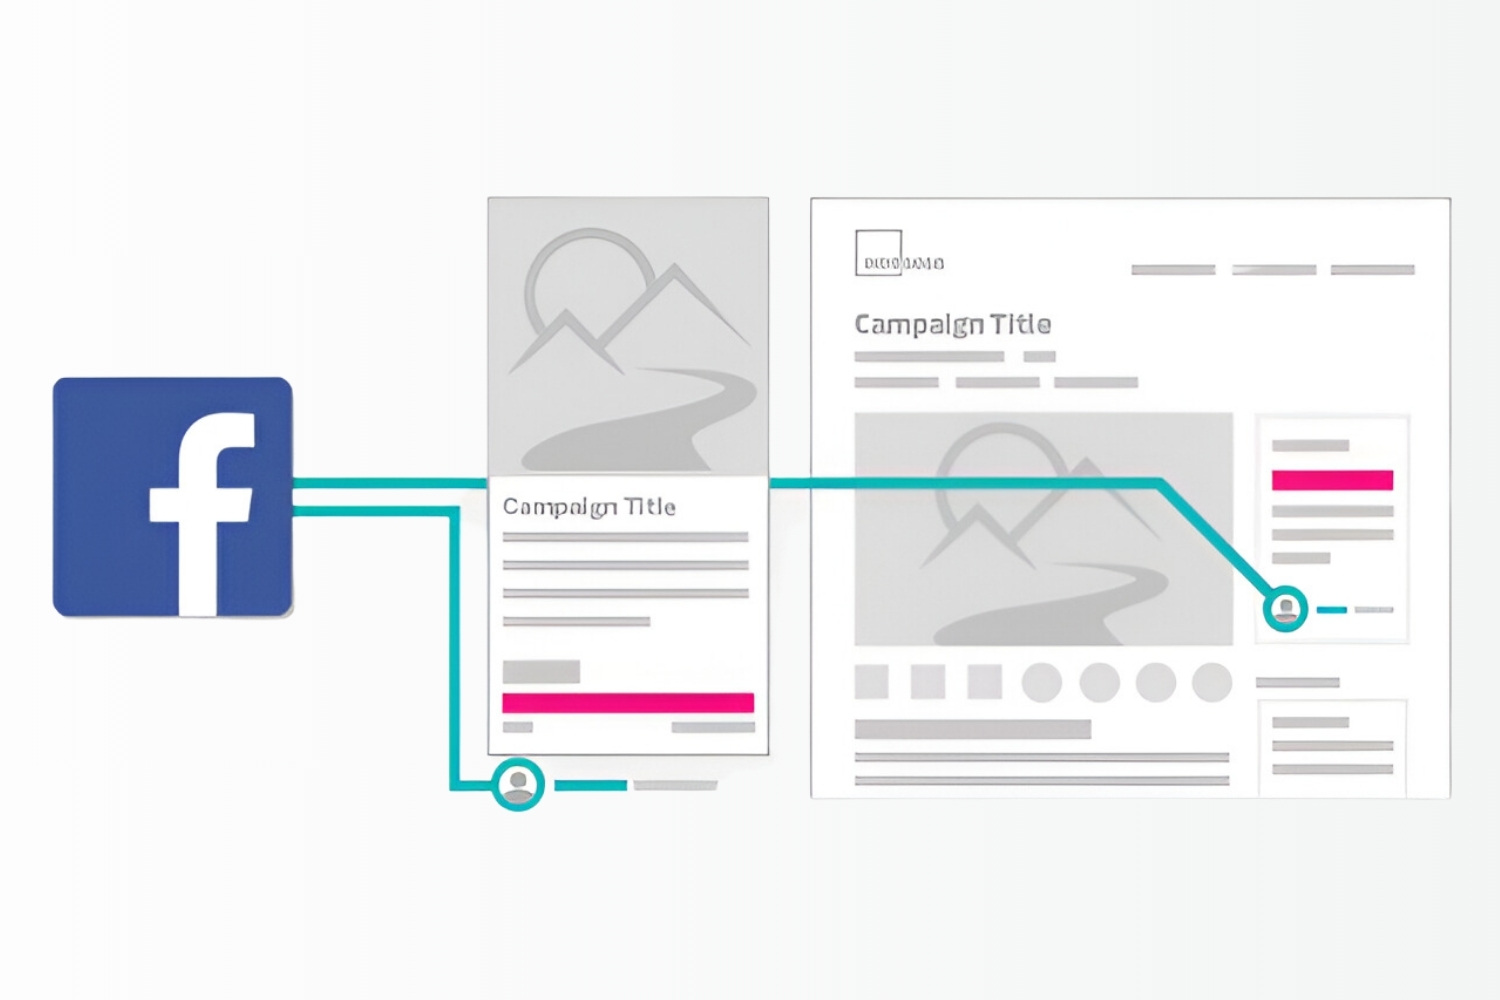
Now, you may be wondering how this relates to your Indiegogo campaign. Well, when you add a Facebook Pixel to your campaign page, you gain the ability to track and measure the impact of your Facebook ads on campaign conversions. This means you can better understand which ads are driving the most traffic and conversions, allowing you to allocate your ad budget more effectively.
In addition to tracking conversions, a Facebook Pixel can also help you create custom audiences and retarget visitors who have shown interest in your campaign. By retargeting these individuals with relevant ads, you can increase the likelihood of them pledging to your campaign and help drive more contributions.
Now that you understand the significance of the Facebook Pixel for your Indiegogo campaign, let’s delve into the step-by-step process of adding it to your campaign page. With just a few simple steps, you’ll be on your way to harnessing the power of data to optimize your campaign and boost your chances of success.
What is a Facebook Pixel?
A Facebook Pixel is a powerful tool provided by Facebook that allows you to gather valuable data about the actions and behaviors of visitors on your website or landing page. It is a snippet of code that you embed on your site, and it serves as a tracking mechanism to monitor user interactions.
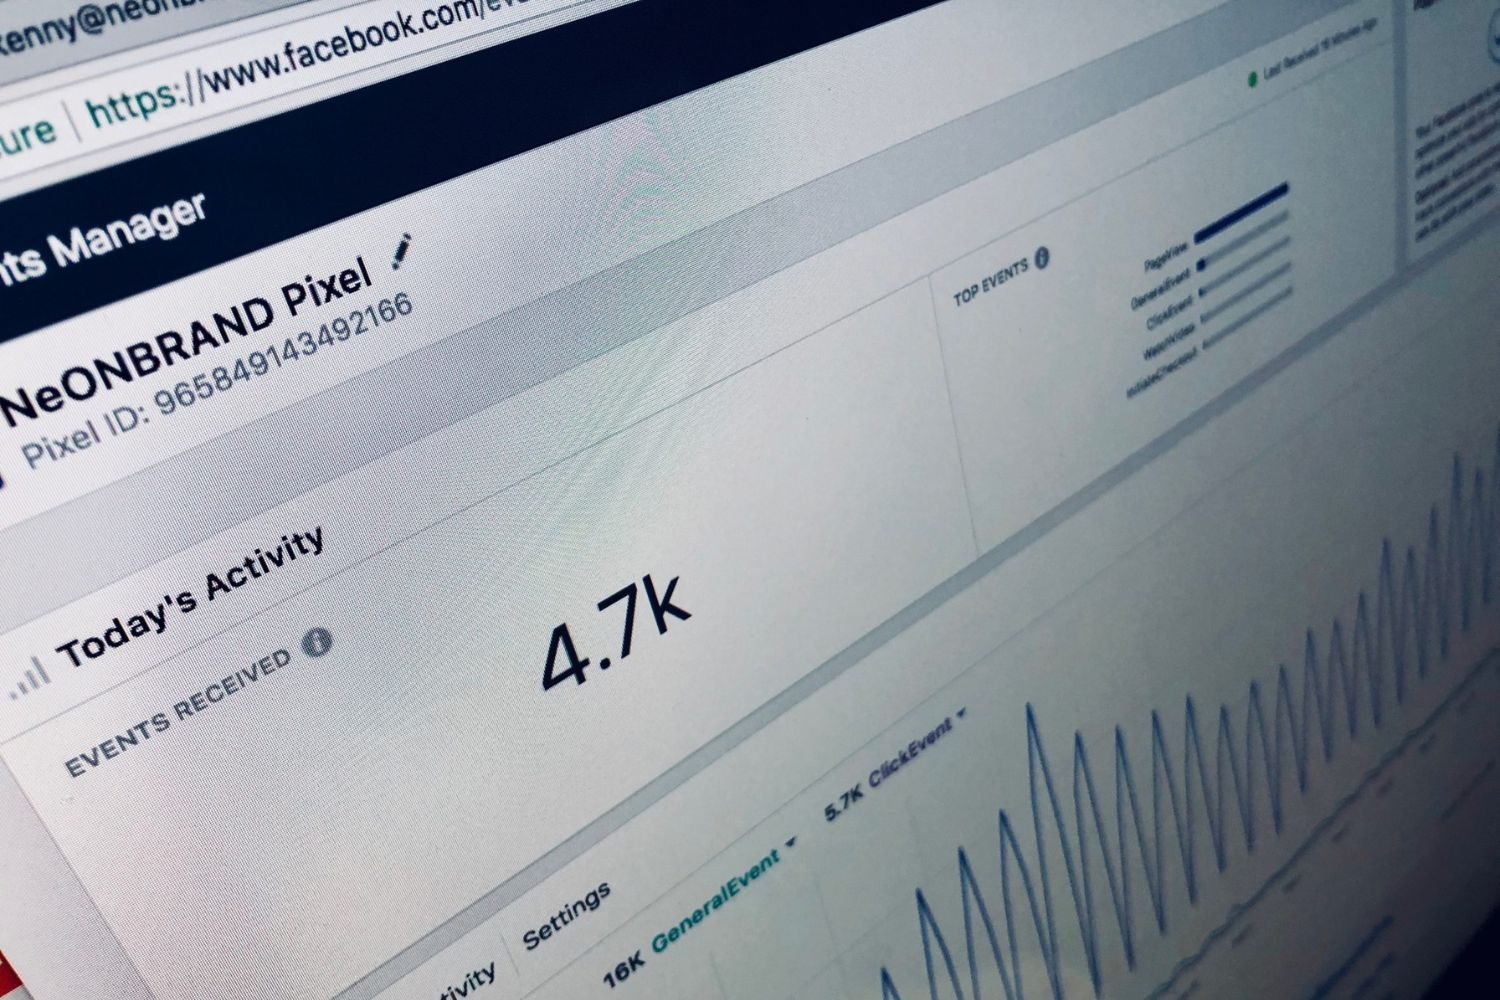
When someone visits your website or landing page, the Facebook Pixel is triggered and collects information such as which pages they visited, their engagement level, and any actions they took, such as making a purchase or filling out a form. This data is then sent back to Facebook, where you can access it and analyze it to gain insights into your audience’s behavior.
The Facebook Pixel provides a wealth of data that can be used to optimize your marketing efforts and improve your campaign strategy. It enables you to understand which advertising campaigns are driving the most conversions and generating the highest return on investment (ROI).
Additionally, the Facebook Pixel enables you to create custom audiences based on specific criteria. For example, you can create an audience of people who have visited your website but haven’t made a purchase, allowing you to retarget them with personalized ads to increase conversions.
The Facebook Pixel also offers conversion tracking, which means you can track key actions that users take on your website, such as completing a purchase or signing up for your newsletter. This information is invaluable for measuring the success of your campaigns and identifying areas for improvement.
Furthermore, the Facebook Pixel plays a crucial role in optimizing your ad targeting. By analyzing the data collected, you can create lookalike audiences based on the characteristics of your existing customers, allowing you to reach new potential backers who are more likely to be interested in your campaign.
In summary, a Facebook Pixel is a vital tool for any Indiegogo campaign. It provides you with meaningful data about your audience, helps you track conversions, allows you to create custom audiences, and improves your ad targeting. By utilizing the Facebook Pixel, you can make data-driven decisions to ensure the success of your campaign.
Why is a Facebook Pixel important for Indiegogo campaigns?
Indiegogo campaigns are all about reaching the right audience and driving contributions to support your project or product. That’s where the Facebook Pixel comes in as an essential tool to help you optimize your Indiegogo campaign strategy and increase your chances of success.
One of the main reasons why the Facebook Pixel is crucial for Indiegogo campaigns is its ability to track conversions. By placing the Pixel on your campaign page, you can monitor the actions taken by visitors who arrive at your page through Facebook ads. This includes tracking conversions such as pledges made or items purchased.
This conversion tracking feature allows you to gain deep insights into the effectiveness of your ad campaigns, helping you identify which ads are driving the most conversions and generating the highest return on investment (ROI). With this information, you can refine your ad targeting and optimize your budget allocation to maximize your campaign’s impact.
Another significant advantage of the Facebook Pixel for Indiegogo campaigns is the ability to create custom audiences. The Pixel enables you to segment your website visitors based on their interactions and behaviors. For example, you can create an audience of people who have visited your campaign page but haven’t yet made a pledge.
By targeting these custom audiences with tailored ads, you can re-engage potential backers who have shown interest in your campaign. This increases the likelihood of them pledging their support and contributing to your fundraising goals. Customized messaging and targeting can significantly enhance the conversion rates of your Indiegogo campaigns.
In addition, the Facebook Pixel helps you optimize your ad targeting by providing valuable data that can be used to create lookalike audiences. Lookalike audiences are new audiences that share similar characteristics with your existing customers or campaign backers.
By analyzing the data collected by the Pixel, Facebook can generate a new audience based on the demographics, interests, and behaviors of your current backers. This allows you to reach a wider audience who are more likely to be receptive to your Indiegogo campaign, driving more traffic and potential contributions.
Overall, the Facebook Pixel is a vital asset for Indiegogo campaigns. It provides essential conversion tracking, helps create custom audiences for targeted advertising, and enables the creation of lookalike audiences to expand your campaign reach. By leveraging the power of the Facebook Pixel, you can optimize your Indiegogo campaigns and increase your chances of crowdfunding success.
Step-by-Step Guide: Adding a Facebook Pixel to Indiegogo
Adding a Facebook Pixel to your Indiegogo campaign might sound like a complex task, but with this step-by-step guide, you’ll be able to do it smoothly and effectively. Follow these instructions to ensure you integrate the Facebook Pixel seamlessly into your Indiegogo campaign:
- Create a Facebook Business Manager account: If you haven’t already, go to business.facebook.com and create a Business Manager account. This will serve as the platform to manage your Facebook Pixel.
- Generate your Facebook Pixel: Once your Business Manager account is set up, navigate to the Events Manager and click on “Connect Data Sources.” Choose “Web” as the source, and then click on “Facebook Pixel.” Follow the instructions to create your Pixel.
- Copy the Pixel code: After generating your Facebook Pixel, you’ll be presented with a code snippet. Copy this snippet of code as it will be needed to add the Pixel to your Indiegogo campaign page.
- Login to your Indiegogo account: Now, log in to your Indiegogo account and navigate to your campaign page.
- Edit your campaign page: Once on your campaign page, find the “Edit Campaign” button, usually located at the top right corner of the page, and click on it.
- Add a custom HTML element: Within the campaign editor, find a suitable spot on your campaign page where you want to insert the Facebook Pixel code. Then, add a custom HTML element to that section.
- Paste the Facebook Pixel code: In the custom HTML element field, paste the Facebook Pixel code that you copied from the Events Manager in step 3.
- Save and publish your changes: After pasting the Facebook Pixel code, click on the “Save” or “Publish” button to apply the changes to your Indiegogo campaign page.
- Verify the Pixel installation: To confirm that the Facebook Pixel is installed correctly, you can use the Facebook Pixel Helper, a Chrome browser extension. Install the extension and visit your campaign page to check if the Pixel is working properly.
- Monitor your Pixel’s performance: Once the Facebook Pixel is properly installed, you can start tracking conversions, customizing and optimizing your ads, creating custom audiences, and analyzing the data collected to enhance your Indiegogo campaign.
By following these simple steps, you’ll have successfully added the Facebook Pixel to your Indiegogo campaign page. You’ll now have access to valuable data that can greatly inform your campaign strategy and maximize your chances of success.
Conclusion
Adding a Facebook Pixel to your Indiegogo campaign is a game-changer in terms of optimizing your marketing efforts and increasing your campaign’s success. The Facebook Pixel allows you to track conversions, create custom audiences, and optimize your ad targeting based on valuable data collected from your campaign page.
By implementing the step-by-step guide outlined in this article, you can seamlessly integrate the Facebook Pixel into your Indiegogo campaign. This powerful tool provides insights into the effectiveness of your ad campaigns, helps retarget potential backers, and allows you to reach new audiences that are likely to be interested in your campaign.
Remember, the Facebook Pixel is not a “set it and forget it” tool. It’s important to regularly monitor and analyze the data collected by the Pixel to make data-driven decisions and continuously improve your campaign strategy. Use the insights gained from tracking conversions and analyzing visitor behaviors to refine your ad campaigns, create more engaging content, and drive higher conversions.
By harnessing the power of the Facebook Pixel, you’ll gain a competitive edge in the world of Indiegogo crowdfunding. It will enable you to optimize your campaign, increase your reach, and ultimately boost your chances of achieving your fundraising goals.
So, don’t overlook the importance of adding a Facebook Pixel to your Indiegogo campaign. Take the time to implement it correctly, follow the best practices, and embrace the data-driven opportunities it offers. With the Facebook Pixel on your side, you’ll be well-equipped to run a successful Indiegogo campaign and turn your project or product into a crowdfunding triumph.