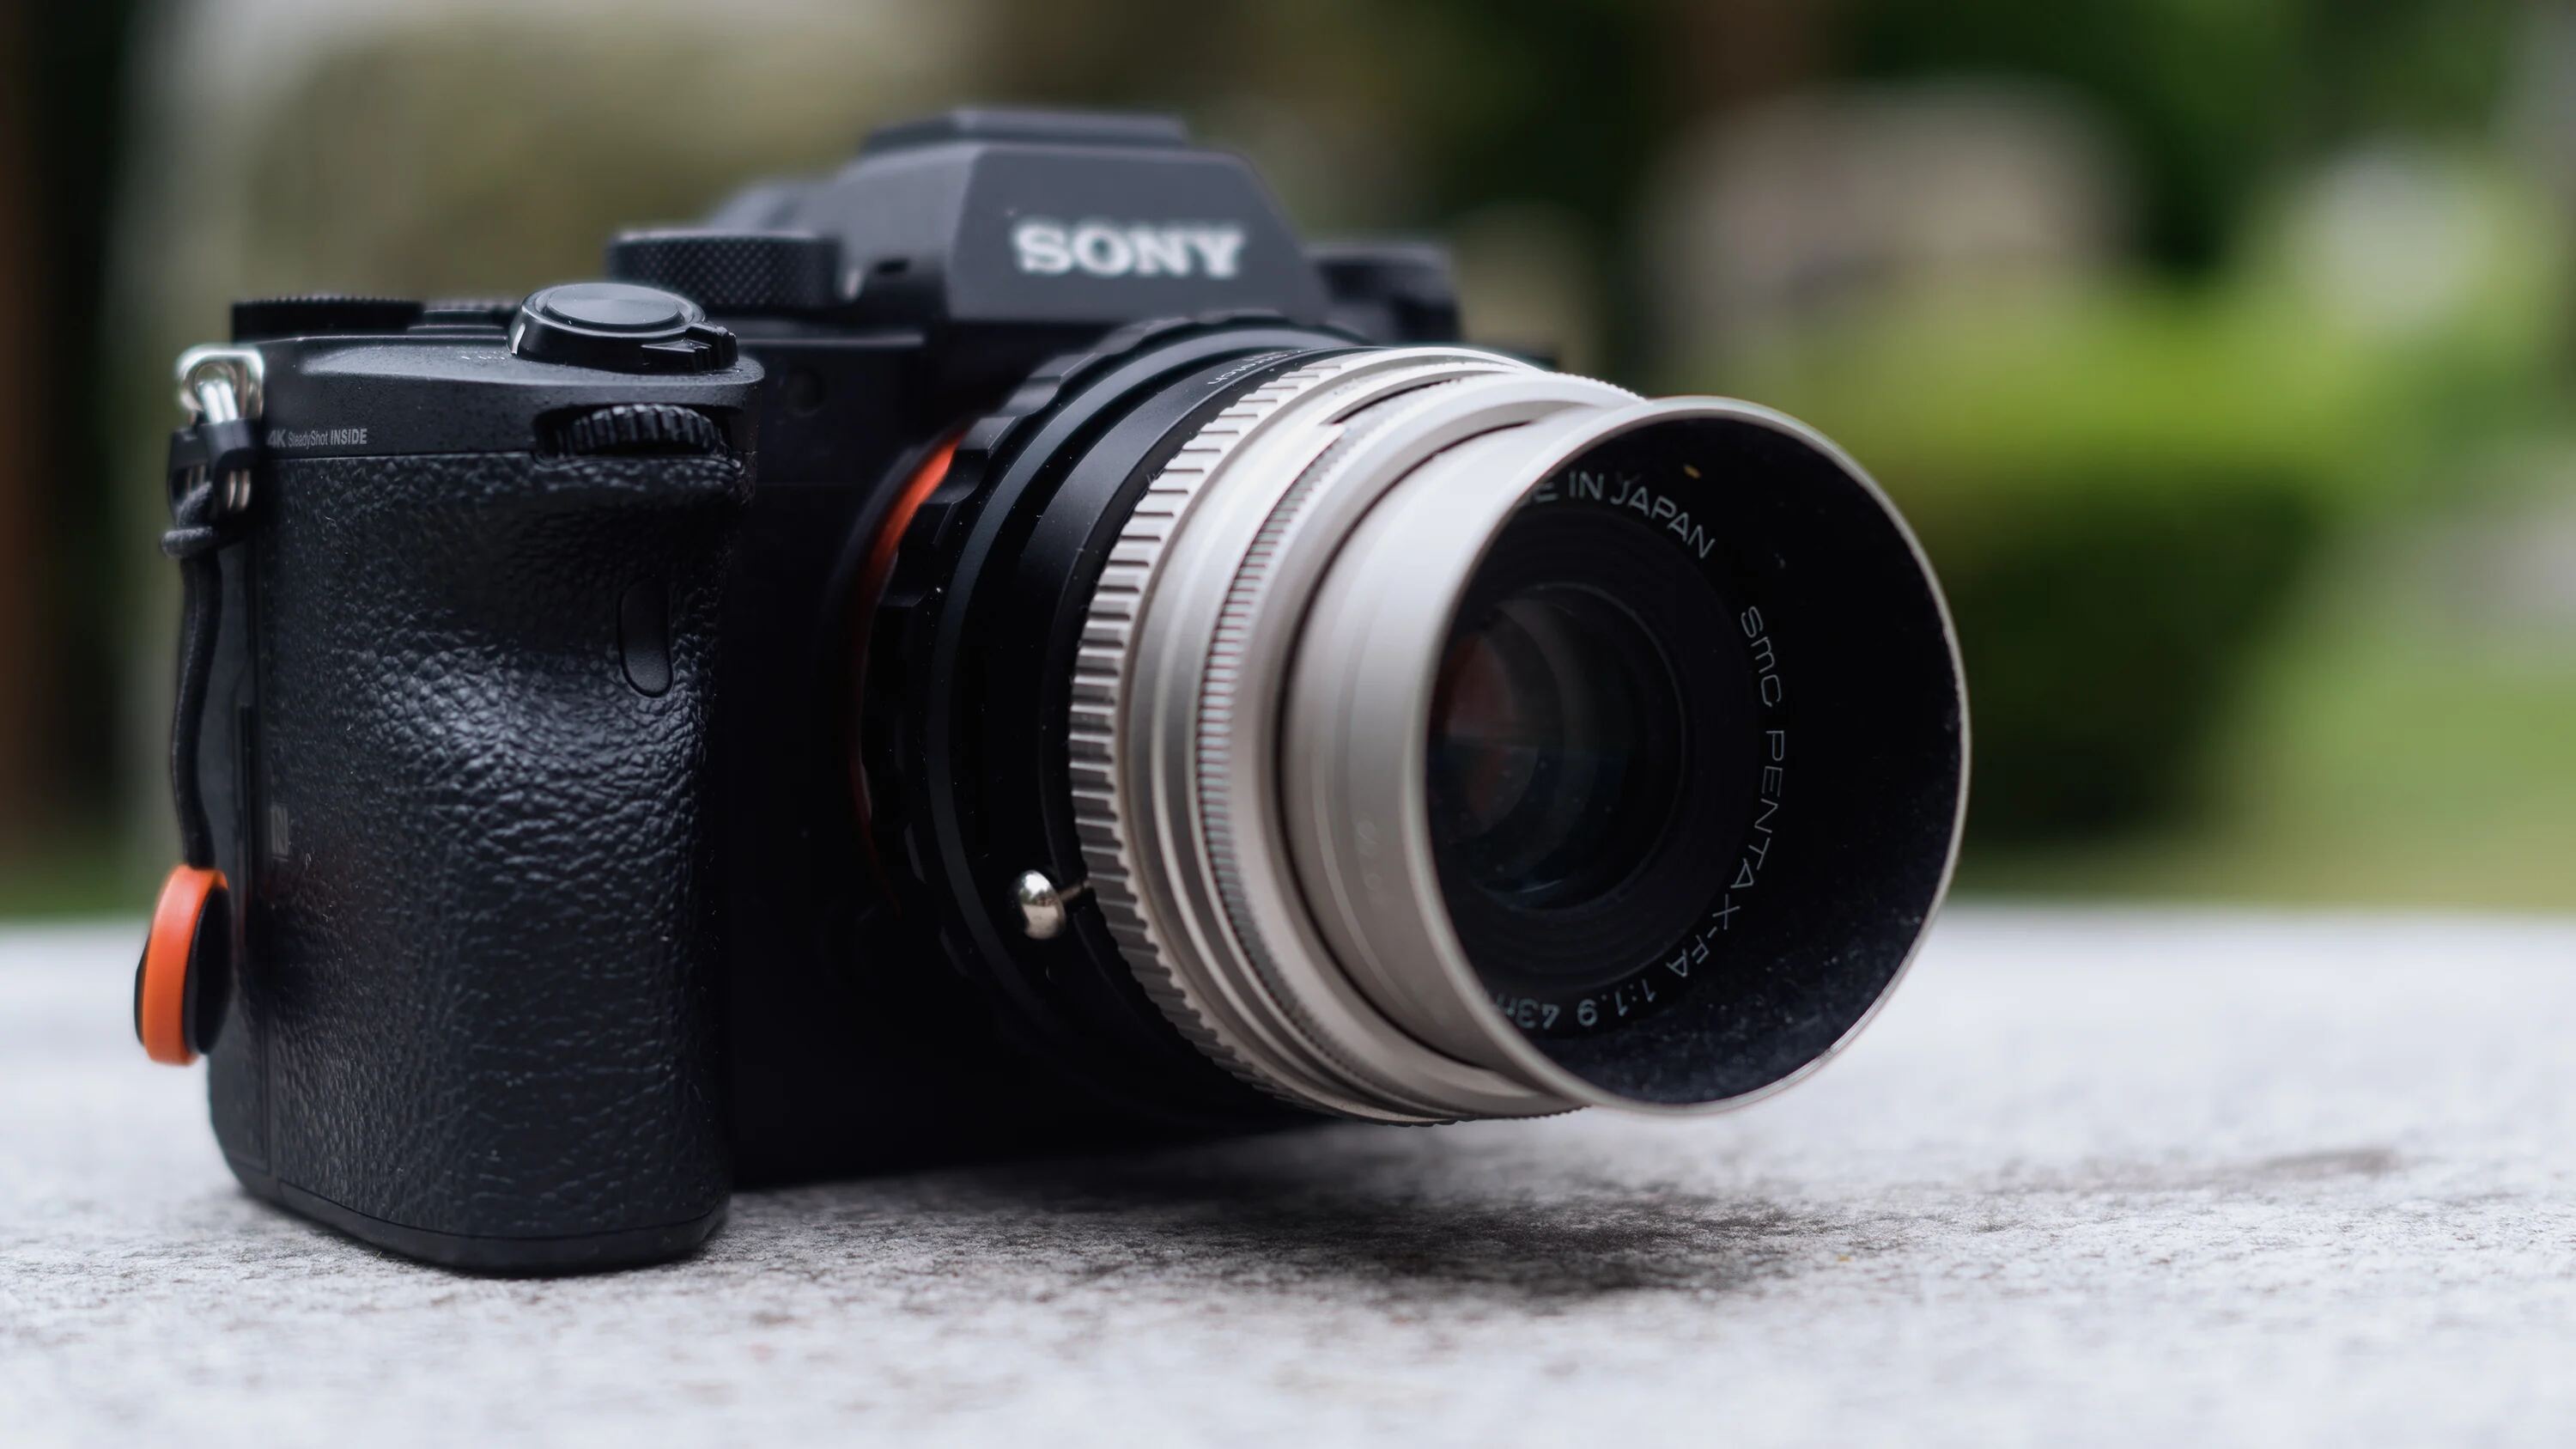
Introduction
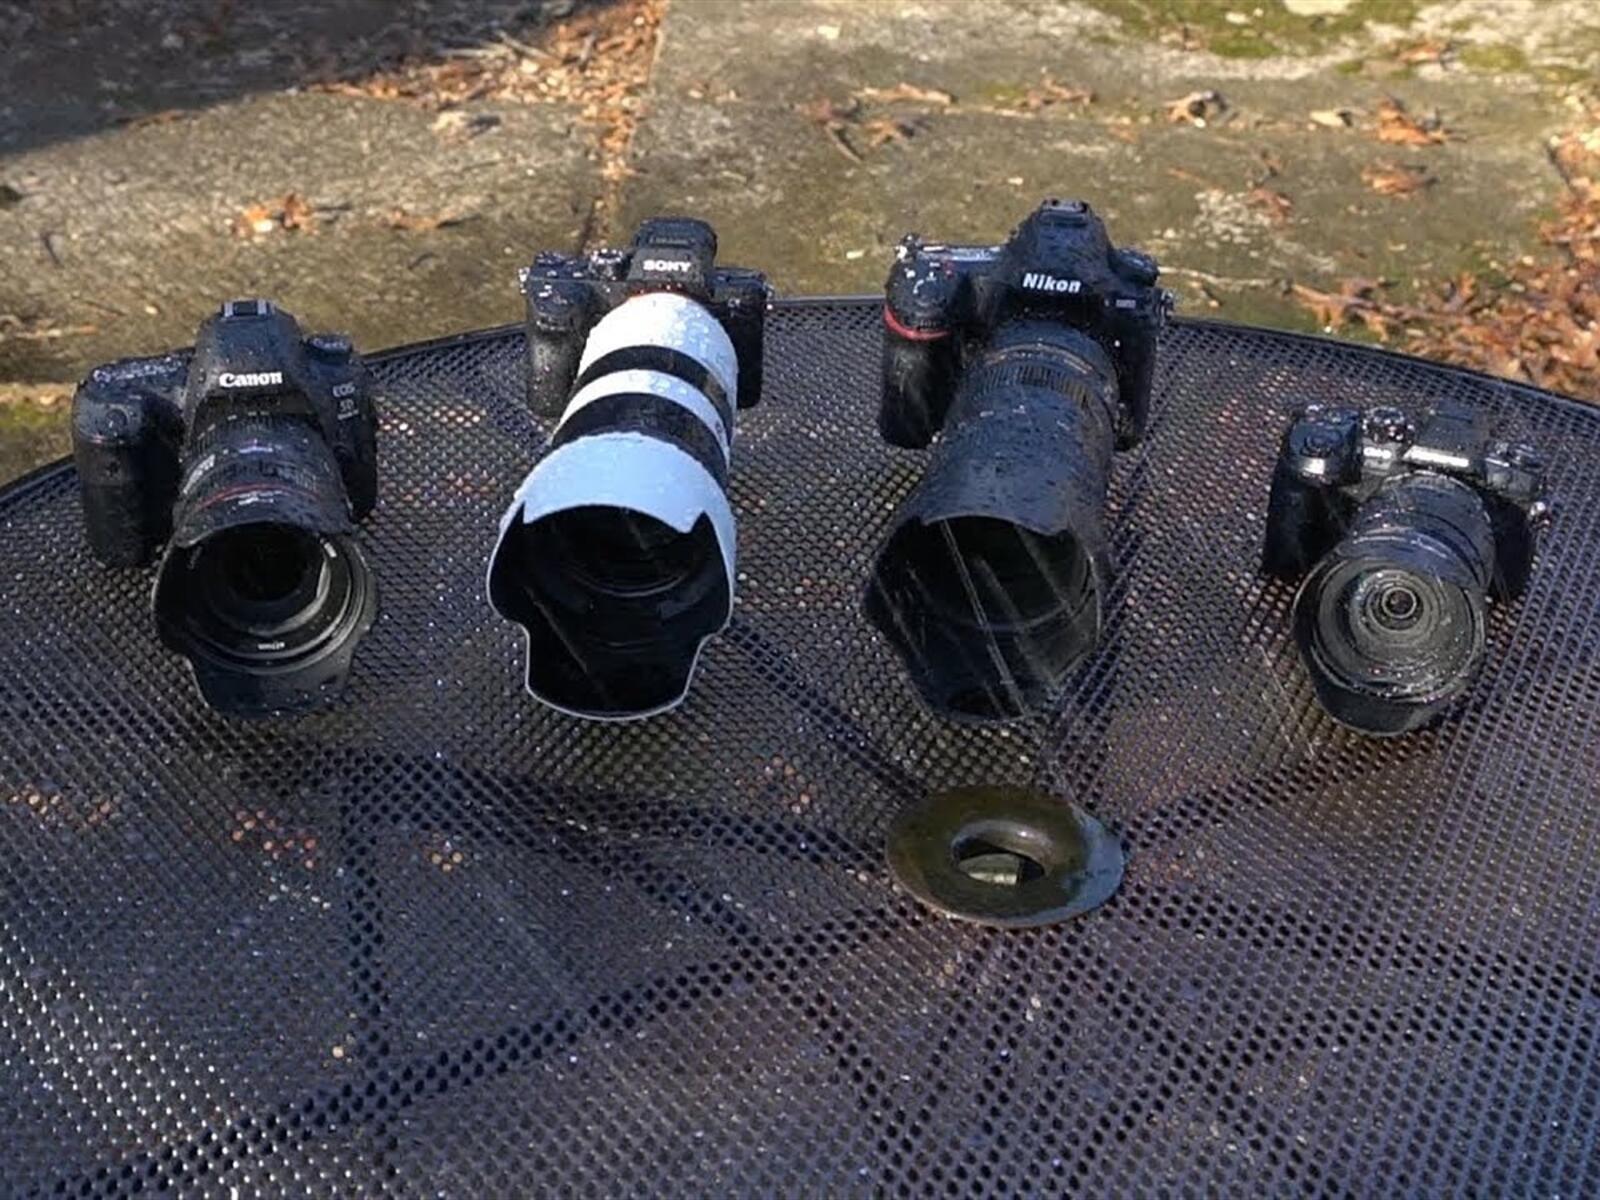
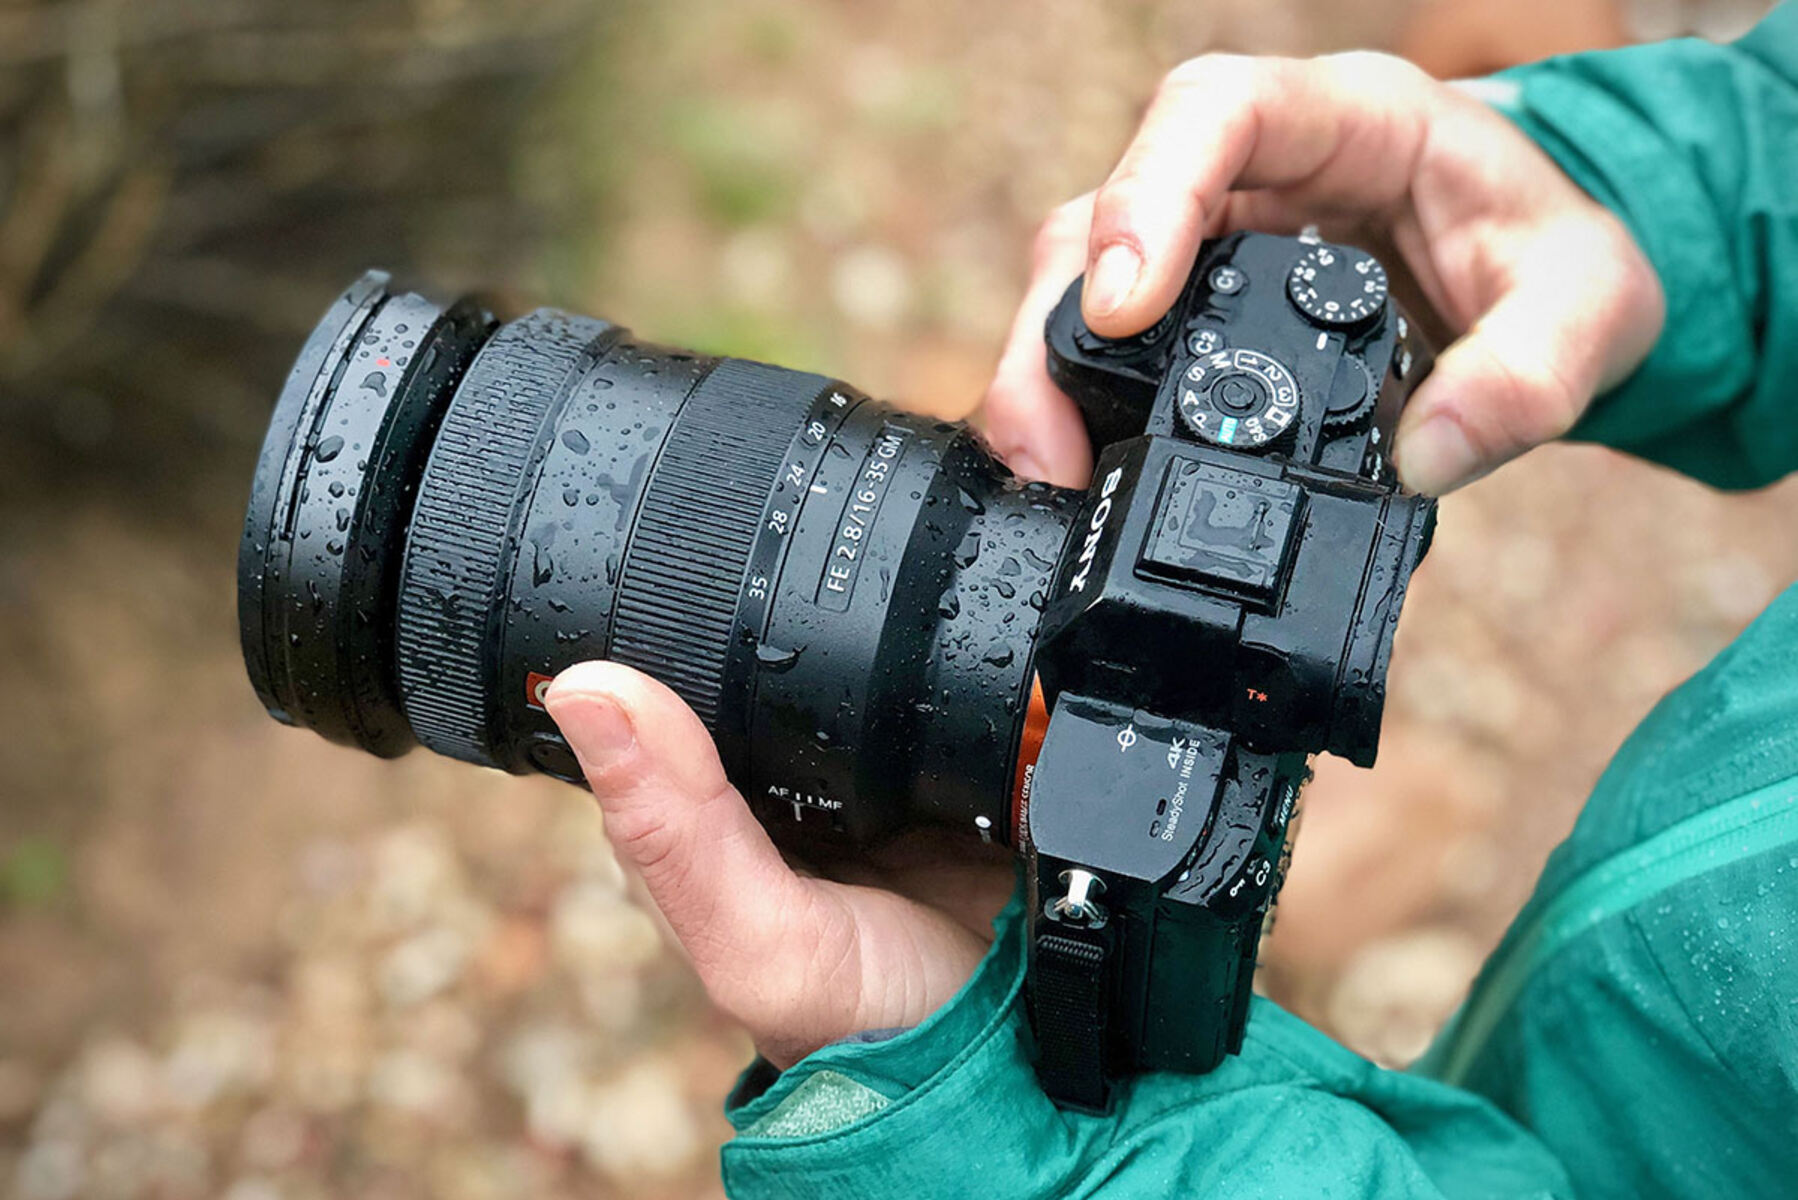
You've been out capturing stunning shots with your mirrorless camera, and then it happens – water finds its way into your beloved device. Whether it's due to a sudden downpour, an accidental spill, or an unexpected splash, the presence of water in your camera can be a cause for concern. However, all hope is not lost. With the right steps and a bit of patience, you can potentially salvage your camera and prevent irreversible damage. In this guide, we'll explore the essential steps to take when water infiltrates your mirrorless camera, ensuring you can get back to capturing breathtaking moments in no time.
Water and electronic devices are not the best of friends, and cameras are no exception. The intricate circuitry and delicate components within a mirrorless camera make it particularly vulnerable to water damage. However, by promptly addressing the situation and following the appropriate procedures, you can increase the likelihood of minimizing the impact of the water exposure. This guide aims to equip you with the knowledge and techniques necessary to tackle this unfortunate predicament effectively.
When water breaches the protective barriers of your camera, it can lead to a range of issues, including electrical malfunctions, lens fogging, and corrosion. The key is to act swiftly and methodically to mitigate these potential problems. By understanding the steps involved in assessing the damage, removing the water, drying the camera, and checking for any lasting effects, you can take proactive measures to safeguard your camera's functionality. Additionally, we'll discuss preventive measures to shield your camera from future water-related mishaps, allowing you to pursue your passion for photography with greater peace of mind.
So, if you find yourself in the unfortunate situation of having water invade your mirrorless camera, fear not. By following the guidance provided in this article, you'll be well-equipped to address the issue and potentially salvage your camera. Let's dive into the essential steps for handling water damage in a mirrorless camera and restoring it to its optimal condition.
Assessing the Damage
When water infiltrates your mirrorless camera, the first crucial step is to assess the extent of the damage. Begin by swiftly removing the camera's battery and any connected accessories, such as lenses and memory cards, to prevent potential short circuits and corrosion. Inspect the exterior of the camera for visible signs of water, such as droplets or moisture accumulation. Additionally, check the lens, viewfinder, and any crevices where water may have seeped in.
Next, carefully open the camera's compartments, such as the battery and memory card slots, to examine for any traces of water. If water is present, avoid turning the camera on, as this could exacerbate the damage. Instead, gently dab the exterior with a dry, lint-free cloth to absorb any visible moisture. Avoid using heat sources, such as hairdryers, as they can cause further harm to the internal components. It's crucial to handle the camera gently and avoid shaking it, as this can spread the water and potentially cause additional damage.
Once you've addressed the external moisture, take a close look at the camera's display screen for any signs of water intrusion. If droplets are visible on the screen, refrain from applying pressure or attempting to wipe them away, as this can lead to the water spreading and potentially entering the internal circuitry. Instead, allow the camera to air dry naturally while following the subsequent steps to remove the water and dry the device thoroughly.
Assessing the damage also involves considering the type of water that entered the camera. If it was clean, distilled water, the risks may be lower compared to exposure to saltwater or other contaminants. However, regardless of the water type, it's essential to proceed with the cleaning and drying process promptly to minimize potential corrosion and electrical issues.
By carefully evaluating the visible and potential areas of water ingress and understanding the nature of the water involved, you can lay the groundwork for effectively addressing the damage and increasing the likelihood of restoring your mirrorless camera to working condition.
Removing the Water
After assessing the extent of water infiltration in your mirrorless camera, the next critical step is to remove the water from the internal components and crevices. To begin, carefully tilt and shake the camera in various directions to encourage the drainage of any remaining water. Be mindful to execute this step gently to avoid causing additional harm to the camera's delicate parts. While this method may help expel some of the water, it's essential to proceed with additional measures to ensure thorough water removal.
A widely recommended approach for removing water from electronic devices is to utilize desiccants, which are substances designed to absorb moisture. Silica gel packets, commonly found in packaging for electronic devices and various consumer products, are effective desiccants. Place the camera and its detached components in a sealable bag or container along with the silica gel packets. The desiccants will aid in drawing out the moisture from the camera's interior over time. It's important to refrain from using rice or other food-based desiccants, as they may leave behind residue and are generally less effective than purpose-made desiccants.
Alternatively, if silica gel packets are not readily available, you can use uncooked, plain white rice as a makeshift desiccant. However, it's crucial to exercise caution when employing this method, as rice particles can potentially find their way into the camera and exacerbate the damage. To mitigate this risk, place the camera and its disassembled components in a sealable bag with the rice, ensuring that the camera does not come into direct contact with the rice. The rice will aid in absorbing the residual moisture from the camera, albeit less efficiently than dedicated desiccants.
Throughout the water removal process, it's imperative to exercise patience and refrain from rushing the drying procedure. Rushing can lead to incomplete water removal and potential long-term damage to the camera's internal components. By diligently pursuing these water removal methods, you can significantly enhance the prospects of mitigating the water damage and restoring your mirrorless camera to operational status.
Drying the Camera
Once the water has been removed to the best of your ability, the subsequent step is to facilitate thorough drying of the camera and its components. To initiate this process, ensure that the camera and detached parts are placed in a dry, well-ventilated area. Avoid exposing the camera to direct sunlight or high heat, as excessive heat can potentially damage the internal components and exacerbate the effects of the water exposure.
One effective method for drying the camera is to employ a gentle stream of cool or ambient air. This can be achieved by using a hairdryer on its lowest setting or a can of compressed air. Maintain a moderate distance between the air source and the camera to prevent heat damage. It’s crucial to exercise caution and avoid directing the airflow directly into the camera’s openings, as this can disperse any remaining moisture and potentially drive it deeper into the device.
Another recommended approach for drying the camera is to utilize desiccants once again. Silica gel packets or dedicated electronic device desiccants can aid in absorbing any lingering moisture and promoting a thorough drying process. Place the camera and its components in a sealable bag or container with the desiccants for an extended period to ensure optimal drying.
Patience is paramount during the drying phase, as hastening the process can lead to incomplete drying and potential long-term damage to the camera. It’s advisable to allow the camera to dry for at least 24 to 48 hours before attempting to power it on. This duration allows for comprehensive moisture evaporation and minimizes the risk of residual water causing electrical malfunctions or corrosion within the camera.
Throughout the drying process, periodically check the camera and its components for any signs of moisture. If moisture is detected, continue the drying process until the camera is entirely dry. By diligently executing these drying methods and allowing sufficient time for the camera to dry thoroughly, you can contribute significantly to the restoration of your mirrorless camera’s functionality following water exposure.
Checking for Damage
Following the water removal and drying processes, it is essential to thoroughly inspect your mirrorless camera for any signs of damage resulting from the water exposure. Begin by reassembling the camera with its battery and essential components, such as the lens and memory card, and proceed to power it on. Pay close attention to the camera’s functionality, including the responsiveness of buttons, the clarity of the display screen, and the operation of the lens and autofocus mechanisms.
Observe the camera’s performance as it powers on and undergoes various functions, such as capturing images and adjusting settings. If you notice any irregularities or malfunctions, such as erratic behavior, unusual sounds, or error messages, it may indicate lingering damage from the water exposure. In such cases, it is advisable to power off the camera immediately and seek professional assistance from a certified camera technician.
Additionally, inspect the camera’s lens and viewfinder for any signs of fogging or moisture accumulation. Lens fogging can indicate the presence of residual moisture within the camera, potentially leading to image quality issues and internal corrosion. If fogging is detected, refrain from using the camera and continue the drying process until the fogging dissipates entirely.
Conduct a thorough examination of the camera’s exterior and interior for any signs of corrosion, particularly around the battery compartment and electronic contacts. Corrosion can impede the camera’s functionality and lead to long-term damage if left unaddressed. If corrosion is present, it is advisable to seek professional cleaning and servicing to mitigate its effects and prevent further deterioration of the camera’s internal components.
Furthermore, test the camera’s connectivity with external devices, such as computers and printers, to ensure that the water exposure has not compromised its data transfer capabilities. If connectivity issues arise, it may indicate underlying damage that requires professional attention to rectify.
It’s important to note that even if the camera appears to function normally immediately after the water exposure, latent damage may manifest over time. Therefore, it’s advisable to monitor the camera’s performance closely in the weeks following the incident and seek professional evaluation if any new issues arise.
By meticulously examining the camera for any indications of damage and promptly addressing any anomalies, you can take proactive measures to mitigate the effects of water exposure and safeguard the long-term functionality of your mirrorless camera.
Preventing Future Incidents
After addressing water damage in your mirrorless camera, it’s crucial to implement preventive measures to reduce the risk of future incidents and protect your camera from potential water exposure. Consider the following strategies to safeguard your camera and preserve its functionality:
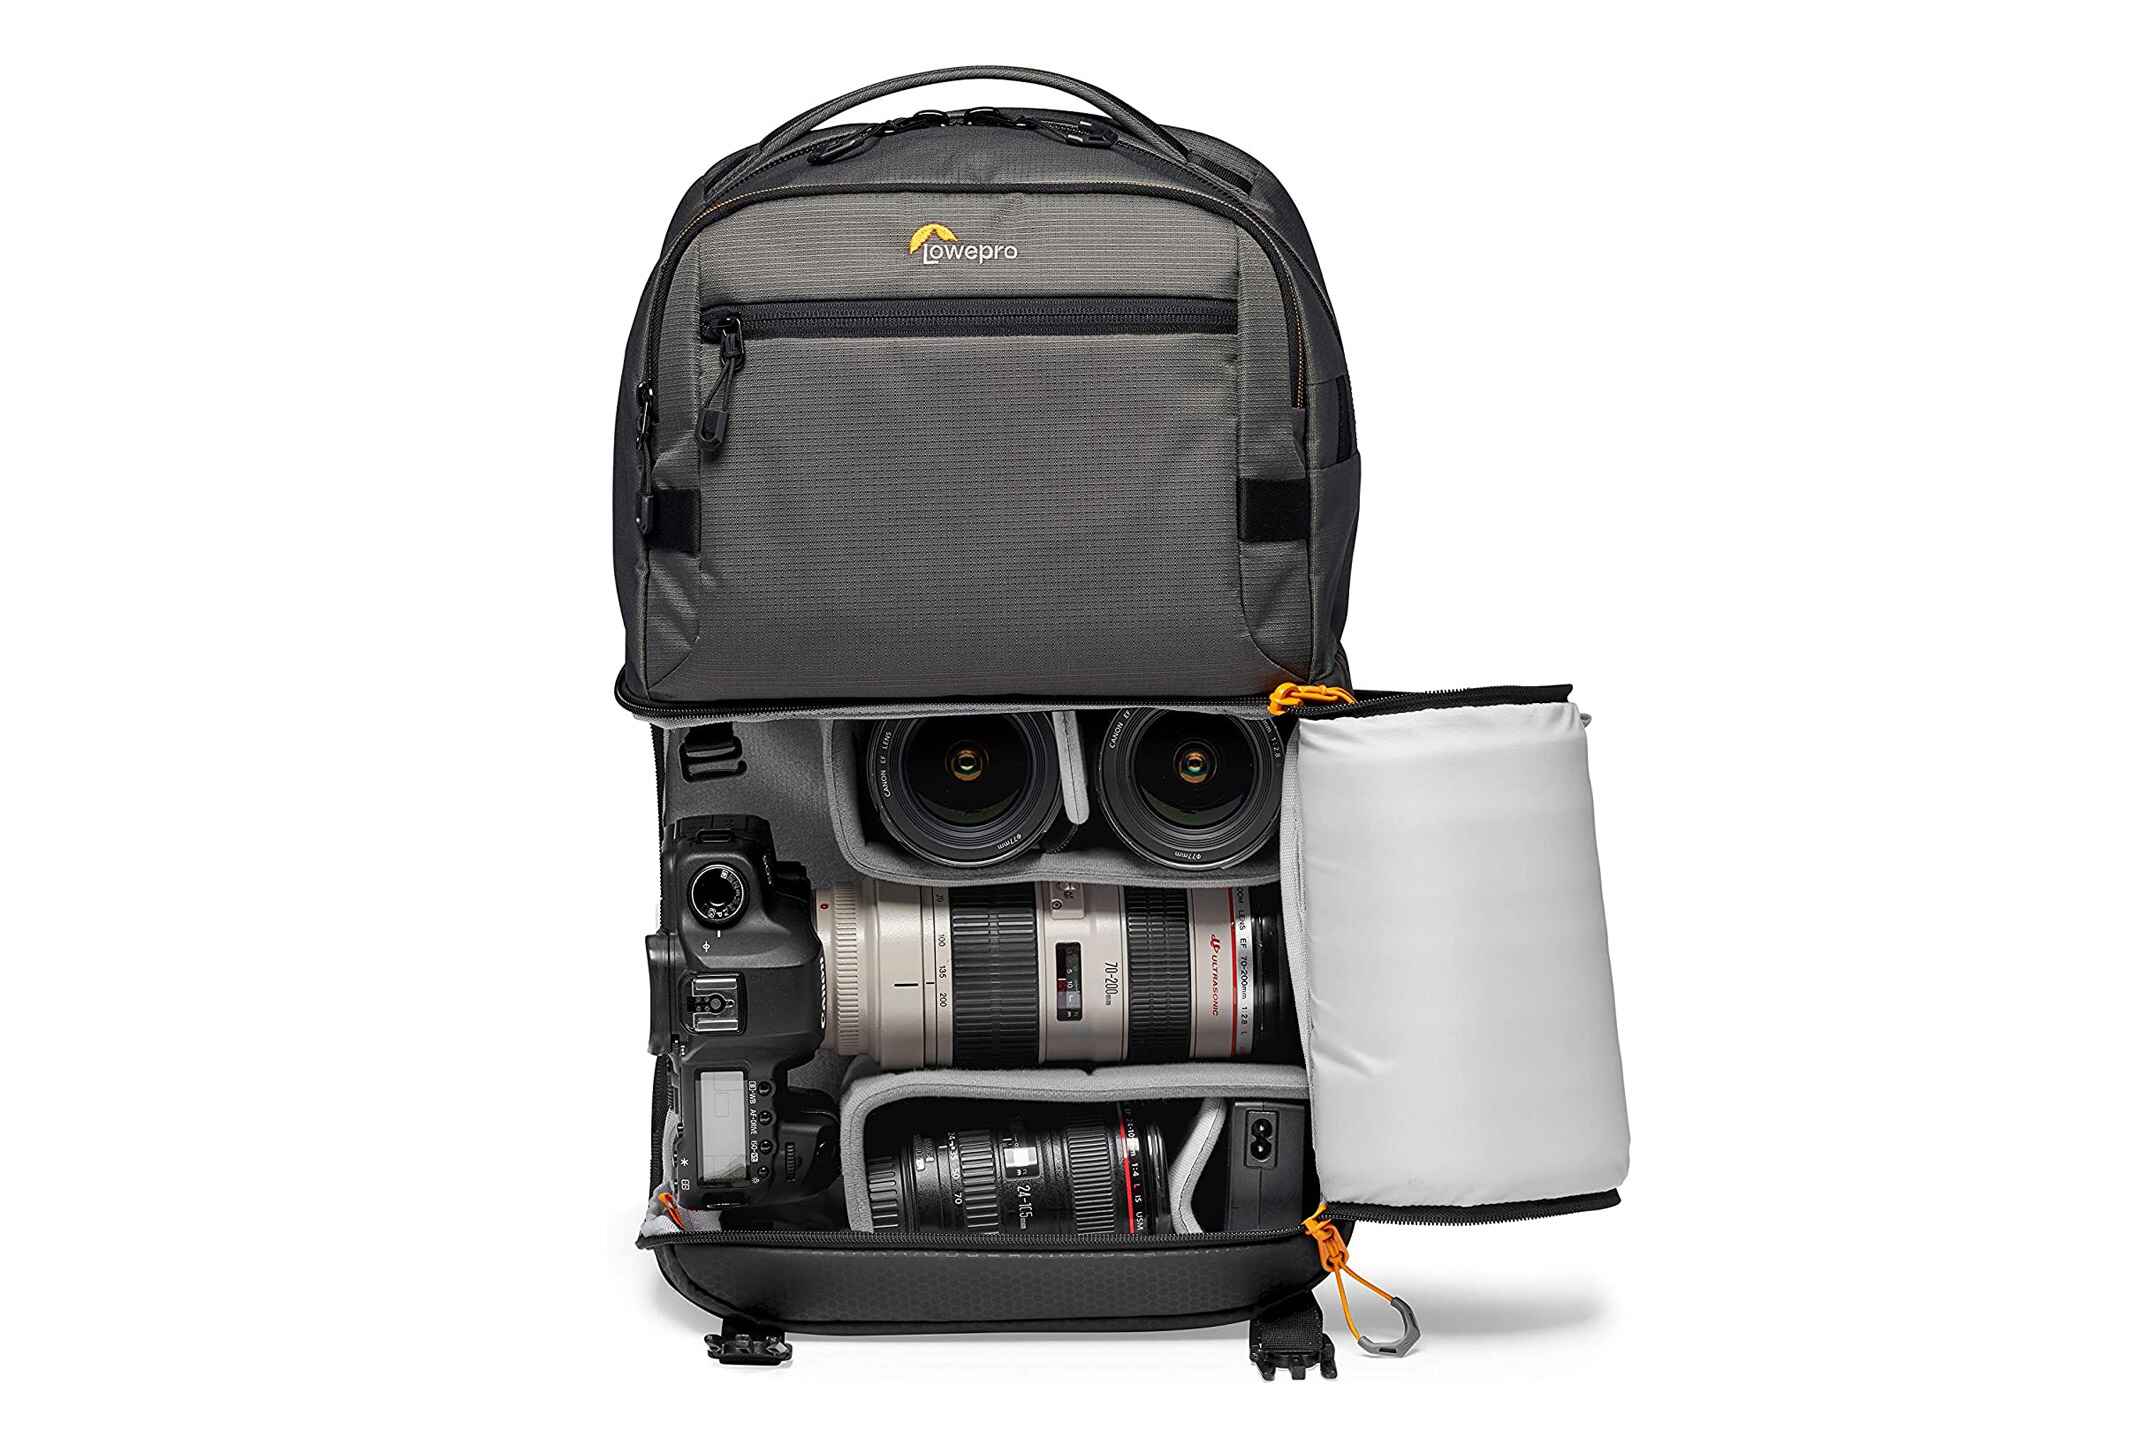
- Protective Carrying Equipment: Invest in a high-quality camera bag or case that provides water resistance and padding to shield your camera from environmental hazards. Look for bags with sealed zippers and waterproof materials to minimize the risk of water infiltration during outdoor excursions or adverse weather conditions.
- Weather Sealing: If your camera model offers weather-sealing features, ensure that the seals and gaskets are well-maintained and intact. Regularly inspect the camera’s weather-sealed components and adhere to manufacturer-recommended maintenance practices to uphold their effectiveness in repelling water and moisture.
- Use of Protective Accessories: Consider utilizing protective accessories such as rain covers and lens hoods when shooting in inclement weather or environments with potential water exposure. These accessories provide an additional layer of defense against water and can help safeguard your camera and lenses during outdoor photography sessions.
- Caution in Water-Prone Environments: Exercise caution when capturing photos near bodies of water, in rainy conditions, or in environments where water splashes are prevalent. Be mindful of your surroundings and take proactive measures to shield your camera from direct contact with water, such as utilizing umbrellas or protective coverings.
- Regular Maintenance: Implement a routine maintenance schedule for your camera, including periodic inspections, cleaning, and servicing by certified technicians. Regular maintenance can help detect and address potential vulnerabilities that may lead to water ingress and ensure the overall integrity of your camera’s protective features.
By incorporating these preventive measures into your photography practices, you can enhance the resilience of your mirrorless camera against water-related mishaps and minimize the likelihood of future water damage. Additionally, cultivating awareness of environmental conditions and exercising caution during photo sessions can contribute to the longevity and optimal performance of your camera, allowing you to pursue your passion for photography with greater confidence and peace of mind.