Introduction
The QR-12 Mini Camera Drone is a marvel of modern technology, offering enthusiasts the ability to capture stunning aerial footage with ease. One of the key features that enhances the functionality of this compact drone is its SD card slot, which allows users to store and transfer their captured images and videos conveniently. Understanding how to effectively utilize the SD card is essential for maximizing the potential of the QR-12 Mini Camera Drone.
In this guide, we will delve into the various aspects of using the SD card with the QR-12 Mini Camera Drone. From inserting and removing the SD card to accessing and transferring files, we will explore the step-by-step process to ensure a seamless experience. Additionally, we will discuss the importance of formatting the SD card to maintain its optimal performance. By the end of this comprehensive guide, you will have a clear understanding of how to make the most of the SD card functionality, empowering you to capture and manage your aerial footage effortlessly.
Whether you are a novice drone enthusiast or a seasoned professional, mastering the use of the SD card with the QR-12 Mini Camera Drone is a fundamental skill that will elevate your aerial photography and videography endeavors. Let's embark on this journey to unlock the full potential of your drone and harness the power of its SD card functionality.
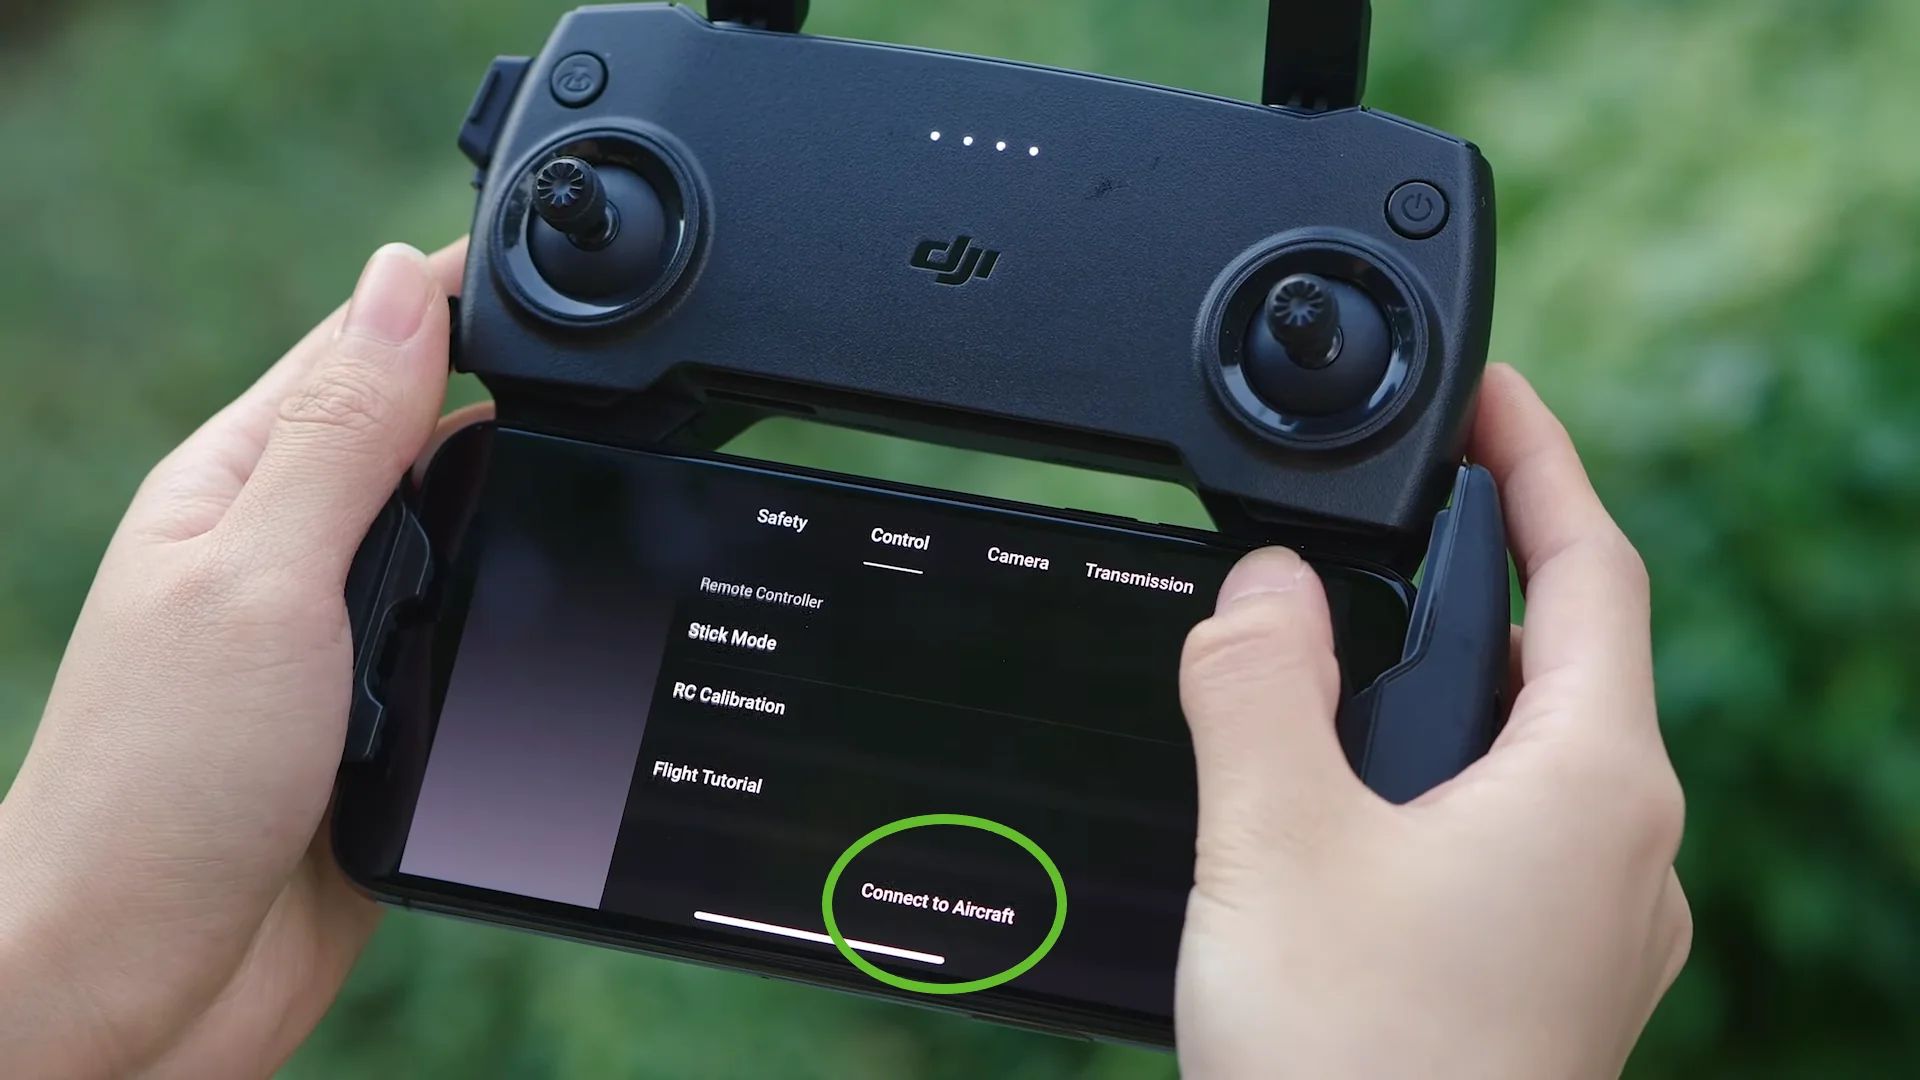
Inserting the SD Card
Before embarking on your aerial photography or videography adventure with the QR-12 Mini Camera Drone, it is crucial to properly insert the SD card to ensure seamless storage of your captured media. The process of inserting the SD card is straightforward, but it requires precision and care to avoid any potential damage to the card or the drone’s internal components.
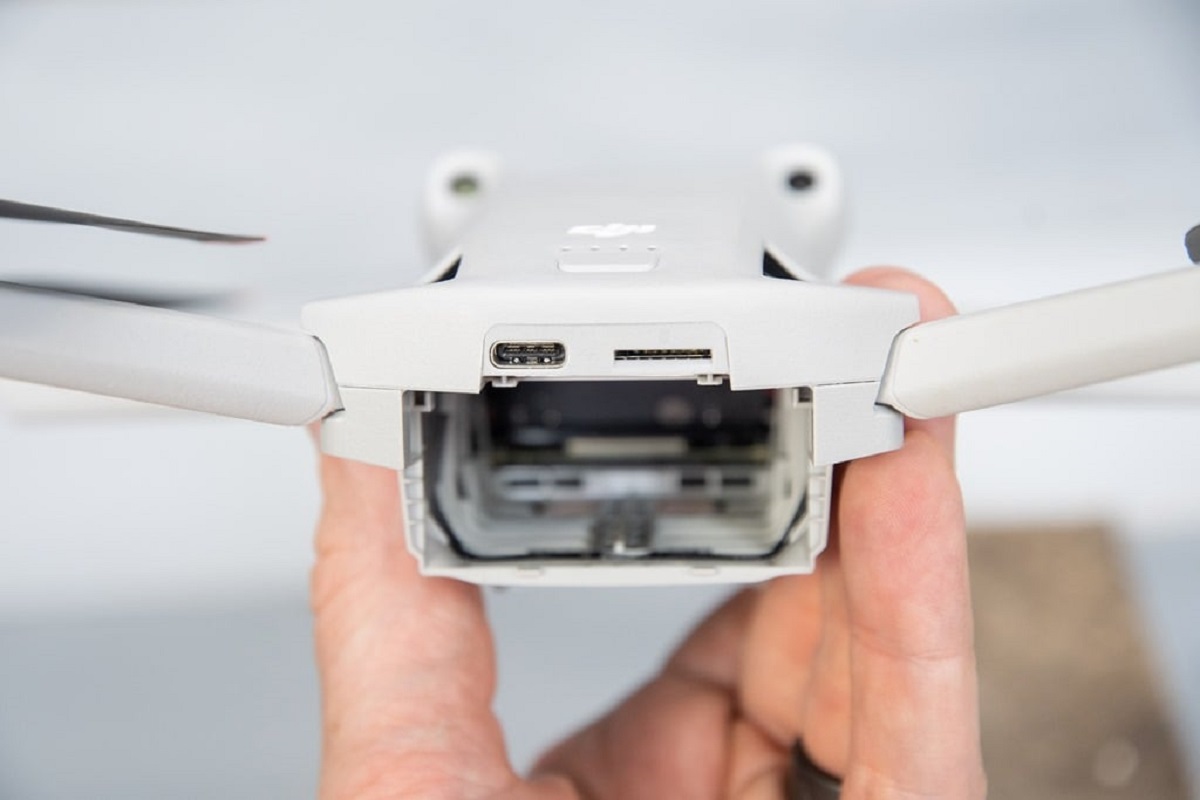
To begin, power off the drone by following the manufacturer’s instructions. Once the drone is powered off, locate the designated slot for the SD card. The location of the slot may vary depending on the specific model of the QR-12 Mini Camera Drone, so consulting the user manual is recommended for precise guidance.
Next, gently insert the SD card into the designated slot, ensuring that it is oriented correctly to align with the connector pins. Applying gentle pressure, carefully push the SD card into the slot until it is fully seated. It is essential to handle the SD card with caution, avoiding any forceful or abrupt movements that could potentially damage the delicate components.
After inserting the SD card, power on the drone and verify that the SD card is recognized by the system. This can typically be confirmed through the drone’s onboard display or indicator lights. Once the SD card is successfully recognized, the drone is ready to capture and store your stunning aerial footage seamlessly.
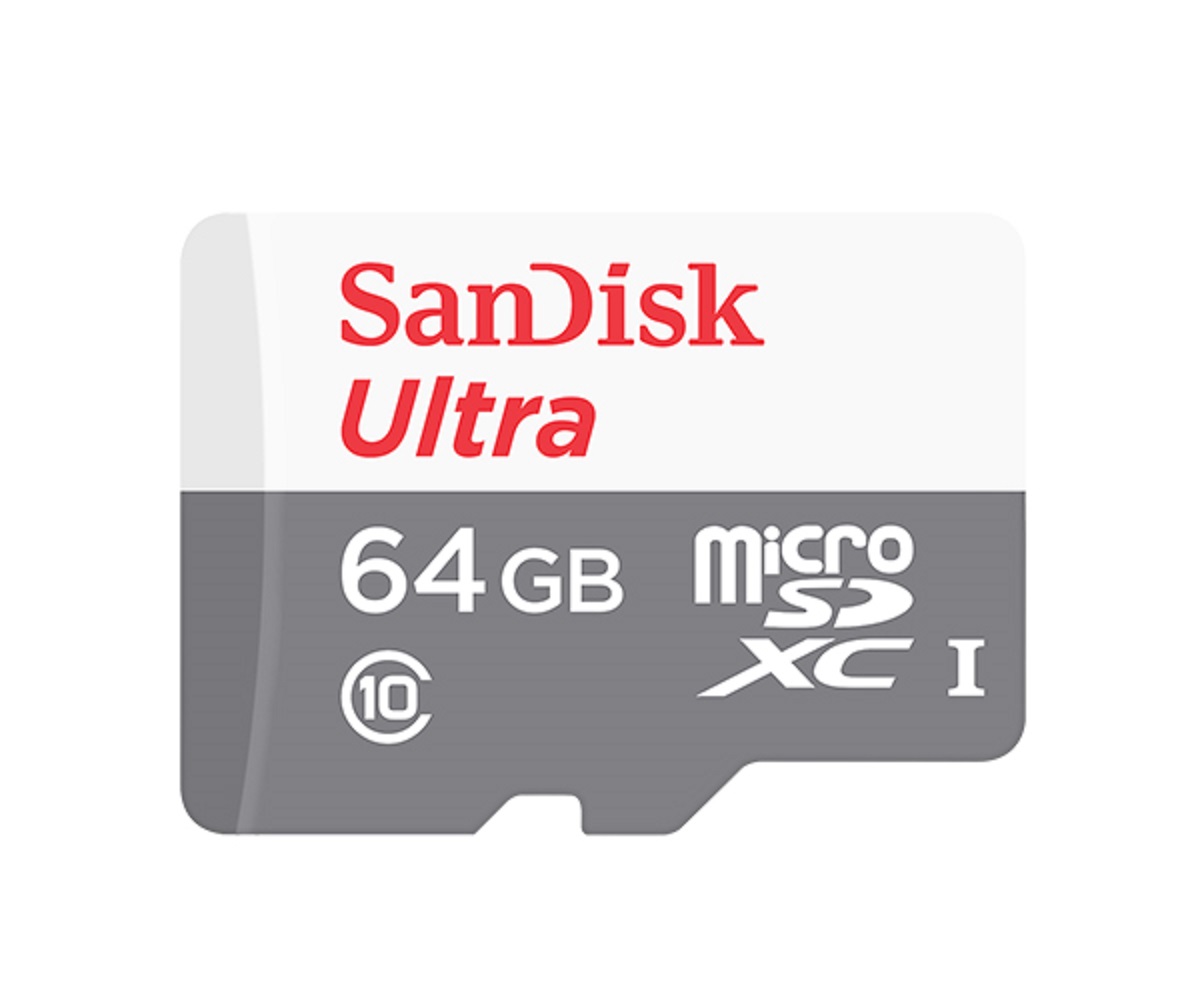
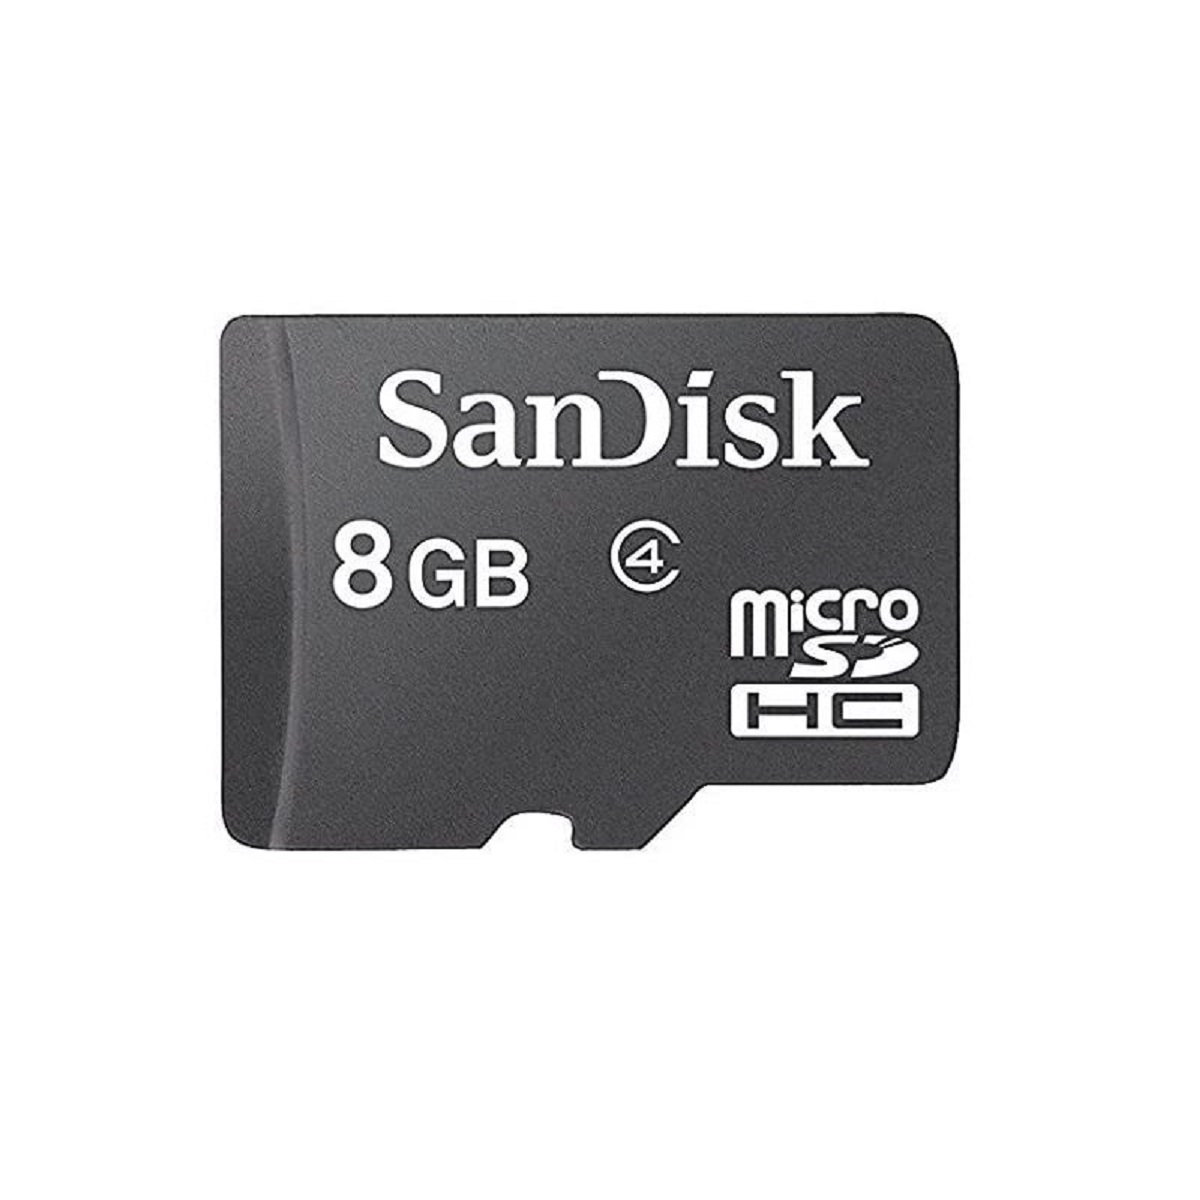
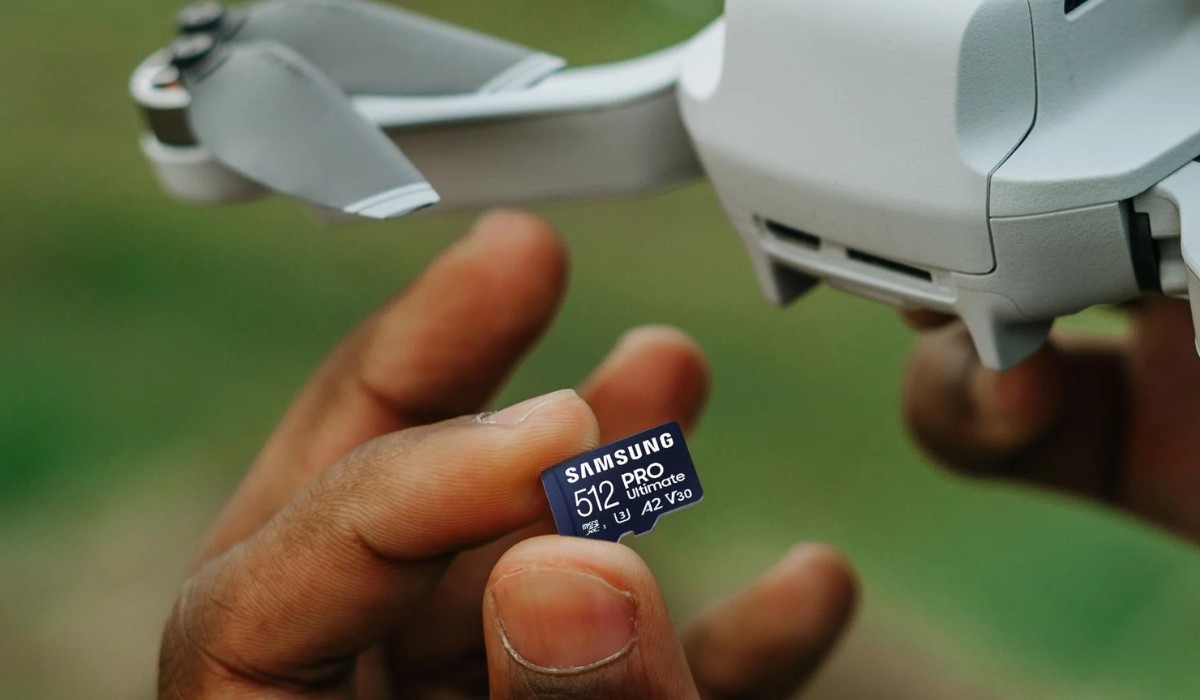
It is important to note that using a high-quality SD card with ample storage capacity is advisable to accommodate the high-resolution images and videos captured by the QR-12 Mini Camera Drone. Additionally, regularly inspecting the SD card for any signs of wear or damage is essential to maintain the integrity of your media storage.
With the SD card securely inserted, you are now equipped to embark on captivating aerial adventures, knowing that your media will be safely stored for future viewing and sharing.
Removing the SD Card
When your aerial photography or videography session with the QR-12 Mini Camera Drone comes to an end, properly removing the SD card is essential to safeguard your captured media and maintain the integrity of the card itself. The process of removing the SD card requires careful attention to prevent any damage to the card or the drone’s internal components.
To begin, power off the drone in accordance with the manufacturer’s instructions. Once the drone is powered off, locate the slot where the SD card is inserted. Exercise caution and handle the drone with care as you prepare to remove the SD card.
Gently press the SD card to initiate the ejection mechanism, allowing the card to partially protrude from the slot. Grasp the exposed portion of the SD card and carefully remove it from the slot, ensuring a smooth and steady extraction. Avoid applying excessive force or abrupt movements that could potentially damage the SD card or the drone’s internal components.
After removing the SD card, inspect it for any signs of wear, damage, or foreign particles. It is important to keep the gold contact points on the SD card clean and free from debris to ensure optimal performance and longevity. Additionally, storing the SD card in a protective case or sleeve when not in use can help prevent physical damage and environmental contaminants.
Handling the SD card with care during the removal process is crucial to preserving the integrity of your captured media and maintaining the functionality of the SD card for future use. By adhering to these best practices, you can ensure that your aerial footage remains safe and accessible for editing, sharing, and archiving.
With the SD card safely removed from the drone, you can proceed to transfer your captivating aerial media to a computer or storage device, allowing you to relive and share your exhilarating drone adventures with ease.
Accessing Files on the SD Card
Once you have successfully captured breathtaking aerial footage with your QR-12 Mini Camera Drone and stored it on the SD card, accessing the files is a straightforward process that allows you to review, edit, and share your stunning media with ease. Whether you are eager to relive your aerial adventures or prepare your footage for post-production, accessing the files on the SD card is a pivotal step in your creative journey.
To access the files, begin by removing the SD card from the drone using the proper procedure outlined in the user manual. Once the SD card is in your possession, insert it into a compatible card reader connected to a computer or utilize the built-in card reader on your laptop, if available. Upon successful insertion, the computer will recognize the SD card as a removable storage device, granting you access to its contents.
Navigate to the file explorer or appropriate software on your computer to access the files stored on the SD card. Depending on your preferences and workflow, you can organize the files into folders, rename them for easier identification, or initiate the editing process using specialized software designed for image and video manipulation.
When accessing the files, it is important to maintain a structured approach to file management, ensuring that your valuable aerial media is organized and safeguarded against accidental deletion or corruption. Consider creating backup copies of your files on a separate storage device or cloud-based platform to mitigate the risk of data loss.
By accessing the files on the SD card, you gain the ability to review your aerial footage, select the most captivating moments, and prepare them for sharing or further refinement. Whether you are a hobbyist seeking to share your drone adventures with friends and family or a professional videographer aiming to produce compelling visual content, accessing the files on the SD card is a pivotal step in your creative process.
With the files readily accessible, you are poised to embark on the next phase of your aerial media journey, harnessing the power of your captured footage to inspire, entertain, and evoke awe in your audience.
Transferring Files to a Computer
Transferring the captivating aerial footage and images captured with your QR-12 Mini Camera Drone from the SD card to a computer is a pivotal step in the post-production and sharing process. By seamlessly transferring the files, you can unleash your creativity, refine your media, and share your exhilarating aerial adventures with a wider audience. The process of transferring files to a computer is straightforward and empowers you to harness the full potential of your aerial media.
To initiate the file transfer, begin by inserting the SD card into a compatible card reader connected to your computer. Alternatively, if your computer is equipped with a built-in SD card reader, you can insert the card directly into the designated slot. Upon successful insertion, the computer will recognize the SD card as a removable storage device, granting you access to its contents.
Navigate to the file explorer or appropriate software on your computer to access the files stored on the SD card. Select the desired files or folders containing your aerial media, and initiate the transfer process by copying them to a location on your computer’s hard drive or an external storage device. Depending on the volume of files and the transfer speed, the process may require some time to complete.
It is advisable to create a dedicated folder on your computer to organize and store the transferred aerial media, allowing for easy access and management. Consider implementing a consistent naming convention for your files to facilitate efficient sorting and retrieval in the future.
Once the transfer is complete, verify the integrity of the transferred files by reviewing them in your preferred media viewing or editing software. This step ensures that your aerial footage and images are ready for further refinement, editing, or sharing with your intended audience.
By seamlessly transferring the files from the SD card to your computer, you unlock the potential to transform your raw aerial media into captivating visual narratives, compelling presentations, or awe-inspiring compilations. Embrace this pivotal phase of your creative process, knowing that your aerial adventures are now poised for further enhancement and sharing.
Formatting the SD Card
Formatting the SD card used in your QR-12 Mini Camera Drone is a crucial maintenance task that ensures the optimal performance and reliability of the storage device. Over time, the SD card may accumulate fragmented data, temporary files, or potential errors that can impact its functionality. By formatting the SD card at regular intervals, you can restore it to a pristine state, free from clutter and potential issues that may hinder its performance.
To begin the formatting process, ensure that all the data on the SD card has been successfully transferred to a secure location, such as your computer’s hard drive or an external storage device. Formatting the SD card will erase all existing data, so it is imperative to back up any important files to prevent data loss.
Insert the SD card into a compatible card reader connected to your computer or utilize the built-in card reader on your laptop, if available. Once the SD card is recognized as a removable storage device, navigate to the file explorer and locate the SD card within the list of available drives.
Right-click on the SD card and select the “Format” option from the context menu. This will initiate the formatting utility, allowing you to specify the file system (such as FAT32 or exFAT) and allocation unit size. It is recommended to choose the file system that is compatible with your drone and the allocation unit size based on the SD card’s capacity.
Before proceeding with the formatting, carefully review the selected options to ensure they align with the requirements of your QR-12 Mini Camera Drone and the SD card’s specifications. Once you have confirmed the settings, initiate the formatting process, which will erase all existing data on the SD card and prepare it for future use.
After the formatting is complete, verify the integrity of the SD card by transferring a small test file to confirm that it can be written to and read from without any issues. This step ensures that the SD card is functioning as expected and is ready to store your future aerial media seamlessly.
By routinely formatting the SD card, you maintain its optimal performance and reliability, safeguarding the integrity of your captured aerial footage and images. Embrace this maintenance task as a proactive measure to ensure that your QR-12 Mini Camera Drone operates at its peak performance, ready to capture and store your captivating aerial adventures with precision and reliability.